Uploading a prototype on Behance can be an exciting step for any designer. It provides a platform to showcase your creative work and connect with like-minded individuals in the design community. Whether you're a graphic designer, UI/UX specialist, or an aspiring creative professional, sharing your prototypes can help you gain visibility, receive feedback, and even attract potential clients. This blog post will guide you through the process of uploading prototypes on Behance and highlight the incredible benefits of doing so.
Benefits of Sharing Prototypes on Behance

Sharing your prototypes on Behance offers numerous advantages that can significantly impact your professional journey. Here are some compelling reasons to consider:
- Wider Audience Reach: Behance has millions of users, which means your work can be seen by a broad audience, including other designers, potential collaborators, and clients. This visibility can open doors to new opportunities.
- Networking Opportunities: The platform allows you to engage with fellow creatives, providing chances for collaborations and mentorship. Building relationships within this community can enhance your skills and career prospects.
- Feedback and Critique: By showcasing your prototypes, you can receive constructive feedback from other professionals and enthusiasts. This can help you refine your designs and improve your overall approach.
- Portfolio Development: Adding prototypes to your Behance profile enhances your portfolio, showcasing your design process and skills beyond static images. This dynamic approach can impress potential employers or clients.
- Authenticity and Credibility: Sharing real projects or prototypes demonstrates your capability and professionalism. It validates your skills and makes you more credible in the eyes of viewers.
- SEO Benefits: By smartly utilizing tags and descriptions, your work can appear in search results, giving you an additional avenue for visibility beyond the platform.
These benefits make uploading your prototypes on Behance a valuable endeavor that can contribute to both personal and professional growth in your design career.
Also Read This: Discover the Quick and Easy Way to Download Facebook Stories Online for Seamless Sharing
Preparing Your Prototype for Upload

Before you jump into sharing your stunning prototype on Behance, it's crucial to prepare everything meticulously. This ensures that your work shines and communicates your vision effectively. Here are some steps to consider:
- Finalize Your Design: Make sure your prototype is polished. Review your work for any flaws, and ensure it aligns with your project's goals.
- Export Your Prototype: Depending on the tool you used (like Figma, Adobe XD, or Sketch), export your design in the appropriate format. PNG or JPG files are common for images, while GIFs or videos can showcase animations.
- Optimize for Web: Save your files with web optimization in mind. This means reducing the file size without sacrificing quality, which will help your project load faster and look sharp on the platform.
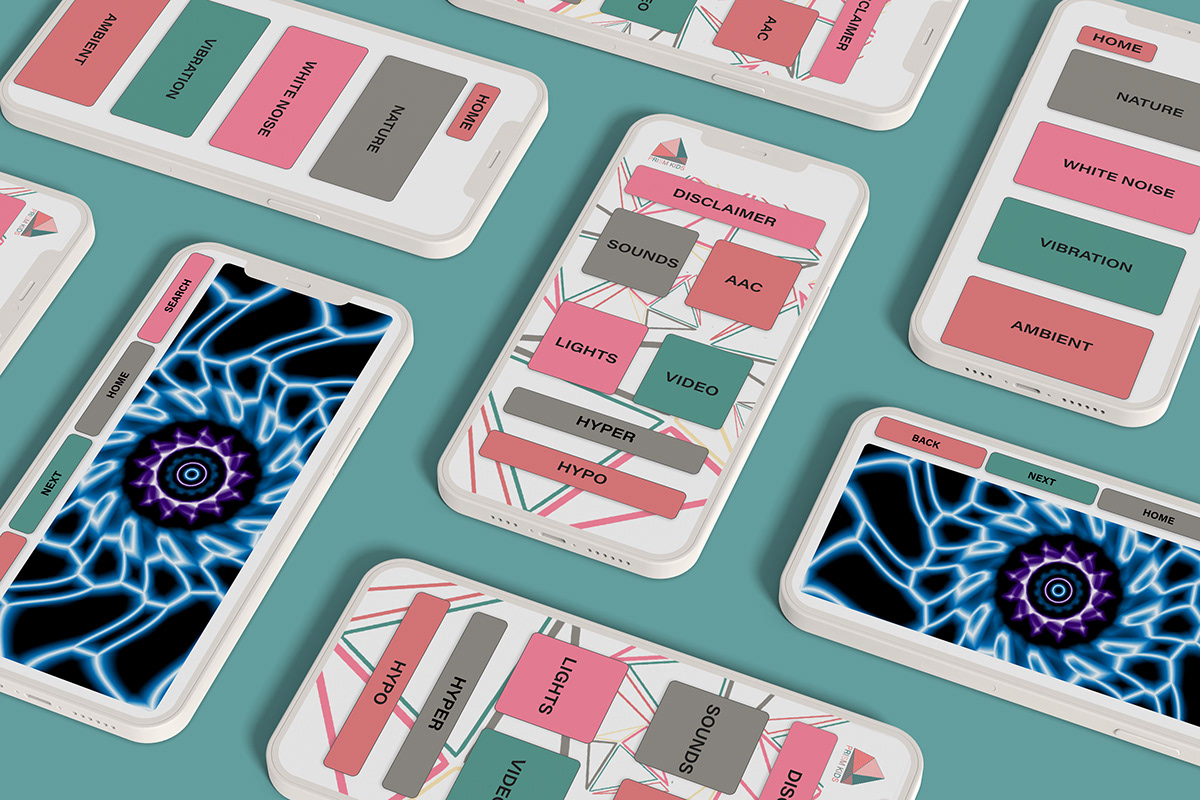
- Create a Mockup: Consider placing your prototype in a mockup to give viewers context. This could be as simple as using a computer or mobile device frame to display how your design looks in a real-world setting.
- Write Descriptive Content: Think about what you want to say. Include insights into your creative process, choices, and challenges faced. This narrative gives viewers a peek behind the curtain.
Taking the time to prepare your prototype thoughtfully will make your submission stand out and resonate with potential viewers!
Also Read This: How Do You Print a Mirror Image for Crafts, Shirts, or Photography Projects
Step-by-Step Guide to Uploading Your Prototype

Got your prototype ready and looking its best? Awesome! Now, let's get down to the nitty-gritty of uploading it to Behance. Follow these steps, and you'll be showcasing your interactive designs in no time!
- Log into Your Behance Account: Navigate to Behance and log in. If you don't have an account yet, signing up is quick and easy!
- Click on the “Upload” Button: Look for the prominent button that says “Create a Project” or “Upload.” This will lead you to the project creation page.
- Add Your Project Title and Description: Craft a catchy title and a thoughtful description. This is where you can capture your audience’s attention and explain what they’re about to see.
- Upload Your Files: You can drag and drop your images, videos, or interactive prototype links right into the upload area. Behance allows you to upload multiple files, so don’t hold back!
- Arrange Your Content: Once your files are uploaded, you can drag them into the order you prefer. This flexibility helps you tell your story more effectively.
- Add Tags and Tools: Use relevant tags to make your project discoverable. Also, select the tools used in your design, like Figma or Adobe XD, to attract the right audience.
- Choose Project Settings: Adjust settings regarding visibility (public or private), cover image, and project type to tailor your project's presentation.
- Publish Your Project: When you feel everything is just right, hit that publish button. Once submitted, share it on your social media or among your design community!
And voilà! You've successfully uploaded your prototype on Behance. Now, sit back and let your work inspire others.
Also Read This: how to download file from adobe stock image
5. Adding Details and Descriptions

When you’re ready to upload your prototype on Behance, one of the most important steps is adding details and descriptions. This is your chance to tell the story behind your design, so don’t skip on it!
Here's how to make your descriptions engaging:
- Context is Key: Start by giving a brief background. What inspired the project? What problem were you trying to solve? This helps your audience understand your thought process.
- Project Goals: Clearly outline what the main objectives of the project were. Did you aim to enhance user experience, create a visually appealing interface, or perhaps introduce a new feature?
- Tools and Techniques: Mention which tools you used to create your prototype. Were you working in Adobe XD, Sketch, or Figma? Including this helps fellow designers relate to your work.
- Interactive Elements: If your prototype has clickable or dynamic elements, describe how users interact with it. You might say, “Click here to reveal the dropdown menu” or “Hover to see the animation.”
- Visual Aids: Implement screenshots or quick GIFs within your descriptions to provide a visual reference. This can greatly enhance engagement and understanding.
Remember, each detail adds value and helps viewers grasp the essence of your work. Be concise but descriptive—after all, stories are what truly captivate an audience!
Also Read This: How to Download Videos in Bilibili App – Fast Method
6. Best Practices for Showcasing Interactive Designs
Showcasing interactive designs on Behance is both an art and a science. The goal is to not only display your work but also ensure it resonates with your audience. Here are some best practices to keep in mind:
| Practice | Description |
|---|---|
| Emphasize User Experience | Make sure your interactive design flows seamlessly. Users should feel intuitive navigation is key. Ensure that your prototyping showcases practical user journeys. |
| High-Quality Visuals | Use high-quality images or videos. If you’re sharing a video demo, ensure it’s clear and portrays the interactivity effectively. |
| Include Annotations | Use annotations within your images to guide viewers. Highlight key features or directions where they can interact. |
| Interactive Sharing | Behance allows you to embed prototypes directly. Make sure to utilize this feature so users can explore your work firsthand. |
| Get Feedback | Don’t hesitate to ask for insights from fellow creatives. Their feedback can help you refine your presentation and take your designs to the next level. |
Remember, showcasing interactive designs is about demonstrating your skills while creating an engaging experience for your audience. Keep experimenting and refining your techniques, and you’ll soon find the sweet spot that works for you!
Also Read This: Mastering Storyblocks After Effects Templates for Unique Edits
7. Promoting Your Behance Projects
So, you've put in all the effort to create a stunning prototype for your project on Behance—now what? It’s time to get it out there and let the world see your hard work! Promoting your Behance projects isn't just about waiting for people to stumble upon your work; it’s about actively sharing and engaging with your community. Here’s how to do that effectively:
- Leverage Social Media: Share your project on platforms like Instagram, Twitter, and LinkedIn. Use relevant hashtags to reach a broader audience. Don’t forget to include a compelling caption that draws people in!
- Join Design Communities: Participate in forums and online communities like Dribbble, Designer Hangout, or Reddit's design subreddits. Share your Behance link and gather feedback.
- Collaborate with Others: Team up with fellow creatives or influencers. They might share your work with their audience, giving it an extra boost.
- Engage on Behance: Like, comment, and follow other creators. Being an active member of the Behance community often results in reciprocal engagement, which can increase your visibility.
Moreover, keep track of your analytics on Behance. Understanding which projects or posts get more attention allows you to refine your promotional strategies in the future. Regularly updating and promoting your work keeps it fresh and relevant, so don’t hesitate to share your updates!
8. Conclusion
In the vast world of creative portfolios, uploading a prototype on Behance can seem challenging initially, but with the right tools and strategies, it can be a rewarding experience. Not only does it showcase your interactive designs to a global audience, but it also opens the door for potential collaborations and job opportunities.
Remember, the key aspects of a successful Behance project include:
| Aspect | Importance |
|---|---|
| High-Quality Visuals | Make a great first impression! |
| Detailed Descriptions | Help viewers understand your design process and decisions. |
| Engagement Strategy | Connecting with peers amplifies your visibility. |
As you navigate your creative journey, keep experimenting and adapting your approach. The more you share and refine your art, the more you'll find your unique voice in the creative community. Happy showcasing!
 admin
admin


