Sketching eyes and hair can feel like a daunting task, but with a little practice and the right techniques, you can master these essential elements of portrait drawing. Eyes are often referred to as the "windows to the soul," and capturing their essence can bring your sketches to life. Similarly, hair adds personality and movement to your artwork. In this post, we’ll explore how to sketch these features with confidence, so grab your pencils and let’s dive in!
Essential Tools for Sketching
Before you start sketching, it’s crucial to gather the right tools. Having the proper materials can make a significant difference in your drawing experience. Here’s a list of essential items you’ll need:
- Pencils: A range of pencils (2H, HB, 2B, and 4B) allows you to achieve varying degrees of shading and detail.
- Eraser: A kneaded eraser is great for gentle corrections, while a vinyl eraser can handle larger mistakes.
- Sketchbook: Choose a medium to heavyweight sketchbook to withstand multiple pencil layers.
- Blending Stumps: These help smooth out pencil strokes and create soft transitions in shading.
- Reference Images: Having photos or real-life models to study can significantly improve your accuracy.
Each tool plays a vital role in helping you capture the intricacies of eyes and hair. Let’s break them down further:
Pencils
Pencils come in various grades, each affecting the darkness and softness of the lines:
- 2H: Great for light outlines and fine details.
- HB: Ideal for general sketching and mid-tone shading.
- 2B: Perfect for darker lines and richer shadows.
- 4B: Excellent for deep shading and expressive lines.
Erasers
Don’t underestimate the power of a good eraser! A kneaded eraser is flexible and can be shaped to lift off graphite delicately, making it perfect for highlights in the eyes. The vinyl eraser is firmer and can handle more significant corrections without tearing the paper.
Sketchbook
Your sketchbook should suit your style—some artists prefer spiral-bound for easy flipping, while others love the feel of a hardbound book. A heavier paper weight (like 160-200 gsm) will allow for multiple layers without warping.
Blending Stumps
These tools help create smooth shadows and softer edges, especially important for hair. Practice using them to blend your pencil strokes, enhancing the realism of your work.
Reference Images
Always keep a selection of reference images handy. Whether it’s photographs or real-life observation, studying how light interacts with features will help you understand proportions, textures, and shadows better.
Now that you have your tools ready, you can start exploring the fascinating world of sketching eyes and hair. Remember, practice makes perfect, so don’t be afraid to experiment and have fun along the way!
Also Read This: How to Wear a Stylish Scarf on Dailymotion
3. Understanding the Anatomy of Eyes
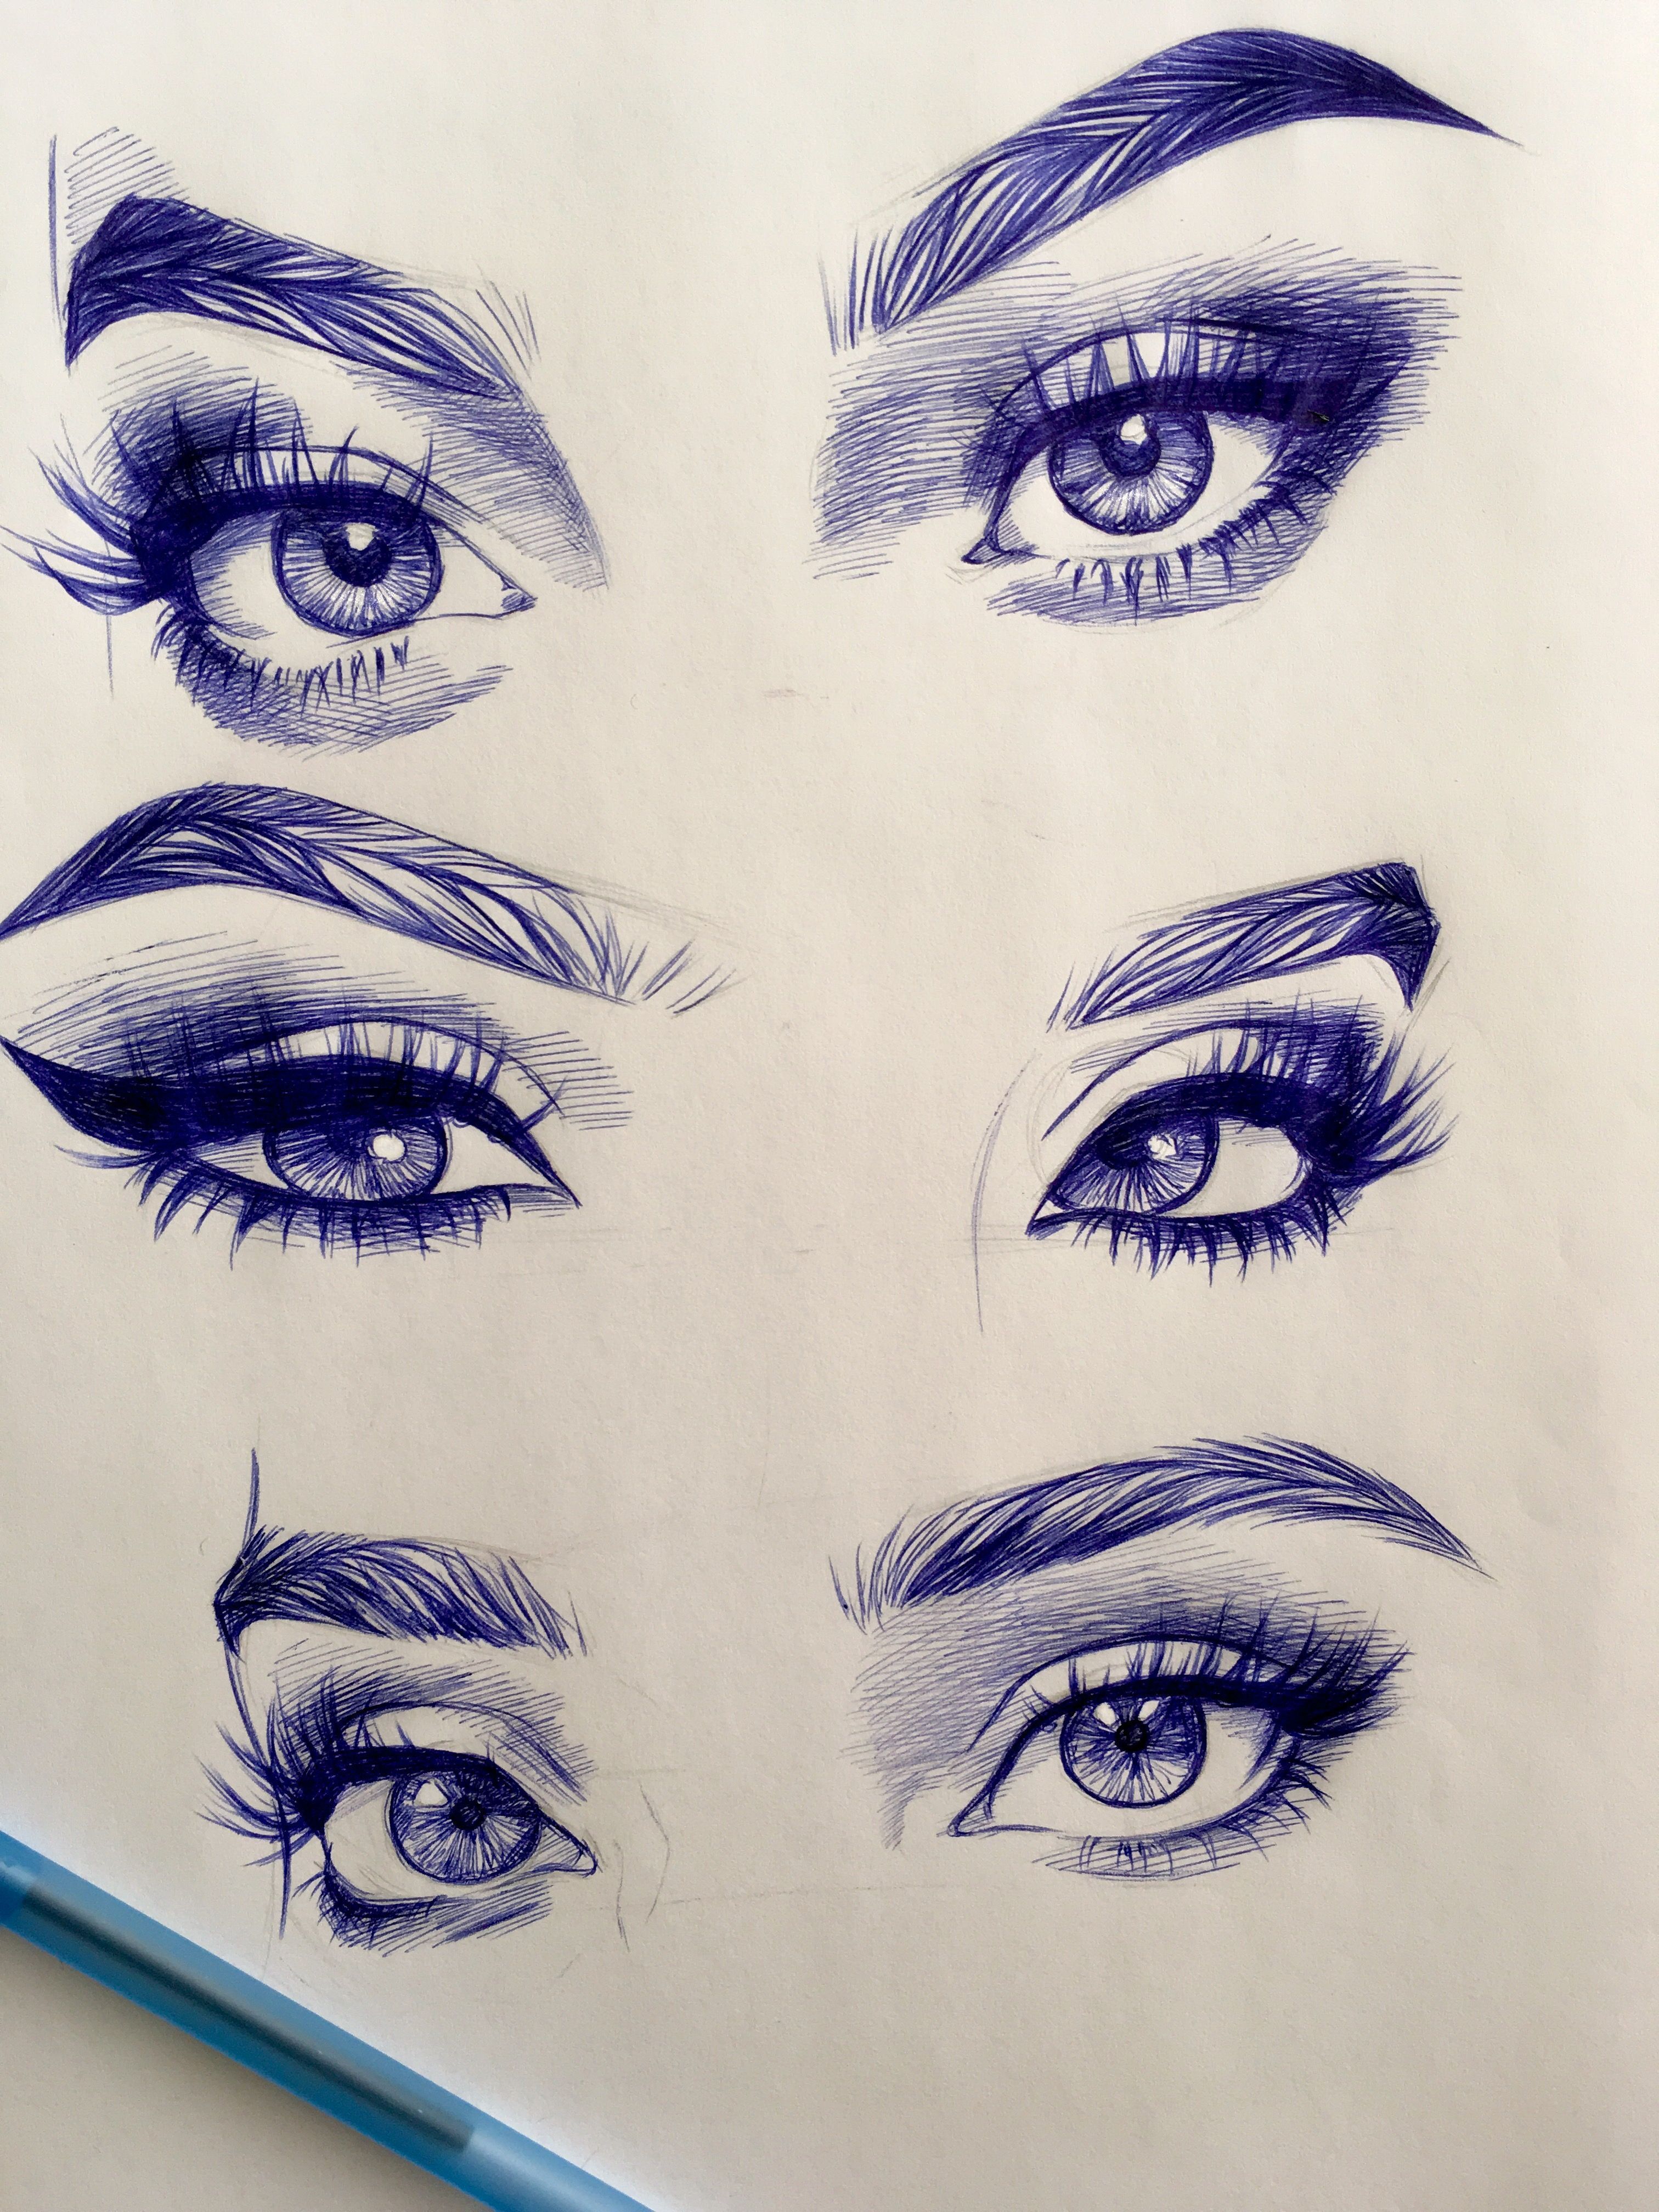
When it comes to sketching eyes, understanding their anatomy is crucial for achieving realism. The eye isn’t just a simple oval; it’s a complex structure with various parts that each serve a specific function. Let’s break it down!
The Main Components of the Eye:
- Iris: The colored part of the eye, which can vary significantly in hue and pattern. Pay attention to the texture and subtle variations.
- Pupil: The black circular opening in the center of the iris. Its size changes depending on light conditions, which can add a lot of character to your sketches.
- Cornea: The clear front layer of the eye. It has a glossy appearance, which reflects light beautifully.
- Sclera: The white part surrounding the iris. It can show veins and other textures, contributing to the eye's overall realism.
- Eyelids: They protect the eye and can convey emotion through their position (open, closed, or slightly squinted).
Each of these components plays a role in how the eye appears and functions. By studying real-life references or anatomical diagrams, you can gain insights into proportions and how light interacts with each part. For instance, the slight curve of the cornea can create reflections that make your sketches pop.
Additionally, consider the eyelashes and eyebrows. These features frame the eye and are essential in conveying emotion. When sketching, think about how eyelashes bend and how eyebrows can express different feelings, from surprise to anger.
Take time to practice sketching each component separately, then incorporate them into whole eye sketches. Remember, the more familiar you are with the anatomy, the easier it will be to create lifelike representations.
Also Read This: How to Download Dailymotion App on PS4
4. Techniques for Realistic Eye Sketching
Now that you have a grasp on the anatomy of the eye, let’s dive into some practical techniques for sketching them realistically. These tips will help you bring your artistic vision to life!
1. Start with Simple Shapes:
Begin your sketch by lightly outlining the basic shape of the eye using simple geometric forms. For instance, use an oval for the eyeball and smaller ovals or circles for the iris and pupil. This foundational step helps you maintain proper proportions as you add details.
2. Observe Light and Shadow:
Realistic sketches rely heavily on the play of light and shadow. Identify the light source in your reference image and observe how it interacts with the eye. Use shading techniques such as:
- Hatching: Create parallel lines to suggest shadow.
- Cross-hatching: Layer lines in different directions for deeper shadows.
- Blending: Use a blending stump or your finger to smooth out pencil strokes for a soft shadow.
3. Add Fine Details:
Once you have the basic shape and shading down, it’s time to add details. Focus on the texture of the iris, the reflections in the pupil, and the thin lines of the eyelid. These small details can make a significant difference in realism.
4. Practice Different Expressions:
Eyes are incredibly expressive! Practice sketching eyes that convey various emotions—happiness, sadness, anger, or surprise. Adjust the curve of the eyelids and the shape of the eyebrows to reflect different feelings. This practice will enhance your understanding of how subtle changes can alter perception.
Incorporating these techniques into your sketches will elevate your skills significantly. Remember, practice is key! The more you sketch, the more natural it will become. Grab your pencil, observe closely, and let your creativity flow!
Also Read This: Understanding Sync Video in Dailymotion
5. Exploring Different Hairstyles and Their Features
When it comes to sketching hair, understanding the diverse hairstyles and their unique features can significantly enhance your artistic ability. Hair isn’t just hair; it tells a story about the character you're drawing. Let's dive into some popular hairstyles and what makes them special!
1. Long and Flowing: This classic style often conveys beauty and grace. Think of long hair cascading down the shoulders. When sketching, focus on the movement and flow. Use soft, sweeping lines to illustrate how the hair drapes and falls.
2. Short and Chic: Short hairstyles can be edgy and modern. Styles like pixie cuts or bob cuts highlight facial features. When sketching, pay close attention to the texture and volume. Use sharper lines to depict the sharpness of the cut and the way light interacts with the hair.
3. Curly and Textured: Curls add volume and personality! They bounce and twist, creating a dynamic look. For curls, consider using spirals and loops in your sketches. Shading can also play a big role; highlight the areas where light hits and deepen the shadows in the curls to give them dimension.
4. Braided Styles: Braids are intricate and can range from simple to complex. When sketching braids, break them down into sections. Capture the interweaving strands and the way they form patterns. This will help convey the complexity and craftsmanship of the hairstyle.
5. Updos: Up hairstyles, like buns or chignons, are perfect for formal representations. They often emphasize the neck and shoulders in your sketches. Focus on the structure and form of the updo, using rounded shapes to illustrate how the hair is gathered and pinned.
Understanding these different hairstyles will not only improve your sketching skills but also enable you to create more relatable and compelling characters. Remember, each hairstyle has its own language and character; embrace that diversity in your art!
Also Read This: Make Delicious Zarda in Urdu with Easy Dailymotion Tutorials
6. Step-by-Step Guide to Sketching Hair
Now that we've explored various hairstyles, let’s get into the nitty-gritty of actually sketching hair. Follow these steps to achieve realistic results!
Step 1: Gather Your Materials
- Sketching pencils (preferably HB to 6B for varying tones)
- Blending stump or cotton swab for shading
- Quality drawing paper
Step 2: Start with the Basic Shape
Begin by outlining the head shape. Use light strokes to draw the basic form of the hair. Remember to consider the style you’re aiming for. This outline will guide your hair sketch, so keep it simple!
Step 3: Define the Hairline
Establish where the hair begins. Different hairstyles have different hairlines—curved for longer hair, straighter for bobs. Mark this lightly on your outline.
Step 4: Add Volume
Using soft, sweeping lines, start shaping the hair. For long hair, draw flowing lines that mimic natural movement. For short hair, use shorter, sharper strokes to convey texture. Don’t forget to leave some space for the hair to look voluminous!
Step 5: Create Texture
Now, add texture by sketching individual strands. Use varied pressure on your pencil to create different line weights. This variation will give depth to your hair. For curly hair, remember to draw loops and spirals!
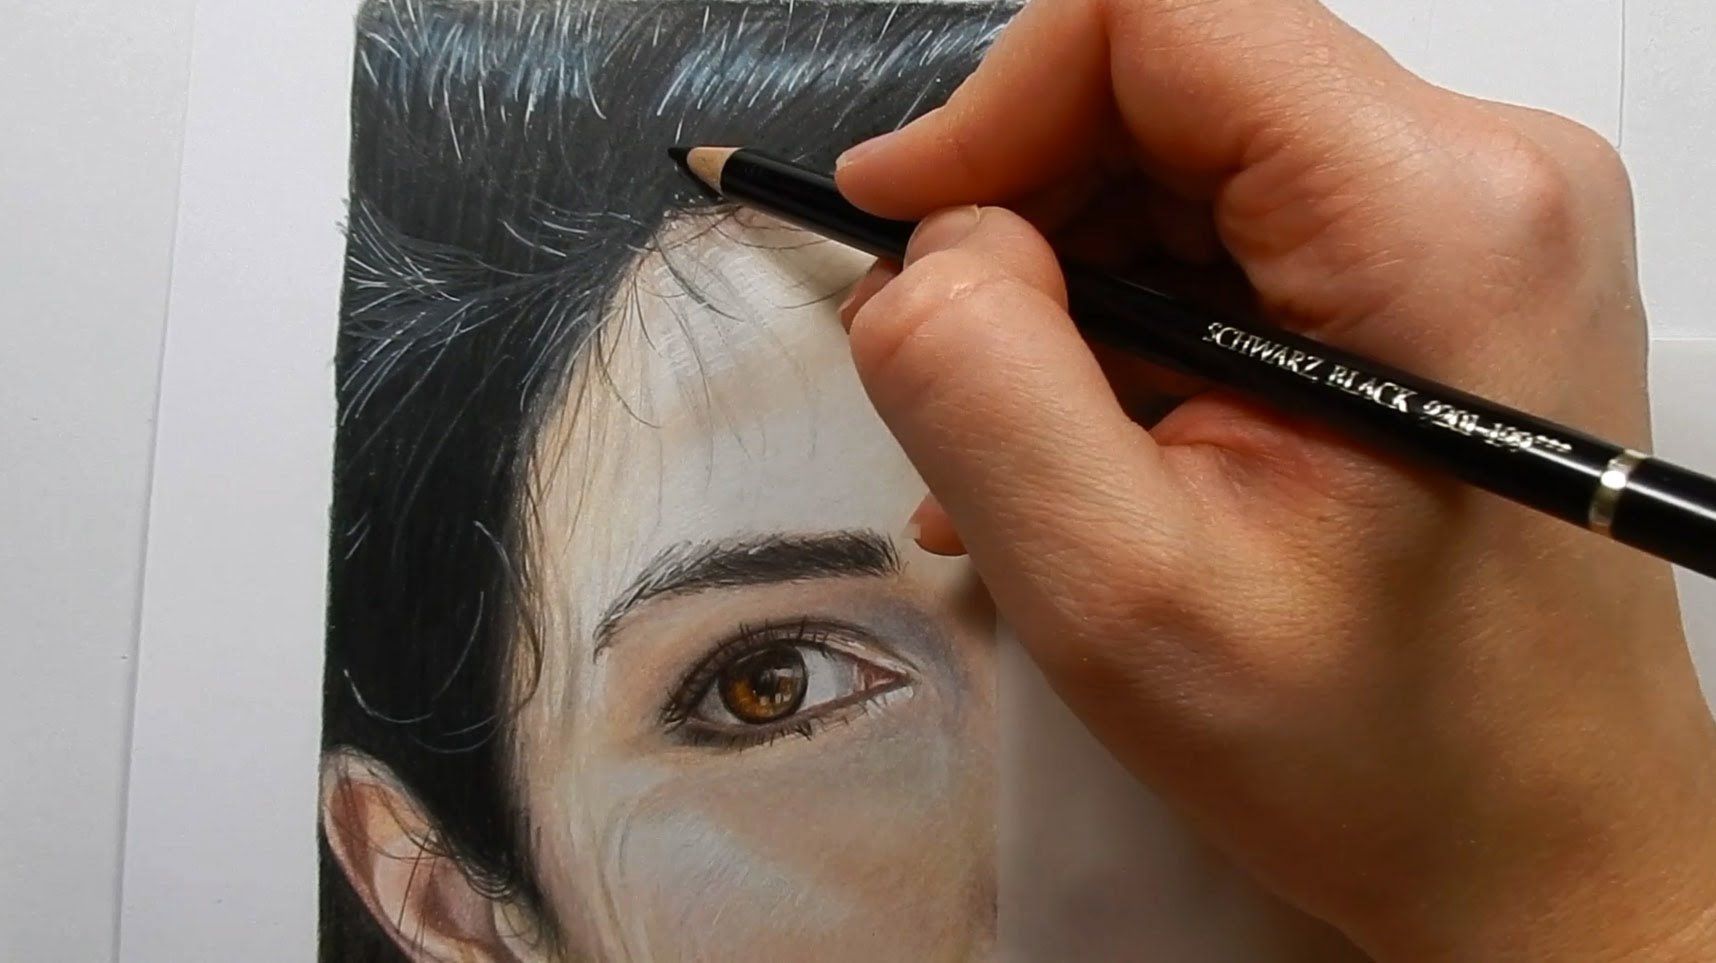
Step 6: Shading and Highlights
To make the hair look realistic, add shading. Identify your light source and use a blending stump or your finger to smudge the pencil marks gently. This will create a smooth gradient. Add highlights by leaving some areas lighter—this is essential for giving life to the hair!
Step 7: Final Touches
Once you’re satisfied with the shape and shading, step back and view your sketch as a whole. Make any adjustments to ensure balance and continuity. Adding fine details like flyaways can enhance the realism.
With practice, these steps will become second nature, and soon you'll be sketching hair like a pro! Remember, every artist has their unique style—embrace yours!
Also Read This: How to Make a Barbie Cake with Dailymotion’s Creative Baking Tutorial
7. Tips for Adding Texture and Depth
When it comes to sketching eyes and hair, texture and depth can elevate your artwork from good to breathtaking. Here are some tips to help you achieve that professional look:
- Observe Real Life: The best way to understand texture is by observing real eyes and hair. Look closely at how light interacts with different surfaces. Notice the subtle color variations and how they change with the light.
- Use Different Pencil Techniques: Vary your pencil pressure to create a range of values. For softer textures, use a light hand and gentle strokes. For firmer textures, apply more pressure to get darker lines.
- Layering: Start with a light base and gradually layer darker values. This method is particularly effective for hair, where you can build up strands and add depth.
- Texture Tools: Consider using tools like blending stumps or tortillons to soften edges and create smooth transitions. An eraser can also be handy for picking out highlights in hair and the eyes.
- Utilize Cross-Hatching: For added depth, use cross-hatching techniques to build shadows. This involves layering lines in different directions, which can give the illusion of volume.
- Focus on Reflections in the Eyes: The eyes are often said to be the windows to the soul. Adding highlights and reflections makes them come alive. Pay attention to where the light hits and reflect that in your drawing.
By incorporating these tips, you’ll find that your sketches take on a new level of realism and intrigue. Remember, practice is key; don’t be afraid to experiment with different techniques!
Also Read This: Mastering M3U8 Links from Dailymotion for Advanced Users
8. Common Mistakes to Avoid When Sketching
Every artist has made mistakes, and that’s part of the learning process! However, avoiding certain pitfalls can help you improve more quickly. Here are some common mistakes to watch out for:
- Ignoring Proportions: One of the biggest mistakes is not paying attention to the proportions of the eyes and hair. Use guidelines to help maintain balance and symmetry. For instance, the distance between the eyes should equal the width of one eye.
- Overlooking the Importance of Light: Neglecting how light affects your subjects can lead to flat sketches. Always consider your light source and how it shapes the features you’re drawing.
- Using One Shade: Sticking to a single pencil shade can make your sketches look dull. Instead, use a range of pencils to create highlights and shadows for added depth.
- Forgetting Details: Sometimes, in an effort to create a quick sketch, artists forget the little things like eyelashes, the shine in the eyes, or individual hair strands. These details can make a significant difference!
- Rushing the Process: Sketching takes time, and rushing can lead to a lack of refinement. Allow yourself the time to build layers and detail.
- Not Practicing Regularly: Lastly, one of the biggest mistakes is not practicing enough. Regular sketching helps you refine your skills and develop your unique style.
By being aware of these common mistakes and actively working to avoid them, you’ll be on your way to creating sketches that truly stand out. Keep practicing, and don’t forget to have fun with it!
Also Read This: Is Dailymotion Similar to YouTube? A Comparison of Two Video Platforms
9. Practice Exercises and Resources
Now that you have a solid understanding of the techniques to sketch eyes and hair, it’s time to put that knowledge into action! Here are some practical exercises and resources that can help you improve your skills:
- Daily Sketching: Set aside at least 15-30 minutes a day solely for sketching eyes and hair. Use references from magazines, online photos, or even your friends and family. Consistency is key!
- Eye Expressions: Create a series of sketches that capture different emotions using just eyes. Try happy, sad, surprised, and angry. This will help you understand how subtle changes in shape and shading can convey different feelings.
- Hair Texture Studies: Spend a session focusing just on hair. Experiment with different styles—straight, curly, wavy—and practice capturing the light and shadows of each. Use varying pencil pressures to depict different textures.
- Copy the Masters: Find sketches or paintings by artists you admire and try to replicate their style. This exercise can teach you new techniques and inspire your own creativity.
- Join Online Challenges: Platforms like Instagram and DeviantArt often host drawing challenges. Participate in them to push your boundaries and gain feedback from fellow artists.
In addition to these exercises, consider utilizing some excellent resources:
- Books: Look for books like "Drawing the Head and Hands" by Andrew Loomis or "Figure Drawing for All It's Worth" for in-depth insights on capturing human features.
- YouTube Tutorials: Channels like Proko and Drawabox offer fantastic video tutorials that break down complex concepts into easy-to-follow steps.
- Online Courses: Websites like Skillshare or Udemy have courses specifically focusing on portrait drawing. These can be a great way to learn from professionals.
- Social Media Groups: Join Facebook groups or Reddit communities dedicated to drawing. Engaging with a community can provide you with support, motivation, and critiques—just remember to be open to feedback!
Remember, the journey of mastering the art of sketching takes time and dedication. Embrace each exercise as a step toward becoming a better artist!
10. Conclusion and Encouragement to Keep Practicing
Congratulations on reaching the end of this guide on sketching eyes and hair like a professional artist! It’s essential to remember that every great artist started as a beginner. The key to improvement is practice, patience, and a willingness to learn from mistakes.
Here’s a quick recap:
- Understand the anatomy of eyes and hair.
- Experiment with different techniques and styles.
- Utilize resources and exercises to refine your skills.
As you continue your artistic journey, keep these points in mind:
- Be Kind to Yourself: It’s normal to feel frustrated at times. Embrace the process, and celebrate small victories along the way.
- Seek Feedback: Share your work with friends, family, or online communities. Constructive criticism can help you grow and see your art from different perspectives.
- Make Time for Fun: Don’t forget to enjoy the process! Allow yourself to create without the pressure of perfection. Doodle, experiment, and explore.
Remember, every sketch brings you closer to your artistic goals. So grab your sketchbook, let your creativity flow, and keep practicing! You’ve got this!
 admin
admin


