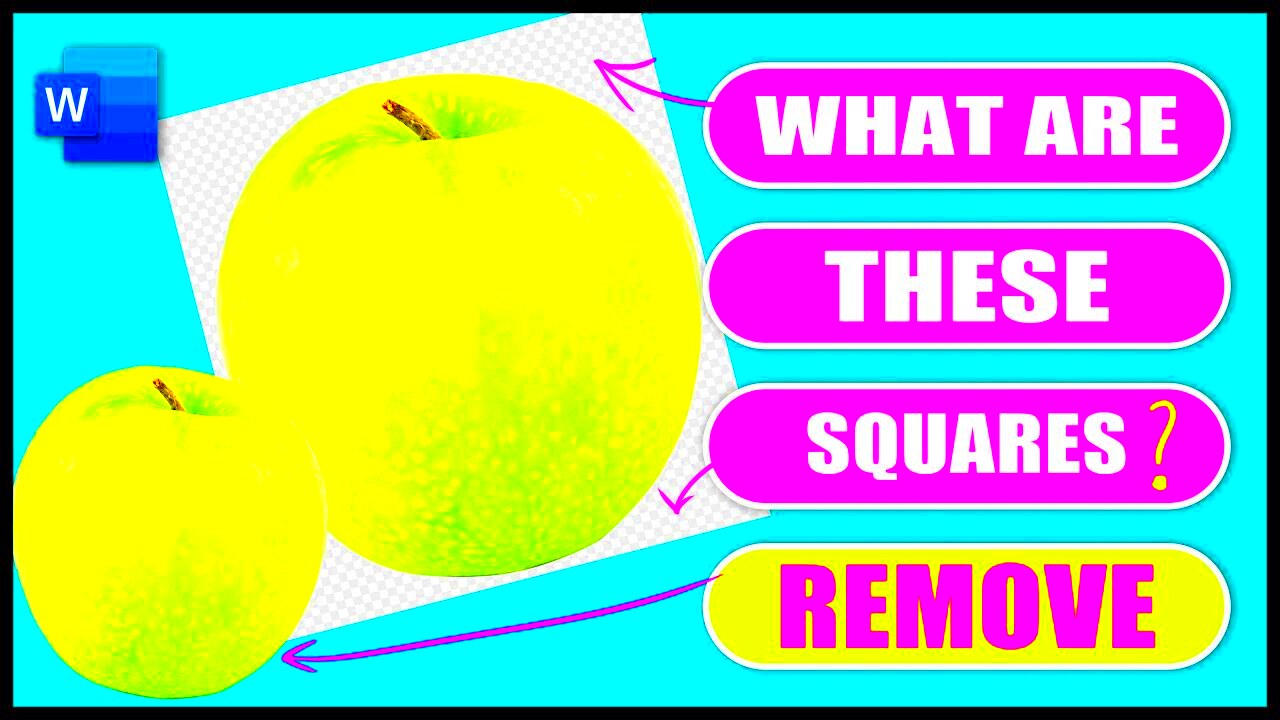
Have you ever encountered a gray square in an image and wondered how to get rid of it? These gray squares can disrupt an otherwise perfect photo, and knowing how to remove them is important for maintaining image quality. Gray squares often appear when there’s an issue with an
Common Causes of Gray Squares in Images

Gray squares are often the result of several underlying issues in image files. Understanding the common causes can help you identify the problem faster and take steps to fix it. Here are some of the most frequent reasons for the appearance of gray squares:
- Corrupted Image Files: If an image file is damaged during download, upload, or transfer, it can result in gray squares. These files may not load correctly and display unwanted artifacts.
- Transparency Issues: Images with transparent backgrounds (especially PNG files) might show gray squares when the transparency isn't handled correctly. Some image editors or viewers may not fully support transparency, replacing it with gray squares.
- Improper Compression: When an image is compressed too much, parts of the image may not load correctly, leading to gray squares where the compression failed.
- Software Bugs: Sometimes, issues with specific image-editing tools or software can create gray squares. These bugs may interfere with how the image is rendered, especially if you're working with more complex editing features.
By identifying the cause, you’ll be in a better position to fix or prevent the appearance of gray squares in the future.
Also Read This: How to Resize Sublimation Images Correctly
Tools to Remove Gray Squares from Images

When it comes to removing gray squares from images, the right tool can make all the difference. Depending on the cause of the gray squares, there are different methods and software options to fix the problem. Here are some tools that can help:
- Photopea: This free online image editor offers many powerful features, including the ability to fix transparency issues and remove gray squares. Simply open your image and use the eraser tool or the background removal tools to eliminate the gray squares.
- Adobe Photoshop: As a professional-grade image editing software, Photoshop offers advanced tools to remove gray squares. You can use the Magic Eraser tool or the Select Color Range feature to remove or replace gray squares effectively.
- GIMP: A popular free alternative to Photoshop, GIMP can be used to fix corrupted files or remove gray squares. With its advanced selection and masking tools, GIMP allows precise editing to get rid of unwanted gray areas.
- PNGGauntlet: This tool is specifically designed to optimize PNG files and can help fix issues like gray squares caused by improper compression. It’s especially helpful for users who frequently work with PNG images.
- Fotor: An easy-to-use online photo editor that provides various editing tools, including options to remove gray squares, adjust transparency, and fix corrupted files. Fotor is a great choice for beginners.
Choosing the right tool depends on your needs and the complexity of the issue. If you’re dealing with a simple problem, free tools like Photopea or Fotor may be all you need. However, for more complex issues or advanced editing, tools like Photoshop or GIMP are more suitable.
Also Read This: Fast Track: Unlocking the Secrets to Fast Shipping on AliExpress
Step-by-Step Guide to Removing Gray Squares from an Image

If you’re dealing with gray squares in an image, don’t worry. Removing them is easier than you might think, and this step-by-step guide will walk you through the process. Whether you're using a free tool like Photopea or a more advanced editor like Photoshop, the process is fairly simple. Follow these steps to remove gray squares from your images:
- Step 1: Open the Image in Your Editing Tool - Start by opening your image in your preferred image-editing software. Most tools, including free ones, support common file types like PNG, JPG, and GIF.
- Step 2: Identify the Gray Squares - Zoom in on the areas with gray squares. Often, these will appear around transparent areas or corrupted sections of the image. Knowing exactly where they are helps you focus your efforts.
- Step 3: Use the Eraser or Selection Tool - Select the eraser tool or a selection tool like the Magic Wand. Click on the gray square to select or erase the area. If using a selection tool, make sure to choose a similar color range to the gray squares for precise removal.
- Step 4: Fix Transparency Issues - If the gray squares are related to transparency, you may need to replace them with a transparent background or a solid color. In tools like Photoshop, you can use the “Layer” options to adjust transparency settings.
- Step 5: Save the Image - Once the gray squares are removed, save your image in the preferred format. If working with PNG, ensure the file is saved with a transparent background if needed.
By following these steps, you can quickly fix gray squares and improve the overall quality of your images.
Also Read This: Cropping Images in Photoshop Without Affecting the Background
Best Practices for Image Editing to Avoid Gray Squares
- Choose the Right File Format: PNG files with transparency are the most common source of gray squares. Ensure you save your images in the correct format, and be careful when dealing with transparent backgrounds.
- Use Proper Compression: When compressing images, don’t go overboard. Excessive compression can lead to corrupted files and gray squares. Stick to moderate compression settings to maintain quality.
- Avoid Corrupt Files: Always download and upload images from trusted sources. If an image is corrupted during the process, it can cause gray squares or other artifacts. Consider using file recovery tools if you suspect corruption.
- Test on Multiple Devices: Check your images on different devices and viewers to ensure that transparency and colors are rendered correctly. This can help you catch issues before they become problematic.
- Update Your Software: Keep your image editing tools updated to avoid bugs that might cause gray squares. Regular updates improve functionality and fix known issues.
By keeping these practices in mind, you’ll avoid the frustration of dealing with gray squares in the first place, saving you time and effort in the future.
Also Read This: A Step by Step Guide on How to Download Shutterstock Images for Free Without Watermark
How to Recover Images Affected by Gray Squares
If your image is already affected by gray squares, don’t panic. There are a few ways to recover it, whether the issue is due to a corrupted file, transparency errors, or other problems. Here’s how you can recover images that are showing gray squares:
- Fix Corrupted Files: If the gray squares are a result of file corruption, try using recovery tools. Software like File Repair or Stellar Phoenix can repair damaged images. These tools often restore the image to its original state, removing gray squares in the process.
- Restore Transparency: If the gray squares are caused by transparency issues, open the image in an advanced editor like Photoshop or GIMP. You can remove the gray background and restore the image’s transparency by carefully selecting and erasing the squares.
- Revert to a Backup: If you have a backup of the original image, it’s best to revert to that version. If the gray squares appeared after a specific edit or compression, using the backup will save you time and effort.
- Try Different Viewing Software: Sometimes, gray squares are only visible in specific viewers. Test the image in another viewer to see if the gray squares persist. If they don’t appear, the issue might be related to the software, not the image itself.
- Use Online Fixers: Online tools like PNGGauntlet or TinyPNG can help recover corrupted PNG files. These tools optimize images, reducing the likelihood of errors like gray squares.
By following these recovery steps, you can restore your image and eliminate gray squares. If all else fails, professional image repair services might be able to fix the file for you.
Also Read This: Making Money from Shutterstock Images: Exploring Revenue Opportunities
How to Prevent Gray Squares in the Future
Preventing gray squares from appearing in your images is a much easier task than fixing them once they’ve shown up. By following a few key steps during the image creation and editing process, you can avoid the frustration of dealing with these unwanted squares. Here are some tips on how to keep gray squares from appearing in the first place:
- Work with High-Quality Images: Always start with high-resolution, clean images. Low-quality files are more prone to corruption or rendering issues, which can lead to gray squares.
- Avoid Over-Compression: Compressing an image too much can distort its content, leading to errors like gray squares. Aim for a balanced compression setting to maintain quality while reducing file size.
- Use the Right File Format: Choose a file format that suits your image’s needs. PNG is great for images with transparency, but it’s important to handle the transparency properly to avoid gray squares. For regular images without transparency, JPEG is a safe bet.
- Check Transparency Settings: If you're working with transparent images, make sure the background is properly configured. Transparent areas should either be left transparent or replaced with a solid background if needed.
- Test Before Finalizing: Always preview your image on different platforms or devices before finalizing it. This ensures that the image displays correctly across various viewers and reduces the chances of gray squares appearing in certain environments.
- Use Reliable Image Editors: Stick to professional image editing software like Photoshop, GIMP, or Photopea. These programs are less likely to introduce errors compared to free or lesser-known alternatives.
By following these tips, you’ll greatly reduce the risk of encountering gray squares in your future images.
Also Read This: how to get grad images for free
FAQ
Here are some frequently asked questions about gray squares in images, their causes, and how to fix or prevent them:
- What are gray squares in images?
Gray squares often appear in images as a result of corrupted files or transparency issues. They typically appear as a gray background in areas that should be transparent or as a result of file errors. - How do I fix gray squares in an image?
To fix gray squares, use an image editor to select and remove the gray areas. You can also restore transparency or re-save the image in a different format if needed. In some cases, image repair tools may help. - Why do gray squares appear in transparent images?
When working with transparent images (especially PNGs), gray squares may appear if the transparency is not properly supported or rendered. This is often a result of either image corruption or an issue with the editing software. - Can I prevent gray squares from appearing?
Yes, by using proper file formats, avoiding excessive compression, ensuring transparency is handled correctly, and testing your images on multiple platforms, you can prevent gray squares from showing up. - Are gray squares harmful to my image?
While gray squares don't affect the image’s integrity, they can make the image look unprofessional, especially if transparency is important. They can be distracting or ruin the overall aesthetic, so it’s best to remove them.
Conclusion
In conclusion, gray squares can be a frustrating issue for anyone working with images, but they’re not impossible to fix. By understanding the causes of gray squares and knowing how to remove them, you can restore the quality of your images and avoid the problem in the future. Remember, the key to preventing gray squares is to use the right tools, handle transparency carefully, and follow best practices for image editing. If you do encounter gray squares, don’t stress—just follow the steps we’ve outlined, and you’ll be back to creating clean, polished images in no time.

 admin
admin


