In today's digital age, photo editing has become an essential part of photography. Photo editing software provides powerful tools to enhance images, fix flaws, and create stunning visual effects. Whether you're a professional photographer or a casual smartphone user, knowing how to use photo editing software can take your images to the next level.
In this guide, we've outlined some basic steps to help you get started with photo editing. We'll cover cropping and straightening, adjusting brightness and contrast, color correction, sharpening, removing blemishes, adding filters, resizing, and saving your images. By following these steps, you can improve the quality and visual impact of your images, and create a more polished and professional look.
While there are many different photo editing software options available, the basic principles of photo editing remain the same. With some practice and experimentation, you can develop your own unique style and create images that truly stand out.
How to Use Photo Editing Software to Enhance Your Images
Using photo editing software can help you improve the quality of your images and make them more visually appealing. Here are some tips for enhancing your images using photo editing software:
Also Read This: 123RF Payment Methods: Options for Receiving Earnings as a Contributor
Crop and straighten:
Cropping and straightening are important tools for improving the composition of your images. Here's how to do it:
- Open your photo editing software and load the image you want to work on.
- Use the crop tool to remove any unwanted elements from your image. Drag the corners of the crop box to adjust the size and shape, and use the grid lines to help you align the image. When you're happy with the crop, press "Enter" to apply it.
- If your image is crooked, use the straighten tool to level it. Click on the straighten tool and draw a line across an element in the image that should be horizontal or vertical. The software will automatically rotate the image to align with the line.
- If the straighten tool doesn't work, you can also use the rotation tool to manually adjust the angle of the image. Click on the rotation tool and drag the slider until the image is level.
- Once you're happy with the crop and straightening, save the image in the appropriate format (JPEG, PNG, etc.).
By cropping and straightening your image, you can remove distracting elements and create a more balanced and visually pleasing composition.
Also Read This: Communicating with Sellers: AliExpress Contact Guide
Adjust brightness and contrast:
Adjusting the brightness and contrast of your image can help improve the overall lighting and make it look more visually appealing. Here's how to do it:
- Open your photo editing software and load the image you want to work on.
- Locate the brightness and contrast adjustment tool. In most software, it will be found under the "Image" menu or as an icon in the toolbar.
- Adjust the brightness slider to increase or decrease the overall brightness of the image. Moving the slider to the right will make the image brighter, while moving it to the left will make it darker.
- Adjust the contrast slider to increase or decrease the difference between the light and dark areas of the image. Moving the slider to the right will increase the contrast, while moving it to the left will decrease it.
- Experiment with different settings until you achieve the desired effect. Be careful not to overdo it, as too much adjustment can make the image look unrealistic.
- Once you're happy with the brightness and contrast, save the image in the appropriate format (JPEG, PNG, etc.).
Adjusting the brightness and contrast of your image can help bring out details and create a more visually appealing image. However, it's important to use these adjustments sparingly and avoid making the image look too artificial.
Also Read This: Practical Tips for Exploring Quality Music That’s Free on Bandcamp
Color correction:
Color correction is a process of adjusting the colors in an image to make them more accurate or visually appealing. Here's how to do it:
- Open your photo editing software and load the image you want to work on.
- Locate the color correction tool. Depending on your software, it may be called "Color Balance", "Hue/Saturation", or something similar.
- Adjust the color balance to correct any color casts in your image. This tool allows you to adjust the levels of the primary colors (red, green, and blue) in your image. Use the sliders to balance the colors and achieve a more natural look.
- Use the Hue/Saturation tool to adjust the overall color of the image. This tool allows you to adjust the hue (color), saturation (intensity), and lightness of the image. Experiment with different settings to achieve the desired effect.
- If there are specific colors in the image that need adjustment, use the selective color tool. This tool allows you to adjust the levels of specific colors in the image. For example, you can increase the blue levels in the sky or decrease the red levels in a person's face.
- Once you're happy with the color correction, save the image in the appropriate format (JPEG, PNG, etc.).
Color correction can help improve the overall look and feel of your image. Be careful not to overdo it, as too much color correction can make the image look unnatural or artificial.
Also Read This: Top 10 Latest Tips to Creating Instagram Stories
Sharpening:
Sharpening is a process of enhancing the details and edges in an image, making it look more clear and crisp. Here's how to do it:
- Open your photo editing software and load the image you want to work on.
- Locate the sharpening tool. Depending on your software, it may be called "Sharpen", "Unsharp Mask", or something similar.
- Apply the sharpening filter to the image. Adjust the settings to achieve the desired effect. Be careful not to over-sharpen, as this can create a grainy or pixelated effect.
- If there are specific areas of the image that you want to sharpen or soften, use the brush tool to selectively apply the filter.
- Once you're happy with the sharpening, save the image in the appropriate format (JPEG, PNG, etc.).
Sharpening can help enhance the details in your image and make it look more clear and crisp. However, it's important to use it sparingly and avoid making the image look too artificial or oversharpened.
Also Read This: The Easiest Thumbnail Grabber for Tiktok Photo Download Without Watermark
Remove blemishes:
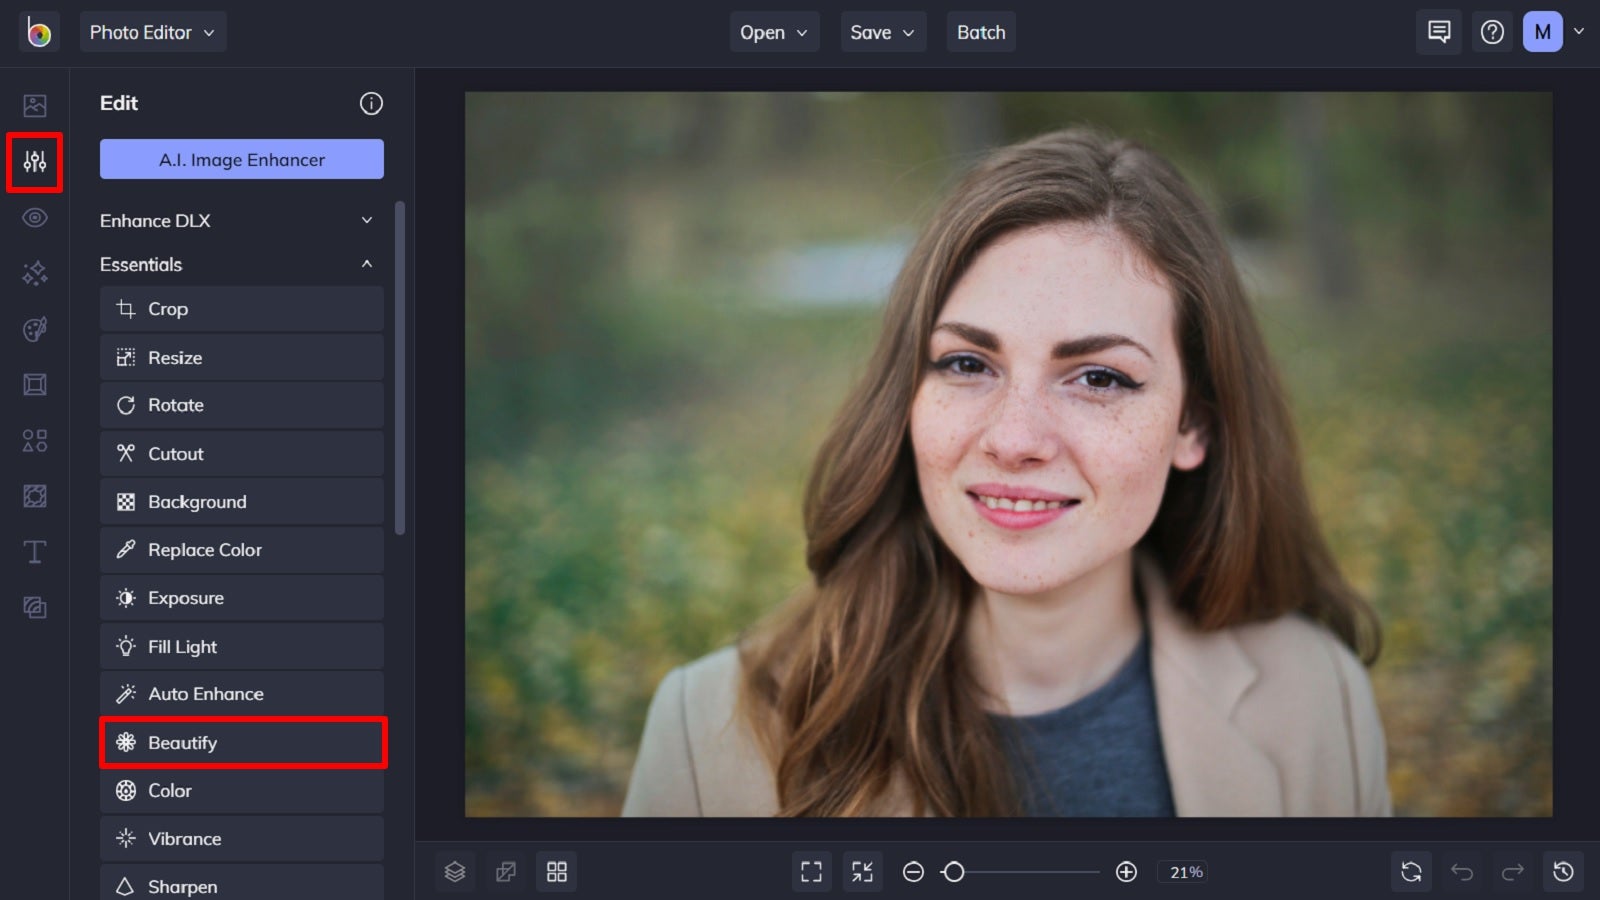
Removing blemishes is a process of eliminating any unwanted spots, marks, or imperfections on a person's face or body in an image. Here's how to do it:
- Open your photo editing software and load the image you want to work on.
- Zoom in on the area of the image where the blemish is located.
- Locate the spot removal or healing tool. In most software, it will be found in the toolbar or under the "Retouch" menu.
- Use the tool to carefully remove the blemish. This tool works by sampling the surrounding area and blending it over the blemish, making it disappear. Be sure to use a small brush size to target only the blemish, and use the zoom tool to get a close-up view for precision.
- If there are any remaining spots or marks, repeat the process until the area looks smooth and blemish-free.
- Once you're happy with the removal, save the image in the appropriate format (JPEG, PNG, etc.).
Removing blemishes can help improve the overall appearance of the image and make the subject look more polished and attractive. However, it's important to use this tool in moderation and avoid making the subject look too perfect or unnatural.
Also Read This: Pros and Cons of Getty Images: Evaluating the Benefits and Limitations of the Stock Photography Platform
Add filters:
Adding filters is a process of applying a visual effect to an image to create a certain mood or aesthetic. Here's how to do it:
- Open your photo editing software and load the image you want to work on.
- Locate the filters or effects menu. Depending on your software, it may be located in the toolbar or under the "Effects" menu.
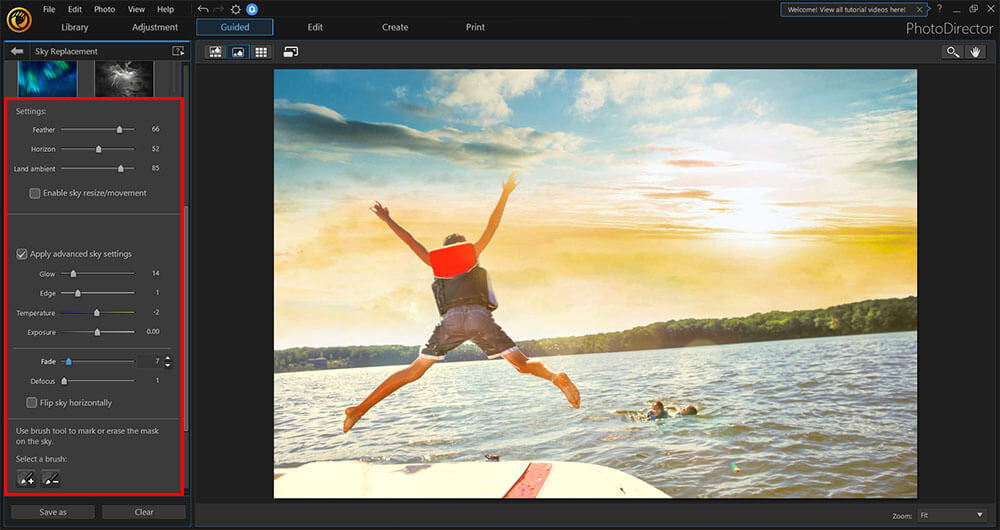
- Choose the filter you want to apply to your image. Different filters will have different effects on the image, such as adding a vintage look, increasing contrast, or desaturating the colors.
- Adjust the filter settings to achieve the desired effect. Most filters have adjustable sliders that allow you to control the intensity or other parameters of the effect.
- Experiment with different filters and settings until you achieve the desired effect.
- Once you're happy with the filter, save the image in the appropriate format (JPEG, PNG, etc.).
Adding filters can help create a certain mood or aesthetic for your image. However, it's important to use filters in moderation and avoid making the image look too artificial or heavily processed.
Also Read This: Discover an AI Website for Creating Images without Sign-Up
Resize and save:
Resizing and saving an image is a process of adjusting the size of an image and saving it in the appropriate format. Here's how to do it:
- Open your photo editing software and load the image you want to work on.
- To resize the image, locate the resize tool. Depending on your software, it may be located in the toolbar or under the "Image" menu.
- Adjust the image size by changing the width and height of the image. You can do this by typing in the desired dimensions or by dragging the edges of the image. Be sure to maintain the aspect ratio to avoid distorting the image.
- Once you're happy with the resized image, save it in the appropriate format. Choose a file format that suits your needs, such as JPEG, PNG, or TIFF.
- Set the image quality and compression settings. Depending on the file format you choose, you may have options to adjust the quality and compression of the image. Be sure to choose a quality setting that maintains the desired level of detail and color accuracy.
- Give the file a meaningful name and location, and save it to your desired location.
Resizing and saving an image can help you prepare your image for sharing or printing, and ensure that it is in the appropriate size and format for your needs.
Remember, the key to effective photo editing is to enhance your image without making it look unnatural or over-processed. Use your editing tools sparingly and always keep the original image file in case you need to start over.
Also Read This: How to Download Bilibili Video without Watermark
FAQ
What is photo editing software?
Photo editing software is a digital tool that allows you to modify and enhance images on a computer or mobile device. Some popular photo editing software includes Adobe Photoshop, Lightroom, and GIMP.
Why is photo editing important?
Photo editing can help improve the overall quality and visual impact of an image. It can fix flaws, adjust color and exposure, and create stunning visual effects. Photo editing can help you achieve your desired look and create images that stand out.
Can I edit photos on my smartphone?
Yes, there are many photo editing apps available for smartphones that allow you to edit photos on the go. Some popular options include Adobe Lightroom Mobile, VSCO, and Snapseed.
How do I know which photo editing software to use?
The best photo editing software for you depends on your needs and level of expertise. If you're a beginner, a user-friendly software like Adobe Lightroom might be a good place to start. If you're more advanced and need more powerful tools, Adobe Photoshop might be a better option.
Is it ethical to heavily edit photos?
There is no clear answer to this question, as it depends on the context and purpose of the photo. In some cases, such as fashion photography or advertising, heavy editing is expected and accepted. In other cases, such as news or documentary photography, heavy editing can be seen as unethical. It's important to be transparent about any edits made to a photo, and to use good judgment when editing images.
How can I learn more about photo editing?
There are many resources available online to help you learn more about photo editing. Some popular options include online tutorials, YouTube videos, and online courses. Additionally, many photo editing software programs offer help and tutorials to guide you through the editing process.
Conclusion:
Photo editing software provides a range of powerful tools that can help you enhance your images, fix flaws, and create stunning visual effects. By following the basic steps outlined in this guide, you can improve the overall quality and visual impact of your images, and create a more polished and professional look. While there are many different photo editing software options available, the basic principles of photo editing remain the same. With some practice and experimentation, you can develop your own unique style and create images that truly stand out.


