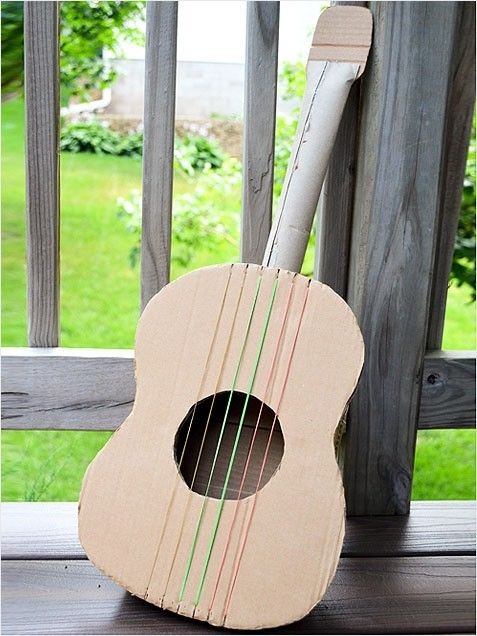
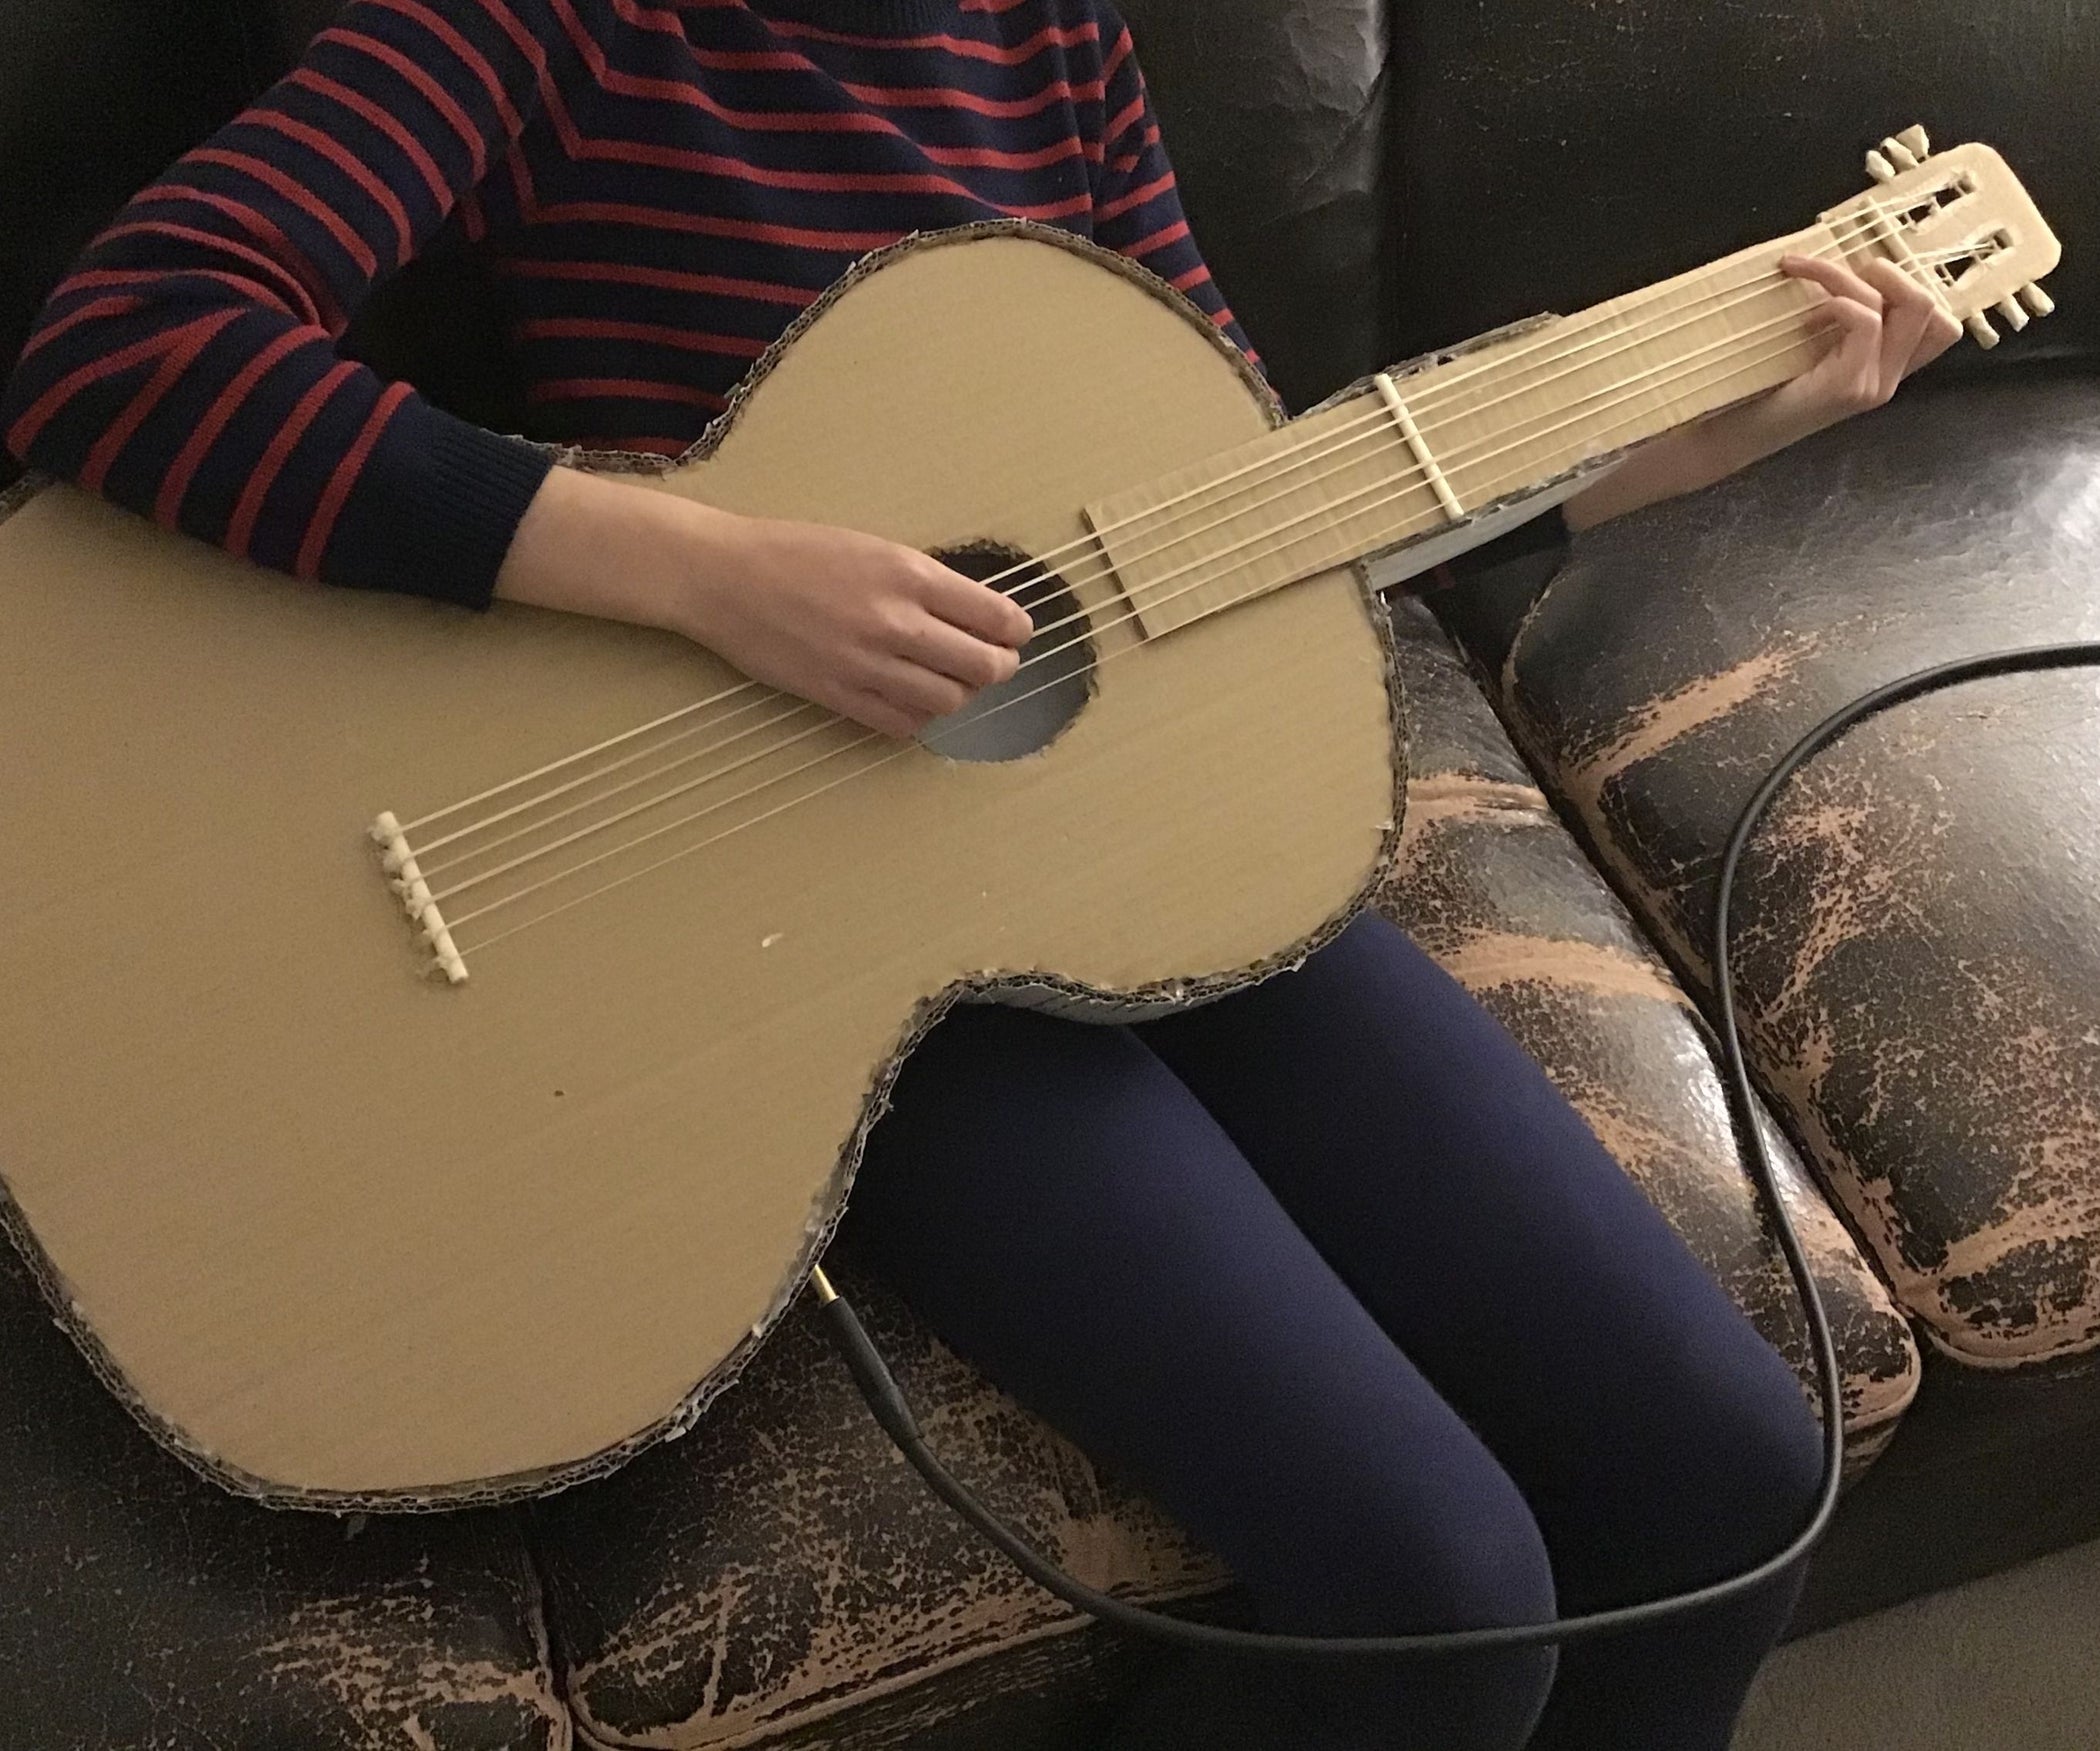
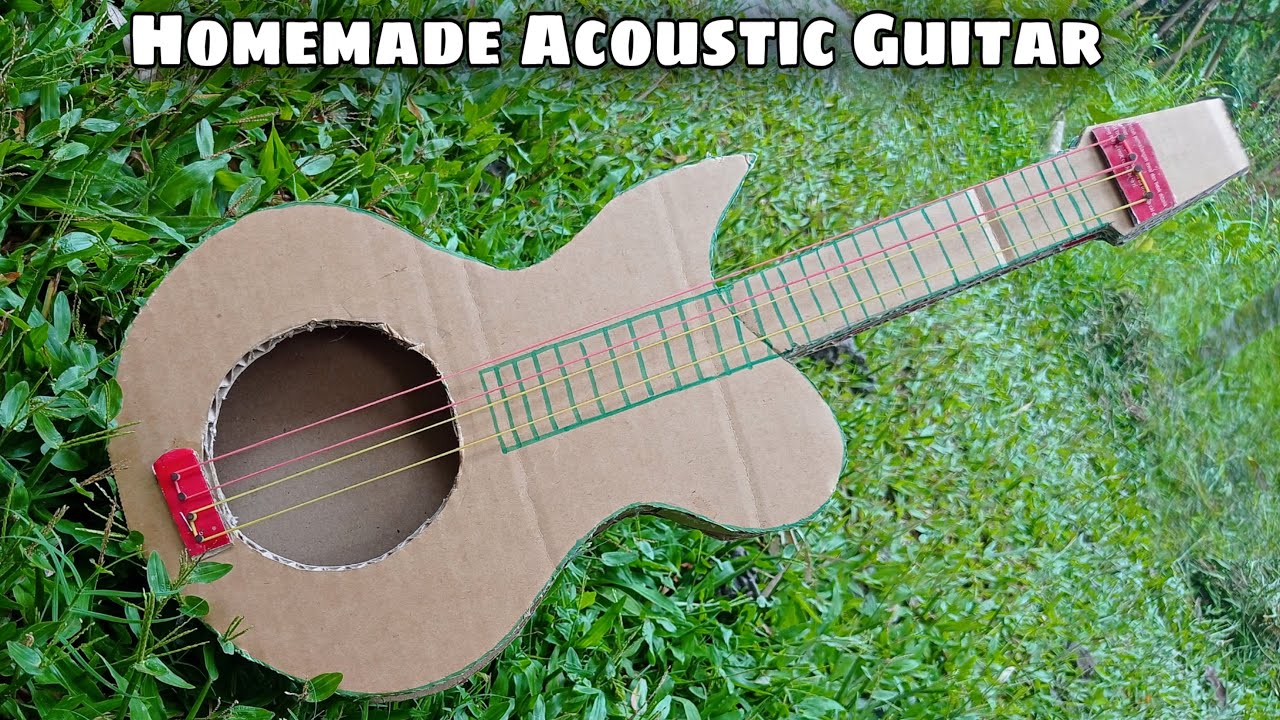
Building a guitar at home is an exciting and rewarding project that allows you to express your creativity and passion for music. Whether you're a seasoned musician or a woodworking enthusiast, crafting your own guitar can be a fulfilling experience. Imagine strumming your very own creation and hearing the melodies you can bring to life! In this guide, we'll walk you through the essential steps and materials needed to create a beautiful guitar that you can proudly say you built yourself.
Materials Needed

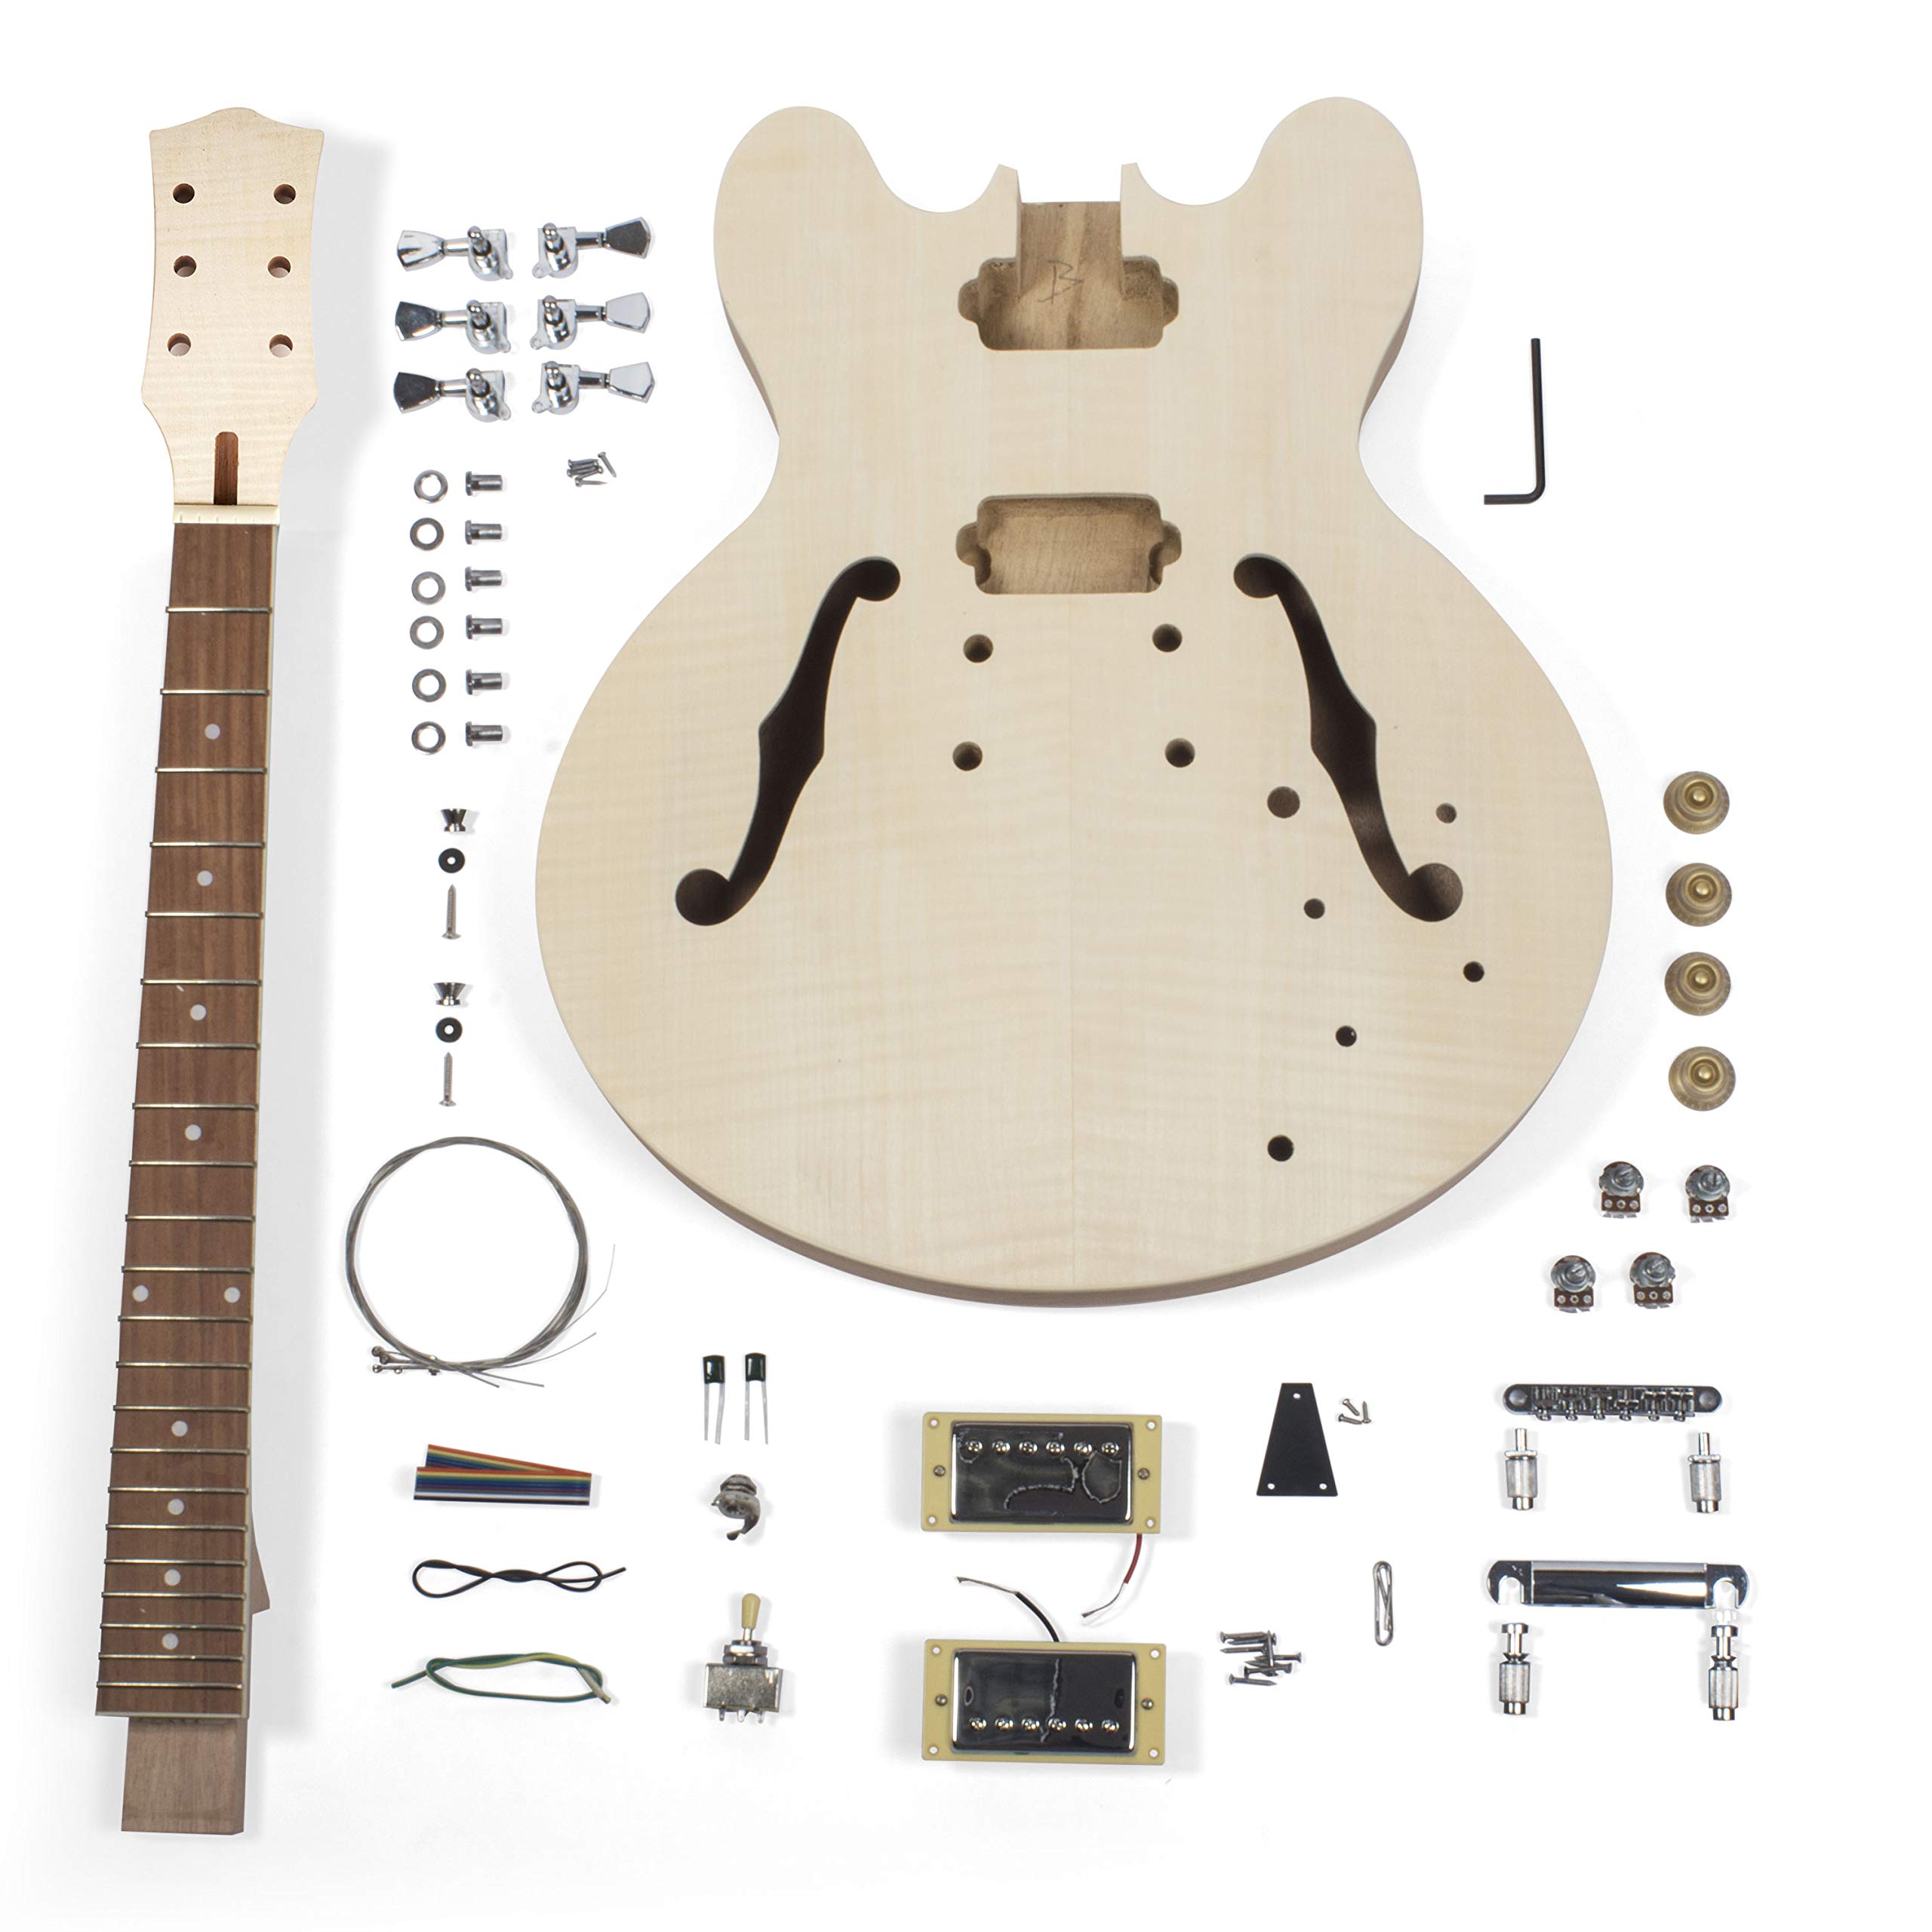
Before you dive into the world of guitar making, it's crucial to gather the right materials. Having everything ready makes the process smoother and more enjoyable. Here’s a comprehensive list of what you'll need:
| Material | Description |
|---|---|
| Wood | Your primary material—common woods include mahogany for the body, spruce for the top, and rosewood or maple for the neck and fingerboard. |
| Glue | Use high-quality wood glue (like Titebond) for assembling the parts securely. |
| Guitar Hardware | Includes tuners, bridge, fret wire, and nut. You can find these at music stores or online. |
| Strings | Don’t forget to pick up a set of guitar strings suitable for your guitar type (acoustic or electric). |
| Tools | Essential tools include clamps, saws, files, sandpaper, and a drill. A fret saw and a chisel will also come in handy. |
Having the right materials is key to crafting a quality instrument. Take your time to choose the best wood and components, as they will significantly impact the sound and feel of your guitar. Happy building!
Step-by-Step Guide

Building a guitar at home can seem daunting at first, but with a bit of patience and careful planning, you can create a beautiful instrument that you can truly call your own. Here's a simple guide to help you through the entire process:
- Gather Your Materials: You’ll need wood (typically mahogany or maple for the body and neck), a fretboard (rosewood or maple), strings, tuning machines, and hardware like the bridge and nut.
- Design Your Guitar: Decide whether you want to build an acoustic or electric guitar. Sketch your design including body shape, size, and color.
- Cut the Wood: Using a jigsaw, cut out the body shape from a solid piece of wood. For a bolt-on neck, prepare a neck piece that fits into the body securely.
- Shape the Neck: Carve the neck to your desired shape and profile using a plane or rasp. Sand it down for a smooth finish.
- Add the Fretboard: Attach the fretboard to the neck using wood glue. Mark and saw the fret slots carefully. Insert the frets and trim any excess.
- Assemble the Body: Attach the two halves of the guitar body if you're making a hollow body or add the top to the sides.
- Install Hardware: Drill holes for the tuning machines on the headstock and install the bridge on the body. Also, attach the pickups if it’s an electric guitar.
- Finish the Guitar: Apply lacquer or finish to protect the wood and enhance the aesthetics. Let it dry fully.
- String Up: Finally, string your guitar up and get ready to play!
Remember, each of these steps may require some specific techniques or tools, so don’t hesitate to look up additional resources or video tutorials for more details!
Tuning Your Guitar

Once your guitar is built, the next crucial step is tuning it. A properly tuned guitar not only sounds better but also makes it much easier to play, especially when jamming with friends or recording. Here’s how you can tune your guitar effectively:
- Get a Tuner: You can use an electronic tuner, a tuning app on your smartphone, or even the old-fashioned way with a pitch pipe.
- Know the Standard Tuning: The standard tuning for a guitar is E-A-D-G-B-e (from the thickest string to the thinnest). Here's a simple table to remember:
| String Number | String Note | Order |
|---|---|---|
| 6 | E | Lowest |
| 5 | A | Next |
| 4 | D | Middle |
| 3 | G | Second Highest |
| 2 | B | Second Lowest |
| 1 | e | Highest |
- Start Tuning: Pick the lowest E string and pluck it, then adjust the tuning peg until your tuner shows it’s in tune.
- Move to the Next Strings: Repeat the same process for each string in order. Don’t rush through this; double-check after you finish.
- Check for Proper Tuning: After you’ve tuned all the strings, go back and check each one again, since tuning one string can slightly affect others.
With your guitar properly tuned, you’re all set to start playing! Whether it's strumming your favorite songs or creating new music, tuning is the key to a great sound. Enjoy your musical journey!
5. Finishing Touches

Now that you’ve built the fundamental structure of your guitar, it’s time to give it some love with the finishing touches! This is where you can really let your personality shine and make the guitar uniquely yours. Here are some steps and options to consider:
- Sand the Surfaces: Use a fine-grit sandpaper to smooth out any rough spots on the body and neck. This not only makes the guitar more visually appealing but also comfortable to play.
- Apply a Finish: You can choose between varnish, paint, or oil. Varnish offers durability, while paint gives you endless color options. Oil finishes allow the natural grain of the wood to show through.
- Polish: Once the finish is dry, use a guitar polish or a soft cloth to buff your guitar to a showroom shine. This enhances the beauty and ensures the wood is protected.
Another aspect to consider is the hardware. This includes:
| Component | Choices |
|---|---|
| Pickups | Single-coil, Humbucker |
| Bridge | Fixed, Tremolo |
| Tuning Pegs | Die-cast, Vintage-style |
Finally, you might want to add some personal touches, such as custom inlays on the fretboard or decals on the body. Don’t forget to string your guitar and give it a test strum – that’s where the magic truly begins!
6. Conclusion
Making a guitar at home can be an incredibly rewarding experience, blending creativity, craftsmanship, and a little bit of patience. By following the steps outlined in this guide, you’ve transformed raw materials into a functional work of art. Remember that every guitar you create will have its unique sound and character, influenced by your choices and techniques.
So what’s next? Practice playing your new instrument, experiment with different songs, and share it with friends! You might even consider personalizing your guitar further by painting or adding custom accessories over time. No matter what, the joy of playing music will always be the best reward.
Embrace the journey of making your own guitar – it’s more than just an instrument; it’s a reflection of you! So, grab your tools, unleash your creativity, and happy strumming!


