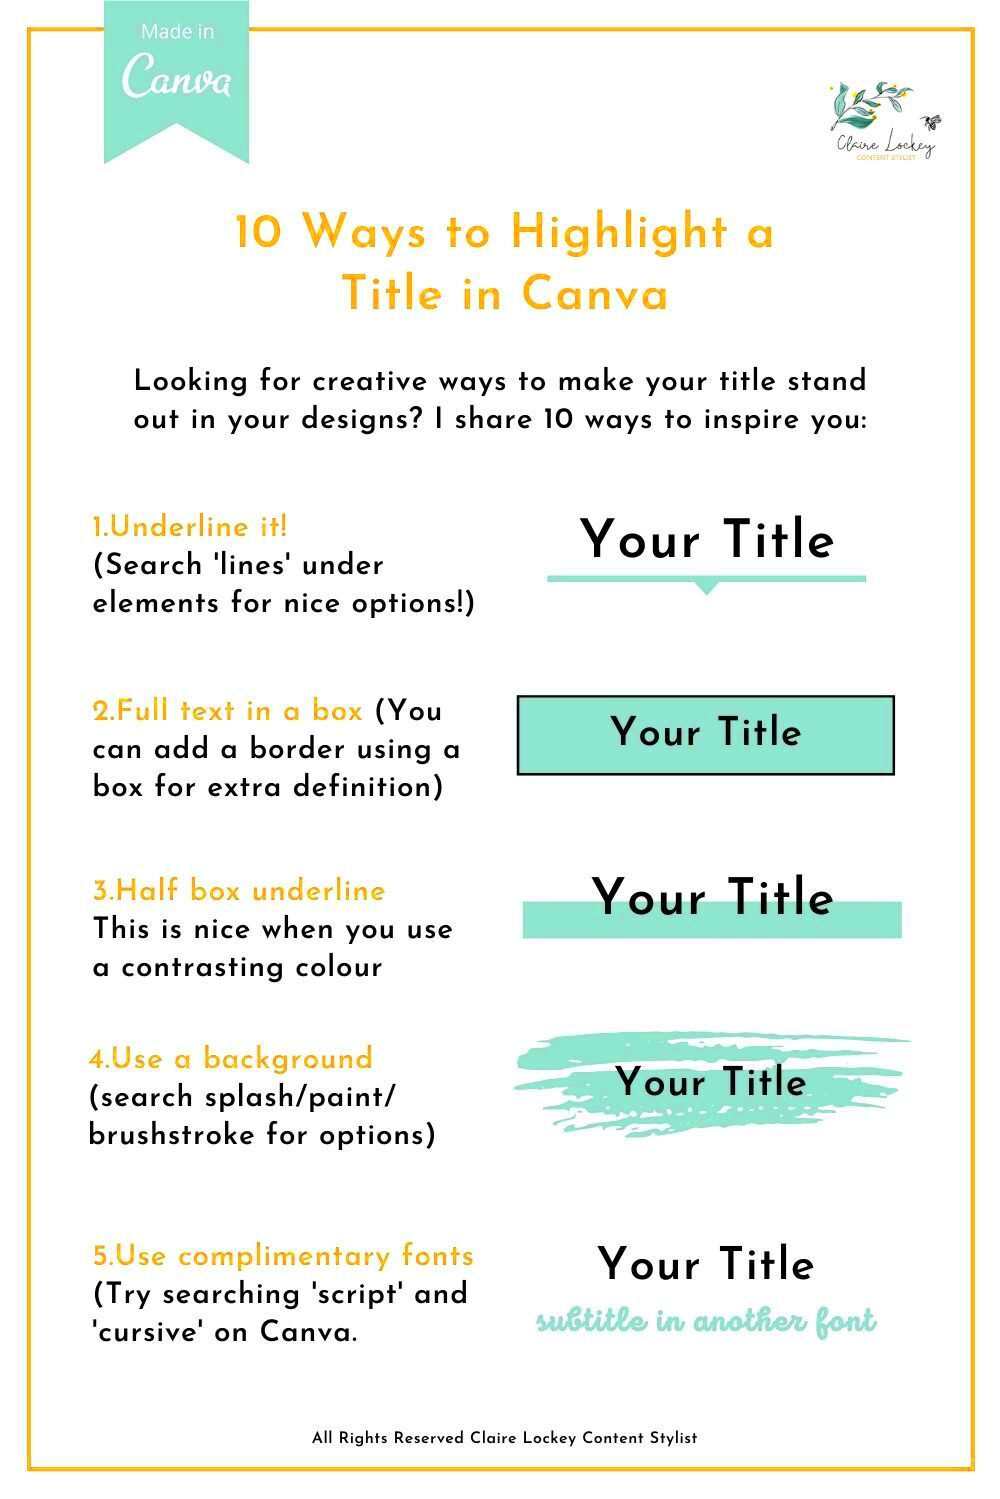
Highlighting an image in Canva is an effective way to make your design stand out and catch the viewer's attention. Whether you're working on a social media post, presentation, or marketing material, using highlighting techniques can help your image become the focal point. With Canva's user-friendly tools, you don't need to be a design expert to create visually appealing content. In this guide, we’ll walk you through the process of highlighting your images to enhance your designs and make them more engaging.
Understanding the Canva Design Platform

Canva is a popular and easy-to-use online design tool that allows anyone to create beautiful graphics, no matter their skill level. It offers a variety of templates, elements, and customization options to help you bring your creative ideas to life. Canva's drag-and-drop interface makes it accessible to beginners, while its advanced features give seasoned designers the flexibility they need. Here’s a quick breakdown of Canva’s core features:
- Templates: Pre-designed layouts for various types of projects like social media posts, flyers, and presentations.
- Elements: A wide range of images, icons, illustrations, and shapes to incorporate into your designs.
- Text Tools: Fonts and text customization options to enhance your message.
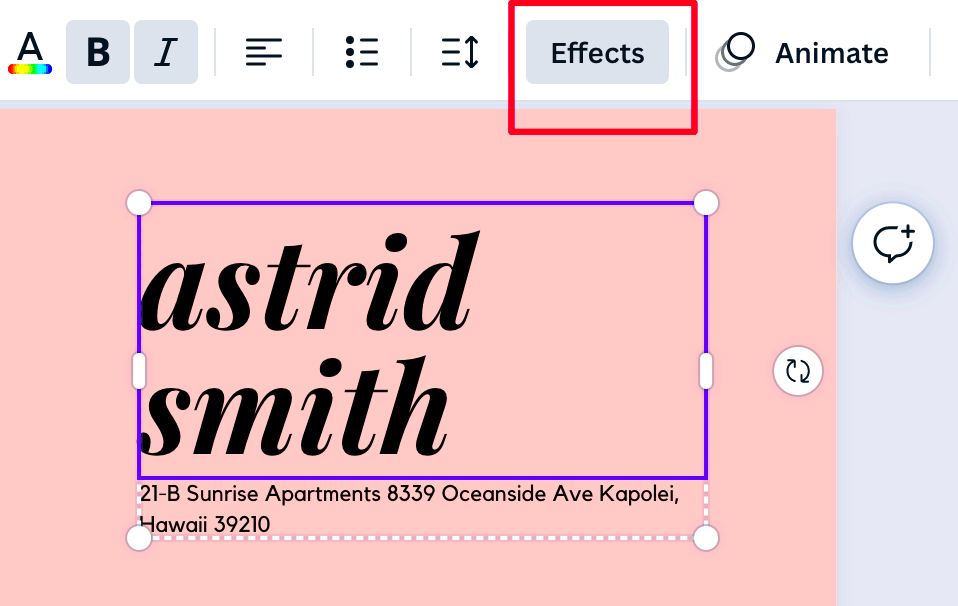
- Filters and Effects: Tools to modify your images, including brightness, contrast, and saturation adjustments.
- Collaboration: Share your designs with others and work together in real-time.
Understanding how to use these features will help you make the most out of Canva’s tools, especially when it comes to highlighting images effectively.
Also Read This: Toothless Images from How to Train Your Dragon
Steps to Highlight an Image in Canva

Highlighting an image in Canva involves a few simple steps that can drastically improve the visual appeal of your design. Whether you're looking to add focus or create a more professional look, here’s how you can do it:
- Select Your Image: Start by uploading your image into Canva or choosing one from the library. Click on the image to select it.
- Apply Effects and Filters: Once the image is selected, you can enhance its appearance by applying different filters. You can access filters by clicking on the "Edit Image" button. Choose a filter that complements your design or use the adjustment sliders to manually change settings like brightness, contrast, and saturation.
- Adjust the Image's Position: Position the image where you want it within your design. Use Canva’s grid lines to ensure proper alignment, making the image the main focus.
- Use Overlays for Emphasis: You can place shapes or color overlays behind your image to make it stand out more. This is particularly useful if your image blends into the background.
- Add Borders and Shadows: To create additional emphasis, you can add borders around your image or apply a shadow effect. This will give your image more depth and separate it from the background, making it visually pop.
- Finalize the Image: After making all necessary adjustments, take a step back and look at the overall design. If you’re satisfied, you can save your work or make further edits to perfect the highlighted image.
By following these steps, you’ll be able to effectively highlight any image, turning your design into something that stands out in a crowded space.
Also Read This: Learn How to Make Money on Shutterstock
Using Effects and Filters for Image Highlighting
One of the easiest ways to make an image stand out in Canva is by applying effects and filters. These tools can help enhance the overall look of your image, making it more visually appealing and focused. Canva offers a wide variety of filters, from classic black-and-white to vibrant, high-contrast looks. You can also adjust specific elements of the
- Applying Filters: To apply a filter, select your image and click on the "Edit Image" button. You’ll see various filters like "Retro," "Vivid," and "Mono." Choose the one that suits your design's tone or try out different filters to see which one makes your image pop.
- Customizing Filters: You don’t have to settle for the default setting of a filter. Once applied, use the sliders to adjust the intensity of the effect. This allows you to create a more subtle or dramatic effect depending on your design needs.
- Using Advanced Effects: Canva also provides advanced editing options such as blur, vignette, and noise. Adding a slight blur effect to the background while keeping the subject sharp can help emphasize the focal point of your image.
- Creating Consistency: If you're working on multiple images for a single design, applying the same filter or effect to all images creates a cohesive look. This ensures that your design feels unified and professional.
By using filters and effects creatively, you can turn any image into a powerful visual element that grabs attention and aligns with your design vision.
Also Read This: The Effortless Way to Get 4k Quality With This Tiktok Video Downloader
Adjusting Image Contrast and Brightness for Better Highlighting
Adjusting the contrast and brightness of an image can significantly impact how it stands out in your design. These adjustments help bring clarity, making the subject pop while ensuring the surrounding elements don’t overshadow it. By fine-tuning contrast and brightness, you can draw attention to specific areas of the image and improve its overall visibility. Here’s how to do it:
- Increasing Contrast: Increasing contrast makes the light areas of the image brighter and dark areas deeper, helping the subject stand out more. This is especially useful when the image has a lot of similar tones or when it needs more visual separation from the background.
- Adjusting Brightness: If your image looks too dark, adjusting the brightness can lighten it up. Increasing brightness ensures the key elements of your image are clear and easy to see, which is particularly helpful for images that may have been taken in low-light conditions.
- Subtle Adjustments: Small changes to contrast and brightness can make a big difference. Use Canva’s adjustment sliders to find the right balance that highlights the important parts of your image without making it look unnatural.
- Using Both Together: Adjusting both contrast and brightness in tandem can create the perfect balance for any image. A slightly increased contrast with a mild brightness boost can work wonders, especially for designs with text or other elements.
By mastering contrast and brightness adjustments, you can create images that are visually striking and easy to understand, helping them take center stage in your design.
Also Read This: How to Block YouTube on a School Chromebook
Utilizing Canva's Background Removal Tool for Clearer Highlights
One of the best ways to highlight your image in Canva is by removing the background. This feature helps to focus entirely on the subject of the image, ensuring that no distractions take away from the visual impact. With Canva’s Background Remover tool, you can isolate your subject and give it a clean, professional look that stands out. Here’s how to use it:
- Select the Image: Start by uploading your image to Canva. Click on the image to select it, and then find the "Edit Image" option in the toolbar. The Background Remover tool is available for Canva Pro users.
- Click on Background Remover: Once you’re in the image editor, click on the “Background Remover” option. Canva will automatically detect and remove the background, leaving you with just the subject. It’s quick and easy!
- Refining the Edges: Sometimes, the tool may leave some unwanted edges or areas that need refining. You can use the “Erase” and “Restore” brushes to fix any details, ensuring that the subject is perfectly isolated.
- Adding a New Background: After removing the background, you can place your subject on a new background or keep it transparent for a clean, minimalistic look. You can also add color or a subtle gradient behind it to enhance the highlight.
- Using Background Removal for Multiple Images: If you have a series of images, removing the background from each image creates a unified theme where each subject is clearly visible and stands out, free from distractions.
Using Canva’s background removal tool can completely transform the way your images appear, creating a focused, standout design that looks professional and polished.
Also Read This: Tracing Images in Canva: A Step-by-Step Tutorial
Adding Borders and Shadows to Enhance Image Focus
Borders and shadows are simple yet effective tools to enhance the focus of your images in Canva. They create a visual boundary or depth effect, ensuring the image stands out against the background. By adding these elements, you can make your design more professional and engaging. Here’s how you can do it:
- Adding Borders:
- Select the image you want to highlight and click on it.
- Use the "Elements" tab to find shapes. Choose a rectangle, circle, or any shape that matches your image's layout.
- Resize the shape to fit around your image, and use the “Position” tool to send it backward. Adjust the color and thickness of the shape to create a border.
- For a modern look, use gradient or textured borders.
- Adding Shadows:
- Select your image and click on "Edit Image."
- Scroll down to find the "Shadows" section. Canva offers several shadow effects, such as "Glow," "Drop Shadow," and "Angle."
- Apply the shadow effect and use the sliders to adjust its size, blur, and transparency. Experiment with different angles to match the overall design theme.
Combining borders and shadows creates a polished and striking visual effect, making the image the star of your design. Play around with these features to find what works best for your project.
Also Read This: How to Combine Videos on YouTube Step-by-Step Instructions
Finalizing Your Design and Exporting the Image
Once you’ve finished editing and enhancing your image in Canva, the final step is to save and export your design. Canva makes this process seamless, offering multiple formats and customization options for different needs. Follow these steps:
- Review Your Design:
- Take a final look at your design to ensure all elements are aligned and cohesive.
- Check for typos, proper spacing, and whether the highlighted image stands out as intended.
- Choose the Right File Format: Canva offers various formats for exporting your design:
- PNG: Best for high-quality images and transparent backgrounds.
- JPEG: Ideal for smaller file sizes and web use.
- PDF: Suitable for printable designs or documents.
- MP4: If your design includes animations.
- Customize Export Settings:
- Click on the “Share” button in the top-right corner and select “Download.”
- Choose the desired file format and resolution. For high-quality prints, use 300 DPI.
- If you’re exporting a transparent image, tick the “Transparent Background” box (available for Pro users).
- Download and Save: Hit the "Download" button to save your design to your device. Ensure you store it in an organized folder for easy access.
With these steps, your highlighted image will be ready to share or use in your project, whether it’s for social media, print, or presentations.
Also Read This: How to Check Image Resolution for Print Quality and Clarity
FAQ
Here are answers to some common questions about highlighting images in Canva:
- Can I use the highlighting tools for free?
Yes, most of Canva's basic features like adding borders, adjusting contrast, and applying filters are free. However, advanced tools like the Background Remover are available only for Pro users.
- How do I ensure my image doesn’t lose quality after editing?
When exporting, choose a high-resolution format like PNG or PDF. Avoid over-editing the image, as excessive adjustments can reduce its clarity.
- Can I edit the highlighted image later?
Yes, Canva saves your designs automatically. You can reopen and edit your design anytime from your Canva account.
- What’s the best way to make text and images work together?
Ensure your highlighted image doesn’t overpower the text. Use text alignment, contrast, and complementary colors to create a balanced design.
- Is there a limit to how many effects I can apply?
While Canva doesn’t limit effects, it’s best to keep them minimal to maintain a clean and professional look.
These tips should help you navigate Canva’s features and create standout designs with highlighted images.
Conclusion
Highlighting images in Canva is a straightforward process that can significantly enhance the visual appeal of your designs. By using tools like effects, filters, contrast adjustments, background removal, and borders or shadows, you can make your images stand out and align with your creative vision. Whether you're a beginner or a seasoned designer, Canva’s user-friendly platform offers everything you need to produce professional-quality visuals. With the tips and techniques shared in this guide, you can confidently create eye-catching designs that leave a lasting impression on your audience.

 admin
admin


