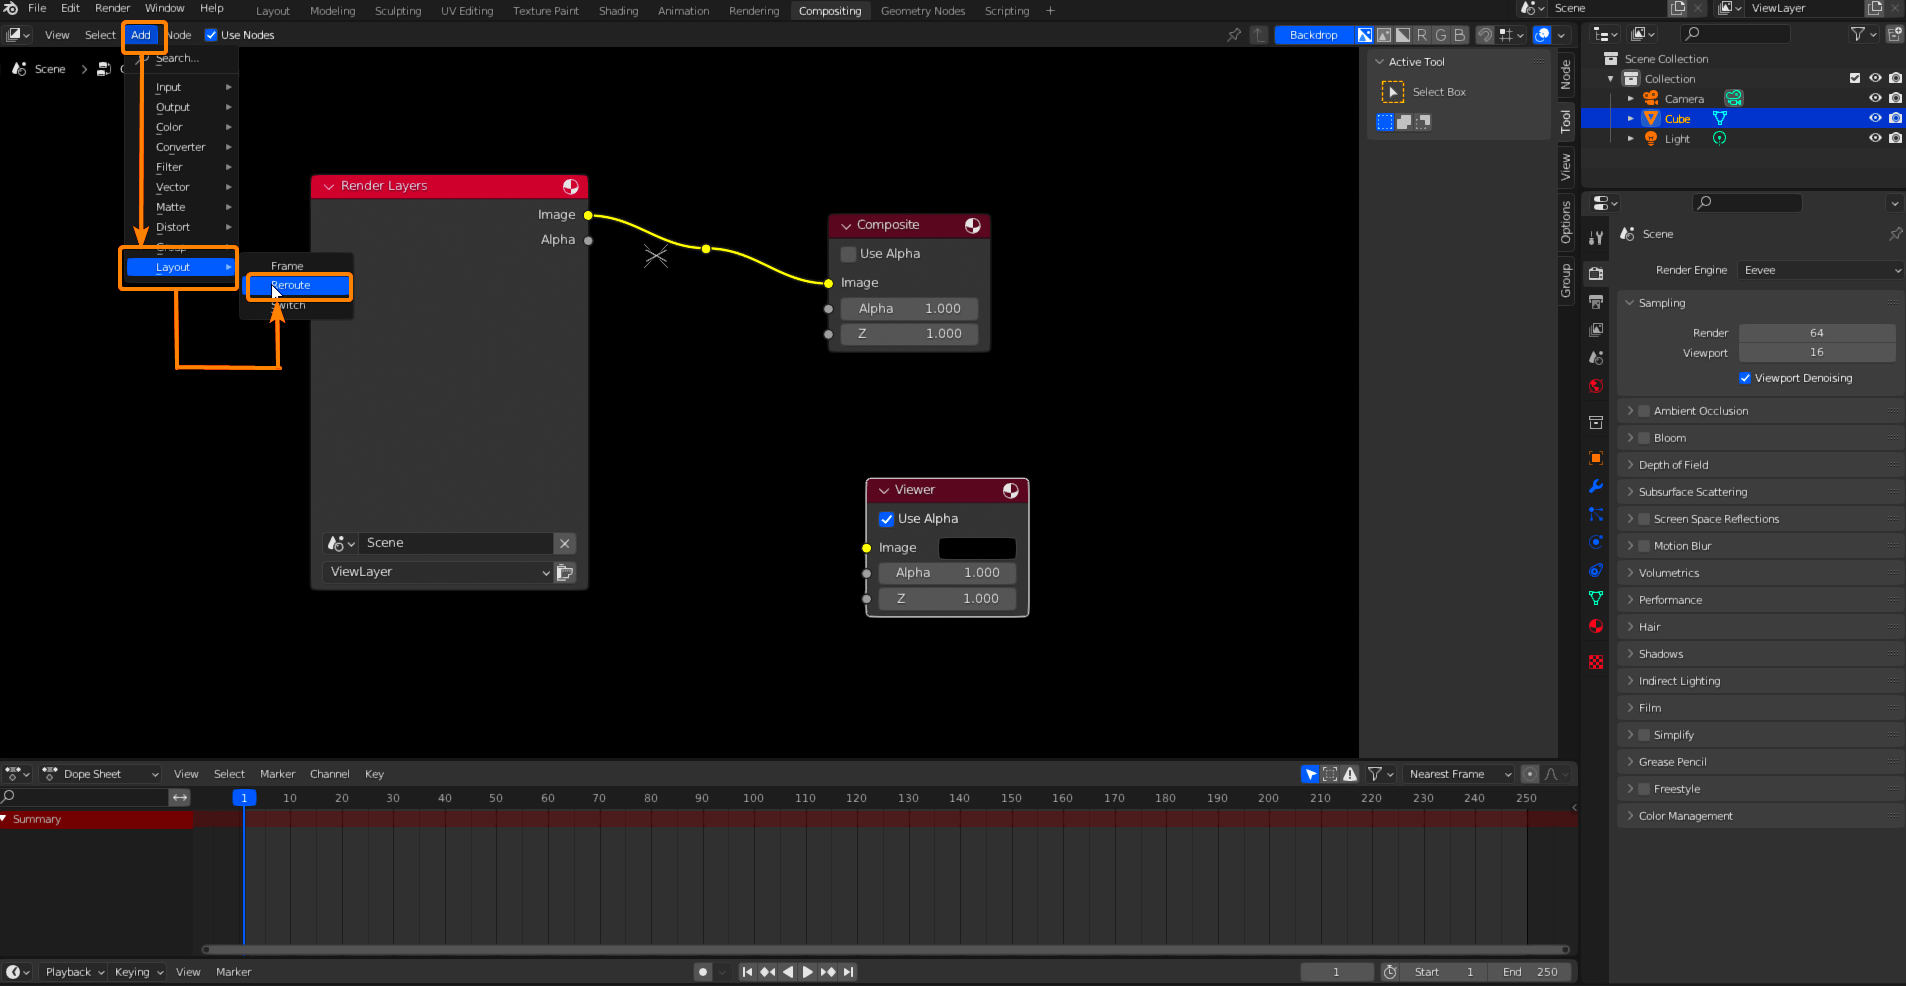
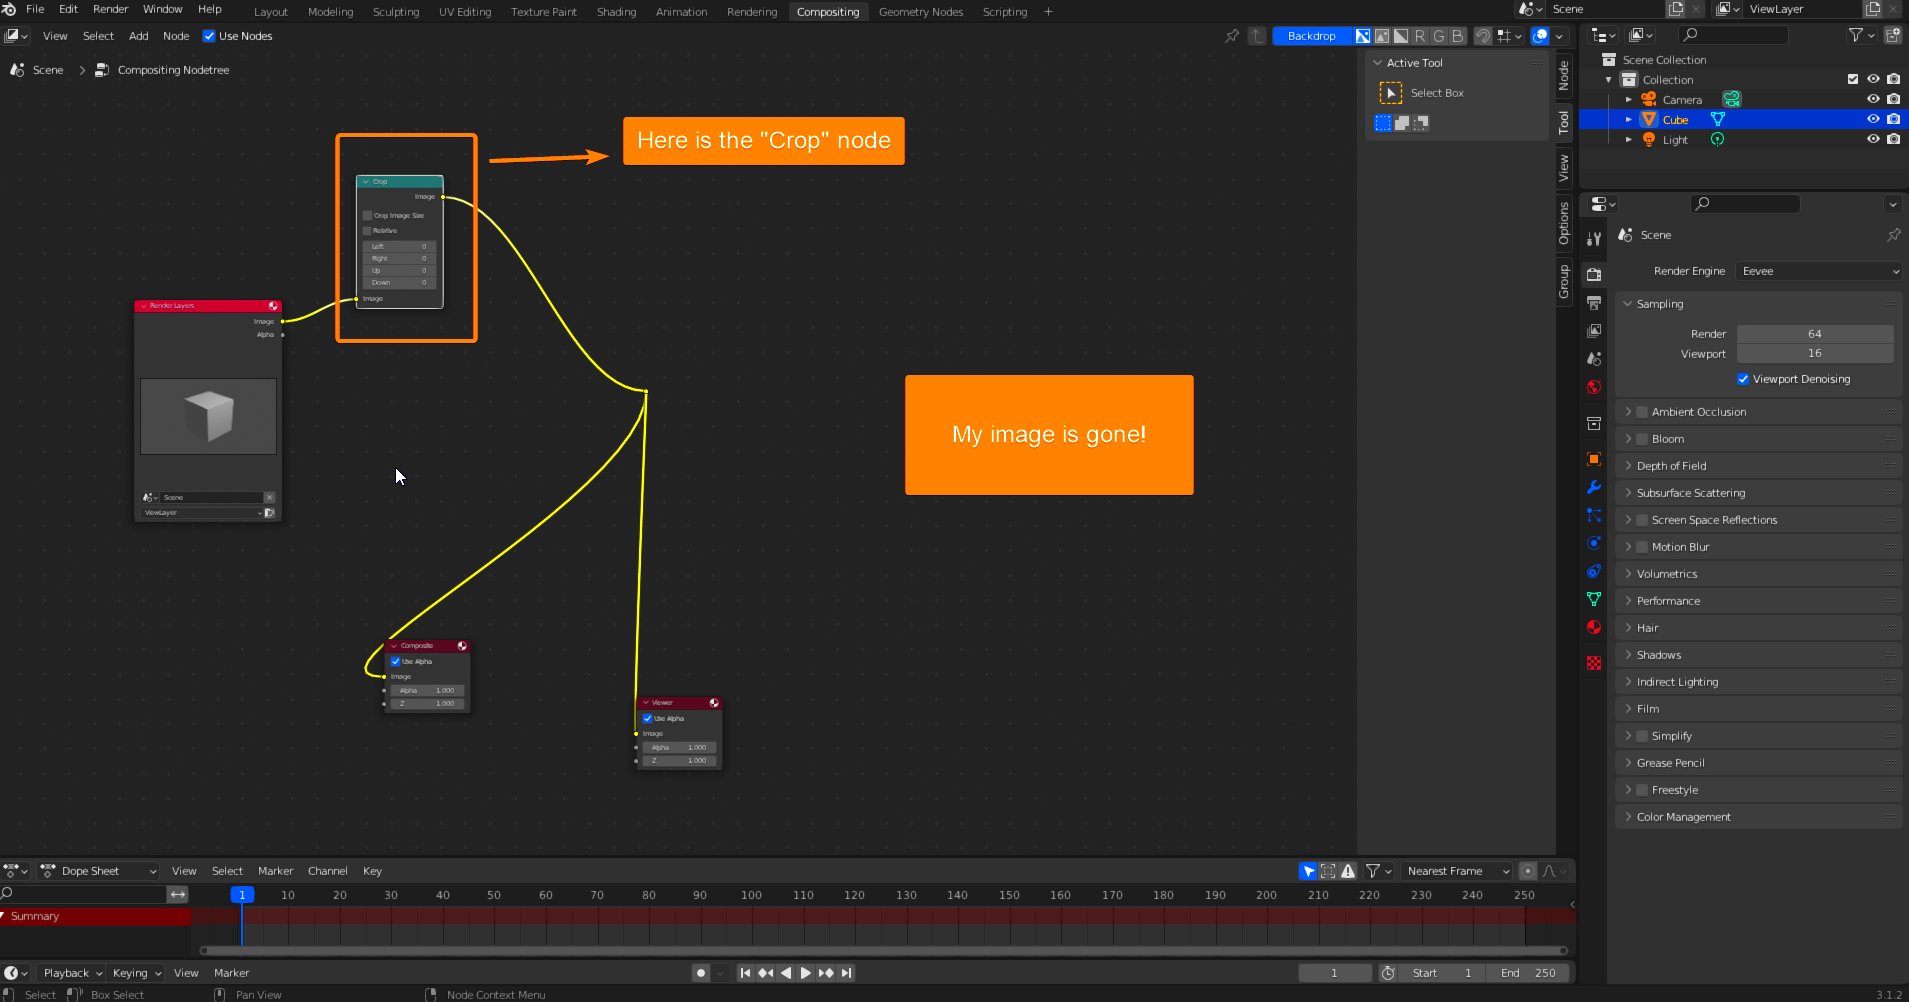
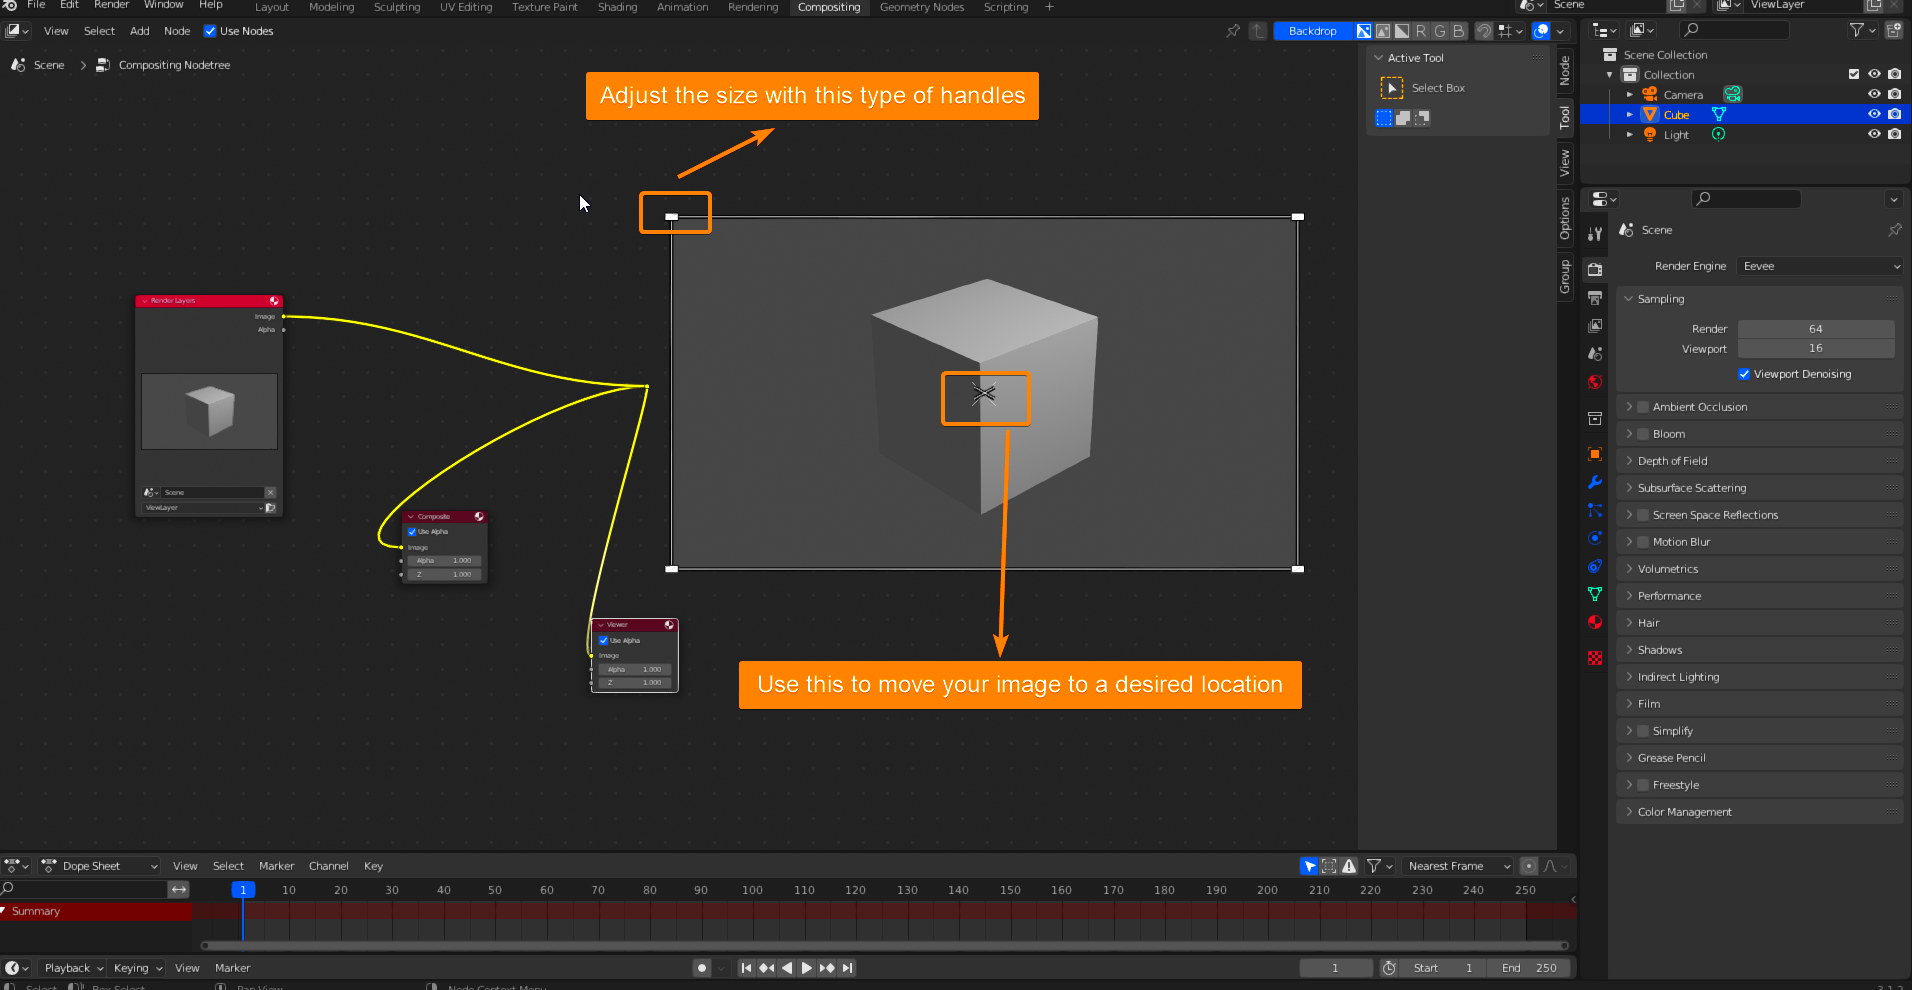
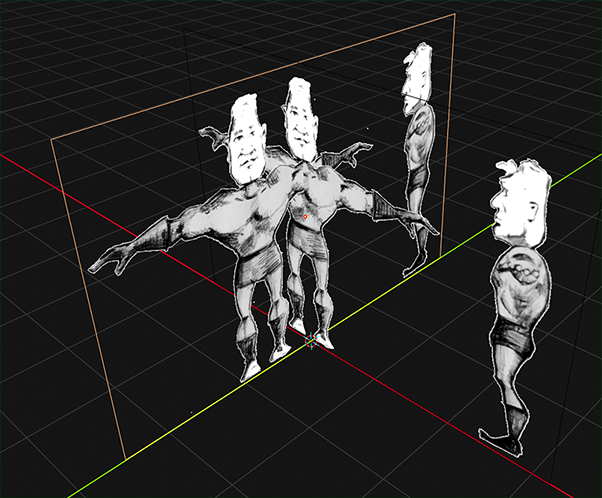
Blender isn’t just for 3D modeling—it’s also a great tool for basic image editing tasks, like cropping. Whether you’re working on a complex project or just need to fine-tune an image, Blender provides flexible tools to help. If you're not familiar with cropping in Blender, don’t worry! This tutorial will guide you through the essentials in a simple, step-by-step way. By the end, you’ll be able to crop images like a pro using Blender.
Why Cropping Images is Important

Cropping is more than just cutting out parts of an image—it’s a way to improve the focus and overall look of your visuals. Here's why cropping matters:
- Focus on key elements: Highlight the subject of your image by removing distractions around the edges.
- Improve composition: Use cropping to align elements following design principles like the rule of thirds.
- Save time: Eliminate unnecessary details without re-editing the entire image.
- Optimize for specific formats: Resize images to fit specific requirements, like social media posts or website banners.
In Blender, cropping becomes even more powerful because you can integrate it into larger workflows. For instance, you can crop an image before mapping it onto a 3D model. This flexibility makes Blender an excellent choice for image cropping.
Also Read This: How to Upload a Video on YouTube from iPad
Setting Up Blender for Image Cropping

Before cropping an image in Blender, you need to prepare your workspace. Here’s a simple setup guide:
- Open Blender: Start by launching Blender and creating a new project.
- Switch to the UV Editing workspace: From the top menu, select "UV Editing" to access the image tools.
- Import your image: Go to Image Editor, click Open, and select the image you want to crop.
- Set up the image area: Use the grid and zoom tools to adjust your view for precise cropping.
- Activate the crop tool: While Blender doesn’t have a traditional crop tool, you can use the UV mapping tools to define and export cropped sections.
Once everything is set up, you’ll be ready to crop with precision while taking advantage of Blender’s powerful editing tools.
Also Read This: How to Legally Use Storyblocks Content on Your YouTube Channel
Steps to Crop Images Using Blender

While Blender doesn't have a dedicated cropping tool like traditional image editors, you can still crop images effectively using its UV editing tools. Here’s how you can do it:
- Import your image: Go to the UV Editing workspace. In the Image Editor, click Open to import your image.
- Adjust the UV map: Select the image and enter Edit Mode. You’ll see a UV map, which defines how the image is displayed. Use the scaling and selection tools to isolate the area you want to keep.
- Refine the crop area: Use Blender’s tools like Grab (G), Scale (S), and Box Select (B) to adjust the UV coordinates precisely around the part of the image you want to crop.
- Preview the result: Check your adjustments in the Image Editor to ensure the cropped area looks as intended.
- Export the cropped section: Once satisfied, go to the top menu, select UV, and then export the cropped portion as a new image file.
These steps ensure that your cropped images are clean and ready for use in projects like textures, thumbnails, or other design elements.
Also Read This: How to Cite an iStock Image in APA Format
Tips for Achieving Professional Results
Want to take your image cropping in Blender to the next level? Follow these tips for professional-quality results:
- Maintain aspect ratio: Use Blender’s grid overlays to ensure your crop stays proportionate, especially for visuals used in standardized formats.
- Zoom in for precision: When working on small details, zoom in to fine-tune edges and ensure accuracy.
- Adjust image quality: Before exporting, check the resolution settings to maintain clarity in the final cropped image.
- Experiment with boundaries: If cropping for artistic purposes, try unconventional framing to create unique compositions.
Remember, small adjustments can make a big difference in the overall impact of your cropped images. Practice these techniques to refine your skills over time.
Also Read This: How to Alter Images to Avoid Copyright Issues
Common Mistakes to Avoid While Cropping
Cropping in Blender is straightforward, but there are some common errors that beginners make. Here’s a quick guide to avoid them:
| Mistake | How to Avoid It |
|---|---|
| Cropping too much | Ensure you leave enough context in the image to retain its meaning or focus. |
| Ignoring resolution | Always check the output resolution to avoid pixelated or blurry results. |
| Not aligning UV properly | Take your time to align the UV map correctly to avoid uneven edges. |
| Overlooking file format | Export in the correct format (e.g., PNG or JPEG) depending on your needs. |
By being mindful of these common mistakes, you’ll save time and produce better results every time you crop an image in Blender.
Also Read This: Cropping Images in Inkscape: An Easy Guide
Frequently Asked Questions
Here are some common questions users have about cropping images in Blender, along with simple and clear answers to help you out:
| Question | Answer |
|---|---|
| Can I crop images directly in Blender? | Blender doesn’t have a direct crop tool like traditional image editors. However, you can use UV mapping techniques to achieve cropping. |
| What file formats does Blender support for image editing? | Blender supports popular image formats like PNG, JPEG, TIFF, and more. It’s best to use high-resolution formats for better results. |
| Can I crop multiple images at once in Blender? | Blender works on one image at a time in the UV Editor. For batch cropping, you might need a dedicated image editor or script. |
| Will cropping reduce the image quality? | No, as long as you maintain the original resolution and export settings, the quality remains intact. |
| Is Blender suitable for professional image editing? | While Blender is powerful, it’s primarily a 3D modeling tool. For advanced image editing, software like Photoshop may be more suitable. |
If you have further questions, refer to Blender’s official documentation or explore community forums for more tips.
Conclusion and Next Steps
Cropping images in Blender might seem challenging at first, but with practice and the right techniques, it becomes a valuable skill. Start with small projects, experiment with different tools, and soon you’ll be cropping images like a pro. To improve further, explore Blender’s broader editing capabilities and consider integrating it into your creative workflows.

 admin
admin


