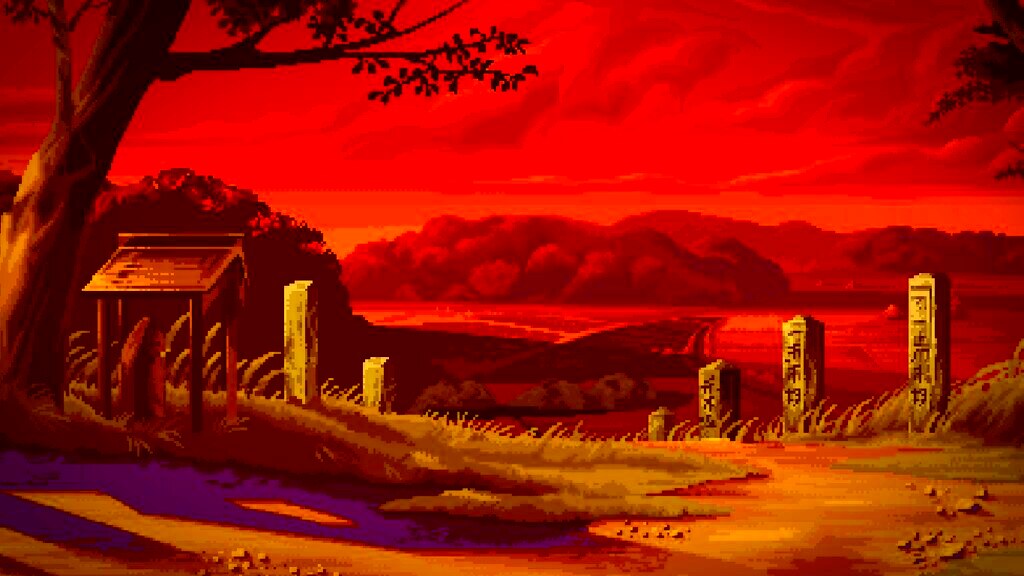
Images come in various sizes, and the 1024 x 576 pixel size is a popular option for many different uses. This resolution is commonly used for web content, social media images, and even video production, offering a balanced size that maintains good quality without being too large. At 1024 x 576 pixels, the image dimensions are wide, which makes it suitable for horizontal formats like banners or landscape photos. The size is large enough to display details but not so large that it takes up excessive storage space. Let’s dive deeper into why this resolution is so widely chosen.
Why Choose 1024 x 576 Pixels for Your Images

Choosing the right image size is important for several reasons. Here’s why 1024 x 576 pixels stands out:
- Optimal for Web Use: This resolution is perfect for websites, as it loads faster without compromising quality. It’s great for web banners, blog post images, and headers.
- Versatile for Social Media: Many social media platforms support this resolution, making it easy to upload and share without resizing the image too much.
- Efficient File Size: The file size is manageable, making it ideal for both quick uploads and easier storage.
- Good Quality: Images in this resolution are sharp and clear on most screens, offering a good balance between quality and file size.
Overall, 1024 x 576 pixels is a well-rounded size that suits a wide variety of projects. Whether you’re working on digital marketing or social media, this resolution gives you enough flexibility while keeping things efficient.
Also Read This: Time Capsule Access: How to Access Old Photobucket
Tools and Software to Create 1024 x 576 Pixel Images

To create images in the 1024 x 576 pixel size, there are many tools available to help you achieve the best results. Whether you're a beginner or a pro, you can use a variety of software, both online and offline, to create or resize images. Here are some of the most popular tools:
- Adobe Photoshop: One of the most widely used image editing programs, Photoshop lets you create and edit images with precise control. You can set the image size to 1024 x 576 pixels when starting a new project or resize an existing image to fit this resolution.
- Canva: A user-friendly tool perfect for beginners, Canva lets you create images from scratch or use templates. You can easily adjust your image to the exact size of 1024 x 576 pixels.
- GIMP: A free, open-source alternative to Photoshop, GIMP allows you to create and manipulate images with professional-grade tools. You can set the resolution to 1024 x 576 pixels during your editing process.
- Pixlr: This is another free online tool that offers simple yet powerful image editing features. You can resize images or create new ones with the desired pixel dimensions.
- Fotor: Fotor is a great tool for quick image resizing. It’s easy to use and perfect for non-designers looking to resize images to specific dimensions like 1024 x 576 pixels.
These tools give you flexibility and ease in creating and resizing your images to the perfect dimensions. Whether you're designing from scratch or adjusting an existing image, you can rely on these programs to help you achieve the right results with minimal hassle.
Also Read This: How to Open an Image in Python Using Libraries and Tools
Steps to Create 1024 x 576 Pixel Images

Creating an image in 1024 x 576 pixels is a simple process, whether you're starting from scratch or resizing an existing one. Follow these easy steps to create your perfect image:
- Step 1: Choose Your Design Tool: Pick a design tool like Photoshop, Canva, or GIMP. Open your preferred software and start a new project.
- Step 2: Set the Image Size: Once your design tool is open, set the canvas size to 1024 x 576 pixels. In most design software, you can specify the dimensions in the new project settings or image resize options.
- Step 3: Add Your Design Elements: Now, add your photos, text, and other design elements to the canvas. Use tools like crop, align, and layer to position your content neatly.
- Step 4: Adjust Resolution and Quality: Before finalizing your image, ensure that the resolution is set to 72 DPI (dots per inch) for web usage or 300 DPI for print purposes. This ensures that the image looks good on all devices.
- Step 5: Review Your Image: Double-check your image to ensure it looks sharp, the design is balanced, and there’s no pixelation. Resize or crop if necessary.
- Step 6: Save and Export: Save your project and export it in the desired format, like PNG or JPEG, to maintain quality without increasing file size too much.
These steps ensure your image is created to the perfect size while maintaining clarity and visual appeal. Whether for a website, social media, or other platforms, you’ll have a polished image ready to use in no time.
Also Read This: Understanding iStock Subscription Costs and Plans for Every Need
How to Save Images in 1024 x 576 Pixels
Once you’ve created your image in 1024 x 576 pixels, saving it correctly is essential to maintain the desired resolution and quality. Here's how to save your image:
- Step 1: Choose the Right File Format: For most web uses, JPEG and PNG are the best formats. JPEG is good for photos and images with gradients, while PNG is better for images with transparency or sharp details.
- Step 2: Optimize Image Quality: In your design tool, make sure you export the image at the highest quality without exceeding the file size limit. For web use, aim for under 1MB to ensure faster loading times.
- Step 3: Check the Resolution: When saving, make sure the resolution is appropriate for the intended use. For online purposes, 72 DPI is standard, but for print, you’ll need 300 DPI.
- Step 4: Use ‘Save As’ Option: Use the ‘Save As’ feature to keep the original project file for future edits. This way, you can always make changes without losing your work.
- Step 5: Review the File: After saving, open the image to ensure that it looks as intended. Check the resolution, quality, and overall appearance before final use.
By following these steps, you ensure that your image maintains its original quality while being optimized for your chosen platform. Saving images properly will help preserve clarity and prevent issues like pixelation or long loading times.
Also Read This: How to Make Adobe Stock Images Transparent
Common Mistakes to Avoid When Creating 1024 x 576 Pixel Images
While creating 1024 x 576 pixel images is easy, it's important to avoid certain mistakes that can impact image quality. Here are some common mistakes to watch out for:
- 1. Ignoring Image Resolution: Always ensure the resolution is appropriate for your project. A low DPI (like 72) is fine for web images, but if you plan to print, make sure it’s set to 300 DPI.
- 2. Stretching Images: Avoid resizing images by stretching them too much, as it can cause pixelation. Always maintain the aspect ratio or crop instead of distorting the image.
- 3. Using Poor Quality Images: Starting with low-resolution or blurry images can lead to poor results. Always use high-quality images as your base, especially when designing for professional or public use.
- 4. Forgetting to Check Image Compression: Over-compressing an image can reduce quality. Ensure that when you save, you find a balance between file size and image quality.
- 5. Not Checking for Cropping Issues: When creating images in a specific size like 1024 x 576 pixels, be mindful of how your content fits within the frame. Avoid cutting off important elements or text.
- 6. Using Excessive Text: While text is important, too much of it can clutter your image. Keep it minimal and ensure it’s readable, especially in smaller sizes.
By avoiding these common mistakes, you can ensure that your 1024 x 576 pixel images look professional and are suitable for web or social media use. Proper planning and careful attention to detail will save you time and effort in the long run.
Also Read This: Using Getty Images for Free and Legally Without Copyright Infringement
How 1024 x 576 Pixel Images Work for Web and Social Media
1024 x 576 pixel images are a great choice for web and social media because they provide a good balance of quality and file size. This resolution works well for a variety of online uses, from website banners to social media posts. Here’s how 1024 x 576 pixel images function for both web and social media:
- Website Usage: On websites, 1024 x 576 pixels fit well within most design templates, providing clear and crisp visuals without overwhelming page load times. This resolution is perfect for headers, blog post images, and content sliders.
- Social Media Posts: Platforms like Facebook, Instagram, and Twitter all support images of this size. Whether you’re posting a photo, a promotional graphic, or a quote image, 1024 x 576 pixels provides clarity while still loading quickly on mobile devices.
- Video Thumbnails: For videos, especially on platforms like YouTube, 1024 x 576 pixels is a great size for thumbnails. It offers enough detail to catch the viewer’s eye, while also maintaining a manageable file size.
- Responsive Design: Since this resolution is not too large or too small, it adapts well to various screen sizes, from desktop monitors to smartphones, making it an excellent option for responsive web design.
- Optimized for SEO: Images of this size can help with SEO. Since they aren’t too large, they load faster, improving page speed—an important factor in search engine rankings.
In summary, 1024 x 576 pixel images work well for both web design and social media because they strike a perfect balance between visual clarity and efficient performance. They are versatile enough to be used in various online platforms, ensuring your content looks professional without sacrificing speed.
Also Read This: How To Choose The Right Online Logo Maker For Your Needs
FAQs
Here are some frequently asked questions about creating and using 1024 x 576 pixel images:
- What is the best use for 1024 x 576 pixel images? This resolution is ideal for website banners, social media posts, video thumbnails, and content sliders. It provides high quality without the heavy file sizes.
- Can I use 1024 x 576 pixel images for printing? For printing, the resolution may be too low. Printing generally requires higher resolutions, such as 300 DPI, which is more suitable for larger print projects.
- How do I resize an image to 1024 x 576 pixels? Use an image editing tool like Photoshop, Canva, or GIMP to crop or resize your image to fit the 1024 x 576 pixel dimensions. Most tools allow you to manually adjust the size or set a specific resolution when creating a new file.
- What file format is best for 1024 x 576 pixel images? For web use, JPEG and PNG are the most common formats. JPEG is ideal for photos, while PNG works better for images with text or transparency.
- Do 1024 x 576 pixel images work well on mobile devices? Yes, this resolution is a great choice for mobile-friendly images as it strikes a balance between quality and file size, ensuring quick load times on smartphones and tablets.
Conclusion
1024 x 576 pixel images offer an excellent solution for a wide range of digital needs, from web content to social media posts. They provide sharp, clear visuals that don’t take up too much space, making them ideal for web and social media platforms that prioritize speed and quality. By following the steps to create and save these images properly, you can ensure they look great and load quickly, benefiting your online presence.
Whether you’re a designer, marketer, or casual user, understanding how to use 1024 x 576 pixels effectively can improve the visual appeal of your digital content. With the right tools and a little attention to detail, you can create professional-quality images that will help boost your online engagement. Keep in mind the common mistakes to avoid, and you’ll be well on your way to creating stunning images that stand out in today’s fast-paced digital world.

 admin
admin


