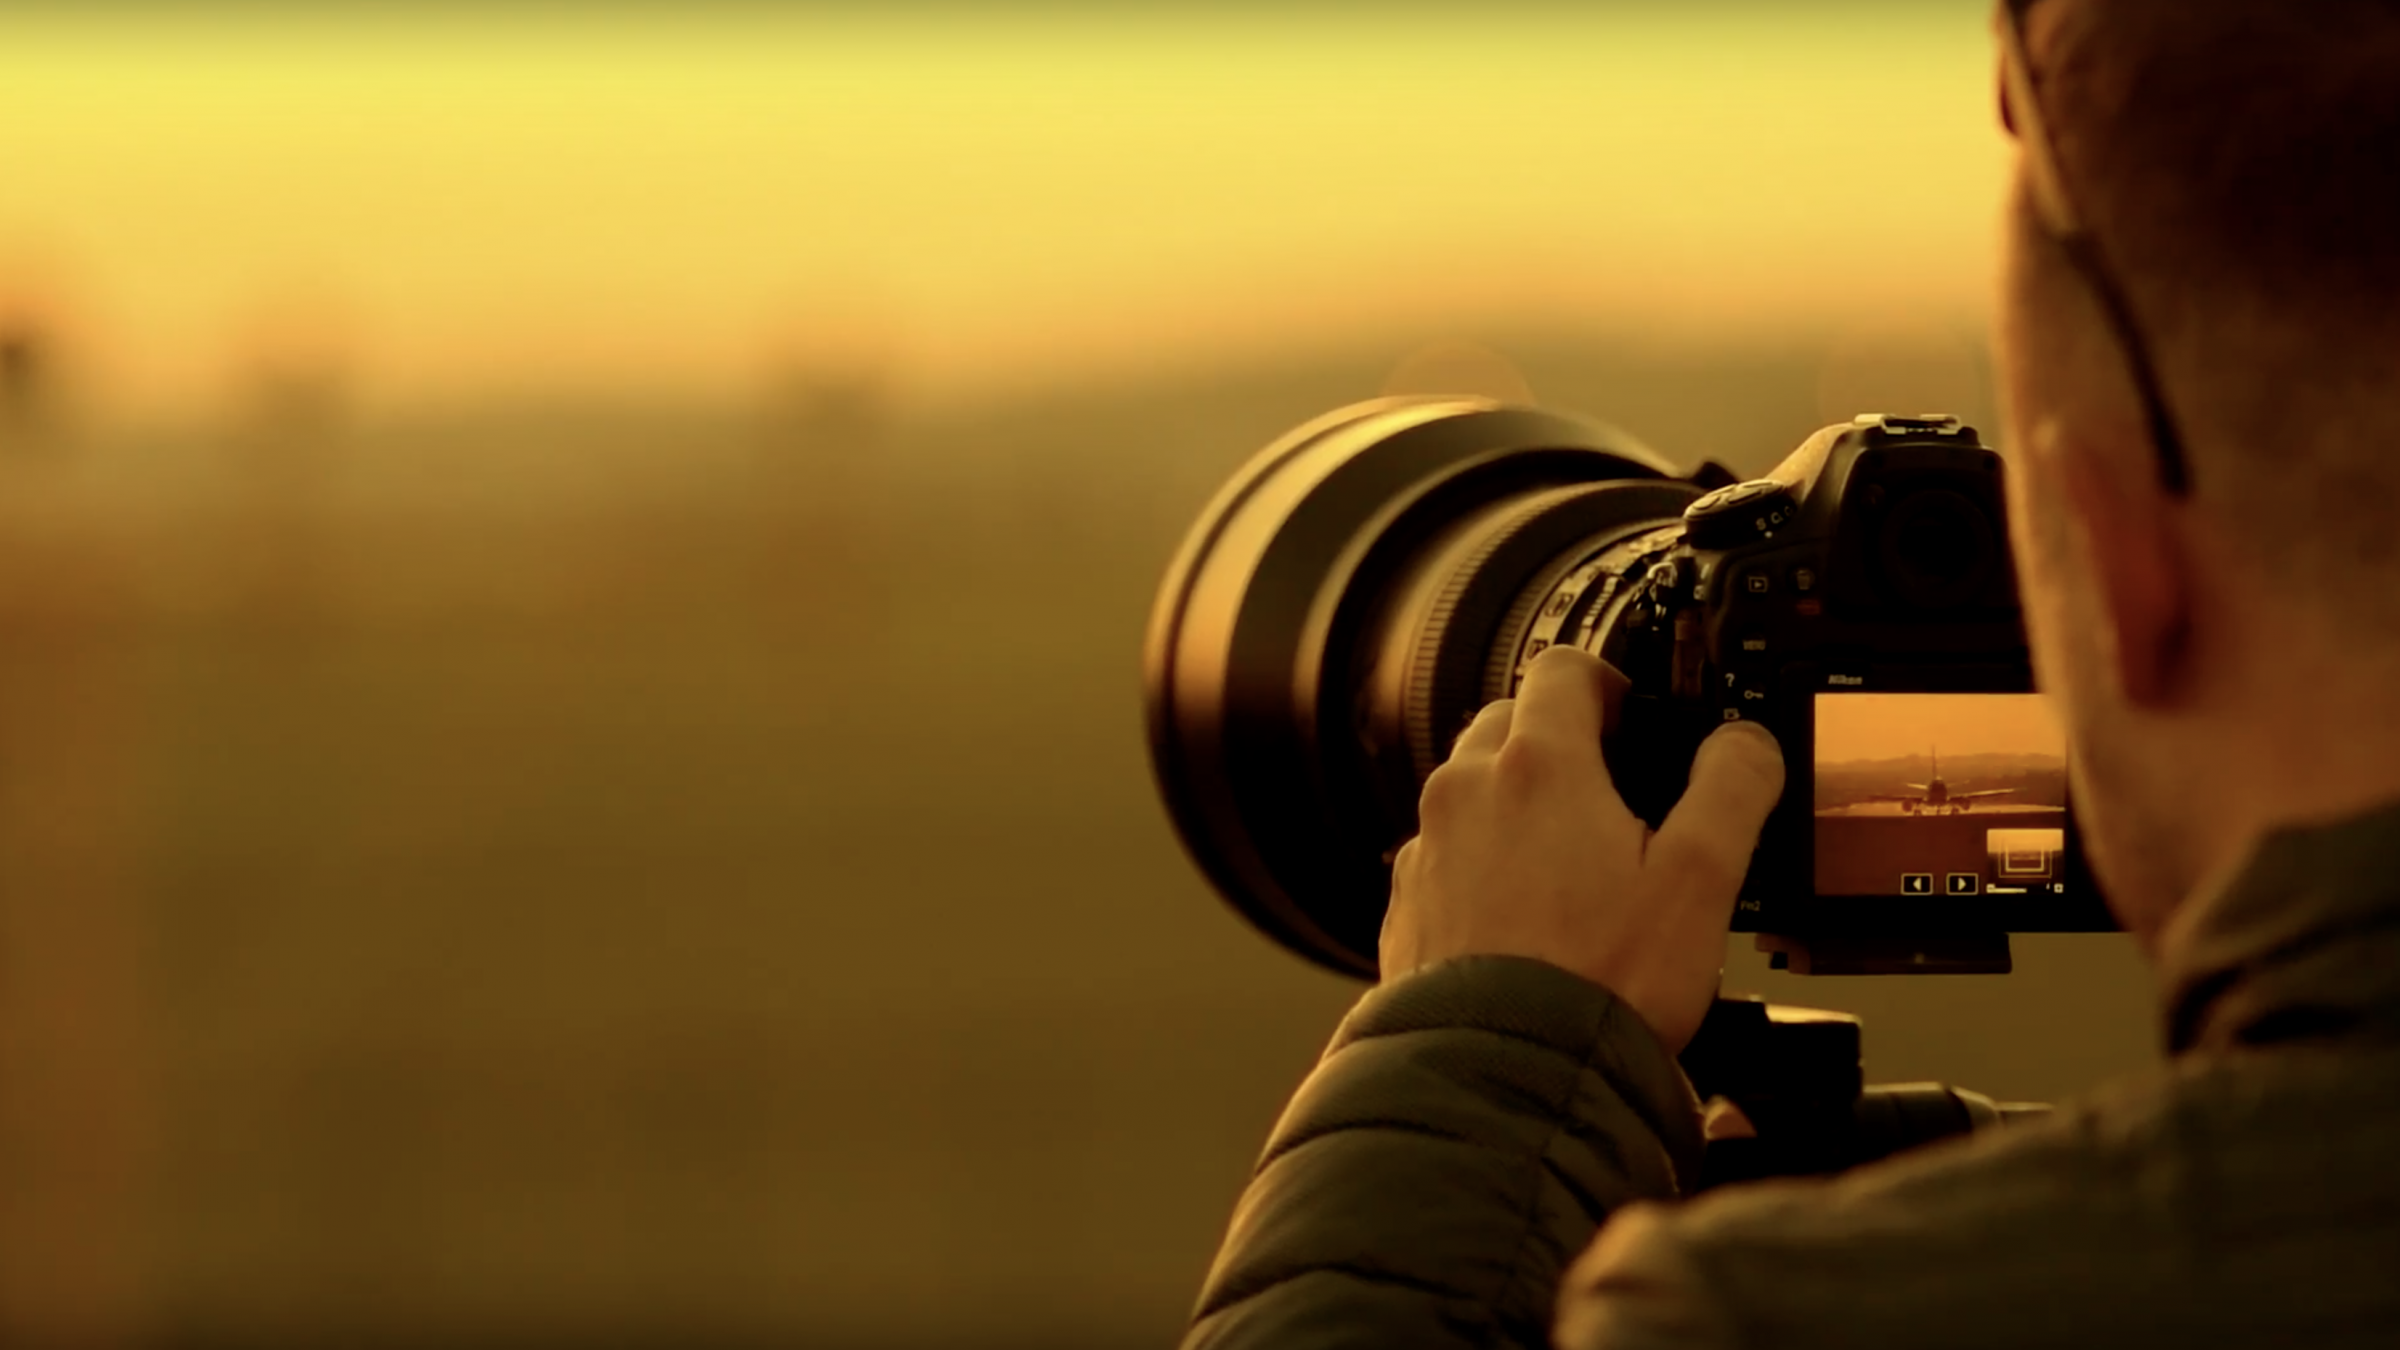
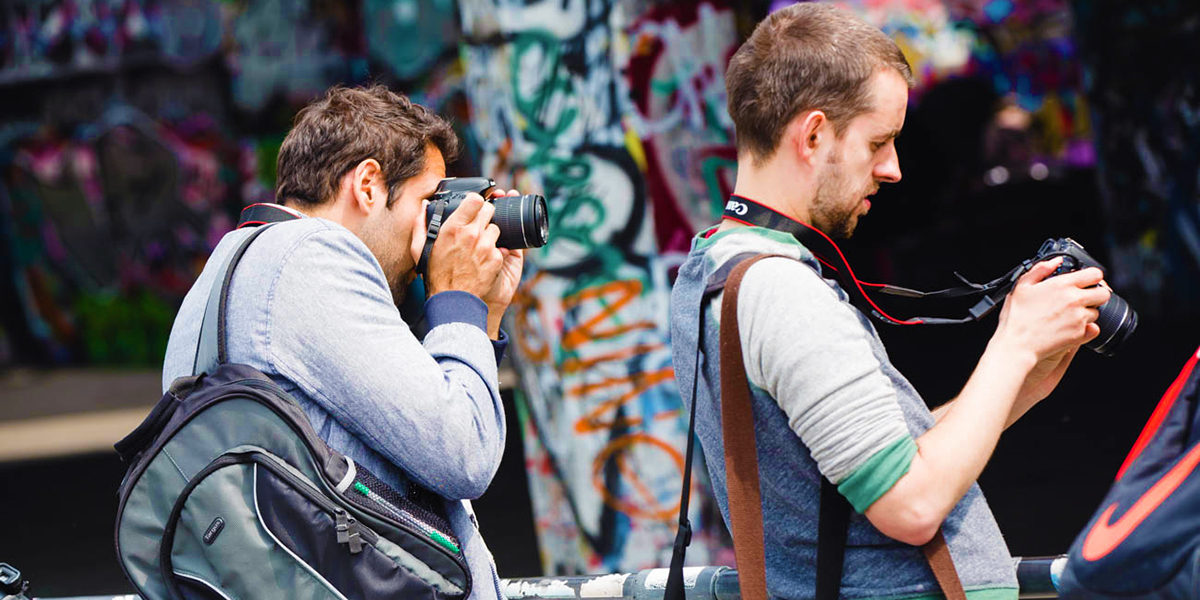
Photography is a wonderful art form that allows us to capture the beauty of the world around us. However, even the most experienced
photographers can make common mistakes that can negatively impact the final result of their
photos. In this article, we will discuss 10 of the most common
photography mistakes and provide
tips on how to avoid them.
These mistakes include poor composition, blurry
images, overexposure and underexposure, incorrect white balance, poor focus, using the wrong ISO, over-editing, not checking the
background, ignoring the rule of thirds, and lack of creativity. By learning how to avoid these mistakes, you can take your
photography to the
next level and capture
stunning images that truly showcase the beauty of the world around you.
Poor composition is a common
mistake in
photography that can make
images look unbalanced or uninteresting. Here are some tips on how to avoid poor composition:
- Rule of Thirds: The rule of thirds is a fundamental principle of composition that divides the image into thirds both horizontally and vertically, creating a grid. The points where the lines intersect are the most visually appealing spots for the subject to be placed.
- Leading Lines: Leading lines are lines in the image that lead the viewer's eye to the subject. They can be straight or curved, horizontal or vertical.
- Framing: Framing is the technique of using elements in the image to create a frame around the subject. This can be done with natural elements like trees or man-made elements like doors or windows.
- Symmetry: Symmetry is a composition technique that involves creating a balanced and identical image on both sides of the frame.
- Negative Space: Negative space is the area around the subject in the image that is left empty. It can be used to create a sense of balance and give the subject more emphasis.
- Depth: Depth can be created in the image by including foreground, middle ground, and background elements. This creates a sense of depth and can make the image more visually appealing.
Remember, these are just guidelines, and it's important to experiment with different
techniques and find what works best for each
image.
Blurry
images are a common mistake in photography that can ruin an otherwise great shot. Here are some
tips on how to avoid blurry
images:
- Use a Tripod: A tripod is the best way to keep your camera steady, especially in low-light situations. It can also help you compose your shot more carefully.
- Increase Shutter Speed: A fast shutter speed will freeze motion and prevent blur from camera shake or subject movement. Increase your shutter speed to 1/125 or faster, depending on the situation.
- Use Image Stabilization: Many cameras and lenses come with image stabilization technology that can help prevent blur from camera shaking. Turn on the image stabilization feature when shooting handheld.
- Use a Faster Lens: A lens with a wider aperture (lower f-number) will allow more light into the camera, which can help you use a faster shutter speed and prevent blur. Consider investing in a fast lens for low-light situations.
- Hold Your Camera Properly: Hold your camera with both hands and keep your elbows close to your body for stability. Use your body to stabilize the camera, not just your arms.
- Use Burst Mode: Burst mode can help you capture multiple shots in quick succession, increasing your chances of getting a sharp image.
- Use Manual Focus: In some situations, autofocus may struggle to find the correct focus point, resulting in blurry images. Consider using manual focus for more control.
Remember, practice and experimentation are key to improving your
photography skills, so don't be afraid to try new techniques and learn from your mistakes.
Overexposure and underexposure are common mistakes in
photography that occur when the camera's exposure settings are incorrect. Here are some tips on how to avoid overexposure and underexposure:
- Use the Histogram: The histogram is a graph that shows the distribution of tones in your image, from dark (shadows) to light (highlights). Use the histogram to check exposure and adjust your settings accordingly.
- Use Exposure Compensation: Exposure compensation is a feature that allows you to adjust the exposure settings without changing the aperture, shutter speed, or ISO. Use exposure compensation to make small adjustments to the exposure if necessary.
- Use Manual Mode: Manual mode gives you complete control over the exposure settings, allowing you to adjust the aperture, shutter speed, and ISO to achieve the desired exposure.
- Use Spot Metering: Spot metering allows you to measure the exposure from a specific point in the frame, rather than the entire scene. Use spot metering to ensure that the subject is properly exposed.
- Use the Sunny 16 Rule: The sunny 16 rule is a basic guideline for outdoor exposure in sunny conditions. Set your aperture to f/16 and your shutter speed to the reciprocal of your ISO (e.g. ISO 100, shutter speed 1/100).
- Shoot in RAW: Shooting in RAW allows you to adjust the exposure settings in post-processing, giving you more control over the final image.
Remember, exposure is subjective and depends on the look you're trying to achieve. Experiment with different exposure settings and find what works best for each situation.
Incorrect white balance is a common mistake in photography that can result in images with unnatural colors or color casts. Here are some tips on how to avoid incorrect white balance:
- Use Auto White Balance: Auto white balance is a feature that allows the camera to adjust the white balance based on the lighting conditions. It's a good starting point for most situations.
- Use Preset White Balance: Many cameras have preset white balance settings for different lighting conditions, such as daylight, cloudy, and tungsten. Use the appropriate preset for the lighting conditions you're shooting in.
- Use Custom White Balance: Custom white balance allows you to calibrate the camera's white balance to the specific lighting conditions of your scene. Take a photo of a white or gray card in the same lighting conditions as your scene, then set that photo as the custom white balance reference.
- Shoot in RAW: Shooting in RAW allows you to adjust the white balance settings in post-processing, giving you more control over the final image.
- Use a White Balance Tool: A white balance tool, such as a gray card or color checker, can help you accurately set the white balance in your camera or in post-processing.
Remember, white balance is subjective and depends on the look you're trying to achieve. Experiment with different white balance settings and find what works best for each situation.
Poor focus is a common mistake in photography that can ruin an otherwise great shot. Here are some tips on how to avoid poor focus:
- Use the Right Autofocus Mode: Many cameras have different autofocus modes, such as single-point autofocus, continuous autofocus, and face detection autofocus. Use the appropriate autofocus mode for the subject you're shooting.
- Use the Right Autofocus Point: Choose the appropriate autofocus point for the subject you're shooting. For example, if you're shooting a portrait, use the center autofocus point to focus on the subject's eyes.
- Use Manual Focus: In some situations, autofocus may struggle to find the correct focus point, resulting in poor focus. Consider using manual focus for more control.
- Use a Smaller Aperture: A smaller aperture (higher f-number) will increase the depth of field, resulting in more of the scene being in focus. Consider using a smaller aperture for landscapes or group shots.
- Use a Faster Shutter Speed: A faster shutter speed will freeze motion and prevent blur from subject movement. Consider using a faster shutter speed for action shots or sports photography.
- Use Live View: Live view allows you to see the scene on the camera's LCD screen, which can make it easier to see if the subject is in focus. Use live view for still subjects or when shooting on a tripod.
- Use a Focus Aid: Many cameras have focus aids, such as focus peaking or magnification, that can help you see if the subject is in focus. Use these focus aids to ensure that the subject is properly focused.
Remember, practice and experimentation are key to improving your photography skills, so don't be afraid to try new techniques and learn from your mistakes.
Using the wrong ISO is a common mistake in photography that can result in images that are too noisy or too dark. Here are some tips on how to avoid using the wrong ISO:
- Understand ISO: ISO measures the sensitivity of the camera's sensor to light. A lower ISO (e.g. ISO 100) is less sensitive to light and produces less noise, while a higher ISO (e.g. ISO 3200) is more sensitive to light and produces more noise.
- Use a Low ISO in Good Light: In good lighting conditions, use a low ISO (e.g. ISO 100-400) to produce clean images with minimal noise.
- Use a High ISO in Low Light: In low lighting conditions, use a higher ISO (e.g. ISO 800-3200) to compensate for the lack of light and produce a properly exposed image.
- Use Auto ISO: Auto ISO is a feature that allows the camera to adjust the ISO based on the lighting conditions. Use auto ISO as a starting point and adjust the ISO as necessary.
- Use Manual Mode: In manual mode, you have complete control over the ISO, aperture, and shutter speed. Use manual mode to fine-tune the ISO based on the lighting conditions and desired effect.
- Shoot in RAW: Shooting in RAW allows you to adjust the ISO in post-processing, giving you more control over the final image.
Remember, ISO is subjective and depends on the lighting conditions and desired effect. Experiment with different ISO settings and find what works best for each situation.
Over-editing is a common mistake in photography that can result in images that look unnatural or artificial. Here are some tips on how to avoid over-editing:
- Start with Good Exposure: Good exposure is the foundation of a great photo. Make sure the exposure is correct before making any adjustments.
- Use Editing Tools Sparingly: Use editing tools, such as exposure, contrast, and saturation, sparingly. Make small adjustments and preview the changes before making further adjustments.
- Don't Overdo Skin Retouching: Skin retouching is a common type of editing, but it's important not to overdo it. Avoid making skin look too smooth or plastic-like, as this can make the subject look unnatural.
- Avoid Clipping Highlights and Shadows: Clipping occurs when the highlights or shadows in an image become pure white or black. Avoid clipping highlights and shadows as this can result in loss of detail and texture.
- Avoid Over-Saturating Colors: Over-saturating colors can make an image look artificial. Use the saturation tool sparingly and adjust the colors to look natural.
- Don't Use Too Much Sharpening: Sharpening can make an image look crisp and clear, but too much sharpening can result in artifacts and a loss of detail. Use the sharpening tool sparingly and preview the changes before making further adjustments.
- Take Breaks and Revisit the Image Later: Editing for too long can lead to over-editing. Take breaks and revisit the image later with fresh eyes to avoid making unnecessary or excessive edits.
Remember, editing is subjective and depends on the desired effect. Experiment with different editing techniques and find what works best for each image.
Not checking your background is a common mistake in photography that can result in distracting or unwanted elements in your image. Here are some tips on how to avoid this mistake:
- Check Your Background: Before taking a shot, take a moment to check your background. Look for any distracting elements, such as power lines, people, or bright colors, and adjust your framing accordingly.
- Use a Wide Aperture: Using a wide aperture (low f-number) will create a shallow depth of field, blurring the background and making the subject stand out. Consider using a wide aperture for portraits or other subjects where you want to isolate the subject from the background.
- Use a Plain Background: If possible, use a plain or simple background to make the subject stand out. A solid-colored wall, a clear sky, or a simple texture can be effective backgrounds.
- Use the Rule of Thirds: The rule of thirds is a composition technique that divides the image into thirds both horizontally and vertically, resulting in four intersecting points. Consider placing the subject at one of these points and using the background to complement the subject.
- Use Depth to Your Advantage: Use the foreground, middle ground, and background to create depth and add interest to the image. Consider using leading lines or framing techniques to guide the viewer's eye through the image.
- Shoot from Different Angles: Shooting from different angles can change the background and create a different perspective. Consider moving around the subject and trying different angles to find the best background.
Remember, the background is an important element in the image and can make or break a shot. Take your time to check your background and use composition techniques to create an interesting and complementary background.
Ignoring the rule of thirds is a common mistake in photography that can result in images that lack visual interest or balance. Here are some tips on how to avoid this mistake:
- Understand the Rule of Thirds: The rule of thirds is a composition technique that divides the image into thirds both horizontally and vertically, resulting in four intersecting points. Consider placing the subject at one of these points to create visual interest and balance in the image.
- Use the Grid Lines: Most cameras and smartphones have a grid overlay option that helps you align the subject with the rule of thirds. Use the grid lines to guide the placement of the subject and other elements in the image.
- Don't Always Center the Subject: Centering the subject can create a static and boring image. Consider placing the subject off-center to create visual interest and balance.
- Use Leading Lines: Leading lines are lines that guide the viewer's eye through the image. Use leading lines to complement the subject and guide the viewer's eye to the main focal point.
- Consider Negative Space: Negative space is the area around the subject. Consider using negative space to create a sense of balance and add interest to the image.
- Experiment with Different Compositions: While the rule of thirds is a useful composition technique, it's not the only one. Experiment with different compositions, such as symmetry, diagonals, and framing, to find what works best for each image.
Remember, the rule of thirds is a guideline, not a strict rule. Use it as a starting point and experiment with different compositions to create images that are visually interesting and balanced.
FAQ:
What is poor composition, and how can I avoid it in my photography?
Poor composition refers to the placement of the subject and other elements within the frame of your image, which can make the image appear unbalanced or uninteresting. To avoid poor composition, consider using the rule of thirds, leading lines, negative space, and other composition techniques to create a visually balanced and interesting image.
How can I avoid taking blurry images?
To avoid taking blurry images, make sure your camera or smartphone is stable, use a tripod, increase your shutter speed, and use image stabilization or anti-shake features if available.
What is overexposure and underexposure, and how can I avoid it?
Overexposure and underexposure refer to the amount of light that reaches the camera sensor, resulting in an image that is too bright or too dark. To avoid overexposure and underexposure, use the correct exposure settings, such as aperture, shutter speed, and ISO, and use exposure compensation if necessary.
How can I avoid incorrect white balance in my images?
To avoid incorrect white balance in your images, use the appropriate white balance settings for the lighting conditions, such as daylight, cloudy, or indoor lighting. You can also adjust the white balance in post-processing software.
What is the poor focus, and how can I avoid it in my images?
Poor focus refers to images that are out of focus or have a shallow depth of field. To avoid poor focus, use manual focus or autofocus, choose the appropriate focus point, and use a smaller aperture to increase the depth of field.
How can I avoid using the wrong ISO in my images?
To avoid using the wrong ISO in your images, choose the appropriate ISO setting for the lighting conditions, use a lower ISO for bright conditions and a higher ISO for low-light conditions, and use noise reduction techniques in post-processing if necessary.
What is over-editing, and how can I avoid it in my images?
Over-editing refers to images that have been edited to the point where they appear unnatural or artificial. To avoid over-editing, use editing techniques sparingly and aim for a natural-looking image.
Why is checking the background important in photography, and how can I avoid neglecting it?
Checking the background is important in photography to ensure that distracting elements are not present, and that the background complements the subject. To avoid neglecting the background, take a moment to examine the entire frame before taking the shot, and adjust your composition accordingly.
Conclusion:
In conclusion, avoiding common photography mistakes is essential for capturing stunning images that truly showcase the beauty of the world around us. By understanding and applying the techniques and tips discussed in this article, such as proper composition, focusing exposure settings, and post-processing, you can take your photography to the next level and capture images that are visually balanced, interesting, and creatively appealing. Remember to practice regularly, experiment with different techniques, and have fun with your photography, as it is an art form that can be both rewarding and enjoyable.

 admin
admin


