YouTube Shorts has quickly become a popular platform for creators looking to share quick, engaging content. Launched in 2020, this feature allows users to create vertical videos that are 60 seconds or less. YouTube Shorts is designed to compete with other short-form video platforms, like TikTok, and offers a unique way for creators to reach their audiences. With its mobile-friendly format and accessibility,
Why Slow Down a YouTube Short?

Slowing down a YouTube Short can be a game-changer for your content strategy, and there are several compelling reasons to consider it. Here are some points to think about:
- Enhanced Clarity: Rapid-paced videos can sometimes make it hard for viewers to catch every detail. Slowing down allows your audience to fully absorb the information you're sharing.
- Emphasis on Important Moments: By slowing down, you can highlight crucial points or dramatic moments in your video. This can be particularly effective in tutorials or demonstrations.
- Better Engagement: Slower-paced videos often encourage viewers to stick around longer, leading to higher watch times and possibly better rankings within YouTube’s algorithms.
- Creative Touch: Slowing down your video can add a unique artistic flair. Whether it’s for a music video, sports highlight, or an emotional scene, this technique can set your content apart from others.
- Improved Retention: When viewers can digest your content better, they’re more likely to remember it and even share it, boosting your video's reach.
Incorporating slowing techniques into your YouTube Shorts can transform the viewing experience, making your content more appealing to a broader audience. So, if you’re looking to enhance your Shorts game, consider these reasons to hit that slow-motion button!
Also Read This: Obsession with Overlay: Adding a Spotify Overlay to OBS – A Complete Guide
Step 1: Access the YouTube Shorts Editor

Alright, my friends! Before we dive deep into slowing down your YouTube Short, the first thing you need to do is access the YouTube Shorts Editor. Trust me, it’s super easy, and I’ll walk you through it step by step.
Here’s how to get there:
- Open the YouTube app. Whether you’re on your phone or tablet, just tap on the app icon. If you're on a desktop, navigate to the YouTube website.
- Log in to your account. Make sure you're using the account you want to upload your Short to. You want that sweet, sweet subscriber engagement!
- Find the Shorts creation option. Look for the "+" button at the bottom center of your screen. Tapping on it will present you with a menu. Select "Create a Short" from the options.
And voilà! You’re in the Shorts editor. This space is where all the magic happens. You can record new Shorts, edit existing ones, and modify playback speeds.
So, before we get to the fun stuff of slowing down your video, just remember that this area is your playground. Take a moment to familiarize yourself with the features available here. You’ll see buttons for effects, text addition, and music overlays. Exciting, right?
Also Read This: How to Buy Adobe Stock: A Step-by-Step Guide
Step 2: Upload Your Short Video

Now that you’re all set in the Shorts editor, it’s time to get your content onto the platform. Uploading your Short video is a breeze, and here's how to do it in a few simple steps:
- Select 'Upload' from the editor. You’ll see an option to upload pre-recorded videos relevant to your channel.
- Choose your video. Tap on the video file you would like to use. Make sure it fits the criteria for YouTube Shorts—less than 60 seconds long and in vertical format!
- Adjust your video's settings. You can add a catchy title and description, and don’t forget to pick a relevant thumbnail that grabs attention.
After you've uploaded your Short, you’ll see a preview of how it looks. Now’s your chance to ensure every detail is perfect!
Remember, once you hit the upload button, your video will be available for the world to see. So take a moment to double-check everything—quality matters!
That’s all there is to it! Once your Short is uploaded, you’re one step closer to adding that slow-motion effect, which we’ll tackle in the next part of this guide. Stay tuned!
Also Read This: 123RF vs iStock: Analyzing Features, Pricing, and Image Selection
Step 3: Adjusting Playback Speed

Now that you've got your YouTube Short ready, it’s time to dive into the core of slowing it down—adjusting the playback speed. This step is essential because it can enhance the viewing experience, making your content easier to digest, especially when showcasing intricate details or transitions.
To adjust the playback speed, simply follow these straightforward steps:
- Open Your YouTube Short: Start by navigating to your YouTube Studio and select the Short you want to edit.
- Access the Editor: Click on the “Edit” button to open up the video editor.
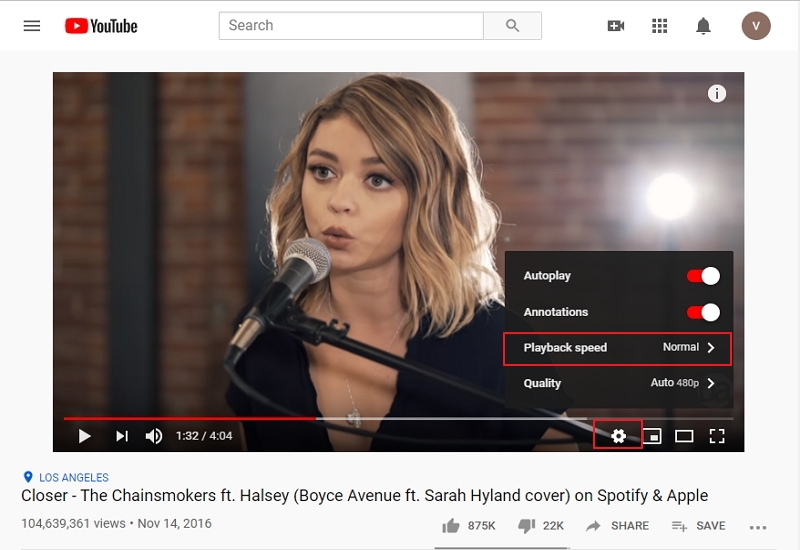
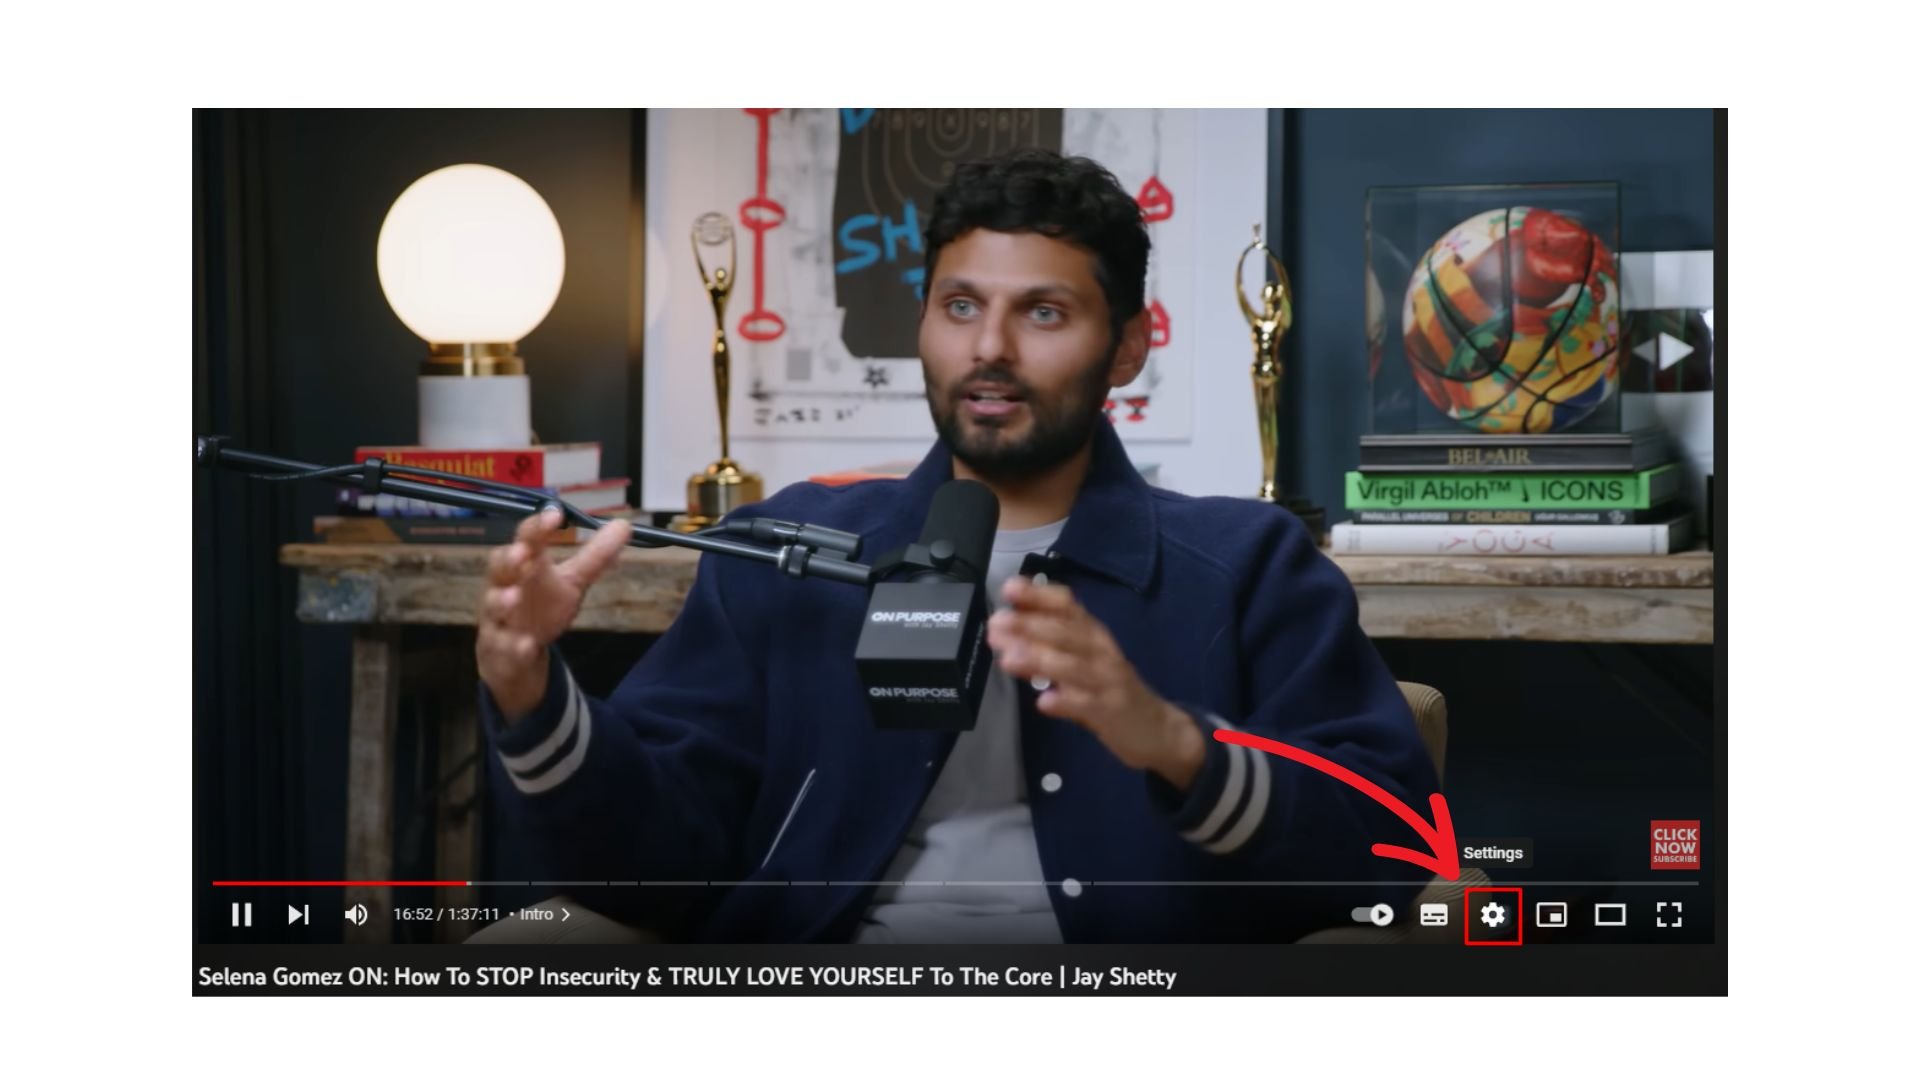
- Select Playback Speed: Look for the “Playback Speed” option, usually located in the advanced settings section of the editor.
- Choose Your Speed: You can select various speed options, like 0.25x, 0.5x, or even faster options if you want to create a unique effect. For slowing down, stick with 0.5x or 0.25x.
Slowing down your video might feel odd at first, but it can significantly improve viewer retention and engagement. When your audience can grasp the content without rushing, they’re more likely to appreciate the nuances of your creation!
Also Read This: Changing Colors on the SeeStar S50 Image
Step 4: Preview Your Adjusted Video
Now that you've adjusted the playback speed, it’s crucial to preview your adjusted video to ensure everything looks just right. This step is often overlooked, but it can make a big difference in the final quality of your content.
Here's how to effectively preview your video:
- Return to the Editor: After adjusting the playback speed, head back to the YouTube editor.
- Click on Preview: Look for the “Preview” button, which allows you to see how your changes appear before publishing.
- Watch Closely: Pay attention to pacing, ensuring that everything flows smoothly. Is the content easy to follow? Does the slower speed enhance or detract from the message?
- Make Additional Tweaks: If something feels off, don't hesitate to go back and adjust—whether it's the speed or even the content itself.
Ultimately, the previewing process is your final check to make sure your hard work shines through. Don’t rush it! Take your time to ensure that the video meets your vision, allowing your audience to enjoy it in a way that resonates with them.
Also Read This: How to Add an Image to Your Research Paper
Step 5: Finalize and Publish Your YouTube Short
Congratulations! You've come a long way in creating your YouTube Short. Now it’s time to finalize and publish it. This step is essential because it ensures your work is polished and reaches your audience effectively.
First, review your video carefully. Play it back and look for any last-minute tweaks you might want to make. Check the audio levels, transitions, and any text overlays you've added. *Clarity is key—you want to make sure your viewers can easily understand your message, especially when the video is slowed down.
Here’s a quick checklist to guide you:
- Are all visuals clear and appealing?
- Is the audio synced and easily audible?
- Does the video have a cohesive flow?
- Are any call-to-action prompts included?
Next, it’s time to choose an eye-catching title and description. Make sure the title includes relevant keywords to improve your video's discoverability. A good title will hook viewers and encourage them to click. Also, write a brief description that provides context for your Short—this is where you can add hashtags and links to encourage engagement.
Finally, select an attractive thumbnail that represents your content effectively. Thumbnails are often the first thing viewers see, so ensure yours stands out! Once you’re satisfied with everything, hit that “Publish” button and watch your Short go live. Remember, engaging with your audience in the comments post-publication can help build your community, so don’t shy away from interacting!
Also Read This: Step-by-Step Guide to Inserting an Image in Blackboard Discussions
Tips for Creativity When Slowing Down Videos
Slowing down your YouTube Short can breathe new life into your content, but it can also pose a challenge if you want to maintain viewer interest. Here are some creative tips to help you shine when making those slow-motion edits.
1. Use Music and Sound Effects: Adding audio elements can enrich the viewing experience. Consider choosing music that complements the mood of your video. Sync specific beats with key moments to draw attention to certain visuals as they slow down!
2. Highlight Important Moments: If there’s a pivotal moment in your Short, slowing down can draw viewers’ attention. Use this technique for reveals, emotional expressions, or comedic beats. It emphasizes critical content and makes it more memorable.
3. Incorporate Text Overlays: Adding text can provide context or emphasize what's happening. This is particularly useful when you slow down action sequences. Use bold and colorful text to grab attention, and time it so it appears right when it's most relevant.
4. Play with Color Grading: If you have the skills, experimenting with color grading can significantly affect the mood of your video. For instance, warmer tones can convey nostalgia, while cooler tones can give a more professional vibe.
5. Focus on Close-ups: Close-up shots can be particularly effective in slow motion, allowing viewers to appreciate details they might otherwise miss. Whether it’s an expression or the texture of an object, these shots can add depth to your video.
With these creative tips in mind, you can transform a simple slow-motion video into a captivating piece that engages your audience and leaves them wanting more!
How to Slow Down Your YouTube Short with Easy Steps
YouTube Shorts has gained immense popularity for its ability to showcase creativity in short, engaging clips. However, sometimes you might want to slow down* your video to emphasize particular moments. Here’s a guide to help you do just that with ease.
To slow down your YouTube Short effectively, you can follow these steps:
- Open YouTube App: Launch the YouTube app on your device.
- Access Shorts Camera: Tap on the "+" button at the bottom of the screen and select "Create a Short."
- Record Your Video: Hold the record button to capture your footage. Make sure to record enough content that you want to slow down.
- Edit Your Short: Once you finish recording, tap on the checkmark to proceed to the editing screen.
- Adjust Speed: Look for the speed control option (often represented by a speedometer icon). You can select from modes such as:
- 1x: Normal speed
- 0.5x: Half speed
- 0.25x: Quarter speed
- Preview Your Video: Watch your slowed-down video to ensure it meets your expectations.
- Add Music or Effects: You might want to enhance your video further with sound effects or music.
- Finalize and Upload: After you are satisfied, add a title and relevant tags, then hit “Upload” to share your Short with the world!
Using these steps, you can easily slow down your YouTube Shorts to create captivating content that holds your audience's attention. With a few simple adjustments, your videos can have a unique touch that sets them apart from the rest.
Conclusion: Slowing down your YouTube Shorts is a straightforward process that can significantly enhance your video's narrative and impact. By following the outlined steps, you can craft engaging content that resonates with viewers and elevates your creative expression.
 admin
admin


