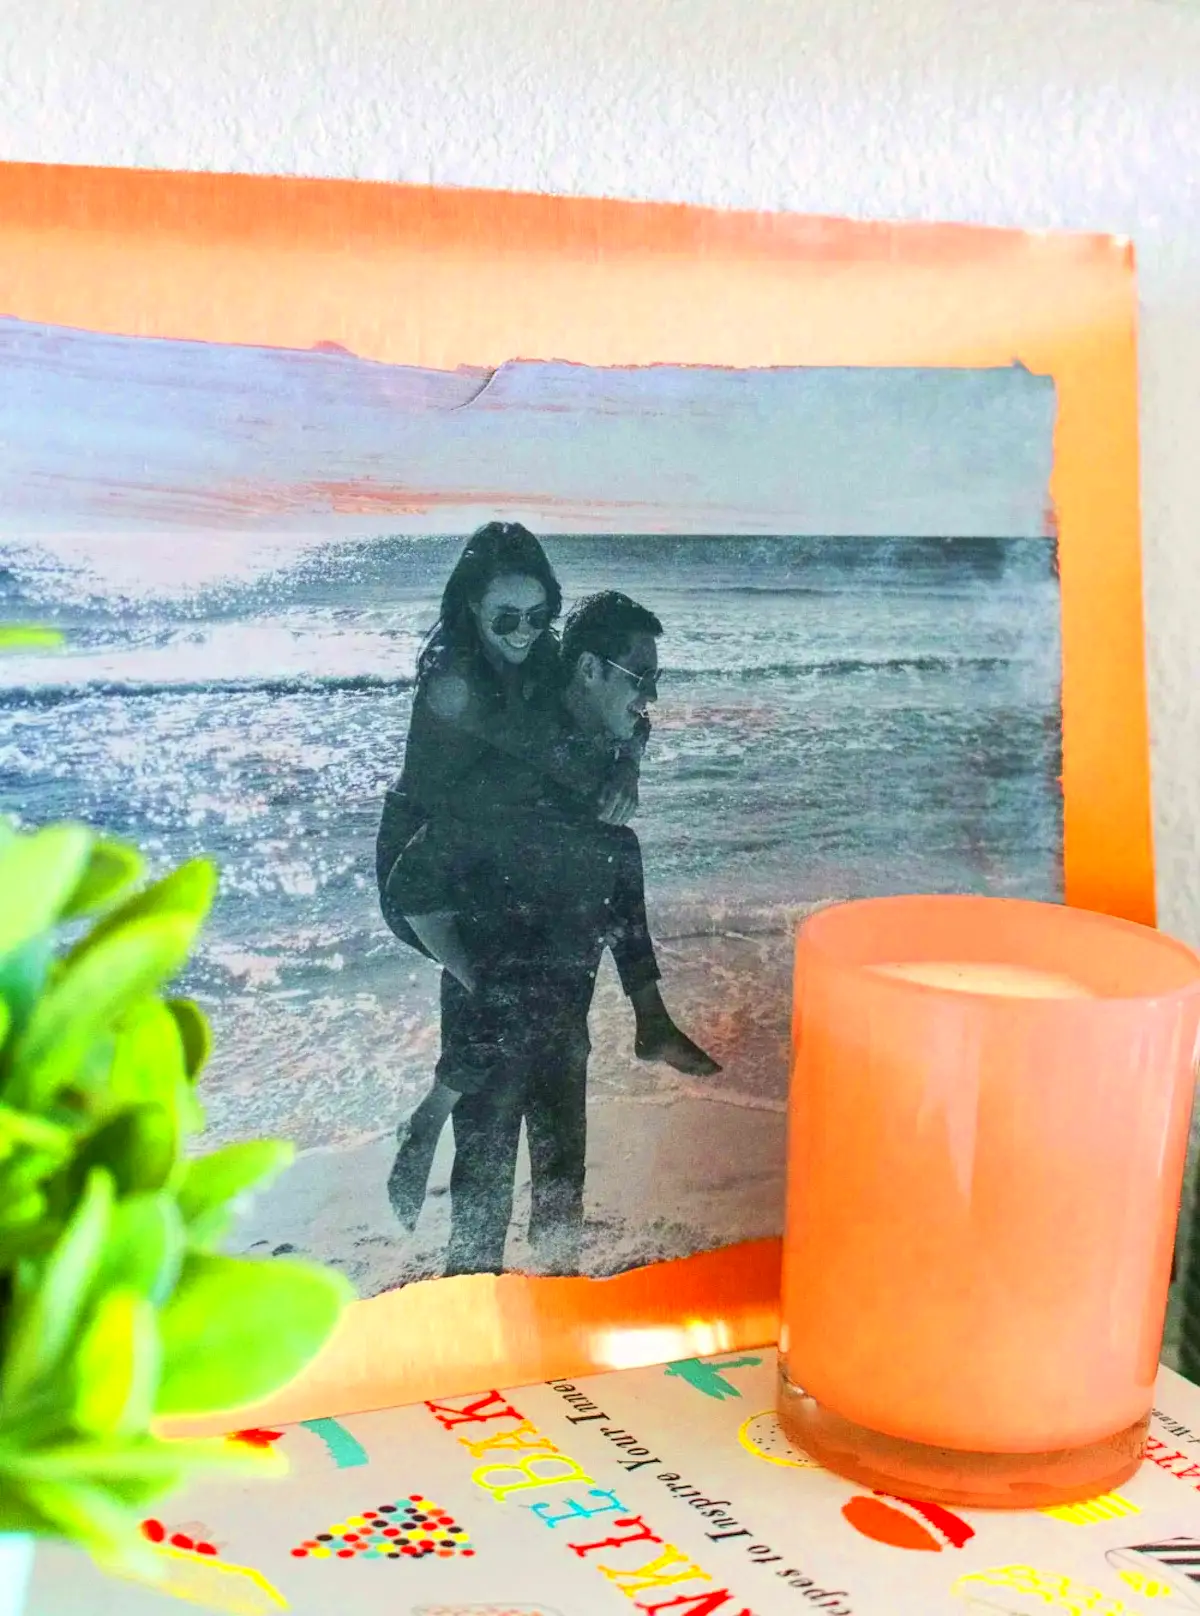
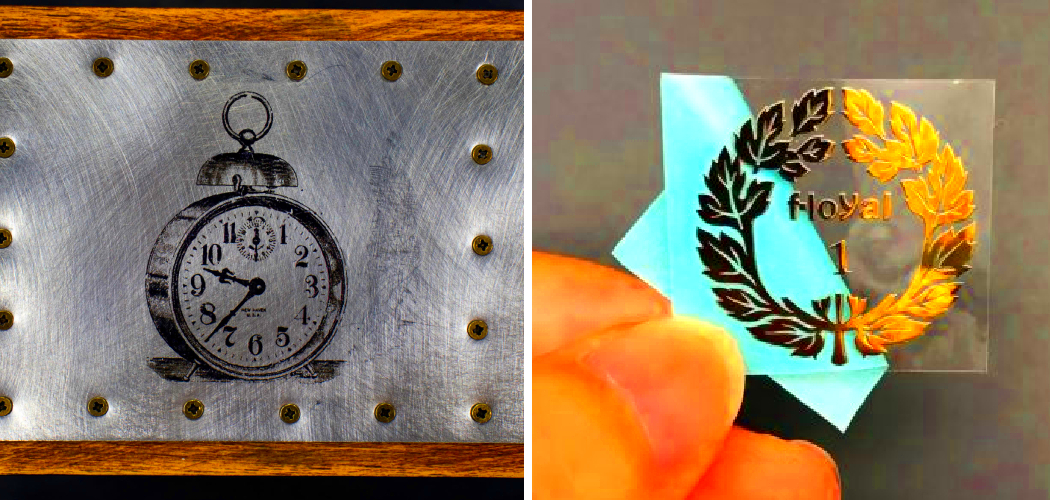
Transferring printed images onto metal has become a popular method for creating striking, long-lasting artworks. This process can turn any digital image into a vibrant piece of decor that stands out with a modern and sleek finish. Whether you’re creating custom artwork, personalized gifts, or home decor, metal offers a unique and durable surface to showcase your images. The result is a visually stunning, high-quality print that captures attention and adds a touch of sophistication to any space.
What is Metal Image Transfer?

Metal image transfer is the process of applying a printed image directly onto a metal surface, typically using a transfer medium or adhesive. This method allows images to be printed on materials like aluminum, steel, and copper, which results in a durable, long-lasting piece. The process itself involves several key steps:
- Preparing the Image: The image is printed onto special transfer paper or directly onto the metal surface, depending on the method used.
- Surface Preparation: The metal is cleaned and sometimes coated to ensure the image adheres properly.
- Transfer Process: The printed image is applied to the metal using heat, pressure, or chemicals to transfer the ink from the paper to the surface of the metal.
- Curing and Finishing: After the transfer, the image is allowed to set and cure, often with the application of a protective coating to ensure longevity.
Overall, metal image transfer provides a distinctive way to showcase images with a high level of detail, creating a unique, professional look for photos, art, and designs.
Also Read This: How to Remove Text from YouTube Shorts for a Cleaner Look
Why Choose Metal for Image Transfer?

There are many reasons why metal is becoming a popular medium for transferring printed images. From its modern, sleek appearance to its durability, metal offers several benefits that other materials simply can’t match:
- Durability: Metal is sturdy and can withstand wear and tear, making it ideal for long-lasting prints. Unlike paper, it won’t tear or fade easily.
- Vibrant Finish: Metal surfaces allow colors to pop, giving images a bright, vivid quality that is hard to achieve with other materials like canvas or wood.
- Modern Look: The metallic sheen and smooth texture provide a contemporary aesthetic, perfect for modern homes or office spaces.
- Weather Resistance: Metal prints can be used both indoors and outdoors, making them a great option for signage, artwork, or outdoor photography displays.
- Easy to Maintain: Metal prints are easy to clean and maintain, unlike fabric or paper, which can stain or deteriorate over time.
In addition, the metallic surface can add depth and dimension to the image, making it appear more dynamic and interesting. This makes metal a preferred choice for those looking for a unique, high-quality way to preserve and display their images.
Also Read This: See How Much You Can Earn on Shutterstock
Types of Metal Surfaces for Image Transfer

When it comes to transferring printed images onto metal, not all metal surfaces are created equal. Different metals offer varying qualities that can affect the final look and feel of your artwork. Choosing the right metal is crucial to achieving the best results. Below, we’ll discuss some common types of metal surfaces used for image transfers and their unique properties:
- Aluminum: Lightweight and durable, aluminum is one of the most popular choices for image transfers. It provides a smooth, flat surface that allows for vibrant, detailed prints. Aluminum is particularly great for photo printing and is often used for creating signs, photo panels, and wall art.
- Steel: Heavier and sturdier than aluminum, steel is a great choice for industrial or rustic designs. It has a unique texture and appearance that can add depth and a raw feel to the image, making it perfect for edgy or contemporary art.
- Copper: Known for its reddish-brown tone, copper offers a distinctive look for image transfers. Over time, copper develops a natural patina, adding an organic, aged effect to your artwork. This type of metal is ideal for vintage or antique-style prints.
- Brushed Aluminum: This variation of aluminum has a textured finish, giving a slightly reflective surface that works well for modern art or designs that benefit from a soft, metallic sheen.
- Stainless Steel: Stainless steel has a sleek, polished finish that works well for high-end or professional designs. It resists corrosion and maintains its shine over time, making it perfect for artwork that needs to last.
Each type of metal brings its own unique aesthetic, so choosing the right one depends on the style of your image and the effect you want to achieve. Whether you prefer the clean look of aluminum or the rustic charm of steel, there's a metal surface that suits every project.
Also Read This: Mastering Image Rounding in Google Slides
Step-by-Step Guide to Transferring Printed Images onto Metal
Transferring printed images onto metal may seem complex at first, but with the right tools and knowledge, the process becomes much easier. Here’s a simple, step-by-step guide to help you create beautiful metal prints:
- Step 1: Prepare the Image
Start by choosing and editing the image you want to transfer. Make sure it’s high resolution for the best results. Print the image on transfer paper or directly onto the metal, depending on the method you choose. - Step 2: Prepare the Metal Surface
Clean the metal surface thoroughly to remove any dirt, oil, or fingerprints. This will help the image adhere properly. If necessary, lightly sand the surface to ensure a smooth texture. - Step 3: Apply the Transfer Medium
For transfer paper methods, apply a thin layer of transfer medium (such as gel medium or adhesive) onto the metal. If you’re using a direct-to-metal method, skip this step. - Step 4: Position the Image
Carefully place the printed image face-down on the metal surface. Make sure it’s aligned correctly and that there are no wrinkles or bubbles. - Step 5: Apply Heat or Pressure
For heat transfer methods, use a heat press or iron to apply consistent pressure and heat. For cold transfer methods, you may need to press the image down firmly using a brayer or similar tool. - Step 6: Peel the Transfer Paper
Once the image has been transferred, gently peel away the transfer paper. Be sure to do this slowly to avoid tearing the image or leaving unwanted residue behind. - Step 7: Allow to Set and Cure
Let the metal print dry and set. If necessary, apply a clear coating to protect the image from fading or scratching.
And that’s it! With these simple steps, you can transfer any image onto metal and enjoy the stunning, long-lasting results. The more you practice, the better your transfers will become, so don’t be afraid to experiment with different techniques and materials.
Also Read This: How to Make Perfect Pancakes Step by Step
Common Tools and Materials Needed for Metal Image Transfer
To successfully transfer images onto metal, you’ll need a few essential tools and materials. Here’s a list of the items you’ll need to get started:
| Tool/Material | Purpose |
|---|---|
| Transfer Paper | Used to print your image before transferring it onto the metal surface. |
| Metal Sheets | Choose the type of metal (aluminum, steel, copper) that suits your project. The metal should be smooth and clean for the best results. |
| Gel Medium or Adhesive | Used to transfer the image onto the metal when using the transfer paper method. |
| Heat Source (Heat Press or Iron) | Used for applying heat to transfer the image from the paper onto the metal surface. A heat press is ideal, but an iron can work too. |
| Brayer or Roller | If you're doing a cold transfer method, you'll need a brayer to press the image onto the metal smoothly. |
| Clear Coat or Finish | Once the image is transferred, apply a protective finish to seal and protect the image from scratches and fading. |
These tools and materials are the building blocks of a successful metal image transfer. While the basic tools are relatively simple, choosing high-quality materials will make a big difference in the final result. Make sure to invest in the right tools for a smooth, professional-looking transfer.
Also Read This: Embedding Images in Adobe Illustrator
Tips for Achieving the Best Results with Metal Image Transfers
When transferring images onto metal, achieving the perfect result can require a bit of finesse and patience. Whether you're a beginner or have some experience, these tips will help you get the most vibrant, sharp, and long-lasting metal prints possible:
- Use High-Quality Images: Start with the best possible image. High resolution is essential for sharp, detailed prints. Avoid images that are pixelated or blurry, as they won’t transfer well onto metal.
- Clean the Metal Surface Thoroughly: Any dust, oils, or fingerprints on the metal surface can interfere with the transfer process. Always clean your metal thoroughly with a lint-free cloth before beginning the transfer.
- Choose the Right Metal: As discussed earlier, different metals give different finishes. If you want vibrant colors and a glossy finish, aluminum is a great option. For a more rustic look, consider using copper or steel.
- Test Your Transfer Process: Practice on a small sample before transferring your main image. This will help you get familiar with the process and avoid any mistakes that could ruin your project.
- Ensure Proper Adhesion: Whether using a gel medium, adhesive, or heat, ensure your transfer medium is evenly applied. Uneven application can result in streaks or a patchy transfer.
- Use Heat Wisely: If you're using a heat press or iron, make sure to follow the manufacturer’s instructions carefully. Too much heat can cause the image to blur or burn, while too little can result in an incomplete transfer.
- Apply a Protective Finish: Once the transfer is complete, apply a clear coat or protective finish to help the image last longer and maintain its vibrant colors. This step is especially important for prints that will be displayed outdoors or in high-traffic areas.
By following these tips, you can ensure that your metal image transfers turn out beautifully, with crisp, clear images and a lasting finish that will be sure to impress.
Also Read This: How Imago Images Excels with Its Diverse Photo Library
FAQ about Transferring Printed Images onto Metal
Here are some frequently asked questions (FAQ) to help guide you through the process of transferring printed images onto metal:
- What type of printer should I use?
For best results, a high-quality inkjet printer is recommended, especially one that can print with pigment-based inks. These inks tend to be more durable and vibrant on metal surfaces. - Can I use any image for metal transfer?
While most images can be transferred to metal, images with high contrast and vibrant colors work best. Avoid overly dark or low-resolution images for optimal results. - Do I need a special kind of metal?
Not necessarily. The type of metal you choose (aluminum, steel, copper, etc.) depends on the look you're going for. Just ensure the surface is clean and smooth before starting the transfer. - How do I avoid bubbles or wrinkles during the transfer process?
To prevent bubbles, always press the image evenly and apply consistent pressure. If you’re using a heat press, make sure the temperature is just right. If using an iron, avoid moving it too much. - Can I use a regular iron for heat transfer?
Yes, a regular iron can be used if you don’t have a heat press, but be sure to use it on a low heat setting to avoid burning the image or damaging the metal. - How do I fix a failed transfer?
If the transfer doesn’t go as planned, you can try carefully removing the image and starting over. In some cases, you may need to clean the metal surface again before reapplying the transfer medium. - Can I transfer images to metal for outdoor use?
Yes, metal prints are durable enough for outdoor use, but you should apply a protective finish to ensure the print withstands exposure to the elements.
These answers should help clear up some of the common concerns people have when working with metal image transfers, giving you more confidence to dive into your projects.
Conclusion and Final Thoughts on Metal Image Transfers
Transferring printed images onto metal is a rewarding process that opens up many creative possibilities. Whether you’re making personalized gifts, creating unique wall art, or designing professional signage, metal prints offer a durable and visually appealing medium for your images. By following the right steps and using quality materials, you can achieve stunning results that will last for years to come.
The key to success lies in preparation, practice, and attention to detail. Choosing the right type of metal, ensuring your image is of high quality, and applying the transfer process carefully will lead to a print that stands out with vibrant colors and a sleek finish.
Metal image transfers offer more than just a modern aesthetic—they provide a lasting and durable way to display your favorite images. Whether for home decor or as a special gift, metal prints are a great way to turn ordinary photos into extraordinary works of art. So, gather your materials, follow the steps, and enjoy the process of creating something beautiful!

 admin
admin


