Stretching images on your iPhone is a simple and useful technique. Whether you want to create fun edits or enhance your photos for social media, knowing how to stretch images can help. This feature allows you to adjust the dimensions of your
Understanding the Image Stretching Feature

Before diving into the steps, let's understand what image stretching is all about. Stretching images means altering their proportions. You can make an image wider, taller, or both. However, it's essential to keep a few points in mind:
- Aspect Ratio: Changing the aspect ratio can distort the image. It's best to maintain a balance.
- Resolution: Be mindful of the image quality. Stretching can lead to pixelation if you stretch too much.
- Editing Tools: Different apps provide various tools for stretching images, from simple adjustments to advanced editing features.
Understanding these aspects will help you stretch images without compromising quality.
Also Read This: How to Rotate Videos in VLC Player for Perfect Playback
Steps to Stretch Images on iPhone

Now, let's go through the steps to stretch images on your iPhone. The process is straightforward and can be done using the built-in Photos app or third-party apps. Here’s how:
- Open the Photos App: Start by locating the image you want to stretch.
- Edit the Image: Tap on 'Edit' in the top right corner of the screen.
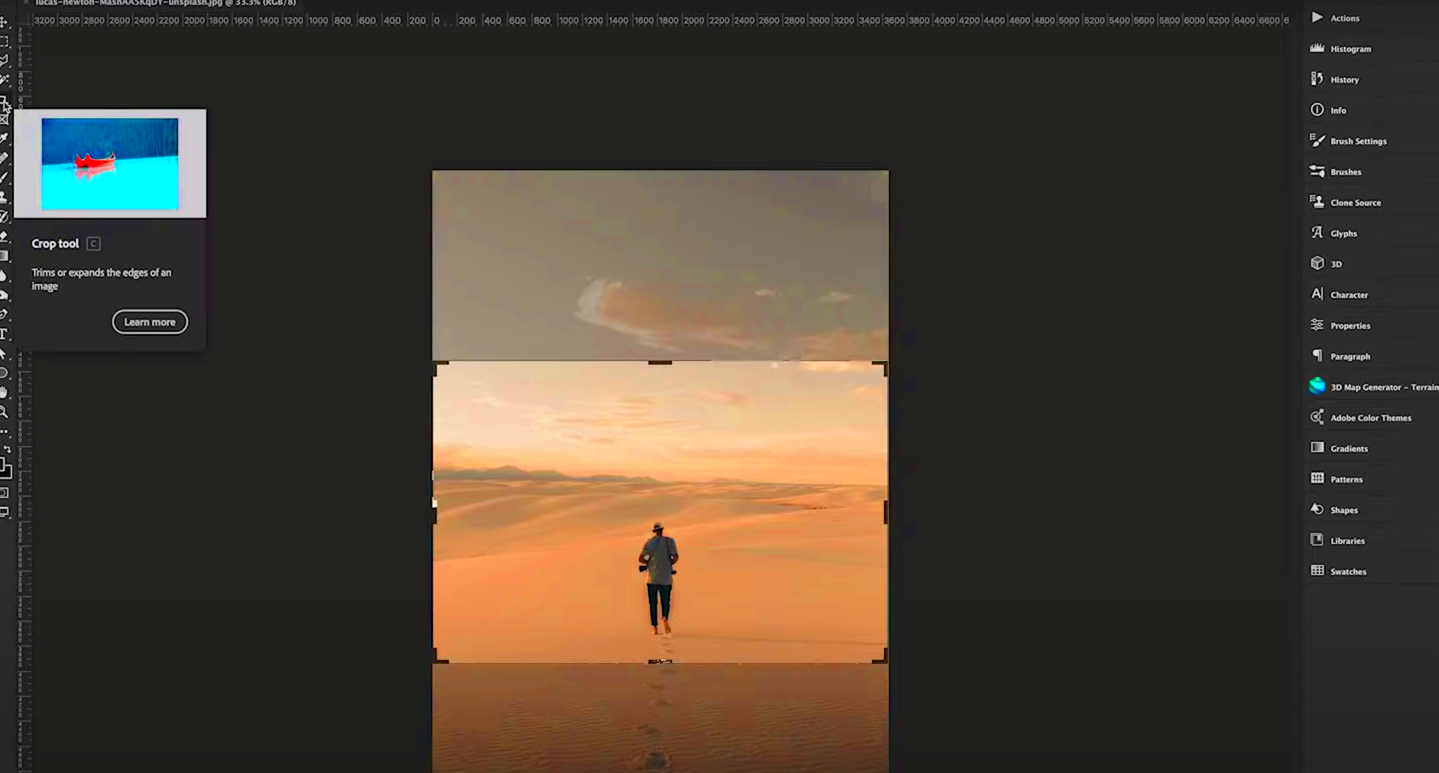
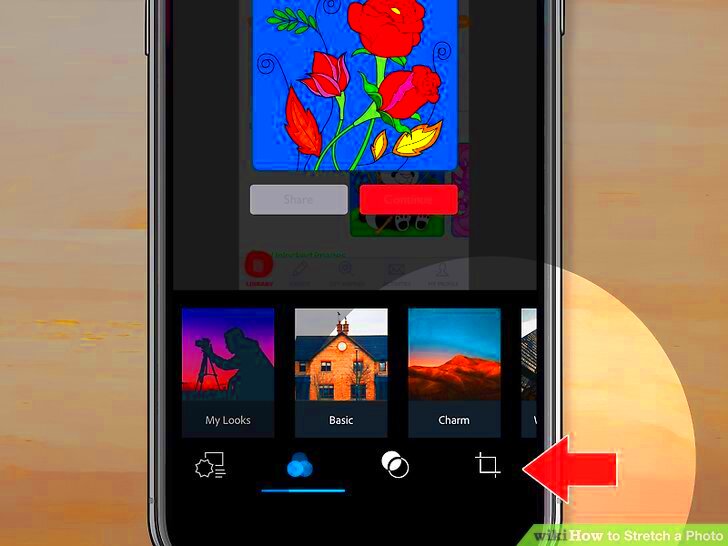
- Select the Crop Tool: Choose the crop icon, which is typically at the bottom of the screen.
- Adjust the Dimensions: Use the edges of the frame to stretch the image. Drag the corners or sides to widen or narrow the image.
- Check the Preview: Make sure the image looks good. You can zoom in to check for quality.
- Save Changes: Once satisfied, tap 'Done' to save your changes.
With these steps, you can easily stretch images on your iPhone, making them fit your needs perfectly.
Also Read This: How to Change the Perspective of an Image in PowerPoint
Using Built-in Editing Tools
Your iPhone comes with powerful built-in editing tools that make it easy to stretch images without needing additional apps. These tools are user-friendly and provide various options to enhance your images. Let’s take a closer look at how to use these tools effectively.
To start stretching images using the built-in tools, follow these steps:
- Open the Photos App: Navigate to the image you want to edit.
- Tap Edit: Click on the 'Edit' button located at the top right corner of the screen.
- Select the Crop Tool: Find the crop icon at the bottom of the editing screen. This is where the stretching begins.
- Adjust the Image: You can stretch your image by dragging the corners or edges of the cropping frame. Experiment with different angles to see how the image changes.
- Utilize Aspect Ratio Settings: Tap on the aspect ratio icon to maintain certain proportions. This can help prevent distortion while stretching.
- Preview and Save: Review your changes by looking at the preview. If satisfied, hit 'Done' to save your new stretched image.
Using these built-in tools is a fantastic way to stretch images without downloading extra software. You can play around with the settings to find the best look for your images.
Also Read This: VectorStock Is Ideal for Both Beginner and Expert Designers
Applying Third-Party Apps for Image Stretching
If you’re looking for more advanced options for stretching images, third-party apps can provide additional features and flexibility. Many apps available on the App Store offer specialized tools for photo editing. Here’s how to make the most of them:
Popular apps for image stretching include:
- Snapseed: A free app with powerful editing tools, including stretching and adjusting images easily.
- Photoshop Express: Offers advanced features for detailed edits, including stretching images without losing quality.
- Pixlr: A user-friendly option that includes various editing tools for fun effects and stretching options.
To stretch images using a third-party app, follow these general steps:
- Download and Install the App: Choose an app that suits your needs from the App Store.
- Open Your Image: Launch the app and select the image you want to stretch.
- Use the Stretch Tool: Look for the stretching or resizing tool within the app. This is usually labeled clearly.
- Make Adjustments: Drag the edges or corners of the image to stretch it as desired.
- Preview and Save: Check the final look and save your edited image to your camera roll.
By using third-party apps, you can access more features and creativity while stretching your images to get exactly the look you want.
Also Read This: Saving Images from Google Slides: A Guide
Common Issues When Stretching Images
While stretching images can be fun and useful, it can also come with its own set of challenges. Understanding these common issues can help you avoid mistakes and get better results. Here are some problems you might encounter:
- Pixelation: Stretching an image too much can lead to pixelation, where the image becomes blurry or blocky. Always be mindful of how much you stretch.
- Aspect Ratio Distortion: Changing the aspect ratio can make your images look unnatural. Stick to maintaining some balance to avoid this.
- Loss of Detail: When stretching, you might lose details in the image. Always start with a high-resolution photo to minimize this risk.
- Inconsistent Edges: Stretching can cause edges to appear uneven. Use the crop tool carefully to keep everything aligned.
To prevent these issues, consider these tips:
- Use High-Quality Images: Always begin with the best quality images available.
- Keep a Backup: Before making changes, save a copy of the original image.
- Test Different Tools: Try various apps and built-in features to find what works best for you.
- Practice: The more you edit, the better you’ll become at recognizing what looks good.
By being aware of these issues and tips, you can stretch images more effectively and achieve your desired results.
Also Read This: How to Flip an Image on iPhone
Tips for Better Image Quality
When stretching images on your iPhone, maintaining quality is crucial. Nobody wants to share a blurry or pixelated photo. Here are some handy tips to help you stretch images while keeping them sharp and clear.
- Start with High Resolution: Always use images that are high resolution. This gives you more flexibility when stretching without losing quality.
- Avoid Over-Stretching: Stretching too much can cause pixelation. Try to limit how far you stretch your images to preserve clarity.
- Use Editing Tools Wisely: Explore different editing tools available in the Photos app or third-party apps. Some tools might provide better quality enhancements.
- Check Lighting and Contrast: Ensure that the image is well-lit and has good contrast. This can help improve the overall appearance even after stretching.
- Save in the Right Format: When saving your stretched image, choose formats that retain quality, like PNG or high-quality JPEGs.
- Preview Before Saving: Always preview your image before finalizing changes. Zoom in to check for any quality loss or distortion.
By following these tips, you can stretch your images effectively while maintaining their quality, ensuring they look great whether shared online or kept for personal use.
Also Read This: Shutterstock Images Reverse Image Search: Discover Similar or Exact Images
FAQ About Stretching Images on iPhone
If you're new to stretching images on your iPhone, you might have some questions. Here are answers to some frequently asked questions that can help clarify the process.
- Can I stretch any image on my iPhone? Yes, you can stretch most images, but quality may vary depending on the original resolution and format.
- Will stretching an image reduce its quality? Stretching can reduce quality if done excessively or with low-resolution images, leading to pixelation.
- What tools can I use to stretch images? You can use the built-in Photos app or third-party apps like Snapseed, Photoshop Express, or Pixlr.
- Is there a limit to how much I can stretch an image? While there's no strict limit, it's best to avoid stretching too much to maintain image quality.
- Can I undo changes after stretching an image? Yes, you can always go back to the original image by tapping 'Edit' and then 'Revert' in the Photos app.
If you have more questions, exploring online forums or the help section of your editing app can provide further guidance.
Conclusion on Stretching Images on iPhone
Stretching images on your iPhone is a straightforward process that can enhance your photos for personal use or social media. With the right tools and techniques, you can easily modify images to fit your desired style. Remember to start with high-resolution images and use built-in or third-party tools to get the best results.
By following the tips outlined in this guide, you can avoid common pitfalls and stretch your images effectively. Don't hesitate to experiment with different techniques and editing options to find what works best for you. With a little practice, you'll be creating stunning stretched images in no time!

 admin
admin


