Extracting signatures from images can be incredibly useful for various purposes, whether you're dealing with documents or creating digital art. This process allows you to separate the signature from the rest of the image, making it easier to use in different contexts. In this guide, we’ll walk through the steps involved in extracting a signature, what tools you need, and common issues you might encounter along the way.
Understanding Different Image Formats

Before diving into signature extraction, it’s essential to understand the different image formats. Each format has its characteristics, and knowing these can help you choose the best one for your needs. Here are some common formats:
- JPEG: Great for photographs, but it compresses the image, which can reduce quality.
- PNG: Supports transparency and is ideal for images with text or signatures.
- GIF: Limited to 256 colors and mainly used for simple graphics or animations.
- BMP: High-quality format, but the file size can be large and not web-friendly.
Understanding these formats helps in deciding which one to use when you want to extract a signature. PNG is often the best choice due to its lossless quality and support for transparency.
Also Read This: How to Add Images on Squarespace for Customized Web Pages
Tools Needed for Signature Extraction

Having the right tools makes the signature extraction process smoother. Here’s a list of tools you might consider:
- Photo Editing Software: Tools like Adobe Photoshop or GIMP allow for precise editing.
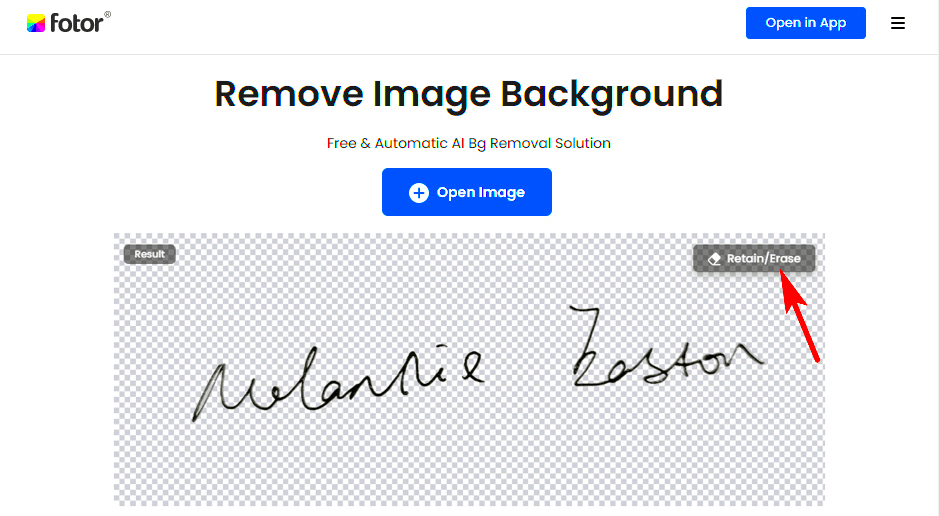
- Online Signature Extractors: Websites that can automatically remove backgrounds and extract signatures.
- Mobile Apps: Apps such as Adobe Scan or CamScanner can help capture signatures on-the-go.
When choosing a tool, consider the complexity of your signature and the quality you need. Some tools are better suited for simple tasks, while others offer advanced features for more intricate signatures.
Also Read This: Adding Inline Images in Emails
Step by Step Guide to Extract a Signature
Extracting a signature from an image can seem daunting, but it’s quite straightforward if you follow these simple steps. Let’s break it down:
- Choose Your Image: Start with a high-quality image containing the signature. Ensure it’s well-lit and clear to get the best results.
- Open Your Tool: Whether you’re using software like Photoshop or an online tool, upload the image to your workspace.
- Select the Signature: Use the selection tool (like the lasso or magic wand) to carefully outline the signature. Be as precise as possible to avoid extra background.
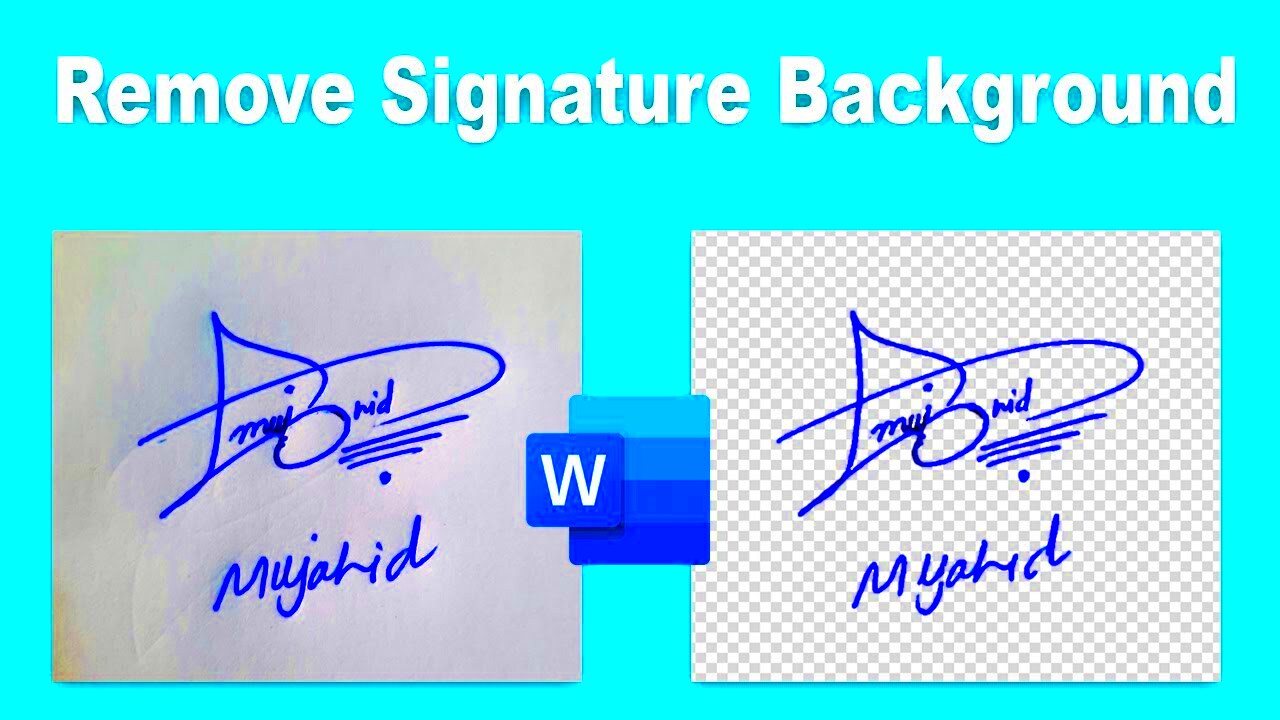
- Remove the Background: After selecting, you can either delete the background or create a mask to hide it, leaving just the signature visible.
- Refine the Edges: Smooth out any rough edges using the feather or refine edge tools. This step helps make the signature look cleaner.
- Save Your Work: Finally, save the signature as a PNG or other preferred format to maintain its quality.
And there you go! You’ve successfully extracted your signature. It may take a little practice, but with time, you'll get the hang of it.
Also Read This: How to Download Audio from YouTube on Mac
Editing the Extracted Signature
Once you’ve extracted your signature, you might want to make a few edits to ensure it looks perfect. Here are some tips on how to enhance your signature:
- Adjust Brightness and Contrast: Use the brightness and contrast settings to make your signature stand out more. A brighter signature can be more visible on various backgrounds.
- Resize the Signature: Depending on where you plan to use the signature, you may need to resize it. Most editing tools allow you to scale the image easily.
- Add Effects: If you want to give your signature a unique look, consider adding effects like shadows or glows. Just be careful not to overdo it.
- Save Edits: Always save your changes in a new file to preserve the original extracted signature.
Editing can bring your signature to life, making it more visually appealing for whatever project you’re working on.
Also Read This: How to Change Eye Color in Photoshop CS6
Saving and Using the Signature
Now that you have your edited signature, it’s time to save and use it! Here are some tips to ensure you get the most out of your signature:
- File Format Matters: Save your signature as a PNG file to maintain transparency. This way, it will blend seamlessly into any document or image.
- Organize Your Files: Keep your signature in a dedicated folder. This makes it easier to find when you need it.
- Test It Out: Before using your signature on important documents, do a test run. Insert it into a document to see how it looks against different backgrounds.
- Backup Your Work: Always have a backup of your original and edited signatures. Cloud storage or an external drive can be great for this.
With these steps, your signature will be ready for use in emails, contracts, and any other documents where you want to add a personal touch!
Also Read This: How to Save Money on Imago Images: 5 Proven Strategies
Common Issues and Solutions
When extracting signatures from images, you might encounter a few hiccups along the way. Here are some common issues and how to tackle them effectively:
- Poor Quality Image: If the image quality is low, the signature might not be clear. Solution: Try using a higher resolution image. If that’s not available, consider enhancing the image using editing tools.
- Rough Edges After Extraction: Sometimes, the edges of the signature can look jagged. Solution: Use the smoothing or feathering options in your editing software to refine the edges.
- Background Shows Through: If the background isn’t fully removed, it can detract from the signature. Solution: Double-check your selection and try using a mask to hide the background more effectively.
- Color Issues: The signature might not appear as vibrant as expected. Solution: Adjust the brightness and contrast settings to make the signature pop.
- File Format Problems: Saving in the wrong format can lead to loss of quality. Solution: Always save your extracted signature as a PNG for best results.
By being aware of these common issues, you can save time and frustration, making the extraction process smoother.
Also Read This: Resizing Images with Paint
FAQ about Signature Extraction
Here are some frequently asked questions about extracting signatures, which can help clarify any lingering doubts:
- Can I extract signatures from any image? Yes, as long as the image is clear and the signature is distinguishable.
- What tools do I need for extraction? You can use software like Photoshop or GIMP, or opt for online signature extraction tools.
- Is it legal to use someone else’s signature? Using someone else’s signature without permission can lead to legal issues. Always ensure you have the right to use it.
- Can I extract signatures from scanned documents? Absolutely! Scanned documents work well, especially if they are high quality.
- What if my extracted signature looks different from the original? This can happen due to editing. Try adjusting brightness and contrast to match it more closely.
These FAQs should help you feel more confident as you navigate the signature extraction process.
Conclusion on Extracting Signatures from Images
Extracting signatures from images is a handy skill that can save you time and effort in various tasks, from digital documents to creative projects. By understanding the tools available and following the step-by-step guide, you can create clean and usable signatures without much hassle. Remember to keep an eye out for common issues and solutions, and refer to our FAQ section for any questions you might have.
Whether for personal use or professional needs, having a well-extracted signature can add a personal touch to your work. With practice, you'll find the process becomes second nature, allowing you to focus on what really matters—your projects!

 admin
admin


