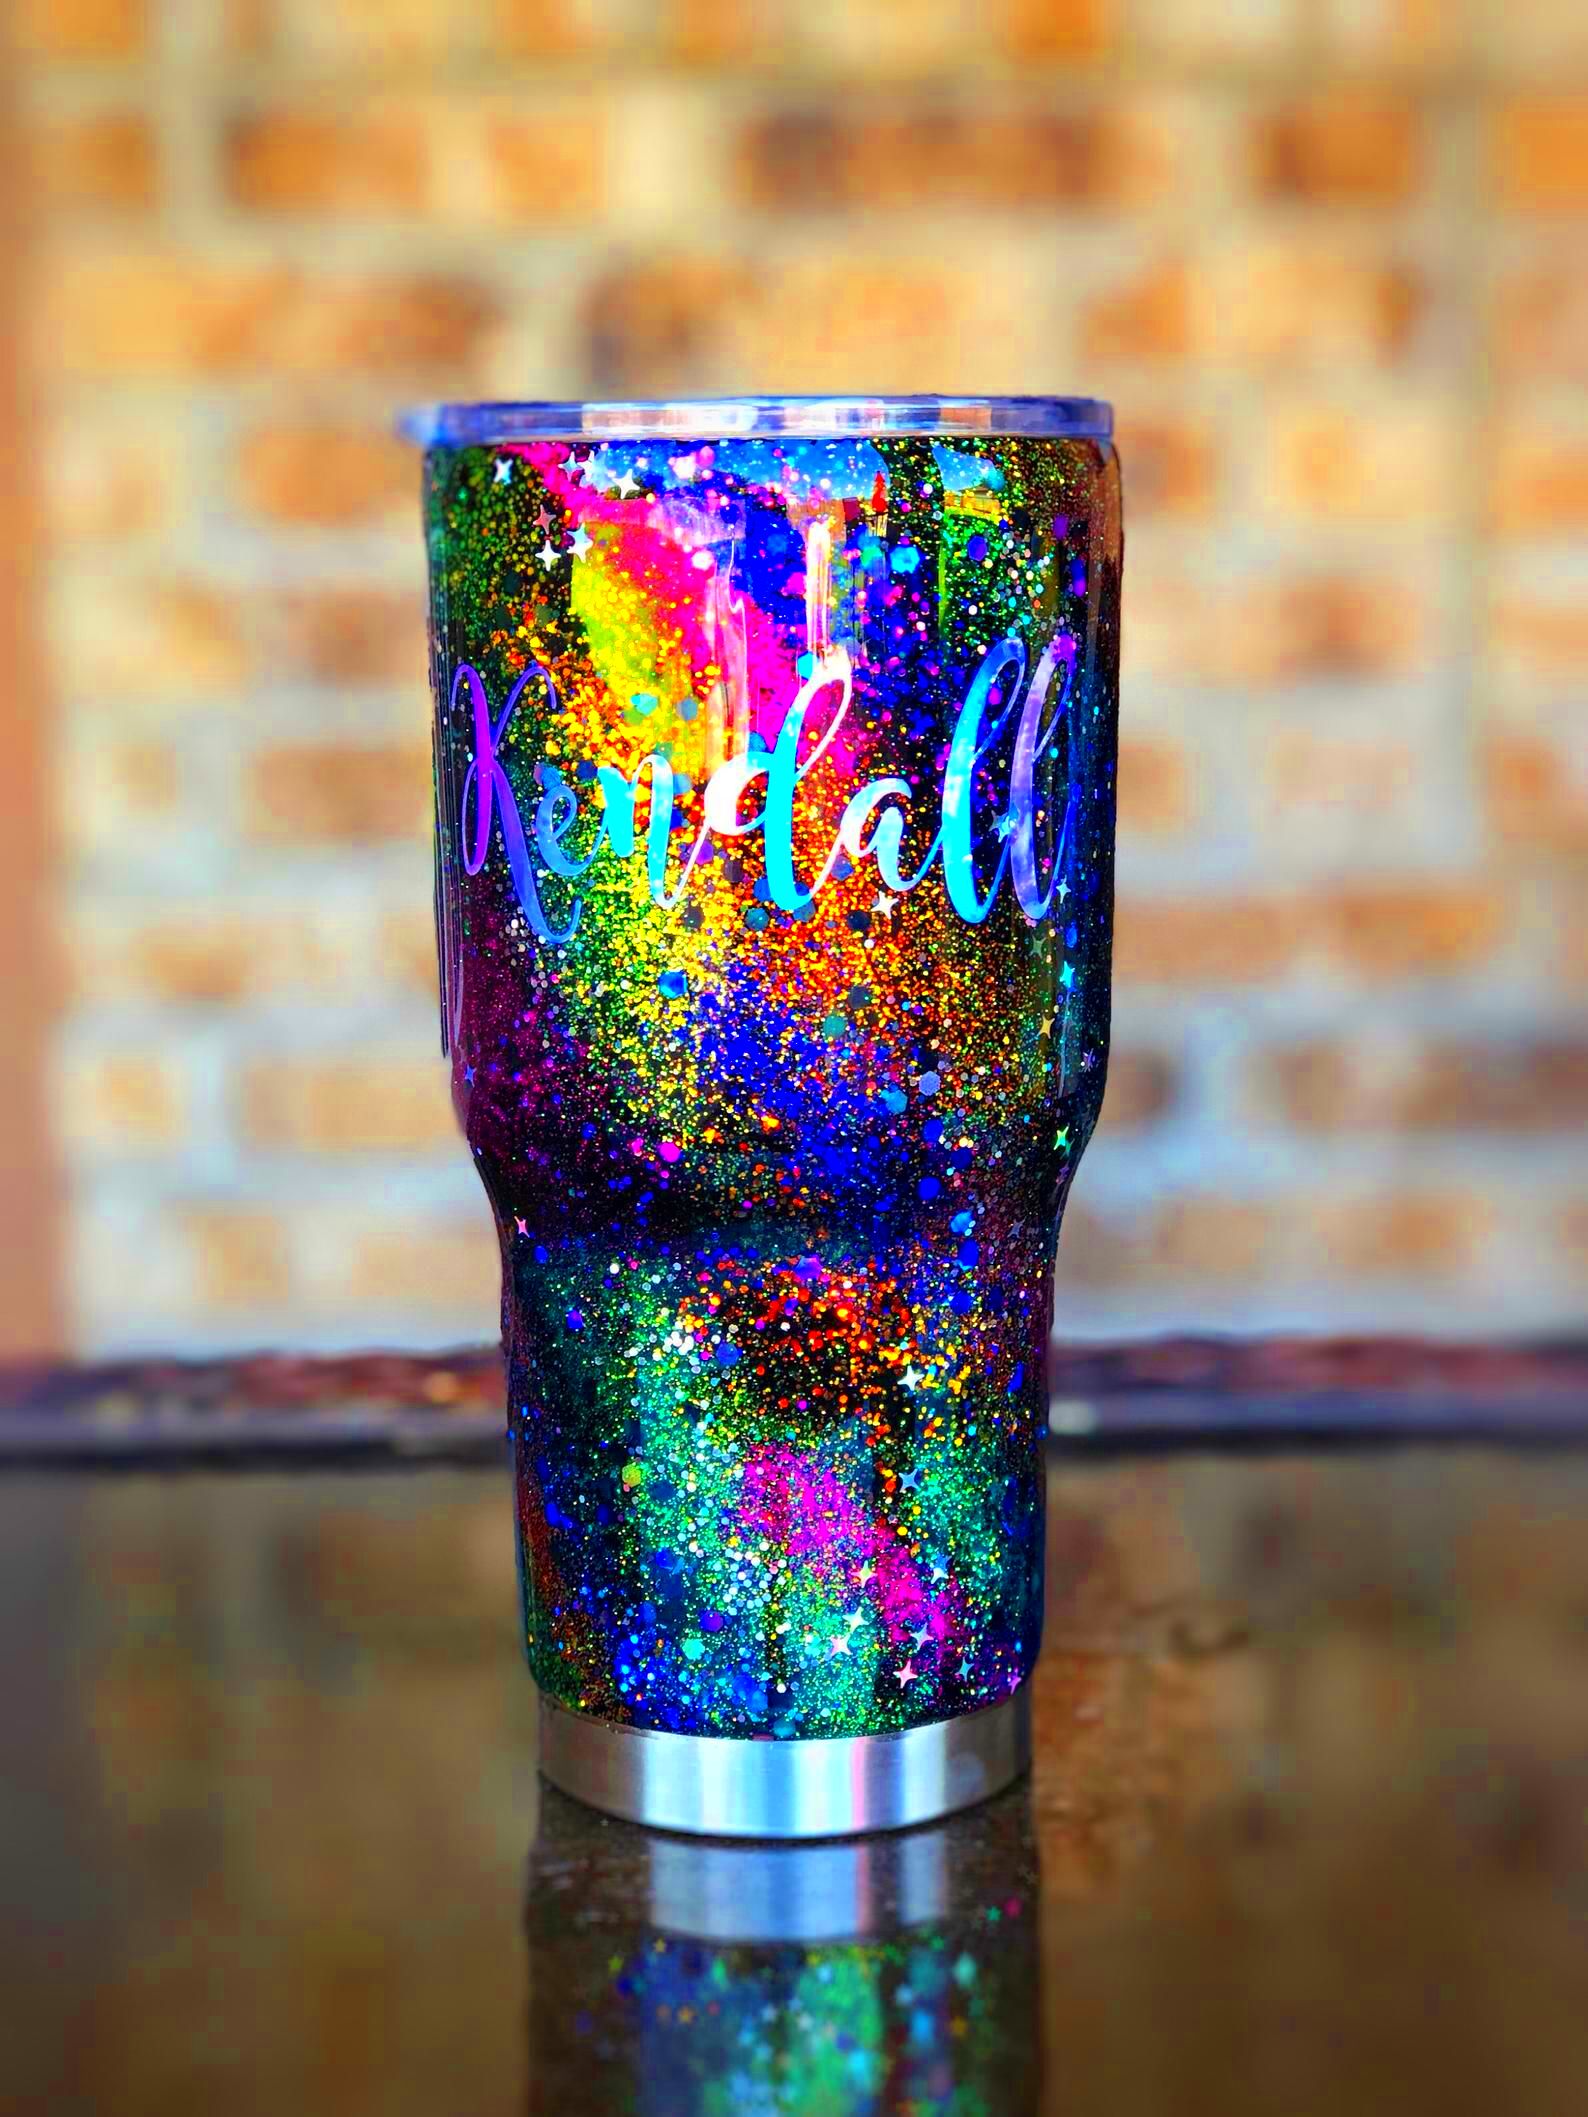
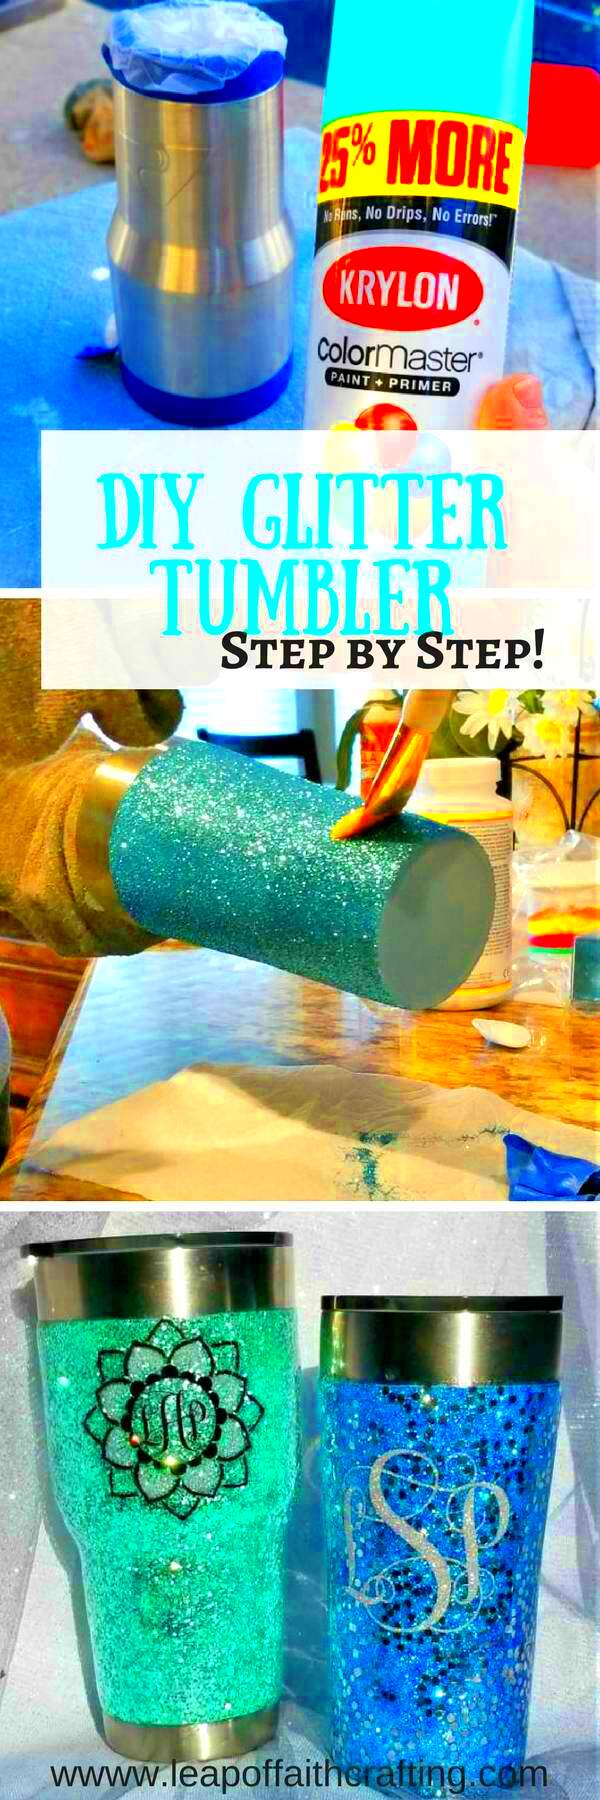
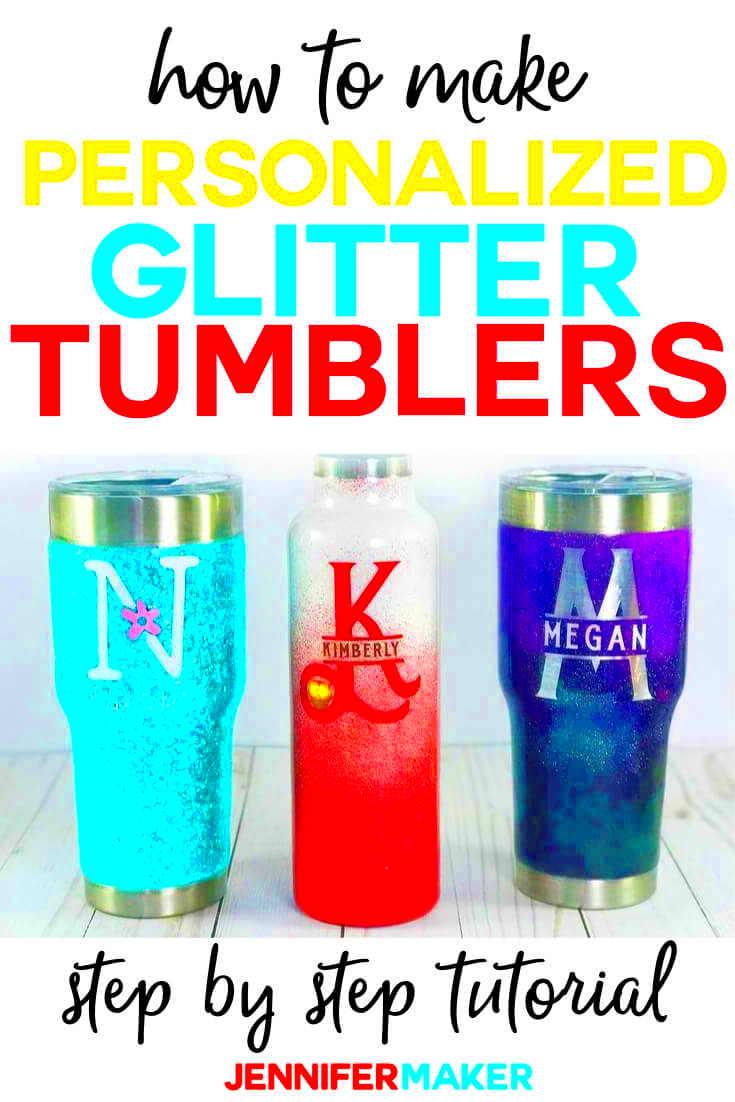
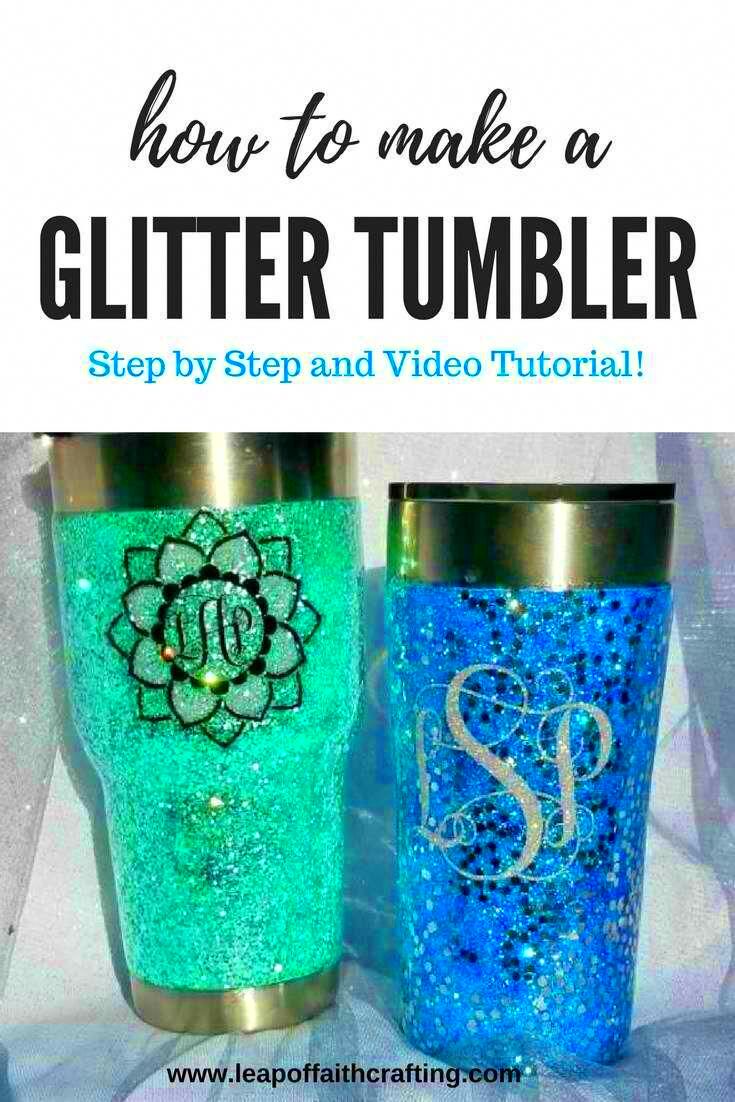
Personalizing a tumbler is a fun and creative way to express yourself. Whether it's a gift for someone special or a treat for yourself, a custom tumbler can turn an ordinary item into something unique and meaningful. This guide will walk you through the process of making your own personalized tumblers, from selecting the right materials to designing the perfect image. By the end, you'll have all the tools you need to create a one-of-a-kind tumbler that reflects your personality or brand.
Choosing the Right Tumbler for Personalization

The first step in making your personalized tumbler is choosing the right base. Not all tumblers are the same, and the one you select will affect how well your design turns out. Here are a few factors to consider when choosing the perfect tumbler:
- Material - Tumblers are typically made from stainless steel, plastic, or glass. Stainless steel is durable and keeps drinks cold or hot for long periods, making it ideal for personalized designs.
- Size - Tumblers come in various sizes. Choose one that fits your needs, whether it’s a small 12oz tumbler for a quick drink or a large 30oz tumbler for long hours of hydration.
- Shape - Some tumblers have a tapered shape, while others are straight. Consider how the image will wrap around the tumbler and if the shape complements your design.
- Design Features - Tumblers with smooth, flat surfaces are easier to print on. Check if the tumbler has any textures or curves that might make the printing process more challenging.
Choosing the right tumbler ensures your design is not only visually appealing but also practical for everyday use. Once you have your tumbler, you're ready to move on to the next step of adding your unique design.
Also Read This: Selling Your Images to Magazines
Finding High-Quality Images for Your Tumbler Design

Once you've chosen your tumbler, it's time to select the image that will make it stand out. Finding the right image is crucial, as a high-quality design can elevate the overall look of your tumbler. Here's how you can find the best images for your project:
- Use High-Resolution Images - Low-resolution images will appear blurry when printed, so always choose high-quality images with a resolution of at least 300 DPI (dots per inch). This ensures a sharp and clear design.
- Free Resources - Websites like LovePik offer free PNG images that can be downloaded and used for your tumbler designs. These images are perfect because they often come with transparent backgrounds, making them easy to place on your tumbler.
- Consider Your Theme - The image should reflect the theme you want for your tumbler. Whether it’s a favorite quote, a logo, or a beautiful landscape, make sure it suits your style or message.
- Check the Image License - If you're using a design for commercial purposes, ensure the image is royalty-free or you have the proper license to use it. LovePik offers a variety of free and paid options that are safe to use.
By selecting high-quality images from trusted sources, you’ll be able to create a design that not only looks great but also lasts. So take your time, browse through different resources, and pick an image that reflects your style.
Also Read This: Rotating Images in Keynote Presentations
Using LovePik PNG Image Downloader for Tumblers

LovePik is a fantastic resource for finding high-quality PNG images, perfect for customizing your tumbler. Whether you’re designing for personal use or a special gift, LovePik offers a variety of free and premium images that can help bring your vision to life. Here's how you can use the LovePik PNG Image Downloader to get the images you need for your project:
- Browse the Collection - Start by browsing LovePik’s extensive collection of images. They offer a wide range of categories including nature, quotes, patterns, and more. Simply type in keywords related to your design idea and explore the results.
- Filter Your Search - Use the filters to narrow down your search. You can select PNG format and transparent background to make the image easier to use for printing on your tumbler.
- Download the Image - Once you've found the perfect image, click the download button. LovePik allows you to download images in different resolutions, but for tumblers, you should choose the highest resolution available to ensure clarity when printing.
- Check Image Quality - After downloading, double-check the image’s quality to ensure it’s sharp and high-resolution. If it's a premium image, make sure you have the appropriate license to use it.
Using LovePik’s PNG Image Downloader gives you easy access to a vast library of beautiful images, helping you create custom designs that will make your tumbler look amazing. So go ahead, browse through the collection, and pick the perfect image for your tumbler project!
Also Read This: Adding Images in Hunger Games Simulator
Designing Your Tumbler Image with Editing Tools
Once you’ve downloaded the image you want to use, it’s time to customize it to fit your tumbler design. Editing tools are essential for making sure the image looks great and fits the shape and size of your tumbler. Here’s how you can start designing:
- Use a Design Software - Tools like Adobe Photoshop, GIMP, or Canva are excellent for editing your tumbler images. These programs allow you to resize, crop, and adjust the image until it fits perfectly on your tumbler.
- Resize the Image - Make sure the image size is correct for your tumbler. For example, a standard 20oz tumbler might need an image size of 9x4 inches, but always check the exact dimensions required by your printing method.
- Crop and Align the Image - Depending on your tumbler's shape, you may need to crop the image to fit properly. Align the image in the center, or if you want it to wrap around the tumbler, ensure it’s designed to do so.
- Adjust Colors and Effects - Enhance the image by adjusting brightness, contrast, and saturation. Some tumblers may look better with certain color tones, so feel free to experiment with these settings to match your aesthetic.
- Add Text or Graphics - Personalizing your design with text or additional graphics can make your tumbler even more unique. Add a meaningful quote or fun symbols to reflect your personality.
Once you’re satisfied with your design, save the file in the appropriate format (usually PNG) to ensure it maintains its transparency and high quality. The next step is printing your design on your tumbler, which will bring your creation to life!
Also Read This: Here’s A Complete and Eye-Opening Review on VK Video Downloader for PC
Printing Your Image on the Tumbler
Printing your image onto a tumbler is the final step in creating your personalized piece. There are several methods you can use, depending on your equipment and the look you're going for. Here's a breakdown of the most common printing techniques:
- Heat Transfer Printing - This is one of the most popular methods for printing images on tumblers. It involves transferring your design onto special transfer paper and then using heat to bond it to the tumbler. This method works well with stainless steel tumblers and offers vibrant, long-lasting prints.
- Sublimation Printing - Sublimation printing is another great option for tumblers, especially those with a polyester coating. The image is turned into gas under heat, which then bonds with the fabric or material, making the design part of the tumbler. This method provides high-quality, durable prints.
- Vinyl Decals - If you don’t have access to heat presses, vinyl decals are an easy alternative. You can print your design on vinyl sheets, cut it out, and apply it to the tumbler using transfer tape. This method works best for simpler designs and smaller batches.
- Direct-to-Garment (DTG) Printing - DTG printing allows you to print directly onto the tumbler with a specialized printer. This method is often used for small-batch custom items and provides a high level of detail.
Once you’ve printed your image on the tumbler, let it cool and dry properly to avoid any smudging or damage. If you’re using a more permanent method like sublimation, the design will be built to last through multiple washes and daily use.
Now that your tumbler is printed, it’s ready to be enjoyed or gifted! With the right tools and methods, you can easily create stunning personalized tumblers that stand out.
Also Read This: Why 123RF Is the Ultimate Platform for Creative Inspiration
Finishing Touches for Your Custom Tumbler
Now that you've created your personalized tumbler, it's time to add the final touches that will make your design stand out. The finishing process is just as important as the design itself because it helps preserve the quality and appearance of your tumbler. Here are a few steps you can follow to ensure your custom tumbler is both beautiful and durable:
- Seal the Design - To protect your design from fading or getting scratched, apply a protective sealant. There are different types of sealants available, such as epoxy resin or a clear acrylic spray. Choose one that suits your tumbler's material and printing method.
- Dry and Cure - After applying the sealant, allow the tumbler to dry completely. If you're using epoxy resin, this might take up to 24 hours. Proper curing ensures that the design stays intact over time, even with daily use.
- Inspect for Imperfections - Before calling your project complete, inspect the tumbler for any imperfections. Look for uneven spots, areas where the image didn’t transfer well, or bubbles in the sealant. You can fix small issues by lightly sanding and reapplying the sealant.
- Clean the Tumbler - Clean the tumbler carefully with a soft cloth to remove any dust, fingerprints, or residues. Avoid harsh chemicals that could damage the design or sealant.
- Add a Personal Touch - Consider adding a small tag, ribbon, or custom packaging to enhance the gift-giving experience. These extra details can make your tumbler feel even more special and unique.
With these finishing touches, your tumbler will not only look amazing but also last for a long time, ready to be used or gifted to someone special.
Also Read This: How to Download High-Quality Images from Behance Projects
FAQ
Here are some common questions people have when creating custom tumblers:
- Can I use any image for my tumbler design? - You can use most images, but ensure that they are high-resolution and suitable for printing. Avoid low-quality or pixelated images to ensure the best print outcome.
- How long will my custom tumbler design last? - With the proper sealing and care, your design can last for years. Be sure to protect the tumbler from extreme heat or rough handling.
- Can I make custom tumblers without a heat press? - Yes! You can use vinyl decals or direct-to-garment printing as alternatives to heat presses. Both methods work well for small batches and simpler designs.
- Do I need special software to design my tumbler? - While you can use advanced software like Photoshop, free tools like Canva or GIMP are also great options for beginners. They provide enough functionality to create beautiful designs without the need for complicated tools.
- Can I wash my custom tumbler? - Yes, but it's important to follow care instructions. Hand wash your tumbler to preserve the design, especially if it's printed with a method like vinyl or heat transfer. Avoid placing it in a dishwasher to prevent damage.
Conclusion
Creating your own custom tumbler with personalized images is a fun and rewarding process. From choosing the right tumbler and finding the perfect image to printing and adding the final touches, each step allows you to showcase your creativity. Whether you're making a tumbler for yourself, as a gift, or for a business, the possibilities are endless. By following the steps in this guide, you can create a durable, unique, and professional-looking tumbler that stands out. So, why wait? Start designing your custom tumbler today and enjoy the satisfaction of making something truly special!


