Hey there! So, you're looking to dive into the world of Adobe Stock templates? Great choice! These templates can save you a ton of time and provide a fantastic foundation for your designs. Whether you're a seasoned pro or just starting out, mastering the art of editing these templates in Photoshop can elevate your creative projects. Let’s get started on this journey!
Understanding Adobe Stock Templates

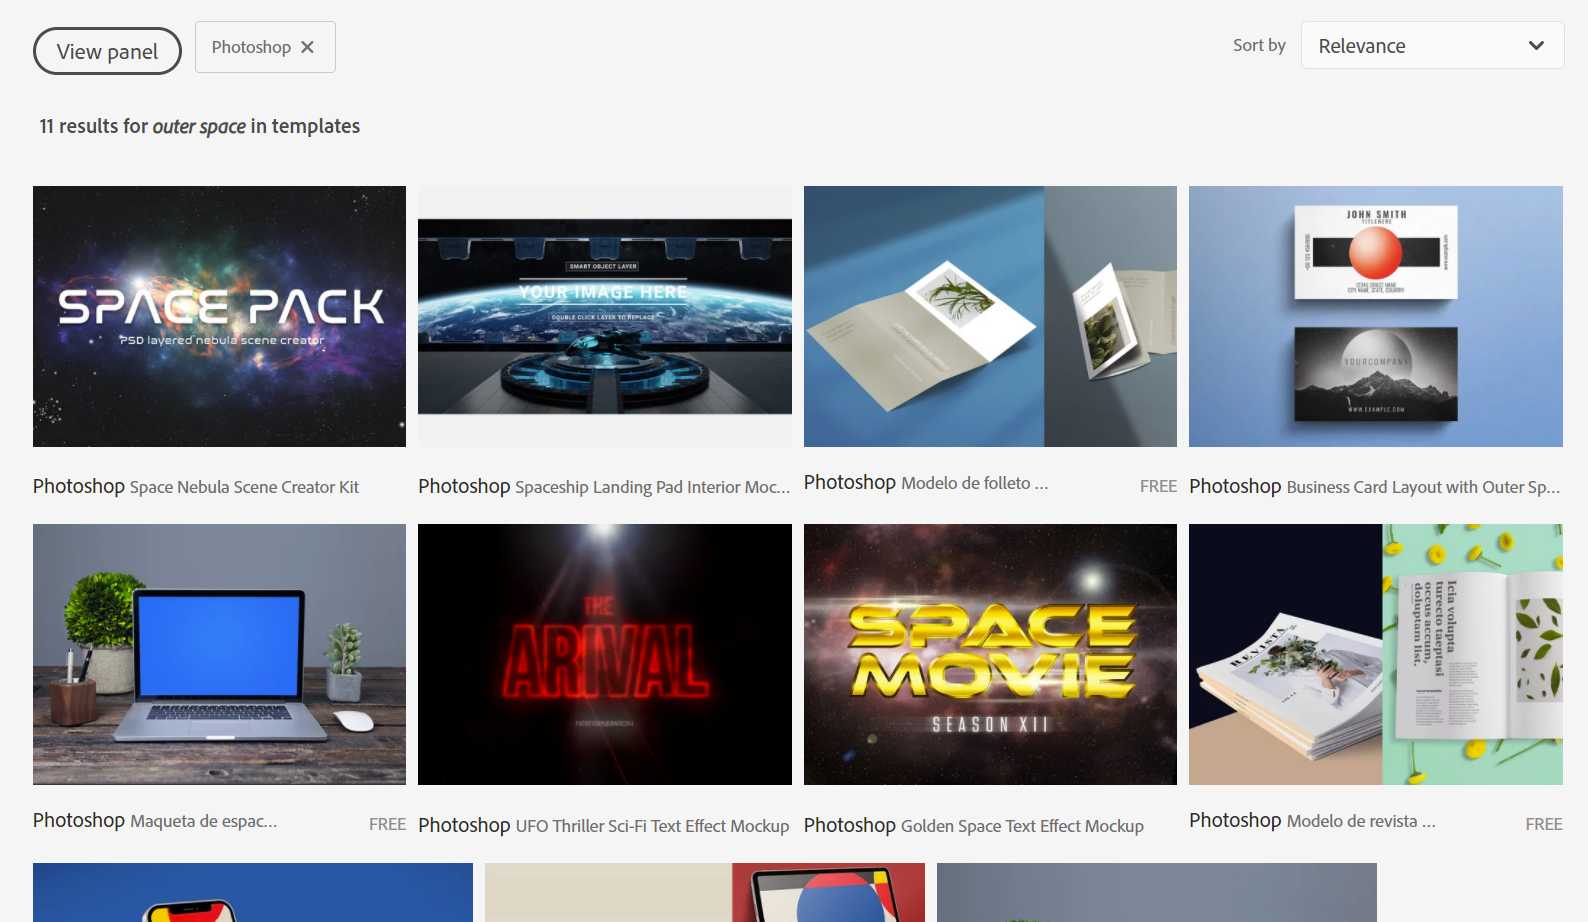
Adobe Stock templates are pre-designed assets that you can customize to make your own unique creations. They come in various formats—including brochures, social media posts, flyers, and web designs—allowing you to find the perfect fit for your project. Now, let’s break down some essential components to understand how to make the most of these templates:
- File Types: Templates are often available in PSD (Photoshop), AI (Illustrator), INDD (InDesign), or even as a standalone PNG format. Knowing the format you’re working with helps optimize your editing process.
- Layers: Most Adobe Stock templates are layered, meaning different elements are separated into their own layers. This allows for easier editing, as you can manipulate, hide, or adjust each part without affecting the whole design.
- Customization: One of the best parts about using these templates is how customizable they are! You can change colors, fonts, images, and layouts to suit your needs. Just remember to maintain the essential elements that bring your design together.
- Licensing: Always check the licensing agreement associated with each template. Some templates might have restrictions on commercial use, so it’s best to be informed to avoid any hiccups down the line.
By understanding these key elements, you can make the most out of Adobe Stock templates and bring your creative visions to life effortlessly!
Also Read This: Identifying the Most Promising Technology Sectors in the USA
3. Preparing Your Photoshop Workspace

Before diving into editing Adobe Stock templates, it's essential to set up your Photoshop workspace properly. A well-organized workspace not only enhances your productivity but also makes it easier to access the tools and functionalities you need.
Here are some tips to prepare your workspace:
- Customize Your Panels: Photoshop offers a variety of panels that you can use, such as the Layers panel, Color panel, and Properties panel. To customize, go to Window in the top menu and select the panels you want to display. Feel free to drag and drop these panels to arrange them in a way that suits you.
- Use Workspaces: Photoshop has pre-defined workspaces tailored for different tasks. For template editing, the Essentials workspace is a great start. You can access this under Window > Workspace, and you can even create a custom workspace based on your preferences.
- Keyboard Shortcuts: Familiarizing yourself with keyboard shortcuts can save you a great deal of time. For example, pressing Ctrl + T for Transform, or Ctrl + J to duplicate a layer can make your editing process much smoother.
- Color Settings: If you’re working on projects that require accurate colors, make sure your color settings are correctly set. Navigate to Edit > Color Settings to calibrate as necessary.
Taking the time to arrange your workspace can significantly enhance your editing experience, allowing you to focus more on your creativity and less on searching for tools.
Also Read This: Viewing Previews in Adobe Stock
4. Opening Adobe Stock Templates in Photoshop

Now that your workspace is set up, it’s time to open those amazing Adobe Stock templates in Photoshop. Whether you're working on a social media graphic, a brochure, or an email header, accessing templates correctly is key to an efficient workflow.
Here’s how to open Adobe Stock templates:
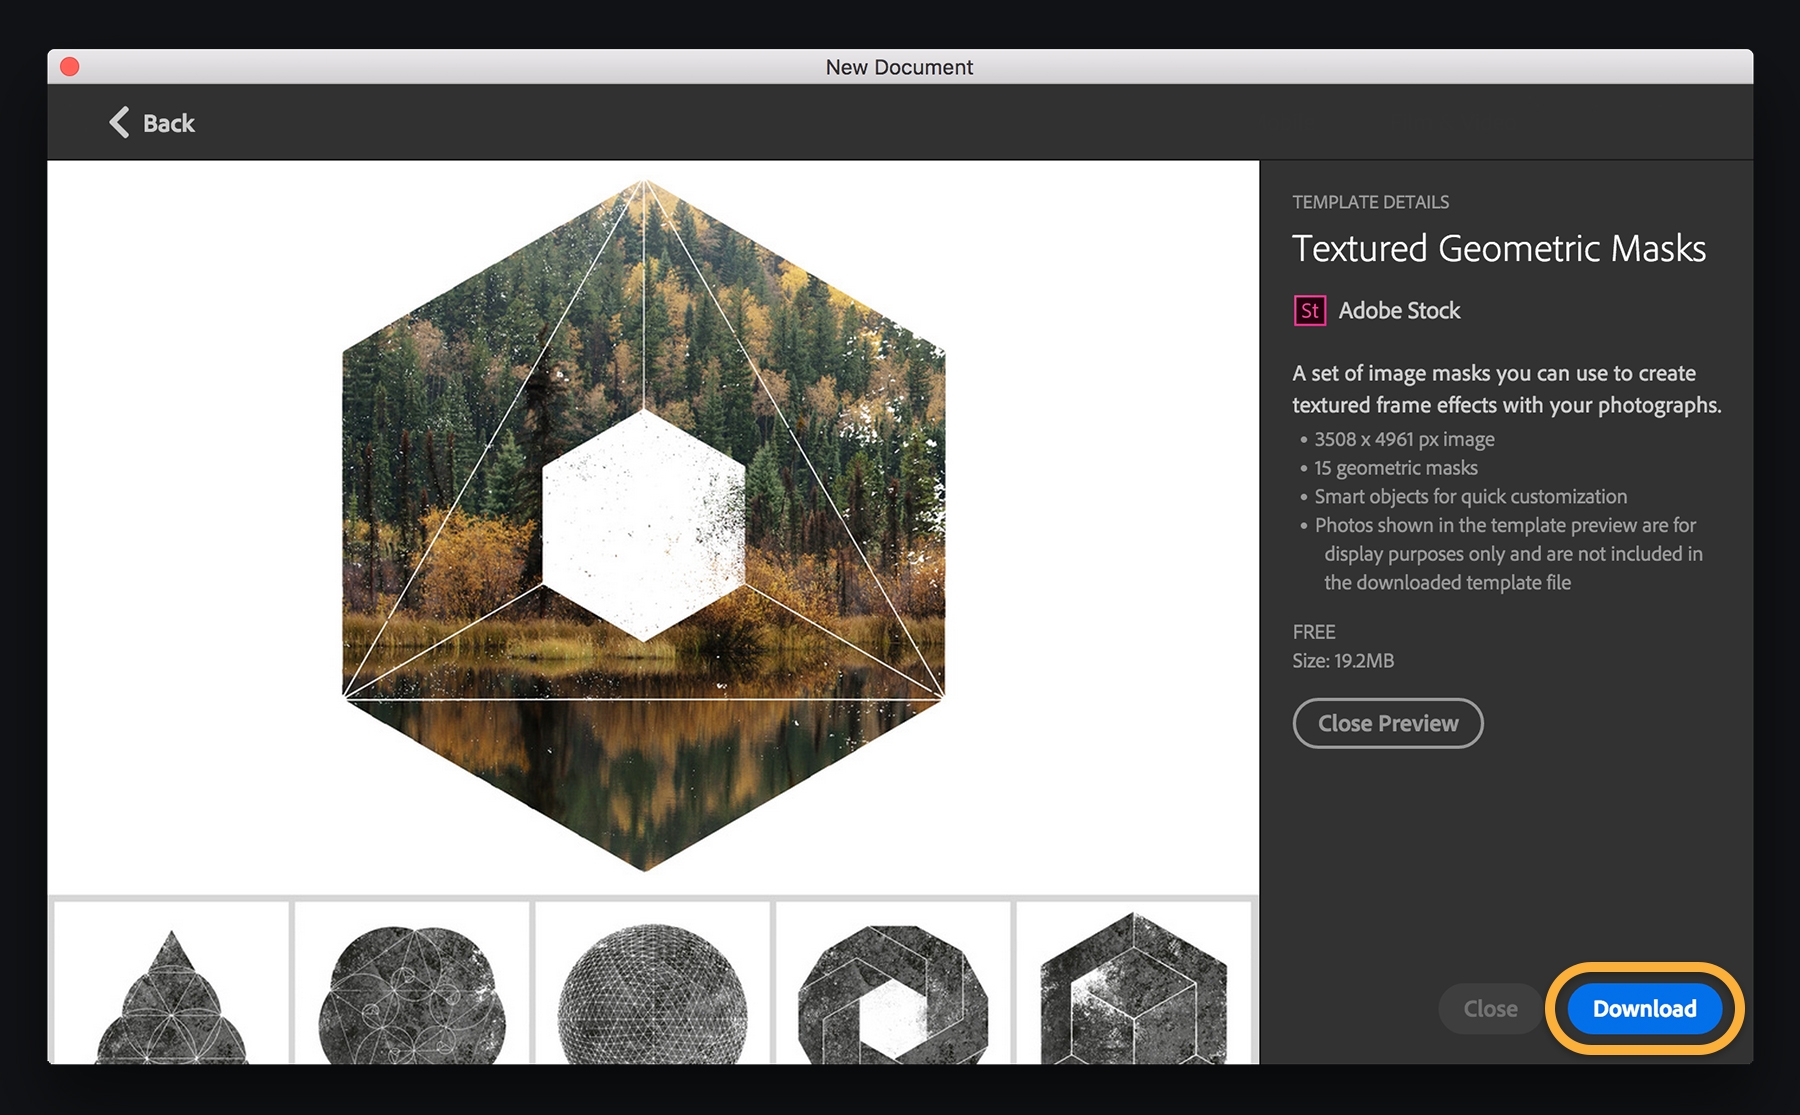
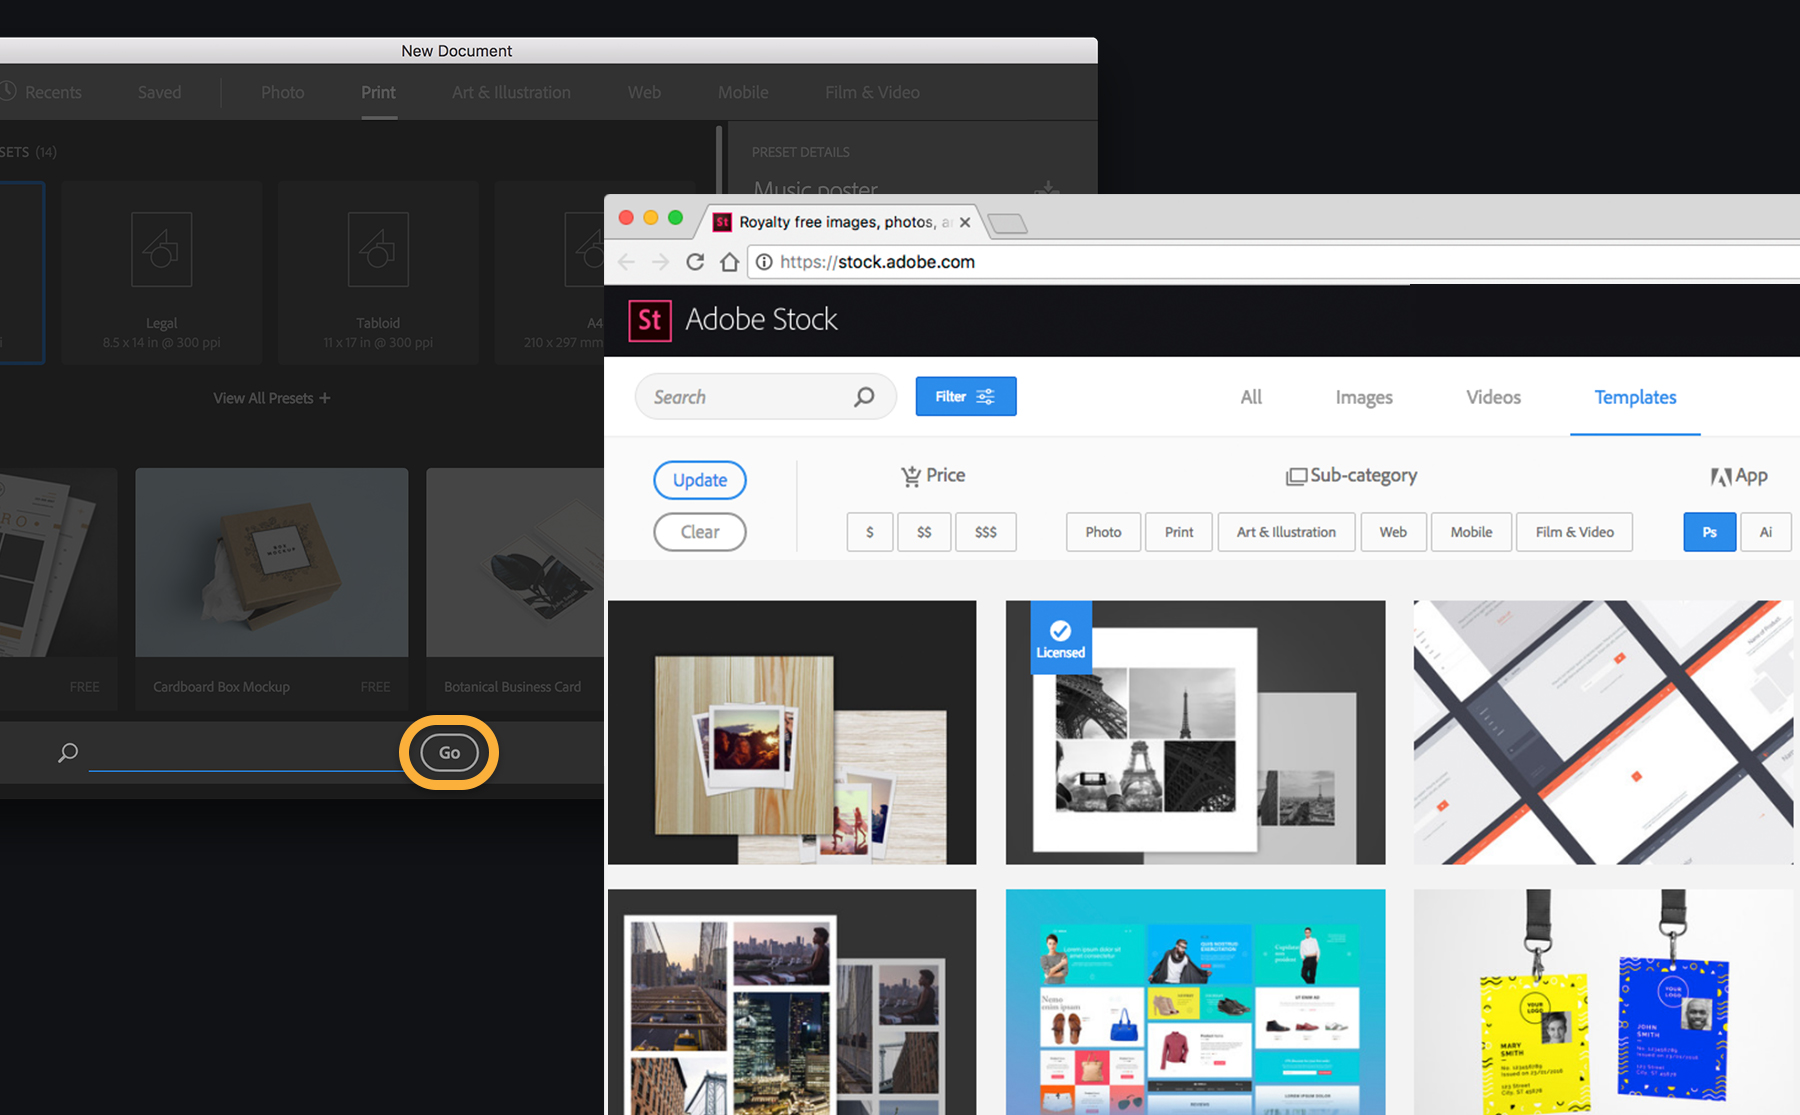
- Purchase or Download the Template: First things first, ensure you've either purchased or downloaded the template from Adobe Stock. If you have an Adobe Creative Cloud subscription, you may have access to a library of templates to choose from.
- Locate the File: Once you’ve downloaded the template, locate it on your computer. Adobe Stock templates typically come in a .PSD file format, which is perfect for editing in Photoshop.
- Open Photoshop: Launch Photoshop if it isn’t already open. You can do this by double-clicking the Photoshop icon on your desktop or searching for it in your applications.
- Open the Template File: Go to File > Open from the top menu or simply use the shortcut Ctrl + O. In the dialogue that appears, navigate to the location where you saved your downloaded template and select the file. Click Open.
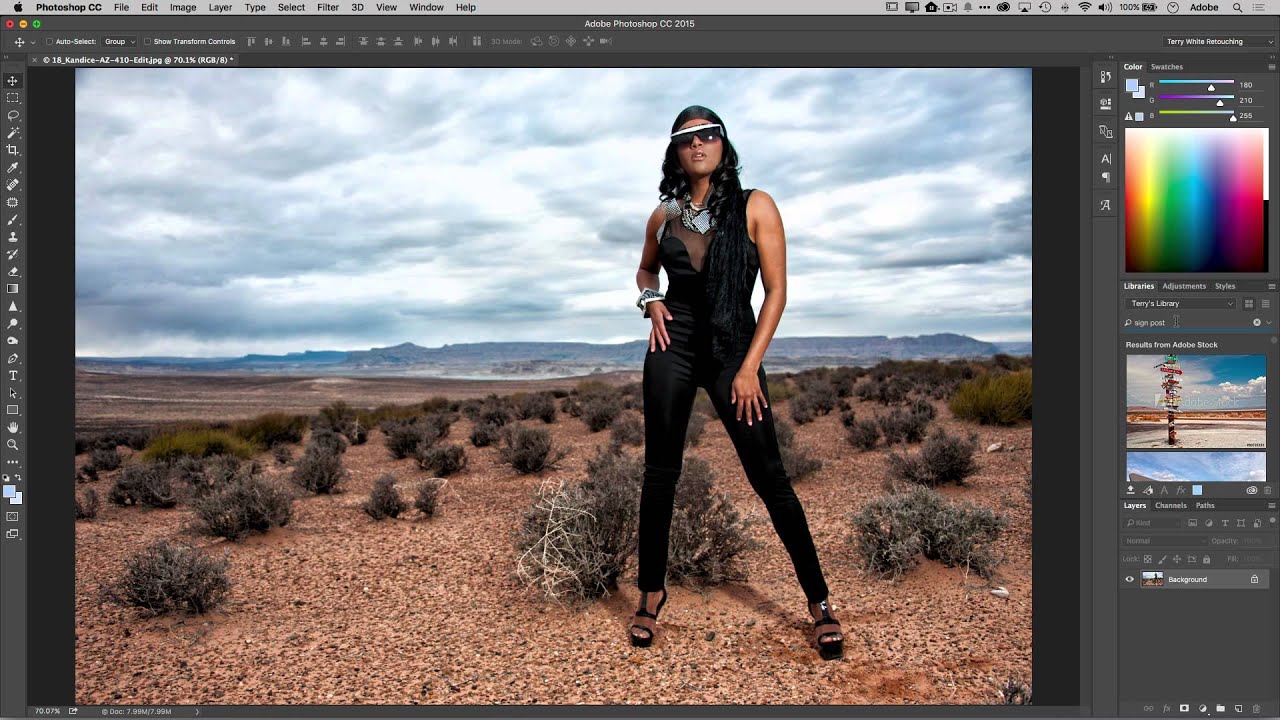
- Explore the Layers: Once the template is open, take a moment to explore the layers in the Layers panel. Most templates are organized into folders for easy navigation, so you can easily find elements to edit.
Opening your template correctly sets the stage for an effective editing experience, ensuring that you can focus on bringing your vision to life!
Also Read This: How to Create a Portfolio with Behance
Editing Text and Graphics in Templates

When you start working with Adobe Stock templates in Photoshop, the first thing you'll likely want to do is edit the text and graphics. It's important to make these elements your own, so they truly reflect your brand or personal style. So, let’s jump right in!
To edit text in a template, you’ll want to select the Text Tool from the toolbar. Here’s a quick step-by-step:
- Click on the “T” icon in the toolbar.
- Click on the text you want to change in the template.
- Type in your new text, and watch as it updates in real time!
Isn't that easy? But wait, there’s more! You can also customize the font, size, and weight from the Character panel. Here’s how:
- Go to Window > Character to bring up the Character panel.
- Select your text layer and choose from a variety of fonts, sizes, and styles.
Now, onto graphics. Editing shapes or images in your template can be just as straightforward. Here’s what you do:
- Select the graphic layer in the Layers panel.
- Use the Move Tool to reposition, or hit Ctrl + T (Cmd + T on Mac) to transform it.
- To replace an image, simply drag a new image file into the document, and clip it to the existing shape.
By following these simple steps, you’ll give your project a unique touch, making it stand out from the crowd!
Also Read This: Using iStock Photos for Your Projects – A Complete Guide for Beginners
Customizing Colors and Styles
After you've edited your text and graphics, the next step in mastering Adobe Stock templates is customizing colors and styles. Colors can drastically alter the mood and impact of your design, and with a few tweaks, you can create an entirely new look!
To change colors in your template, try these methods:
- Select the layer containing the graphic you want to change.
- Go to the “Layer Styles” at the bottom of the Layers panel.
- Select “Color Overlay” and pick a color that suits your design.
Alternatively, you can use the Hue/Saturation adjustment layer for more dynamic changes:
- Go to Layer > New Adjustment Layer > Hue/Saturation.
- Adjust the sliders to find the perfect color.
Now, let’s talk about styles. You can utilize the Style panel to enhance your template further. Here’s how:
- With your layer selected, go to Window > Styles to display the Styles panel.
- Click on different styles to see their effects applied in real-time.
Finally, don’t forget that you can also create and save your own custom styles. Just tweak existing options to suit your needs and save them for future projects. With these tips, your designs won’t just be templates; they’ll be uniquely yours!
Also Read This: Download Videos from Storyblocks for Free Without Hidden Costs
7. Saving Your Edited Templates
So, you’ve put in the time and effort to edit your Adobe Stock template—great work! But before you pop the confetti, let’s talk about how to save your masterpiece properly. Saving might seem like a no-brainer, but it’s crucial to do it correctly to ensure you won’t lose any of your hard work.
First and foremost, you’ll want to save in the right format. Here’s a quick rundown of options:
- PSD (Photoshop Document): This is the best choice if you plan to keep editing the file later. It retains all your layers, adjustments, and effects.
- PNG: If you want a high-quality image with a transparent background, PNG is your friend. However, keep in mind that you'll lose layers.
- JPEG: This is ideal for sharing due to its smaller file size, but it flattens everything into one layer, making future edits difficult.
To save your file, simply click on File in the top menu, select Save As, choose your desired format, and hit save. Make sure to name your file appropriately so you can find it easily later.
Also, consider creating a backup. It never hurts to have an extra copy saved on a cloud storage service or external hard drive. Remember, the last thing you want is to lose that gorgeous design you just spent hours perfecting!
Also Read This: Step by Step Guide to Uploading an Illustrator File to Behance
8. Tips for Effective Template Editing
Edit away with confidence by following these useful tips for effective template editing. Whether you're a newbie or have some experience under your belt, these strategies will help elevate your design game!
- Know Your Purpose: Before you dive into editing, have a clear idea of what you want the final product to convey. What message or theme do you want to express?
- Customize with Consistency: Stick to a consistent color palette and font selection. Using a tool like Adobe Color can help you find complementary colors easily.
- Utilize Layers Wisely: Organizing your layers helps you keep track of elements while editing. Group similar layers together and label them for easy access.
- Keep It Simple: Less is often more. Don’t overcrowd your design; focus on making the most important elements stand out.
- Preview Regularly: Periodically check how your template looks as a whole. Zoom out or switch to different views to see if everything flows well.
- Seek Feedback: Don’t hesitate to ask someone for their opinion. Fresh eyes can catch things you might have missed.
By implementing these tips, you’ll find that editing templates not only becomes easier but also more enjoyable. Happy editing!
Mastering Adobe Stock Templates Editing in Photoshop
Adobe Stock templates provide a versatile starting point for various design projects, whether you're working on social media graphics, business presentations, or marketing materials. Editing these templates in Photoshop is a straightforward process that not only enhances your creative workflow but also allows you to produce professional-quality results efficiently. Here's a comprehensive guide to mastering Adobe Stock templates editing in Photoshop.
Getting Started
- Purchase and download your desired Adobe Stock template.
- Open the template in Adobe Photoshop.
Understanding Layers
One of the key features of templates is the use of layers. Photoshop organizes the contents of your template into different layers, making it easy to customize individual elements. Pay close attention to:
- Text Layers: Edit text by selecting the Text tool (T) and double-clicking on the text layer.
- Image Layers: Replace images by right-clicking on the layer and selecting “Replace Contents.”
- Adjustment Layers: Use these to enhance colors and contrast without affecting the original layers.
Customization Techniques
To make the template your own:
| Technique | Description |
|---|---|
| Color Adjustments | Use the Color Picker or adjustment layers to modify colors. |
| Masking | Create masks for non-destructive editing and focused changes. |
| Filters | Apply filters to create unique effects and styles. |
Final Touches
After customizing your template, ensure to save your work in multiple formats. Use PSD for future edits and export as JPEG or PNG for final use.
By following these tips and techniques, you can quickly become proficient in editing Adobe Stock templates in Photoshop, allowing for endless creative possibilities and elegant design outcomes.
Conclusion: Mastering Adobe Stock template editing in Photoshop empowers designers to create stunning, tailor-made visuals efficiently, enhancing both their productivity and creativity.
 admin
admin


