Onshape is a powerful cloud-based 3D CAD platform that allows you to create, edit, and collaborate on designs. One of its useful features is the ability to import images into your projects. Whether you are working with blueprints, reference images, or scanned drawings, importing images into Onshape can help guide your design process. This feature ensures that you can easily reference visual materials while working on your models, making the design process more efficient and accurate.
Preparing Your Images for Onshape
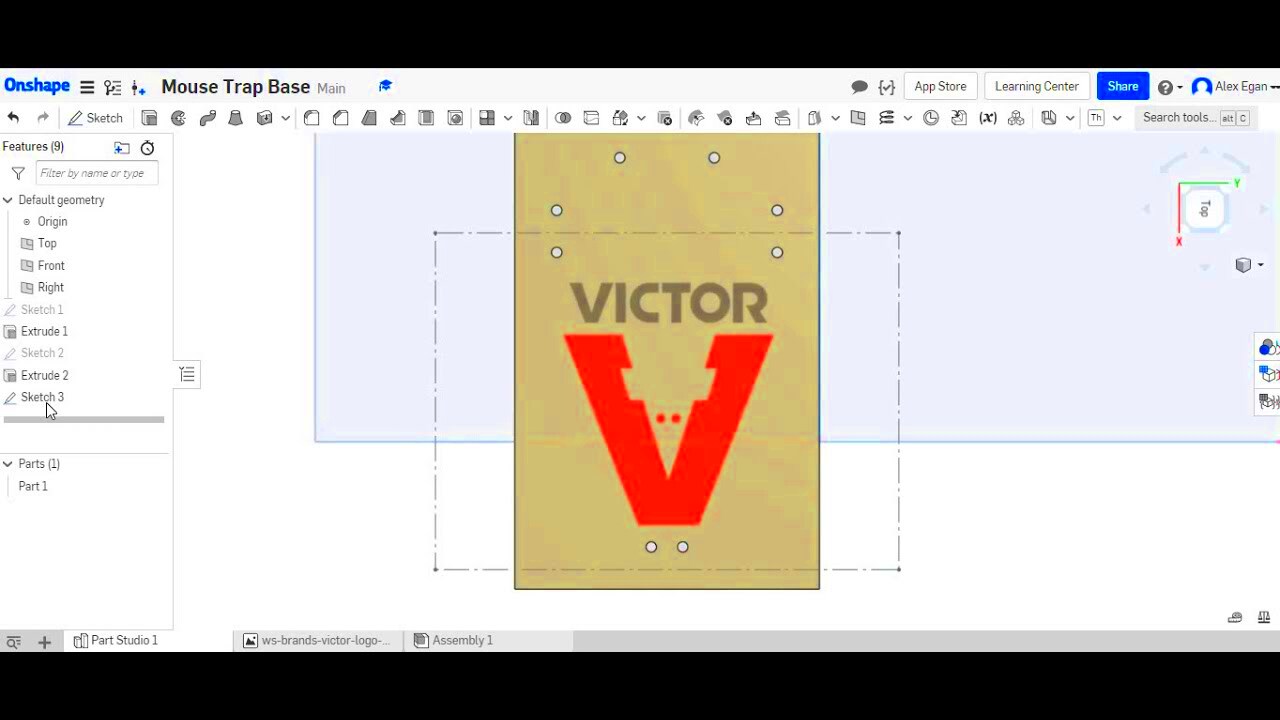
Before importing your images into Onshape, it’s essential to prepare them properly. This ensures that they fit well within your design environment and are usable for reference. Here are a few tips to get your images ready:
- Check Image Resolution: Ensure the resolution is high enough to be clear but not too large to cause slow loading times.
- Crop Unnecessary Parts: Remove any areas of the image that are not relevant to your design to avoid distractions.
- Format: Onshape supports common image formats like JPG, PNG, and BMP. Ensure your image is saved in one of these formats before importing.
- Adjust Orientation: If your image needs to be rotated or flipped, do this before importing to avoid extra editing in Onshape.
By following these steps, your images will be ready for use in Onshape without any unnecessary adjustments after the import.
Also Read This: Finding Getty Images for Your Projects and Personal Use
Steps to Import Images into Onshape
Importing images into Onshape is a simple process. Follow these steps to successfully add your images to your project:
- Step 1: Open your Onshape document and go to the part studio or assembly where you want to add the image.
- Step 2: Click on the "Insert" menu located at the top of the screen, then select "Image" from the dropdown list.
- Step 3: A file picker will appear. Select the image file you wish to import from your computer and click "Open."
- Step 4: Once the image appears, you can click and drag to position it where you want it to be in your workspace.
- Step 5: Adjust the image's size by clicking and dragging the corners, ensuring it fits with your design.
- Step 6: If necessary, you can lock the image layer so that it doesn't move while working on other parts of your design.
After completing these steps, your image will be successfully imported and ready for reference or use in your Onshape project. It’s a quick process that helps integrate visual aids into your CAD work efficiently.
Also Read This: How to Open Adobe Stock Images in Photoshop
Understanding Onshape Image Formats
Onshape supports several image formats to ensure that you can work with a wide range of visuals. Understanding the formats that work best for your project will help you avoid issues when importing your images. Onshape primarily supports the following image formats:
- JPG (JPEG): Ideal for photographs and images with gradients. This format is widely used and compresses well without sacrificing too much quality.
- PNG: Best for images that need transparency, such as logos or diagrams. PNG images retain their quality and transparency, making them a good choice for more complex images.
- BMP: A basic format that offers high quality but results in large file sizes. It is less common for use in Onshape but still supported.
- GIF: While typically used for simple animations, GIFs are supported, but they may not be ideal for detailed designs or images with many colors.
When choosing a format, consider the type of image you're working with. For most design work, PNG and JPG are the most commonly used and provide the best balance between quality and file size. If you're working with images that need transparency, PNG is often the better choice. It's important to avoid using overly large image files, as this can slow down your Onshape workspace.
Also Read This: how to get a custom image for espn fantasy football
Adjusting Image Size and Position in Onshape
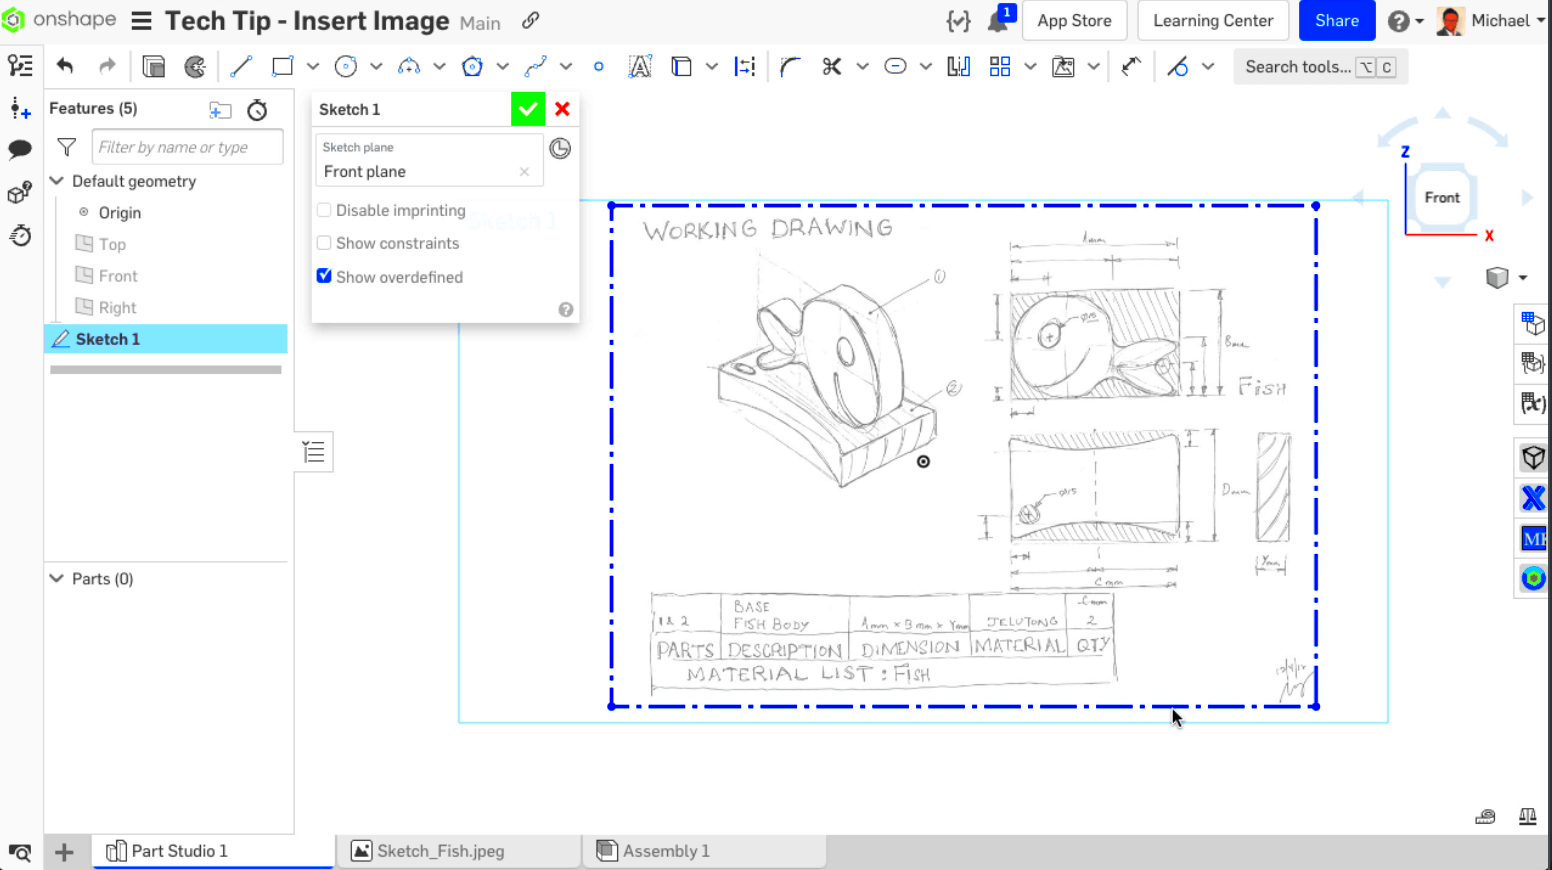
Once you've imported your image into Onshape, adjusting its size and position is crucial for it to fit well within your design. Onshape provides several easy ways to do this:
- Resizing: To adjust the size of the image, simply click on the image once to select it. Then, drag the corner handles to scale the image proportionally. Holding down the Shift key while resizing ensures the image maintains its aspect ratio.
- Repositioning: To move the image, click and hold the image, then drag it to the desired location on the screen. You can also use the arrow keys for finer adjustments after selecting the image.
- Rotation: If you need to rotate the image, select it and look for a rotation handle. Click and drag this handle to rotate the image to the desired angle. This feature is particularly useful if your image was imported at the wrong orientation.
- Locking the Position: Once the image is correctly sized and positioned, you can lock it in place. Right-click on the image and select "Lock," preventing accidental movement during your design work.
By properly adjusting your image size and position, you ensure that it aligns well with your CAD work, helping you use it as a clear reference without distracting from your main design.
Also Read This: How to Send an iMovie Video to YouTube
Editing Imported Images in Onshape
While Onshape is not primarily an image editing tool, it offers some basic image manipulation features that can be helpful when working with imported images. Here's a look at how you can edit imported images in Onshape:
- Cropping: Onshape doesn't offer direct cropping tools, but you can use the sketch tools to draw a shape over the part of the image you want to keep, then use the "Trim" tool to cut away the rest.
- Opacity Adjustment: You can adjust the transparency of the image to make it less distracting when overlaying it on your design. Right-click on the image and select "Properties" to adjust the opacity slider.
- Flipping: If you need to flip the image horizontally or vertically, you can use the rotation feature. While Onshape doesn't offer a one-click flip, rotating the image by 180 degrees achieves the same result.
- Repositioning in Sketches: If you're working within a sketch, you can adjust the image's position to fit specific sketch elements by moving it into alignment with lines or points in your sketch.
These editing features are simple but effective for making quick adjustments to images. However, for more complex editing, you may need to use external image editing software, such as Photoshop or GIMP, before importing your images into Onshape.
Also Read This: Downloading YouTube Videos with VLC Media Player for Easy Playback
Common Issues When Importing Images into Onshape
While importing images into Onshape is a straightforward process, there are a few common issues that users may encounter. Knowing about these issues can help you troubleshoot and ensure that your images are properly integrated into your design. Here are some of the most common challenges:
- File Size Issues: Large image files can cause slow performance in Onshape. If your image is too big, it may not load properly or could slow down your design workspace. It’s important to optimize the image size before importing, ensuring it’s clear but not unnecessarily large.
- Wrong Image Orientation: Sometimes, images may appear upside down or sideways after import. To fix this, you can use the rotation tool in Onshape to adjust the image’s orientation to the correct angle.
- Incorrect Format: Onshape supports several formats, but if your image is in an unsupported format, it won’t import correctly. Stick to commonly used formats like JPG, PNG, or BMP to avoid compatibility issues.
- Transparency Issues: If you're using PNG images with transparent backgrounds, ensure that the transparency is preserved after import. Sometimes, images may not display as expected, particularly if there’s a background color or layer issue in the original image.
- Positioning and Scaling Problems: After importing, you may find the image isn’t aligned properly with your design. Use Onshape’s tools to adjust the size, position, and alignment of the image to fit your workspace.
Understanding these potential issues allows you to prepare for a smoother image importing experience in Onshape and helps you resolve any setbacks quickly.
Also Read This: Guidelines for Submitting iPhone Photos to 123RF
Conclusion on Importing Images into Onshape
Importing images into Onshape is a powerful feature that enhances your design process. By bringing reference images, diagrams, or sketches into your workspace, you can create more accurate and informed models. It’s essential to prepare your images properly, select the right format, and make sure they’re positioned and scaled appropriately in your design. While the process is simple, awareness of common issues like file size, orientation, and format compatibility can help you avoid frustration. Ultimately, importing images into Onshape is a valuable tool that supports creativity and precision in your CAD projects.
FAQ
- What image formats does Onshape support? Onshape supports JPG, PNG, BMP, and GIF formats. For most design work, JPG and PNG are the most commonly used formats.
- Can I adjust the opacity of an image in Onshape? Yes, you can adjust the opacity of an image in Onshape by right-clicking the image and selecting "Properties." From there, you can adjust the opacity slider to make the image more transparent.
- How do I rotate an imported image in Onshape? To rotate an image, select it, then use the rotation handles to adjust the angle. Hold down the Shift key to ensure it rotates in 15-degree increments.
- Why is my image blurry after import? This could be due to a low-resolution image. Make sure to use high-quality images for the best results. Images with high resolution and clarity will look better when imported into Onshape.
- Can I crop an image in Onshape? Onshape doesn't offer direct cropping tools for images, but you can use sketch tools to create a boundary around the part of the image you want to keep and use trimming features to remove the rest.
 admin
admin


