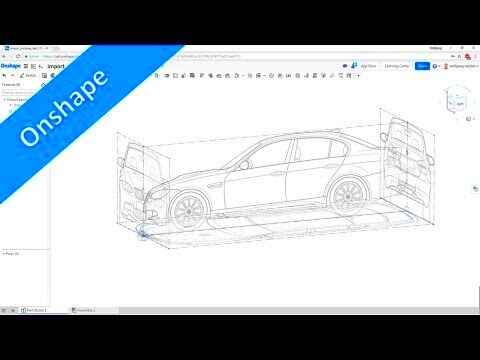
The training was performed on data until October 2023. The development of the website Onshape is based on CAD platforms that provide professional methods in 3D modeling and collaboration in a cloud environment. It is different from conventional CAD software because it can be used through any device with internet connection, hence making it suitable for mobile teams and individuals. Besides, there are several features which simplify the design process like version control, simultaneous editing by multiple users and strong modeling tools among others. The following are factors that differentiate On shape from others:
- Cloud-based Access: No need for installations or updates; everything is stored online.
- Collaboration Tools: Work with team members in real time, making changes and comments as you go.
- Version Control: Automatically save versions of your work, allowing you to revert to earlier designs easily.
- Integrations: Seamlessly integrates with other applications to enhance your workflow.
Because of these characteristics, Onshape is an excellent option for both newcomers and experienced practitioners in their field, who want simplicity in the design process.
Preparing Your Images for Importing
It is important that you prepare the images properly before you start importing them into Onshape. By doing this you will guarantee that when the time comes for their import process everything will go smoothly and they will also appear good in your designs. Some steps to take include:
- Choose the Right File Format: Onshape supports various file formats, including JPEG, PNG, and GIF. Ensure your image is in one of these formats.
- Optimize Image Size: Use image editing software to resize your image to the required dimensions. Smaller images load faster and are easier to work with.
- Check Image Quality: Ensure that your image is of high quality to avoid pixelation when scaled. Aim for at least 300 DPI (dots per inch) for clear details.
These are steps that'll get you successful while uploading illustrations into Onshape.
Also Read This: how do you embed an image
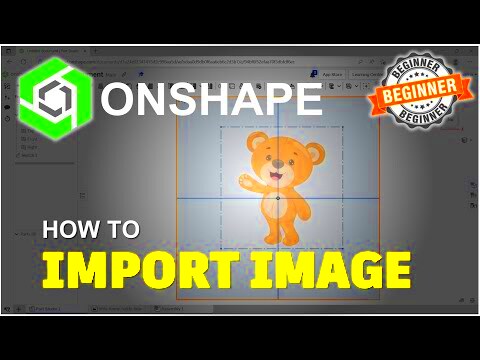
Steps for Importing Images into Onshape
Having everything set in place, let us move step by step on how you can import your images into Onshape. The following procedures should be followed for beginners:
- Open Your Onshape Document: Start by opening the document where you want to import the image.
- Select the “Insert” Option: Click on the “Insert” button located in the top toolbar.
- Choose “Image”: From the dropdown menu, select the “Image” option to begin the import process.
- Upload Your Image: Click on “Upload” and browse your files to select the prepared image.
- Position the Image: Once uploaded, click to place the image in the desired location within your workspace.
- Adjust Settings: Use the properties panel to adjust the image size and position as needed.
- Final Check: Make sure the image appears as expected and is correctly aligned with other elements in your design.
These steps will assist you in importing images into Onshape easily, thereby improving your design process.
Also Read This: How to Resize an Image Using Paint
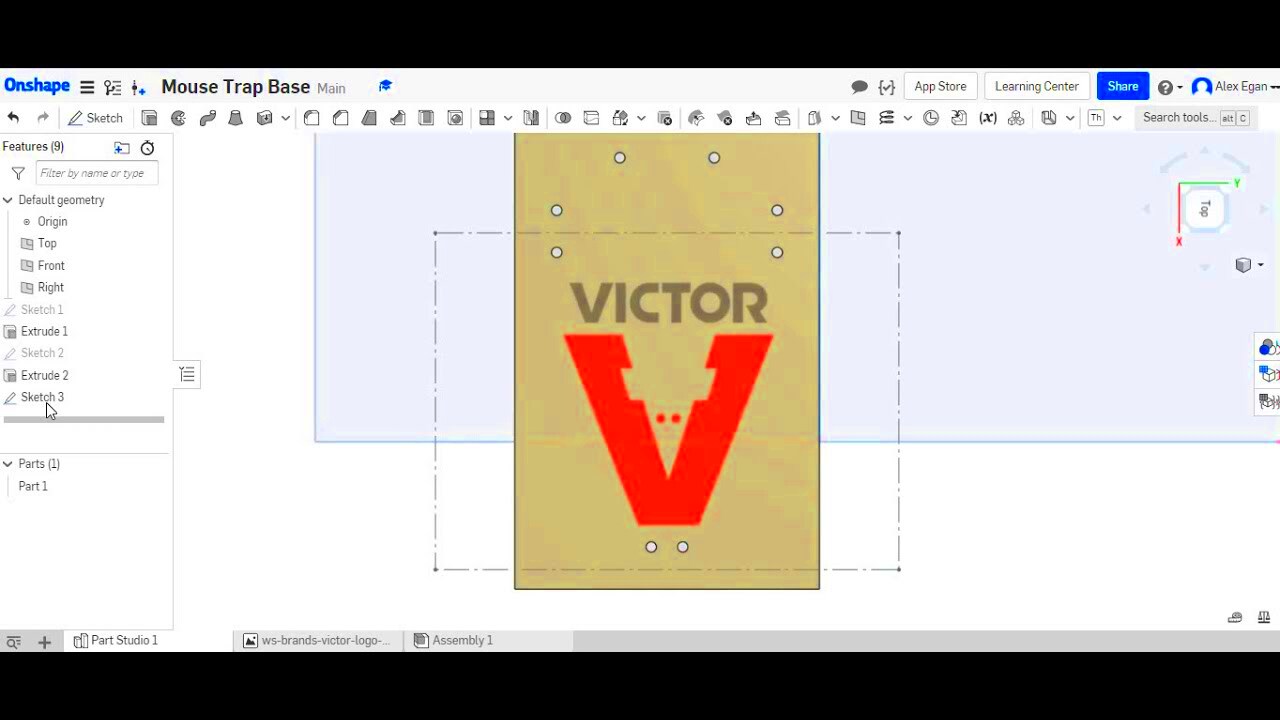
Adjusting Image Properties After Importing
To import your image into Onshape successfully, it is imperative that you modify its properties so that they align with design requirements. Proper setting up of the image enhances its clarity and helps in integrating it into the project. The following are ways by which one can adjust image properties:
- Scale the Image: You can resize the image by selecting it and dragging the corners. Maintain the aspect ratio by holding the Shift key while dragging.
- Rotate the Image: If your image isn’t oriented correctly, simply click on it and use the rotation handles to adjust its angle.
- Set Transparency: To make the image blend into your design, adjust its opacity. This is particularly useful for background images.
- Positioning: Move the image around by clicking and dragging it to the desired location. Use gridlines for precision.
By refining these qualities, you guarantee that your image will complement rather than detract from the design. Take the time to do it right because it can influence the total presentation considerably.
Also Read This: How to Cut Out an Image in Photoshop
Common Issues When Importing Images
In Onshape, you might still run into certain issues while importing images, no matter how much care you’ve taken in your plans. Knowing about them provides a way of fixing problems. Some of the typical issues and ways to solve them are given below:
| Issue | Solution |
|---|---|
| Image Not Appearing | Check if the upload was successful. Ensure the image is in a supported format. |
| Poor Image Quality | Make sure the image resolution is high enough (at least 300 DPI). |
| Incorrect Image Size | Resize the image before importing, or adjust the scale in Onshape after importing. |
| Images Not Aligning | Use gridlines or guides to help position images accurately within your design. |
In case you face other problems, consult Onshape’s help resource or community forums for more assistance.
Also Read This: How to Download Dailymotion Videos Offline
Best Practices for Using Images in Onshape
To improve your images in Onshape, you may want to consider following certain patterns for use and be able to get some benefits within your line of work as well as with end products. Some of the main tips include these:
- Use High-Quality Images: Always start with the best quality images to ensure clarity and detail in your designs.
- Keep Your Workspace Organized: Name your images descriptively and use folders to manage them effectively. This will save time when you need to locate them later.
- Limit Image Use: Avoid overcrowding your designs with too many images. Use them strategically to enhance your message without overwhelming your audience.
- Regularly Update Images: If your designs change, update the images accordingly to reflect the most current information.
- Utilize Layering: If applicable, layer images in your designs to create depth and interest.
By following these guidelines, it is possible for individuals using Onshape to make certain that their inclusion of images serves to enhance their design objectives.
Also Read This: How to Successfully Sell Your Photos to Getty Images
Tips for Beginners to Get Started
Onshape, being new to you, could have an impact on how you do things in there. Therefore, it is better to begin well if you are searching for ways to introduce images. Some easy tricks to make yourself feel experienced in the platform and utilize your image imports really well are:
- Take Advantage of Tutorials: Onshape offers a variety of tutorials and resources for beginners. Spend some time exploring these to familiarize yourself with the interface and features.
- Practice with Sample Projects: Before diving into your own projects, try importing images into sample documents. This allows you to experiment without the pressure of perfection.
- Explore the Community Forums: Join the Onshape community forums where you can ask questions, share experiences, and learn from others who have been in your shoes.
- Start Simple: Begin with basic images and projects. As you gain confidence, you can take on more complex designs.
- Experiment with Different Formats: Try importing images in various formats to see which ones work best for your specific needs.
Workin’ on your skills is the best way to achieve perfection. You will be at ease once you get too much used to Onshape by exploring and trying new things in it.
Also Read This: How to Create a Playlist on Dailymotion to Organize Your Favorite Videos Easily
Frequently Asked Questions
When you start your journey with Onshape, you may have a question or two about importing images. Below are some of the frequently asked queries and their responses:
| Question | Answer |
|---|---|
| What file formats can I import? | You can import images in JPEG, PNG, and GIF formats. |
| How do I resize an image after importing? | Select the image and drag the corners to resize it while holding the Shift key to maintain the aspect ratio. |
| Can I edit the image properties later? | Yes, you can adjust properties like scale, rotation, and transparency at any time after importing. |
| What should I do if my image isn’t appearing? | Check if the upload was successful and confirm the image is in a supported format. |
Onshape’s help sources or community forums can be consulted for any further questions you may have!
Conclusion and Final Thoughts
Uploading photographs on Onshape may appear so terrifying if you are doing it for the first time but through sufficient practice and learning different methods, it ends up being an important ability in your design set of tools. Understanding Onshape’s features makes it easier, correctly preparing images will enhance sketches significantly while adhering to some of the best practices helps. Don’t hesitate to try things out because this is going to not only build up your artistry abilities but also increase your self-assurance.
When getting started with Onshape, remember these suggestions and best practices, as well as don’t hesitate to reach out whenever assistance is needed. The Onshape community is an excellent resource with countless experienced users willing to impart their wisdom. Happy designing!
 admin
admin


