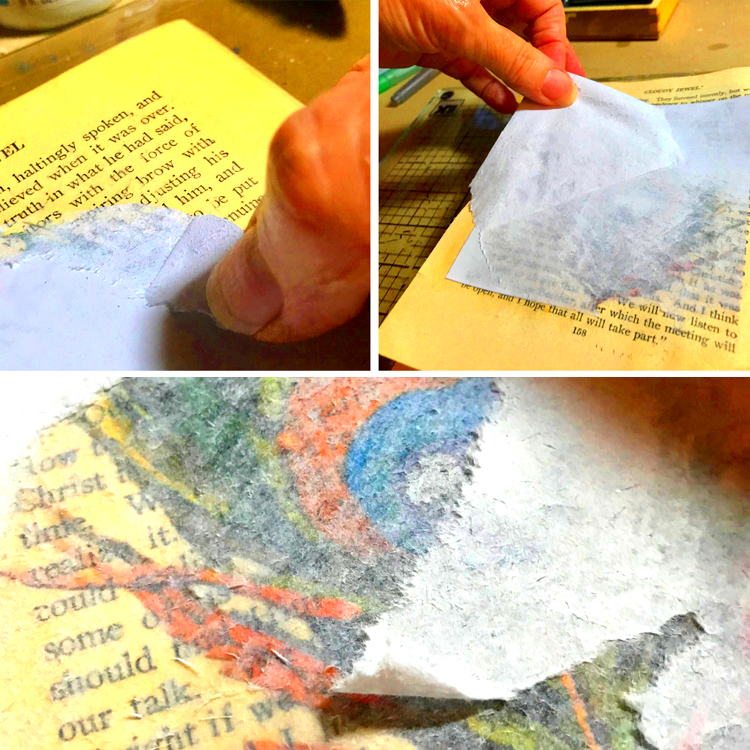
Transferring images onto paper is a creative technique used in many art forms, from crafting to fine art. Whether you want to recreate a photograph, sketch, or design, there are several ways to move an image from one surface to another. The right method depends on the effect you're going for and the materials you're using. Some techniques are simple and ideal for beginners, while others allow for more detailed work. No matter what your project is, learning how to transfer an image onto paper can open up endless creative possibilities.
Understanding Different Methods for Image Transfer
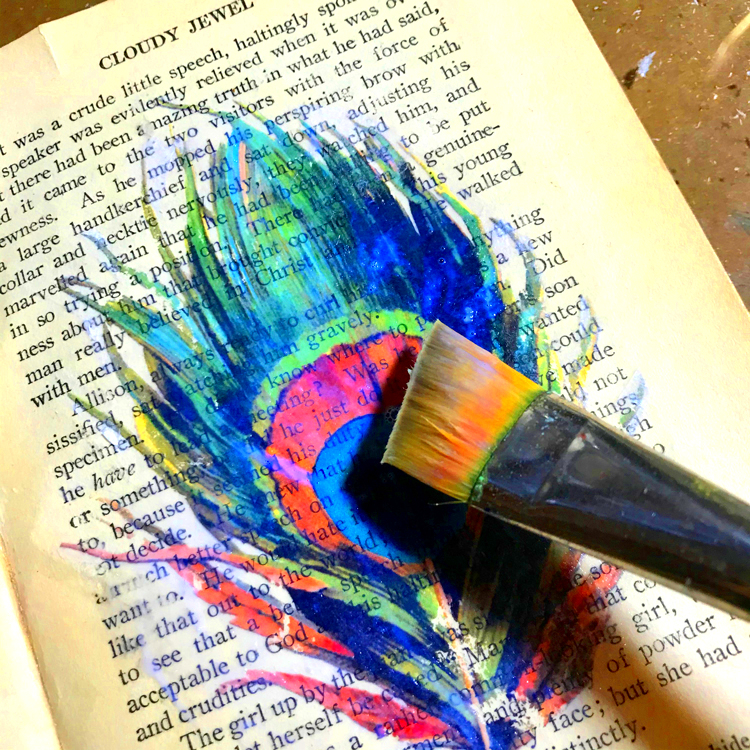
There are various methods available for transferring images onto paper. Each method has its unique strengths, and choosing the right one depends on the look you want to achieve and the materials at hand. Some of the most popular methods include:
- Carbon Paper - A quick and easy way to trace images onto paper.
- Tracing Paper - Allows for more detailed work, ideal for artists.
- Gel Medium - Best for transferring digital prints onto paper, giving a textured, layered look.
- Wax Paper - A versatile method for printing and transferring designs.
Each method requires a different approach, but all can help you create beautiful, transferred images. Understanding these methods can help you decide which technique will work best for your project, whether you're transferring a photo, artwork, or design.
Also Read This: Creating Unique Wall Hangings at Home Inspired by Dailymotion Videos
Using Carbon Paper for Image Transfer
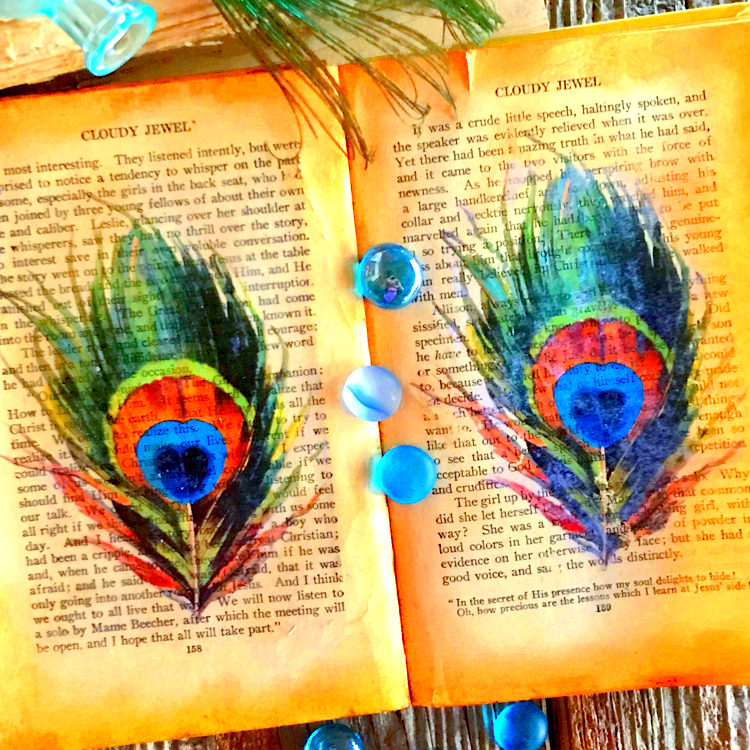
Carbon paper is one of the simplest and most affordable methods for transferring an image onto paper. This technique works by using carbon paper to create a trace of the image on your desired surface. It's ideal for beginners and small projects. Here’s how you can do it:
- Step 1: Place a sheet of carbon paper (dark side down) on the paper you want to transfer the image onto.
- Step 2: Position your image or design on top of the carbon paper.
- Step 3: Trace over the image with a pencil or pen, applying light pressure.
- Step 4: Once you finish tracing, remove the top image and carbon paper to reveal your traced design.
Carbon paper is especially useful for transferring simple line art or designs. It's quick and can be used for a wide range of projects like stenciling, crafting, or creating custom art. Just keep in mind that carbon paper can leave behind marks that might not be easy to erase, so it's best used with lighter paper or when you don’t mind the marks.
Overall, carbon paper is a go-to option for artists and crafters looking for a fast and easy way to transfer an image. It’s not perfect for detailed images, but it’s great for quick and straightforward designs.
Also Read This: Tips to Upload an Image to Canvas for Online Courses
How to Use Tracing Paper for Transferring Images
Tracing paper is a fantastic option for transferring images with a higher level of detail than carbon paper allows. This method is perfect for artists who want to recreate intricate designs or photographs with precision. By using tracing paper, you can carefully trace your image and then transfer it onto another surface. Here's how to do it:
- Step 1: Place your tracing paper over the image you want to transfer. Make sure it's aligned properly.
- Step 2: Using a pencil, pen, or marker, trace over the lines of your image. You can go as detailed as you like!
- Step 3: After tracing, remove the tracing paper and carefully flip it onto your desired surface (like another piece of paper or canvas).
- Step 4: Press down lightly or use a stylus to retrace the image on the surface beneath. This will transfer the pencil or ink marks onto the paper.
What makes tracing paper special is its translucent quality, allowing you to see your image clearly while transferring it. It’s perfect for artists looking to transfer detailed sketches or designs to a different medium, like canvas or wood. Keep in mind, though, that tracing paper is delicate, so it’s best to handle it gently to avoid tearing. It's also a great option for creating stencils or transferring designs onto fabrics for embroidery or screen printing.
Also Read This: Best Techniques to Wrap Text Around an Image in Canva
Exploring the Image Transfer with the Gel Medium Technique
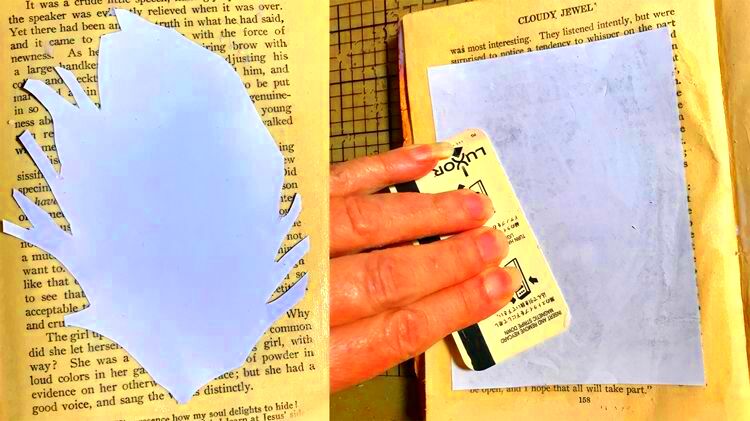
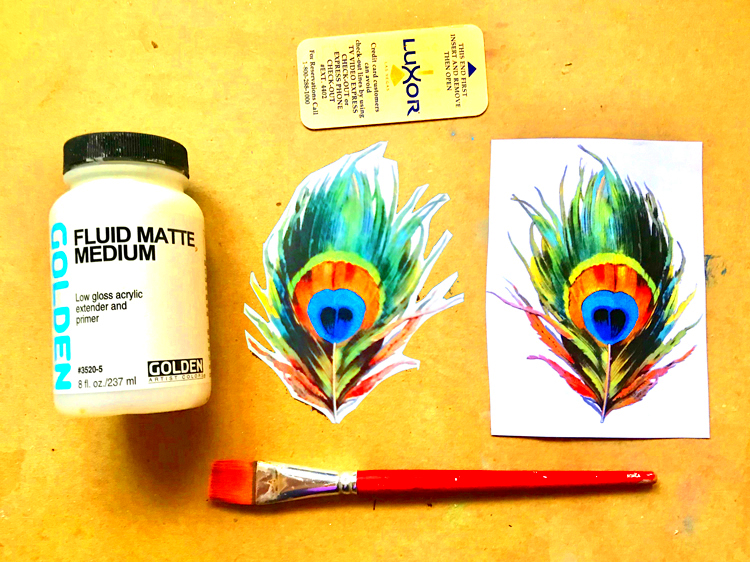
The gel medium transfer technique is ideal for artists who want to transfer images from photos or printed media onto paper with a textured, artistic finish. This method involves using a gel medium, typically an acrylic product, to adhere the image to paper or canvas. It’s a great way to create mixed media artwork. Here's how it works:
- Step 1: Apply a thin layer of gel medium (either matte or gloss) onto the paper or surface you want the image to transfer onto.
- Step 2: Place the printed image face down onto the gel-covered surface.
- Step 3: Smooth out the image carefully with your fingers or a brayer to avoid air bubbles.
- Step 4: Allow the gel medium to dry completely (usually 24 hours).
- Step 5: Once dry, moisten the back of the image with water and gently rub off the paper. The image should be left on the surface, giving it a textured, layered appearance.
This technique is often used in collage art and scrapbooking. It allows the image to blend into the surface, making it look like it was originally part of the paper. The gel medium creates a beautiful finish and can even give the image an aged or vintage look. While this method requires patience (drying time is key), the results are well worth it if you're looking to create something unique and artistic.
Also Read This: How to Combine Two Images in Paint
Printing and Transferring Images Using Wax Paper
Wax paper offers another fun and easy way to transfer images, especially when you want to work with printed photos or designs. It’s an affordable and simple method that doesn’t require many materials, but it can still give you great results. This technique is commonly used in crafting and DIY projects. Here’s how to use wax paper for image transfer:
- Step 1: Print or draw the image you want to transfer onto a piece of regular paper. Make sure to use laser-printed images, as inkjet prints may smudge.
- Step 2: Cut a piece of wax paper slightly larger than your image and place it over the print.
- Step 3: Use an iron on low heat (no steam) to press over the wax paper. Hold the iron in place for a few seconds at a time.
- Step 4: Carefully peel away the wax paper. The image should have transferred onto the wax paper, leaving a faded version on the surface beneath.
Wax paper works by melting a small amount of wax onto the paper, which helps the ink transfer onto the surface beneath. The transfer may not be as sharp as other methods, but it gives a soft, ethereal effect that can be great for artistic or vintage-style projects. It's also a fantastic method for transferring onto fabric or canvas if you’re working on custom designs or textile arts.
This transfer technique is simple, but like any method, it has its limitations. The transfer will be faint, so it works best with smaller images or when you want a subtle, blended effect. But if you’re after something unique and low-cost, wax paper is a great tool to add to your art supplies.
Also Read This: how to make an image background transparent in google slides
Why Choose a Specific Transfer Method
Choosing the right transfer method is essential to achieving the desired result in your project. Each technique offers unique benefits and limitations, so understanding which one works best for your needs is crucial. The method you choose depends on several factors, such as the type of image you're transferring, the texture of the paper or surface, and the level of detail required. Here are a few things to consider when choosing your method:
- Type of Image: For detailed or delicate images, methods like gel medium or tracing paper may be better, while simpler designs can be transferred using carbon paper or wax paper.
- Surface Type: The texture of the surface you are transferring to matters. Rough surfaces like canvas or wood may require a more durable technique like the gel medium transfer, while smooth paper can handle techniques like carbon paper.
- Desired Effect: If you want a clean, precise transfer, carbon or tracing paper are good choices. If you’re aiming for a more artistic, textured look, gel medium or wax paper will give you that faded, vintage feel.
- Skill Level: Some methods, like the gel medium transfer, require more time and practice to perfect, while methods like carbon paper are straightforward and great for beginners.
Ultimately, choosing the best method depends on the effect you want to create. Try experimenting with different techniques to see what works best for your project, and don’t be afraid to combine methods to get the perfect result.
Also Read This: Where can I get license free images or pictures
Common Mistakes to Avoid When Transferring Images
When transferring images, especially for the first time, there are a few common mistakes that can affect the final outcome. Knowing what to avoid can help you achieve better results with less frustration. Here are some of the most frequent errors people make when transferring images:
- Not Using the Right Paper: Some transfer methods work better on specific types of paper. For instance, carbon paper works best on smooth surfaces, while the gel medium transfer requires thicker, more absorbent paper.
- Using the Wrong Ink: Inkjet prints can smudge easily when using some transfer techniques, like wax paper. Laser-printed images are more suitable for these methods, as the ink is more durable.
- Not Allowing Enough Drying Time: With techniques like the gel medium transfer, rushing the drying process can lead to smudged or incomplete transfers. Always let your transfers dry completely before proceeding.
- Using Too Much Pressure: When tracing or transferring with carbon paper, excessive pressure can distort the image or tear the paper. Apply gentle, consistent pressure for the best results.
- Not Testing the Method First: It's always a good idea to test your transfer method on a scrap piece of paper before applying it to your final project. This will help you gauge the results and avoid wasting time or materials.
Avoiding these mistakes will make your transfer projects much smoother and help you achieve the best possible results. Take your time, and don’t be afraid to experiment to find the perfect method for your needs.
Also Read This: Creating 3000×3000 Pixel Images Easily
FAQ
1. What is the best method for transferring images onto canvas?
For canvas, the gel medium transfer technique is highly recommended as it allows the image to blend seamlessly into the surface, giving a textured and artistic effect.
2. Can I use inkjet prints for all transfer methods?
Not all transfer methods work well with inkjet prints. Methods like wax paper transfers may cause inkjet prints to smudge, so it’s best to use laser-printed images for more precise results.
3. How do I know which method is right for my project?
The best method depends on your desired outcome and the materials you’re using. If you need a quick and simple transfer, try carbon paper. If you’re aiming for a detailed, textured transfer, the gel medium technique might be better suited for your project.
4. Can I transfer color images with these methods?
Yes, you can transfer color images, but the clarity and vibrancy will depend on the transfer method. Gel medium is ideal for color images, as it preserves detail and color saturation. Carbon paper and tracing paper work best with simpler, black-and-white images.
5. How can I avoid smudging during the transfer process?
To avoid smudging, ensure that your ink or pencil is fully dry before beginning the transfer. Also, handle the image and paper gently, and allow adequate drying time between steps, especially with methods like gel medium or wax paper.
Conclusion
In conclusion, transferring images onto paper opens up many creative possibilities for artists and crafters alike. By understanding the different methods, such as using carbon paper, tracing paper, gel medium, and wax paper, you can choose the technique that best fits your project’s needs. Whether you’re a beginner or an experienced artist, knowing the strengths and limitations of each method will help you achieve the best results. Remember to take your time, avoid common mistakes, and experiment with different techniques to discover what works best for you. Image transfer is a fun and versatile skill that adds depth and texture to your artwork, making it a valuable tool for any creative project.
