Are you frustrated with images that look pixelated or stretched when you attempt to resize them for printing? You're not alone! Many people struggle with ensuring their images maintain quality while fitting the dimensions of their print projects. In this guide, we'll dive into the essential aspects of resizing images for print without cropping, so you can achieve stunning results every time.
Understanding Image Dimensions and Resolution

Before we jump into resizing techniques, it's crucial to grasp the concepts of image dimensions and resolution. Understanding these terms will help you make informed decisions when preparing your images for print.
Image Dimensions
Image dimensions refer to the size of an image, usually expressed in pixels (width x height). For example, an
Resolution
Resolution is the amount of detail an image holds, usually measured in pixels per inch (PPI). The higher the resolution, the clearer the image will appear in print. For high-quality prints, a resolution of at least 300 PPI is recommended.
Why They Matter
- Adequate Dimensions: If your image isn’t large enough in dimensions, stretching it can lead to pixelation.
- Sufficient Resolution: Low-resolution images will appear blurry or fuzzy when printed if they lack the required PPI.
So, before you start resizing, make sure you check both your image dimensions and resolution to ensure they align with your desired print size!
Also Read This: how do you put edible images on cakes
3. Choosing the Right Software for Resizing Images

When it comes to resizing images for printing, the software you choose can make a significant difference in the outcome. Let’s dive into some popular options that cater to different skill levels and needs.
- Adobe Photoshop: This industry-standard software offers robust tools for resizing images while maintaining quality. With Photoshop, you can adjust the dimensions, resolution, and aspect ratio seamlessly.
- GIMP: A fantastic free alternative to Photoshop, GIMP is open-source and packed with features. It may have a steeper learning curve, but it’s perfect for those who want professional-quality results without the price tag.
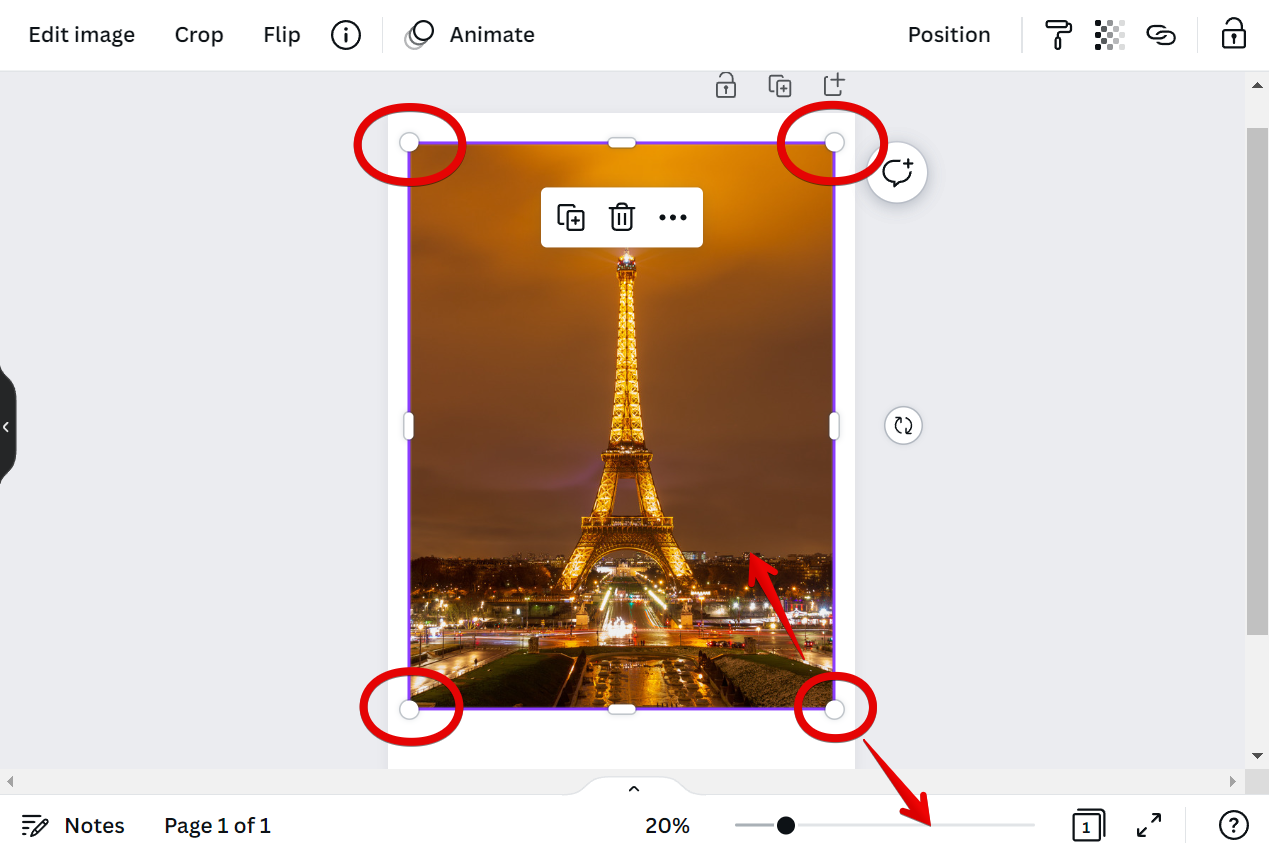
- Canva: Ideal for beginners, Canva is an online design tool that allows you to resize images easily. Its drag-and-drop interface makes it fun to use. While it’s not as powerful as Photoshop, it does the job for simple projects.
- Microsoft Paint: If you’re looking for something super basic, you know you can always count on good old Microsoft Paint! It has an easy-to-use resize feature that’s suitable for quick tasks, though it doesn’t offer much in terms of quality control.
- Online Tools: Websites like PicResize and ResizeImage.net let you resize images without downloading any software. They are quick and convenient, especially for one-off projects.
Ultimately, your choice of software will depend on your comfort level and the complexity of your image resizing needs. Experimenting with a few options can help you find the one that works best for you!
Also Read This: How to Add Interests on LinkedIn for a Customized Profile
4. Step-by-Step Guide to Resizing Images

Ready to resize that image for printing? Let’s go through a simple, step-by-step guide to make sure your prints come out just as you envision.
- Choose Your Image: Start by selecting the image you wish to resize. Make sure it’s of good quality to begin with; low-resolution images might not turn out great.
- Open Your Software: Launch the software you’ve chosen for resizing. Load your selected image into the application.
- Check the Current Size: Look at the current width, height, and resolution of the image. You can usually find this information in the image properties or info menu.
- Decide on New Dimensions: Determine the size you want your image to be. A common print size is 8x10 inches, but make sure it fits the needs of your project.
- Adjust the Resolution: Set the resolution to at least 300 dpi (dots per inch) for high-quality prints. If the image is too small, increasing the resolution can help maintain quality.
- Resize the Image: Use the resizing tool in your software. Input your desired dimensions while making sure to maintain the aspect ratio to avoid distortion.
- Preview Your Changes: Most software will allow you to preview the new dimensions before applying them. Take a moment to ensure everything looks good.
- Save Your New Image: Once satisfied, save the resized image. It’s best to save it as a separate copy to preserve the original.
And there you have it! Resizing an image for printing without cropping can be straightforward when you know the steps. Happy printing!
Also Read This: Quick Guide on How to Send a Video to Someone on Reddit
5. Tips for Maintaining Image Quality
When you're resizing images for printing, preserving their quality is crucial to ensure the final product looks sharp and vibrant. Here are some handy tips to keep in mind:
- Use the Right Software: Choose professional image editing programs like Adobe Photoshop or GIMP. These tools offer advanced resizing features that are more effective than basic applications.
- Start with a High-Resolution Image: The higher the resolution of your original image, the better the resized version will look. Aim for images that are at least 300 DPI (dots per inch) to ensure print quality.
- Check for Resampling Settings: When resizing, select the 'Bicubic Smoother' or 'Bicubic Sharper' resampling option. This helps in maintaining image details when enlarging or reducing the size.
- Reduce Size Gradually: If you need to make significant adjustments, try reducing or enlarging the size in smaller increments. This can help preserve image integrity.
- Avoid Over-Resizing: If you’re enlarging an image, don’t go overboard. Oversizing can lead to pixelation, so find the right balance by sticking to what looks good.
By following these tips, you can ensure your images retain their quality, even when resized for a larger print.
Also Read This: how do free adobe stock templates premeire work
6. Common Mistakes to Avoid When Resizing Images
Resizing images can be a tricky process, and there are some common pitfalls that can lead to unsatisfactory results. Here’s a list of mistakes to avoid:
- Ignoring Aspect Ratio: Failing to maintain the image's original aspect ratio can distort your image. Always lock the aspect ratio when resizing.
- Upsizing Low-Resolution Images: Trying to enlarge a low-resolution image is a recipe for disaster. It often results in blurry or pixelated prints.
- Not Checking Print Size: Always double-check the print dimensions before resizing. It’s easy to forget size requirements, and you may end up with an image that doesn’t fit your paper.
- Neglecting File Formats: Save your images in appropriate formats. JPEG is good for photographs, while TIFF is preferred for high-quality prints. Avoid using formats that compress image data excessively.
- Omitting Final Quality Checks: After resizing, always zoom in to check for any loss of detail or artifacts in the image. Spotting these issues early can save you time and resources.
By steering clear of these common mistakes, you can confidently resize your images and achieve professional-quality prints that impress.
How to Resize an Image for Printing Without Cropping
Resizing an image for printing can be a tricky task, especially if you want to maintain the original composition without cropping any part of it. Here are some effective steps and techniques you can employ to achieve this goal:
1. Understanding Image Resolution
Before you resize your image, it is crucial to understand the concept of image resolution, which is usually measured in DPI (dots per inch). The standard resolutions for printing are:
| Usage | Resolution (DPI) |
|---|---|
| Web | 72-150 DPI |
| 300 DPI |
2. Using Image Editing Software
To resize your image without cropping, you'll need image editing software such as:
- Adobe Photoshop
- GIMP
- Affinity Photo
- Canva (for basic needs)
3. Resizing Process
Follow these steps to resize an image:
- Open your image in the chosen editing software.
- Find the 'Image Size' or 'Canvas Size' option in the menu.
- Adjust the resolution to 300 DPI if it’s not already set.
- Increase the width and height to fit your desired print size.
- Enable the 'Resample' option to effectively add pixels without cropping.
- Save your resized image in a high-quality format (e.g., TIFF or PNG).
By following these guidelines, you can easily resize images for printing while preserving the essential elements and ensuring that they look great in print. Always remember to keep a backup of your original image to avoid any loss during the editing process.
Conclusion: Resizing an image for printing without cropping involves understanding image resolution, using proper editing software, and following specific resizing steps. By employing these strategies, you can ensure that your printed images maintain their quality and composition.
 admin
admin


