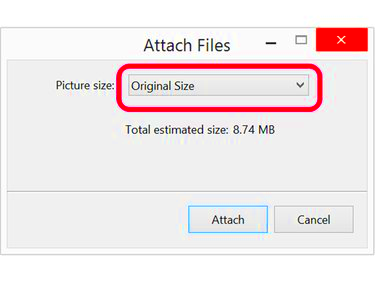
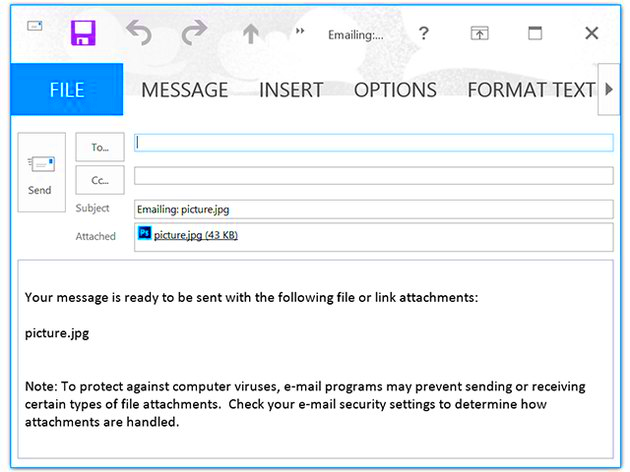
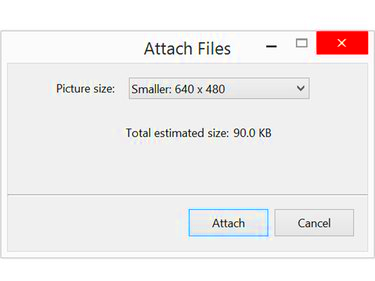
Sending large image files via email can lead to a host of problems. From slow upload speeds to clogged inboxes, oversized attachments can make communication frustrating. Smaller images solve these issues, ensuring emails are delivered faster and more efficiently.
When you resize images, you’re not just saving on file size. You’re also improving compatibility across devices and email clients. Many email platforms have file size limits, and resizing helps you stay well within those boundaries. Plus, smaller files reduce storage usage, which is especially helpful for those working with limited cloud or server space.
Here are some key benefits of resizing images for email:
- Faster Uploads: Smaller files mean less time spent waiting for attachments to upload.
- Quicker Downloads: Recipients can open your emails without delay.
- Reduced Email Bounces: Avoid the frustration of emails being rejected due to size limits.
- Better Compatibility: Smaller images are easier to view on mobile devices and older email clients.
Steps to Resize Images Using Canva

Resizing images in Canva is quick and user-friendly. Here’s a simple guide to help you through the process:
- Log in or Sign up: Access Canva’s platform using your account. It’s free to start!
- Upload Your Image: Click on “Upload” to add the image you want to resize.
- Select the Resize Option: Canva Pro users can use the “Resize” tool directly. For free accounts, create a custom size by setting the width and height in pixels.
- Adjust Image Size: Enter the desired dimensions. Common sizes for email are 600px wide for a clear yet compact file.
- Export Your Image: Save the resized image by clicking “Download.” Choose a format like JPG or PNG for best results.
Using Canva, you can also apply basic edits like cropping and compressing the file further for smaller size.
Also Read This: Creating a YouTube Channel on Your iPad
Top Tools for Resizing Images Online

There are plenty of online tools available for resizing images, each offering unique features to cater to different needs. Here are some popular options:
| Tool | Features | Free/Paid |
|---|---|---|
| Canva | Resize, crop, compress, and edit images with a user-friendly interface. | Free (Pro version available) |
| Pixlr | Offers advanced editing tools alongside resizing capabilities. | Free (Premium version available) |
| Adobe Express | Professional-quality resizing with preset options for emails and social media. | Free (with Adobe subscription for extras) |
| Squoosh | Compress and resize images directly in your browser with high-quality results. | Completely Free |
Each of these tools provides an easy way to make your images email-ready. Choose one that suits your needs and start resizing today!
Also Read This: How to Upload My Images to Getty Images for New Contributors
Best Practices for Choosing Image Formats
Choosing the right image format can make a big difference when preparing images for email. Each format has its strengths and ideal use cases, so understanding them can save you time and hassle.
Here are some commonly used formats and when to use them:
- JPG (or JPEG): Perfect for photographs and detailed images. It offers a good balance between quality and file size, making it a top choice for emails.
- PNG: Best for graphics with transparency or sharp details, such as logos or icons. However, PNG files tend to be larger than JPGs.
- GIF: Suitable for simple animations. Avoid using it for high-quality images, as GIFs have limited color support.
- PDF: Ideal for documents or multi-page designs. However, ensure the file size is optimized before attaching.
To pick the best format, ask yourself these questions:
- Does the image need transparency? If yes, choose PNG.
- Is the file size critical? Go with JPG for smaller attachments.
- Is it an animation? Use GIF but keep it simple to avoid bloating file size.
Remember, resizing and compressing an image properly can maximize the efficiency of any format you choose.
Also Read This: Optimal Dimensions for Your Behance Images
How to Reduce File Size Without Losing Quality
Reducing file size without sacrificing image quality is easier than you might think. A few smart techniques can make your images smaller while keeping them visually appealing.
Here are some proven methods:
- Use Compression Tools: Tools like TinyPNG, Squoosh, or Canva can compress files while retaining clarity.
- Optimize Resolution: For email attachments, resolutions of 72 DPI are sufficient. Avoid overly high DPI values unless absolutely necessary.
- Crop Unnecessary Areas: Remove unwanted parts of the image to reduce its size.
- Choose the Right Format: Use formats like JPG or WebP, which are optimized for smaller file sizes.
- Save for Web: Many photo editing tools like Photoshop have a “Save for Web” feature to balance quality and size.
Using these tips, you can keep your images sharp and professional-looking while making them email-friendly.
Also Read This: Essential Skills for Aspiring YouTubers to Achieve Success
Common Mistakes to Avoid When Resizing Images
Resizing images seems straightforward, but small errors can lead to poor results. Avoid these common mistakes to ensure your resized images look perfect every time.
Here’s what to watch out for:
- Ignoring Aspect Ratio: Stretching or squishing an image can ruin its proportions. Always lock the aspect ratio when resizing.
- Over-Compressing: Too much compression can lead to pixelation and blurriness. Strike a balance between size and clarity.
- Resizing Originals: Always keep a copy of the original image. Once resized, the quality and details cannot be restored.
- Using the Wrong Tools: Not all tools are created equal. Choose reliable platforms that offer high-quality results.
- Neglecting File Format: Saving in the wrong format can increase file size unnecessarily or degrade quality. Choose formats wisely.
By keeping these points in mind, you can ensure your resized images look great and work perfectly for email attachments.
Also Read This: Is Alamy Free to Use for Contributors and Buyers
Frequently Asked Questions About Resizing Images
Resizing images can feel a bit technical, especially if you’re new to it. Below are answers to some of the most commonly asked questions to help you navigate the process with ease.
1. Does resizing an image reduce its quality?
Not necessarily. If done correctly, resizing maintains the image's quality. Using tools like Canva or Squoosh ensures minimal loss of clarity. However, over-compressing can result in blurriness or pixelation.
2. What’s the difference between resizing and cropping?
Resizing adjusts the dimensions of the entire image, while cropping removes portions of it. Resizing keeps the whole image intact, whereas cropping focuses on a specific area.
3. Which dimensions are best for email attachments?
For most emails, a width of 600px and a height that maintains the aspect ratio is ideal. This size balances clarity and file size effectively.
4. Can I resize images on my phone?
Yes, many apps like Canva, Pixlr, and Adobe Express offer mobile-friendly tools for resizing images directly on your smartphone.
5. Is it possible to resize multiple images at once?
Definitely! Tools like Photoshop, BatchPhoto, or some online platforms allow bulk resizing to save time.
6. How can I check an image’s file size?
On a computer, right-click the image and select "Properties" (Windows) or "Get Info" (Mac). Online tools also display file size after uploading the image.
Understanding these FAQs can make the resizing process simpler and ensure your images are email-ready without issues.
Conclusion and Final Tips for Resizing Images
Resizing images is essential for effective email communication, ensuring smaller file sizes without compromising quality. Stick to best practices like using proper tools, maintaining aspect ratios, and selecting the right formats for optimal results. With these tips, your resized images will be perfect for sending as email attachments every time.


