Capri trousers are a fantastic addition to any wardrobe, blending comfort with style. They are perfect for those warm days when you want a chic look without feeling too hot. With a little creativity and some basic sewing skills, you can make your own pair of capris at home! This DIY fashion tutorial will guide you step-by-step through the process, ensuring you create a unique piece that fits you perfectly. So, grab your supplies, and let’s get started on this fun sewing adventure!
Materials Needed
Before diving into your capri trousers project, it’s essential to gather all the materials you’ll need. Here’s a comprehensive list to help you prepare:
- Fabric: Choose a lightweight fabric like cotton, linen, or a cotton blend. Aim for about 1.5 to 2 yards, depending on your size and pattern.
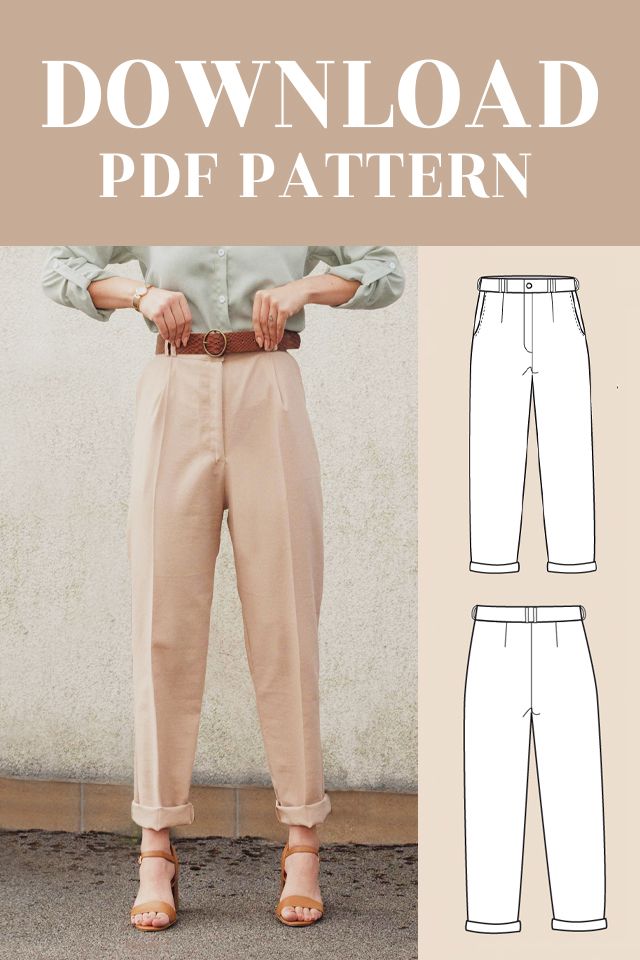
- Pattern: You can either purchase a capri trousers pattern or create your own by modifying a basic trouser pattern. Consider looking for a pattern that suits your style, whether it’s fitted, relaxed, or flared.
- Sewing Machine: A reliable sewing machine will make the process smoother, but you can also hand-sew if you prefer.
- Sewing Notions: Keep the following handy:
- Thread: Choose a color that matches or contrasts nicely with your fabric.
- Scissors: Fabric scissors are ideal for clean edges.
- Measuring Tape: This is crucial for accurate measurements.
- Pins: Use these to secure fabric pieces while sewing.
- Seam Ripper: A helpful tool for correcting mistakes.
- Iron: Pressing your fabric gives a professional finish.
- Optional Accessories: Consider adding pockets, embellishments, or a waistband for extra flair!
With your materials ready, you’re all set to embark on your DIY capri trousers journey!
Also Read This: Create an Origami Rabbit Easily: Watch the Video on Dailymotion
Step-by-Step Instructions
Creating your own pair of capri trousers is a fun and rewarding DIY project. Let’s break it down into easy steps:
- Gather Your Materials: You’ll need fabric (cotton or linen works great), a sewing machine, scissors, thread, pins, and a measuring tape. Don’t forget your favorite pair of capri trousers for reference!
- Measure and Cut: Measure your waist, hips, and desired length. For a classic capri, aim for a length that hits just below the knee. Cut your fabric according to these measurements, adding an extra inch for seams.
- Prepare the Fabric: Wash and iron your fabric to avoid any surprises later on. This step is crucial as it will prevent shrinkage after you’ve sewn your trousers.
- Pin the Pieces Together: Lay out your fabric pieces, aligning them as they’ll be sewn. Use pins to hold everything in place, ensuring a neat finish.
- Sew the Fabric: Start sewing along the pinned edges. Use a straight stitch for the sides and a zigzag stitch for the hem to help prevent fraying.
- Add the Waistband: Create a waistband by folding over the top of your trousers and sewing it down. Leave a small opening to thread in elastic for a comfortable fit.
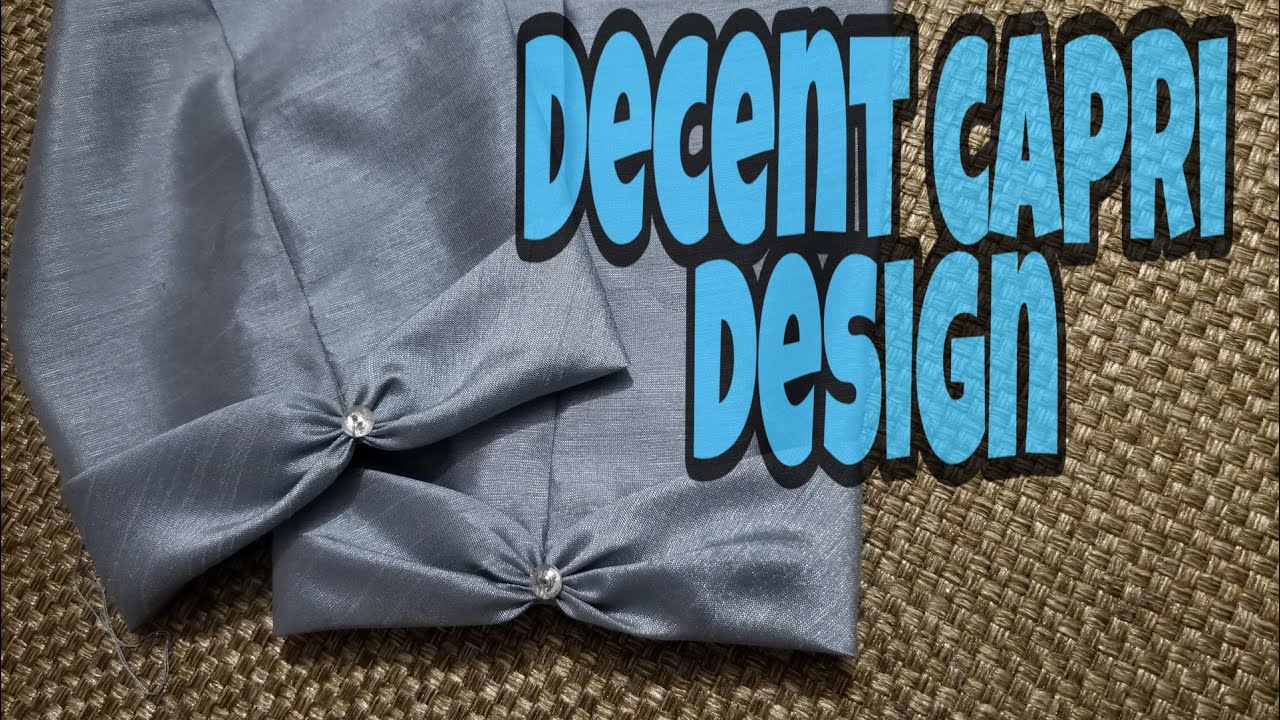
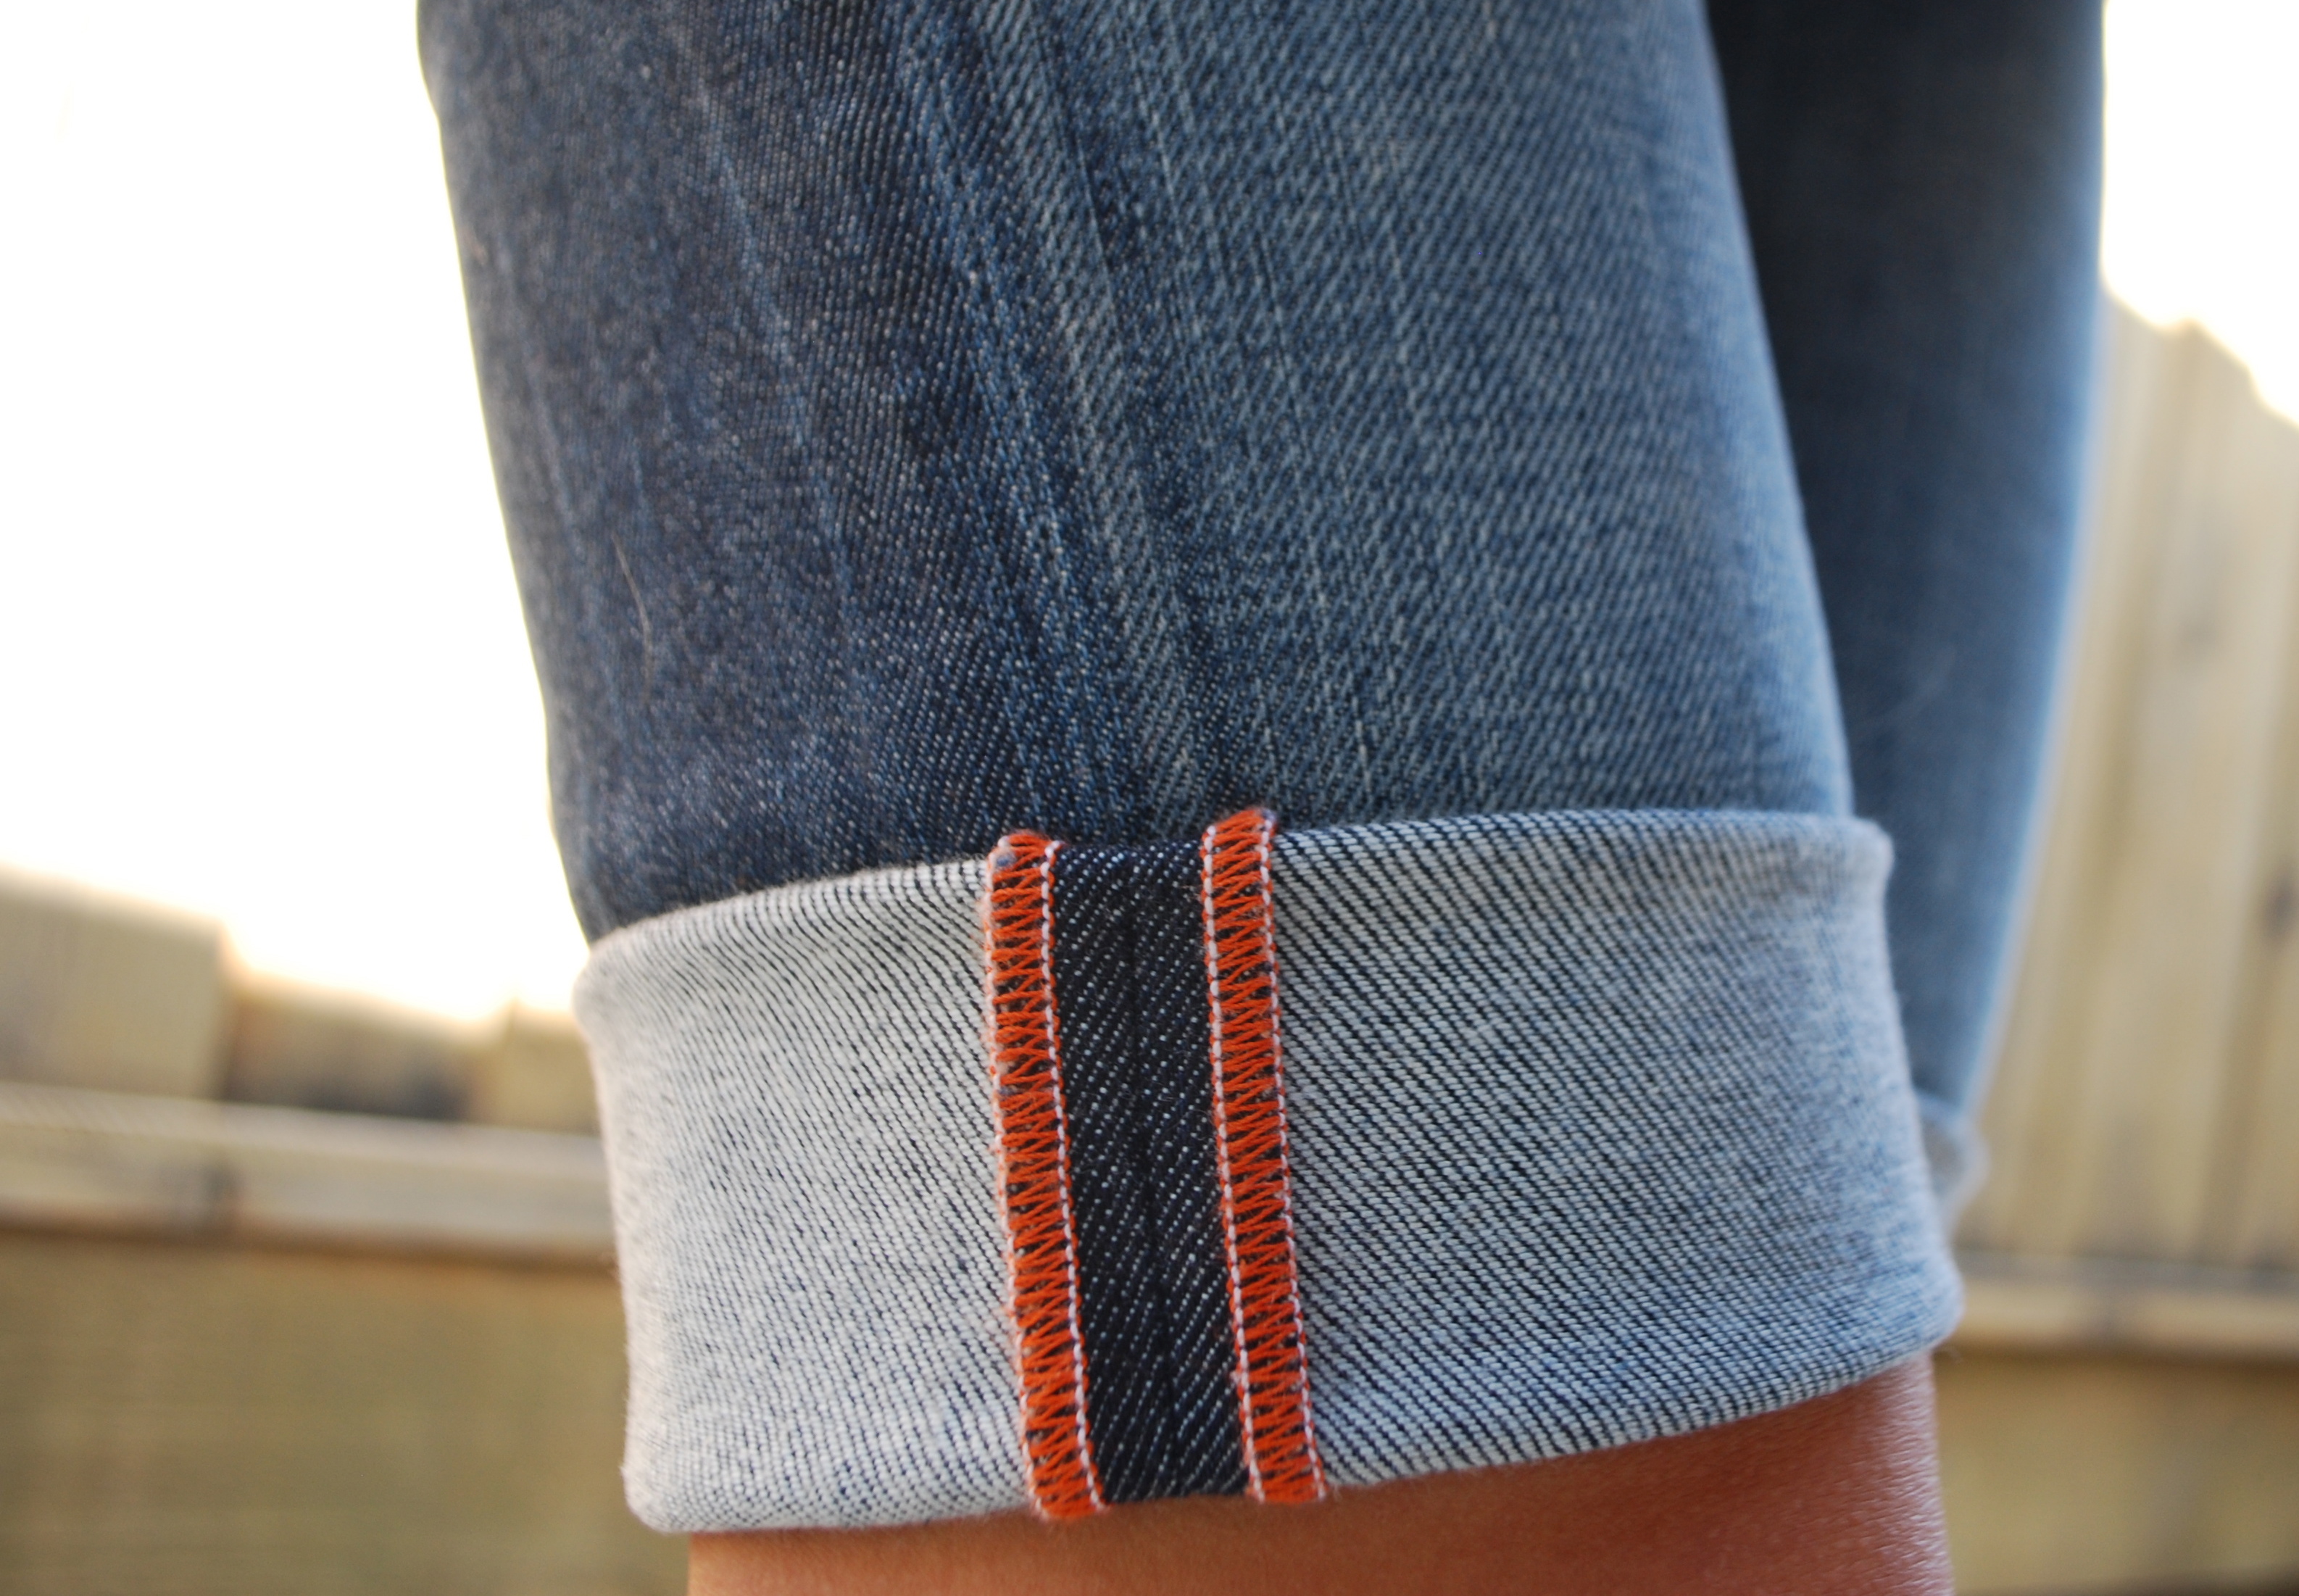
- Finish the Hem: Fold the bottom of each leg up and sew to create a clean hem. You can choose to add a decorative stitch for flair!
Once you’ve completed these steps, try on your new capri trousers and adjust as necessary. Enjoy your unique creation!
Also Read This: Tips for Perfect Nose Contouring Using Dailymotion Makeup Tutorials
Tips for Customization
Customization is what makes your capri trousers truly yours! Here are some fun ideas to personalize your design:
- Fabric Choice: Don’t be afraid to explore different fabrics! Floral prints, denim, or even bold colors can add a unique twist.
- Length Variation: If you prefer a different style, play with the length. Try making them shorter for a more trendy look or longer for a classic feel.
- Pockets: Adding side or back pockets can be both functional and stylish. Consider using a contrasting fabric for a fun pop of color.
- Embellishments: Sew on some patches, lace, or even fabric paint designs. This is a great way to express your personality.
- Adjustable Waistband: Instead of a fixed waistband, consider making yours adjustable. Use drawstrings or buttons for flexibility.
Remember, the key to customization is creativity! Don’t hesitate to experiment. Your capri trousers should reflect your unique style and taste.
How to Make Capri Trousers with a DIY Fashion Tutorial
Creating your own pair of capri trousers can be a fun and rewarding DIY project. Capri trousers are stylish, comfortable, and perfect for warm weather. This tutorial will guide you through the process step-by-step, ensuring you have a trendy addition to your wardrobe in no time.
Here’s what you’ll need to get started:
- Fabric (cotton or linen is recommended)
- Measuring tape
- Scissors
- Pinning clips or pins
- Sewing machine
- Thread in a matching color
- Iron and ironing board
Follow these steps to create your capri trousers:
- Measure and Cut: Take your measurements (waist, hip, and inseam) and add seam allowance. Cut your fabric accordingly. You will need two main pieces for the legs and a waistband piece.
- Stitch the Legs: Place the right sides of the fabric together and sew along the sides of the legs. Leave the top open for the waistband.
- Create the Waistband: Fold the waistband piece in half and attach it to the top of the trousers. Make sure it's snug but comfortable.
- Hem the Bottom: Fold the bottom of the trousers up, pin in place, and sew to create a clean hem.
- Final Touches: Iron your trousers for a crisp finish, ensuring all seams are neat.
Once you’ve completed these steps, try on your new capri trousers! Adjust if necessary to achieve the perfect fit. You can customize them further by adding pockets or decorative elements.
Conclusion: Making your own capri trousers is a satisfying project that adds personal flair to your wardrobe. Enjoy the process and wear your creation with pride!
 admin
admin