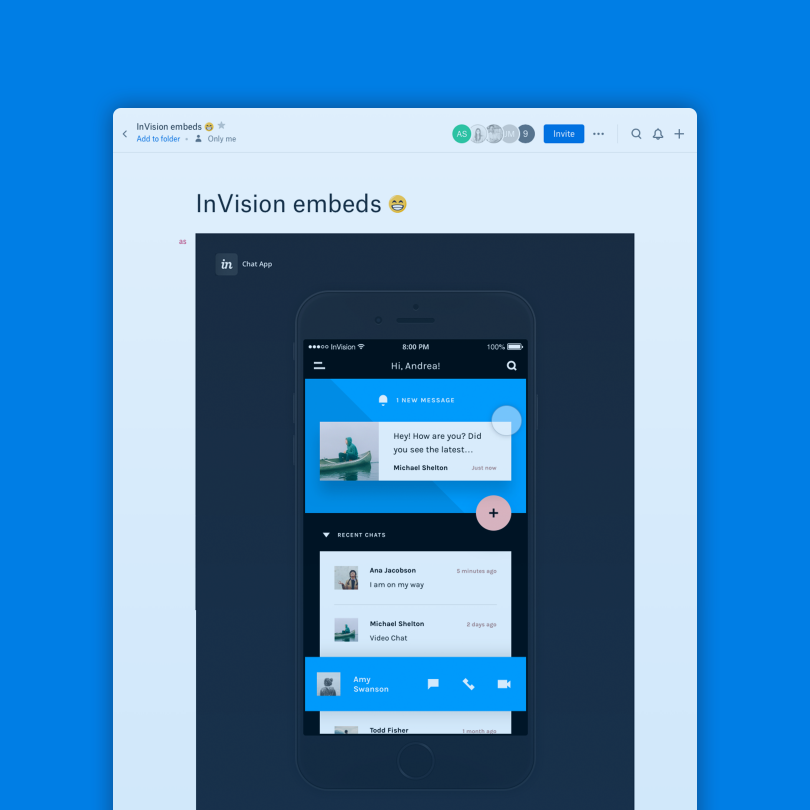
If you’re a designer looking to showcase your work, you’ve probably heard of both InVision and Behance. These platforms serve different purposes but, when combined, can perfectly highlight your design projects. In this post, we'll explore how to seamlessly embed your InVision prototypes into your Behance portfolio, making it easier for potential clients and collaborators to view your work interactively.
Why Use InVision and Behance Together?

Using InVision and Behance in tandem can elevate your portfolio in several meaningful ways. Here's why you should consider integrating these two platforms:
- Interactive Prototypes: InVision allows you to create high-fidelity, interactive prototypes that capture the user experience. You can showcase not just static designs but how users can interact with your interface, making your presentation far more engaging.
- Professional Showcase: Behance is one of the most revered platforms for creatives to display their work. With its large community of designers, artists, and potential clients, presenting your InVision prototypes here can expose your work to a wider audience.
- Design Process Insight: By embedding your prototypes into Behance, you provide viewers with a front-row seat into your design process. This transparency can build trust and credibility with potential clients and employers, demonstrating your problem-solving skills and creative thinking.
- Easy Sharing: Both InVision and Behance facilitate easy sharing of your work. Once you embed your prototype on your Behance page, you can share the link with your network, attracting more viewers to your work.
- Enhanced Feedback Opportunities: By having an interactive prototype linked directly in your portfolio, you create opportunities for viewers to provide feedback in a more meaningful way, helping you refine your design skills.
In essence, using InVision and Behance together not only complements your creative output but also boosts the visibility and interactivity of your design portfolio. So, let's dive into how you can effectively bring these two powerful tools into harmony!
Also Read This: How to Use Behance Mockups to Present Your Creative Work Professionally
Preparing Your InVision Prototype for Embedding
When getting ready to embed your InVision prototype into your Behance project, there's a bit of prep work involved. You want to ensure that your prototype is not only polished but also easily accessible for your audience. Here are a few steps to get you started:
- Finalize Your Prototype: Make sure all screens are complete, navigation is working smoothly, and any interactions are functioning as intended. There’s nothing worse than showcasing a prototype with broken links!
- Enable Sharing: In InVision, go to your prototype settings and ensure that sharing is enabled. This will allow others to view your work without needing a direct link to your InVision account.
- Check Permissions: Set the permissions to "Anyone with this link can view." This is crucial because you want to guarantee that your audience can access it without needing special permissions.
- Get the Embed Code: Once your prototype is ready, navigate to the share options and select the embed option. Copy the HTML embed code provided. This is a vital step that allows you to integrate the prototype into your Behance project seamlessly.
By carefully preparing your InVision prototype, you'll ensure a smooth embedding process and create a stunning showcase for your talents!
Also Read This: A Simple Guide on How to Publish Projects on Behance for Maximum Reach
Step-by-Step Guide to Embed InVision Prototype in Behance
Alright, let’s dive into the nitty-gritty of embedding your InVision prototype into your Behance portfolio. It’s really not as challenging as it might seem. Just follow these simple steps:
- Log into Behance: Start by logging into your Behance account. Make sure you have a project ready where you want to embed the InVision prototype.
- Edit Your Project: If you are starting a new project, click on the "Create a Project" button. If you are embedding in an existing project, click "Edit" on that project.
- Choose an Embed Option: In the project editor, look for the “Embed” option. You can usually find it in the toolbar. Click on it.
- Paste the Embed Code: Here’s where you paste the HTML embed code you copied from InVision earlier. Just click on the text area and paste it in. You’ll see a preview of your prototype right away!
- Adjust the Display Settings: Depending on how you want it to look, you can adjust the height and width of the embedded prototype. Make sure it fits nicely within your project layout.
- Preview and Publish: Always preview your project before publishing to ensure that everything looks good and functions correctly. Once you’re satisfied, hit that publish button!
And there you go! With these steps, your InVision prototype will be beautifully integrated into your Behance project, allowing potential clients or collaborators to interact with your design seamlessly. Happy showcasing!
Also Read This: Download Bilibili Video Without Any Hassle
5. Testing the Embedded Prototype
Once you’ve embedded your InVision prototype into your Behance project, it's crucial to test it to ensure everything is functioning as expected. Testing is where you validate that all the hard work you've put into creating and embedding is paying off!
Here’s a simple way to test your embedded prototype:
- Preview Your Project: Go to your Behance project and enter preview mode. This will allow you to see how your project appears to visitors without the distractions of the backend editor.
- Interact with the Prototype: Click all interactive elements in your embedded prototype. Ensure buttons link correctly, animations run smoothly, and transitions between screens happen as intended.
- Check on Multiple Devices: Test your project on different devices and screen sizes. What looks great on a desktop may not work as well on a tablet or phone. Make sure the prototype is responsive and user-friendly across all platforms.
- Get Feedback: Ask a few friends or colleagues to test it out. They can provide fresh eyes and catch issues you might have missed.
After testing, make any necessary adjustments to improve the user experience. Remember, the goal is to provide a seamless interaction that showcases your design skills effectively!
Also Read This: How to Get Featured in Behance Best Practices for Gaining Exposure and Recognition
6. Troubleshooting Common Issues
No matter how careful you are, issues can crop up when embedding an InVision prototype in Behance. Here are some common problems and their solutions:
| Issue | Solution |
|---|---|
| Prototype Not Loading | Ensure that the URL is correctly copied from InVision. Double-check that it ends with “/embed” and it’s accessible. |
| Prototype Displaying Incorrectly | Adjust the height and width parameters in the embed code. Ensure they correspond to compatible dimensions for Behance. |
| Interactions Not Working | Revisit your InVision settings. Make sure all links and hotspots are properly set up before re-embedding. |
| Mobile Responsiveness Issues | Test on various devices. You may need to adjust settings in Behance or InVision to ensure a better display on mobile. |
It's entirely normal to encounter these hiccups, especially if you're new to the process. Don’t hesitate to revisit the embed code or consult the help resources available from both Behance and InVision for additional support. Happy embedding!
How to Embed an InVision Prototype in Behance
Embedding an InVision prototype into your Behance project can significantly enhance your portfolio by showcasing interactive designs. This guide will walk you through the steps to seamlessly integrate your InVision prototype into your Behance work.
Before you begin, ensure you have:
- An active Behance account
- A project created on InVision with shareable access
Steps to Embed InVision Prototype
- Open Your InVision Prototype: Log into your InVision account and locate the prototype you wish to embed.
- Get the Embed Code:
- Click on the "Share" button in the upper right corner.
- Select the option to "Embed."
- Copy the provided HTML embed code.
- Log into Behance: Access your Behance account and navigate to the project where you want to embed the prototype.
- Add Embed Code:
- In the project editor, click on the "+" icon to add new content.
- Select "Embed" from the options.
- Paste the previously copied embed code into the designated box.
- Adjust Settings: Ensure the dimensions of the embed fit well within your project layout. Make necessary adjustments.
- Save and Publish: Review the appearance of the embedded prototype, and when satisfied, save and publish your project.
By following these steps, your InVision prototype will be successfully embedded in your Behance project, allowing viewers to interact with your designs directly.
Conclusion
Embedding your InVision prototypes in Behance is a straightforward process that adds an interactive dimension to your portfolio, showcasing your design skills effectively to potential clients and employers.
 admin
admin


