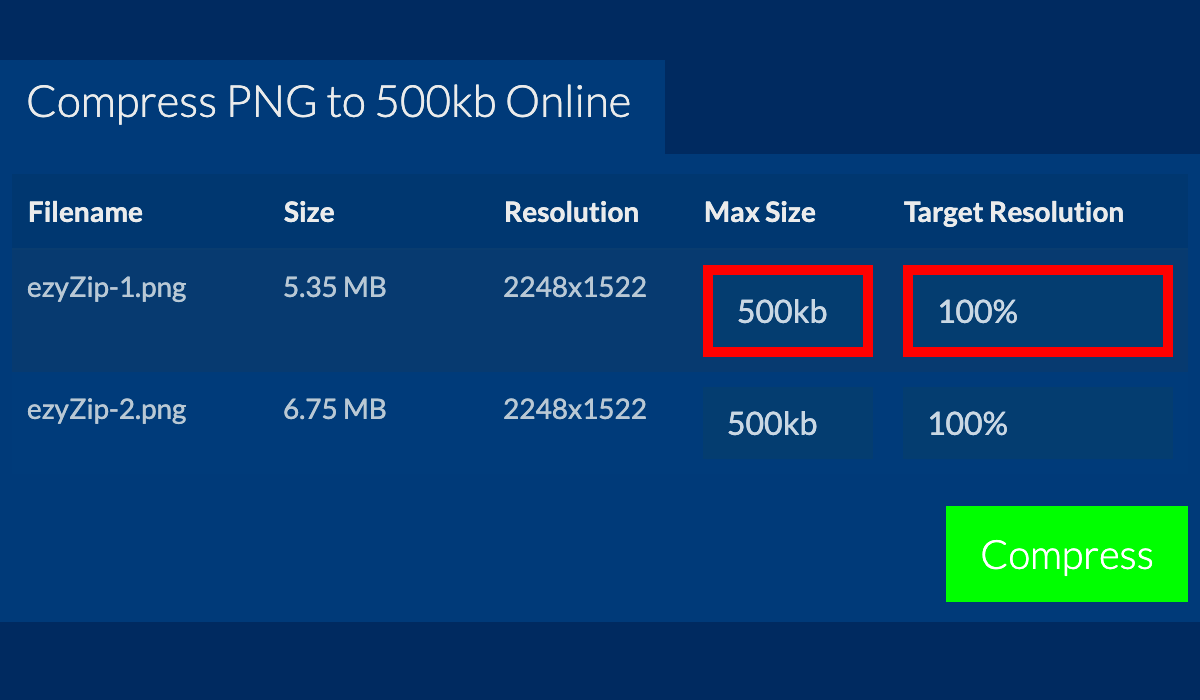
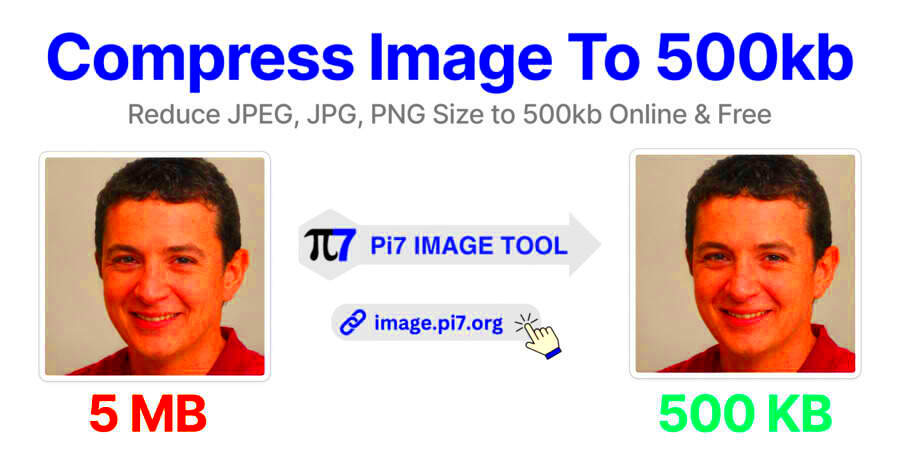
Image compression is reducing image file size while attempting to preserve its quality to the greatest extent possible. This method works by removing or simplifying some of an
- Lossless Compression: This method compresses images without any loss of quality. Every detail remains intact, and the image can be restored to its original form.
- Lossy Compression: This technique reduces the file size by permanently removing some image data. It’s great for significant size reduction but may affect image quality if overdone.
The important aspect for effective image compression is balancing file size and image quality. A properly compressed
Why Reducing Image Size to 500KB is Important

In the contemporary era of digitization, image file sizes have the capacity to influence all aspects ranging from the speed at which a website loads to involvement by users in it. Therefore, this is why it is good to keep an image below 500KB:
- Faster Load Times: Large images slow down web pages. By reducing image size, you speed up load times, which can improve your site’s ranking on search engines like Google.
- Mobile-Friendly: Smaller images are easier to load on mobile devices, making your site more accessible to a broader audience.
- Storage and Bandwidth Savings: Smaller image files take up less storage space on servers and reduce bandwidth usage, which can save you money, especially for sites with high traffic.
- Enhanced User Experience: A fast-loading site with high-quality images encourages users to stay longer and interact more, boosting engagement.
A perfect harmony between dimensions and excellence will see to it that your site functions optimally while not sacrificing anything as far as aesthetics are concerned.
Also Read This: How to Draw Halloween Images: Ideas and Instructions
Tools You Can Use to Compress Images

Several user-friendly devices are available which assist with image compression without a loss of quality. Whether you prefer to do it through an online service or a downloadable software, here are some famous examples:
- TinyPNG: A web-based tool that uses smart lossy compression to reduce image file size without noticeably affecting quality. It works well for both PNG and JPEG files.
- ImageOptim: A free app for Mac that optimizes images without sacrificing quality. It supports various formats like JPEG, PNG, and GIF.
- Adobe Photoshop: While more advanced, Photoshop allows you to manually adjust compression settings, giving you full control over the image quality and size.
- Squoosh: This is an open-source, browser-based image compressor by Google. It allows you to compare the original and compressed image side by side before downloading.
- Compressor.io: Another online tool that supports both lossless and lossy compression. It works well for reducing image size without significant quality loss.
It is determined by what you require, but any tool can aid in getting that perfect.
Also Read This: Alamy Contributor Earnings: Understanding How Much You Can Make
Steps to Compress an Image to 500KB Without Losing Quality
Although it may seem difficult to compress an image to 500KB without losing quality, the right approach can help you achieve this. Here are the steps that you can follow:
- Choose the Righ
Also Read This: How to Filter for Free Items in Adobe Stock
Common Mistakes to Avoid When Compressing Images
Compressing images is a great way to save space and improve load times, but it's easy to make mistakes that can affect the final result. Here are some common pitfalls to avoid when compressing images:
- Over-compression: One of the most common mistakes is compressing the image too much. This leads to noticeable quality loss, making the image look pixelated or blurry. Always preview the result before finalizing the compression to avoid this.
- Not Resizing the Image: Compressing a large image without resizing it first can lead to unnecessary file sizes. Resize your image to the appropriate dimensions for its use before compressing.
- Ignoring the File Format: Different formats (JPEG, PNG, GIF, WebP) compress images differently. For example, JPEG is better for photos, while PNG works best for images with text or transparency. Choosing the wrong format can result in poor quality or large file sizes.
- Not Using the Right Compression Tool: Not all compression tools are created equal. Some tools may remove too much data, while others might not compress enough. It’s important to use a tool that fits your specific needs.
- Failing to Check Quality Across Devices: After compression, the image might look fine on one device but appear distorted on another. Always test the compressed image on various screens and resolutions to ensure consistent quality.
Avoiding these mistakes ensures that your images remain high-quality and optimized for performance, helping to create a smooth user experience.
Also Read This: Mirroring an Image on a Mac
Frequently Asked Questions (FAQs)
Here are some common questions people have when it comes to compressing images:
- Does compressing an image always reduce quality?
Not always. Lossless compression maintains the original quality, while lossy compression reduces quality to achieve a smaller file size. You can often find a balance that keeps the image looking good while significantly reducing the file size. - What is the best file format for compression?
The best format depends on your needs. JPEG is great for photos, PNG is better for images that need transparency, and WebP offers excellent compression with minimal quality loss. - How can I compress images for the web?
You can use online tools like TinyPNG, Squoosh, or Compressor.io to quickly compress images for the web. Many of these tools offer options to choose between lossy and lossless compression. - What’s the difference between resizing and compressing an image?
Resizing changes the dimensions of the image, while compression reduces the file size by removing unnecessary data. Both can be used together to optimize an image. - Can I revert an image after compression?
With lossless compression, yes, you can revert the image. However, with lossy compression, the removed data cannot be restored, so always keep an original copy if possible.
Conclusion: Efficient Image Compression for Optimal Quality
Compressing images without sacrificing quality is an essential skill for anyone managing a website or working with digital media. By choosing the right tools, following best practices, and avoiding common mistakes, you can reduce your image file sizes while maintaining their visual appeal.
Whether you're working with JPEGs, PNGs, or other formats, the goal is to find the right balance between quality and size. Small, optimized images help your website load faster, improve user experience, and even boost search engine rankings.
Remember to always preview your compressed images, test across devices, and make adjustments as needed. With the right approach, you’ll be able to enjoy high-quality images that don’t slow down your site or eat up bandwidth.

 admin
admin


