Combining images in Inkscape is a powerful way to create visually stunning designs. Whether you’re a graphic designer, illustrator, or hobbyist, layering multiple images can bring your concepts to life. Inkscape is a free, open-source vector graphics editor that offers a wide range of tools to help you combine and manipulate images with ease. With its intuitive interface and robust features, you can blend photos, shapes, and text seamlessly to build complex artwork. In this section, we’ll cover the basics of how Inkscape works when combining images, and why it’s a go-to tool for many creative professionals.
Why Use Inkscape for Image Combination?

Inkscape offers several reasons why it’s ideal for combining images, especially when you’re working with complex designs. Here are some key advantages:
- Vector Editing Capabilities: Unlike raster-based programs, Inkscape uses vectors, which allows you to scale your images without losing quality. This is a huge benefit when working with large designs.
- Layering Support: Inkscape’s use of layers makes it easier to organize and edit different elements of your design separately. You can work on one part of the design while leaving the rest untouched.
- Precision and Control: Inkscape provides fine control over the positioning, alignment, and sizing of images, making it perfect for detailed designs.
- Free and Open-Source: Inkscape is completely free to use, which makes it accessible to anyone looking to create professional-grade artwork without the cost.
- Wide Range of Effects: Inkscape has a wide array of effects, filters, and advanced features to enhance the images you combine.
With these features, Inkscape stands out as a versatile tool for combining images in unique ways, whether you're creating simple logos or intricate digital artwork.
Also Read This: Automatically Tracing Images in Procreate
Getting Started with Inkscape for Image Editing

Before you dive into combining images in Inkscape, you need to get familiar with the basic tools and setup. Here's a quick guide to help you start editing your images in Inkscape:
- Step 1: Download and Install Inkscape - Visit the official Inkscape website and download the latest version for your operating system (Windows, macOS, or Linux). Once downloaded, run the installer and follow the setup instructions.
- Step 2: Setting Up Your Document - Open Inkscape and set up your document by choosing the page size and orientation. If you’re working with specific image dimensions, make sure to adjust the settings accordingly.
- Step 3: Importing Images - To add images to your document, go to the “File” menu and select “Import.” You can choose from various image formats like PNG, JPEG, or SVG. Once imported, the image will appear on your canvas.
- Step 4: Adjusting Image Properties - Use the toolbar to resize, rotate, or position your image as needed. Inkscape allows you to adjust the opacity, scale, and alignment of the imported images for better placement.
Once you’ve completed these initial steps, you’re ready to start combining and manipulating your images for your design project. Inkscape provides a clean and efficient workspace to help you focus on your creative vision.
Also Read This: How to Save a Full Web Page as an Image for Offline Access
Different Ways to Combine Images in Inkscape

Inkscape offers several creative methods to combine images, each with its own unique set of features. Whether you are working on a simple collage or a complex design, knowing the right technique to use can significantly impact your results. Below, we’ll explore the different ways you can combine images in Inkscape to create visually appealing artwork.
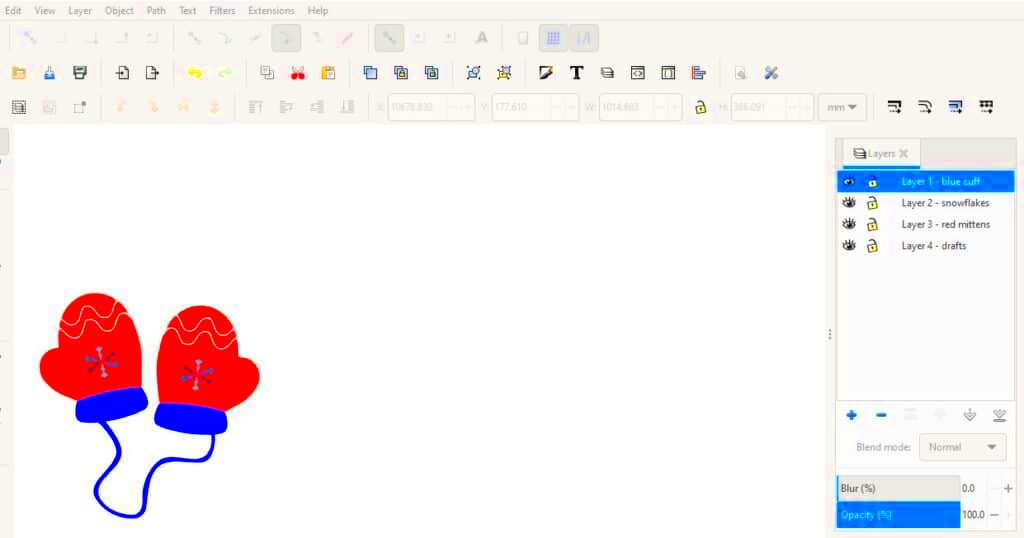
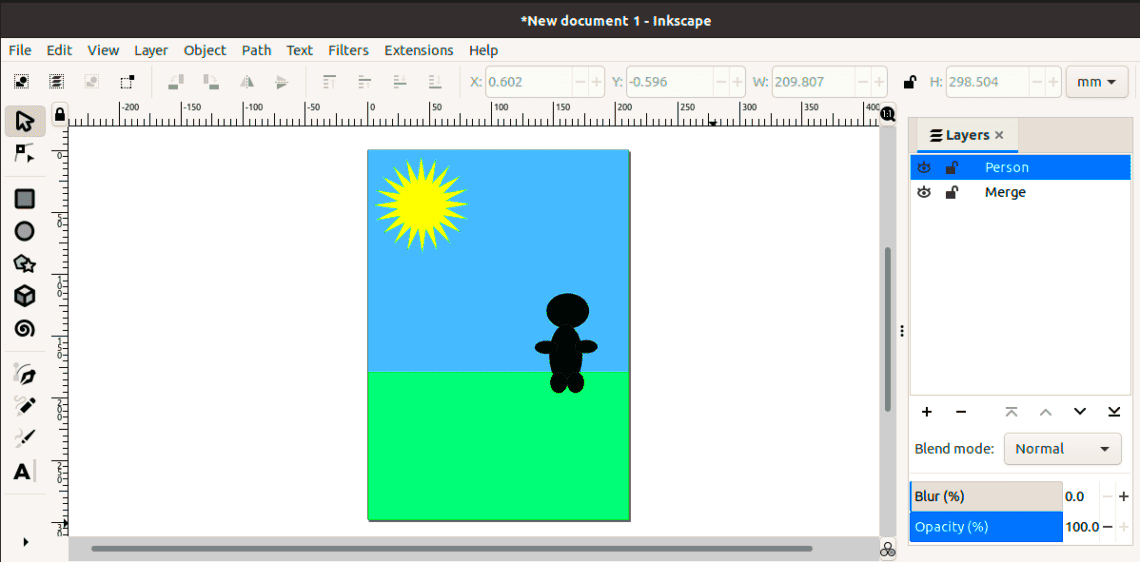
- Using Layers: Layers are one of the easiest ways to combine images in Inkscape. You can import different images into separate layers and work on each individually. This makes editing each element without affecting others simple and efficient.
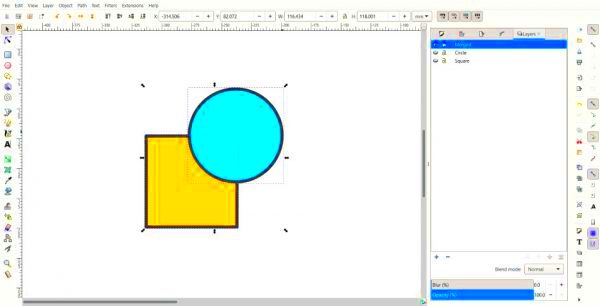
- Grouping Images: Grouping allows you to combine multiple objects or images into a single unit. Once grouped, you can move, resize, or apply transformations to all elements at once. To group objects, select the items, right-click, and choose "Group" from the context menu.
- Masking: Masking involves using a shape to hide parts of an image. By creating a shape over your image and then applying it as a mask, you can blend images seamlessly. This technique is great for creating photo collages or adding artistic effects to specific areas of your design.
- Clipping: Clipping is another useful tool to combine images in Inkscape. With clipping, you can define a shape that serves as a “window” through which parts of an image are visible. The rest of the image outside the shape is hidden, creating a clean, defined edge.
- Using the "Path" Tool: You can convert your images into paths and manipulate them for more complex combinations. This method is useful for when you want to blend images with shapes or create unique illustrations from photographic elements.
Each of these methods provides a different way to combine images, and learning when and how to use them will help you create detailed, intricate designs.
Also Read This: How to Become a Contributor to Getty Images – A Comprehensive Guide for New Photographers
Working with Layers for Complex Designs
Layers are essential for organizing and structuring complex designs in Inkscape. By working with layers, you can separate different elements of your project, making it easier to manipulate and adjust parts of your design without disturbing the entire composition. Here's how to use layers effectively in Inkscape:
- Understanding Layers: A layer in Inkscape is like a transparent sheet where you can place objects. You can create multiple layers to separate your design into manageable sections, such as backgrounds, text, shapes, and images.
- Creating and Managing Layers: To add a new layer, go to the “Layers” menu and select “Add Layer.” You can give it a name and choose the layer's visibility settings. Organizing layers by naming them (e.g., “Background,” “Foreground,” or “Text”) can help keep things organized as your design grows more complex.
- Locking and Hiding Layers: Once you’ve placed elements on different layers, you can lock layers to prevent them from being edited. You can also hide layers when you want to focus on other parts of the design, which helps you work more efficiently.
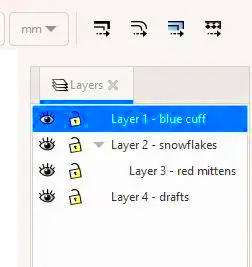
- Adjusting Layer Order: Layers can be moved up or down in the layer stack. To bring a layer to the front or send it to the back, right-click on the layer in the Layers dialog and select “Raise” or “Lower.” This is useful for positioning objects in front or behind other elements.
By mastering layers, you can simplify even the most complex design processes, giving you full control over each element in your artwork. Layers also enable non-destructive editing, meaning you can experiment without worrying about ruining your entire design.
Also Read This: Step-by-Step Makeup Application Guide for Beginners on Dailymotion
Applying Effects to Combined Images
One of the strengths of Inkscape is its wide range of effects and filters that you can apply to images and objects. These effects help add depth, texture, and style to your designs, taking them from simple compositions to works of art. Here are some popular ways to apply effects to your combined images:
- Gaussian Blur: A simple yet effective effect, the Gaussian blur softens edges and creates a subtle blurred background or soft-focus effect. This is often used to make images appear as if they’re out of focus or to create a dreamy atmosphere.
- Drop Shadow: Adding a drop shadow behind an image can create a sense of depth, making the image appear as though it's lifted off the background. To apply a drop shadow, select the image, then go to the "Filters" menu, choose "Shadows and Glows," and select “Drop Shadow.”
- Gradient Meshes: Gradients can add smooth color transitions to your combined images, making them look more polished. Use the gradient tool to apply color transitions to your images and create effects like lighting changes or atmospheric depth.
- Color Adjustments: Inkscape allows you to adjust the color balance, brightness, and contrast of combined images. This is perfect for enhancing your design's overall mood or correcting color discrepancies between images.
- Pattern and Texture Effects: You can fill objects with patterns or textures to make your design feel more dynamic. For example, applying a textured pattern to a background image can add visual interest and make the design stand out more.
Applying these effects can give your images a professional look and feel, transforming simple images into detailed, visually rich designs. Experimenting with different effects in Inkscape can unlock endless creative possibilities, helping you create stunning artwork.
Also Read This: How to Remove Shutterstock Watermark from Video: A Comprehensive Guide
Saving and Exporting Combined Images
Once you've combined your images and created a stunning design in Inkscape, the next step is saving and exporting your work. Inkscape offers a variety of file formats for different purposes, whether you're printing your design, sharing it online, or preparing it for professional use. Here's how you can save and export your combined images efficiently:
- Saving Your Inkscape File: Inkscape saves your projects as SVG (Scalable Vector Graphics) files by default. This format retains all vector elements and allows for easy editing in the future. To save your project, simply go to "File" and click "Save As." Choose SVG as the file format, and give your file a name.
- Exporting as PNG: If you want to share your design online or use it for web purposes, exporting as PNG is ideal. To do this, select the “Export PNG Image” option from the "File" menu. You can specify the resolution, and Inkscape will generate a high-quality raster image. This is perfect for websites, social media, or presentations.
- Exporting for Print: If your design is meant for printing, you might want to export it as a PDF, EPS, or other print-friendly format. These formats preserve the vector quality, ensuring your images remain crisp and clear when printed. Go to “File” and select "Save As" to choose the appropriate file type.
- Exporting Specific Areas: Inkscape allows you to export just a part of your design, whether it's a single image or a specific layer. Use the “Select” tool to highlight the area you want to export, then go to the export settings and choose "Selection" for the export area.
By saving your work in the right format, you ensure your images remain flexible and usable for various purposes. Always choose the export option that best suits the final output you're aiming for, whether it's digital or print.
Also Read This: How to Become an Adobe Stock Contributor
Common Troubleshooting Tips in Inkscape
Sometimes, even experienced users face issues while using Inkscape. If you run into any problems, don’t worry – troubleshooting is often straightforward. Below are some common problems you might encounter when working with images in Inkscape, along with practical solutions to help you get back on track:
- Images Not Showing After Import: If images aren’t appearing after you’ve imported them, it could be due to their size or the canvas not displaying them properly. Try zooming out or checking if the image is positioned outside the visible area. You can also check the “Layers” menu to ensure the image is on the correct layer.
- Slow Performance: Large images or overly complex designs with many layers can slow Inkscape down. Try reducing the image resolution before importing, or simplify your design by grouping or merging unnecessary layers. Also, consider turning off “Snap” settings if they are causing delays.
- Exported Image Looks Blurry: If the exported image appears blurry, it may be due to a low resolution setting during export. In the export dialog, ensure the DPI (dots per inch) setting is set high (usually 300 for print or 72 for web). Increasing the export resolution will improve the quality of your final image.
- Unable to Edit Imported Images: Raster images, such as JPGs or PNGs, can’t be directly edited in Inkscape like vector images. To edit the image, you can trace it into a vector format using Inkscape’s “Trace Bitmap” tool, which converts raster images into scalable paths.
- Inkscape Crashes or Freezes: If Inkscape crashes frequently, check for any software updates or install the latest version. Sometimes, corrupted files or large, complex designs can cause crashes. Saving your work regularly and working in smaller sections can help prevent losing progress.
If you encounter any other issues, the Inkscape community is full of helpful forums, tutorials, and support to guide you through solving problems. Don’t hesitate to explore the official documentation for more advanced troubleshooting.
Also Read This: Curving Images: Tips and Tricks
FAQ
Here are some frequently asked questions that can help you understand how to combine images and troubleshoot issues in Inkscape:
- How can I combine two images without overlapping them?
You can place images in separate layers or use the “Align and Distribute” tool to precisely position images next to each other without overlap. - Can I combine raster and vector images in Inkscape?
Yes, Inkscape allows you to combine raster (e.g., PNG or JPG) and vector images. You can import raster images into a vector workspace and manipulate them accordingly. - Why isn’t my image showing up in the export file?
Ensure that the image is visible on the canvas and on the correct layer. Sometimes, hidden layers or misaligned objects may not appear in the exported file. - Can I edit a raster image directly in Inkscape?
Inkscape is primarily a vector editing tool, so it doesn't allow you to edit raster images the way you would in photo editing software. However, you can trace raster images to convert them into vector paths for further editing. - What is the best file format for exporting for the web?
PNG and JPEG are the most common formats for web use. PNG is best for images with transparency or sharp details, while JPEG is great for photographs or images with gradients. - How do I add effects like shadows or blurs to my images?
You can apply effects like shadows, blurs, and more by selecting the image, then going to the "Filters" menu and choosing the desired effect, such as "Shadows and Glows" or "Gaussian Blur."
If you still have questions, the Inkscape community offers plenty of online resources, tutorials, and discussion forums where you can get answers to your queries.
Conclusion
Combining images in Inkscape is an effective way to create intricate, professional-looking designs. By using various methods such as layering, grouping, masking, and clipping, you can build complex compositions that are fully customizable. Inkscape’s powerful tools give you the flexibility to adjust each image element while maintaining the overall design integrity. Whether you’re working on illustrations, web graphics, or print materials, mastering these techniques will elevate the quality of your projects. With its free and open-source nature, Inkscape provides all the features you need to turn your creative ideas into reality. By saving your work in the appropriate formats and troubleshooting common issues, you can ensure a smooth workflow and deliver high-quality results every time. Keep exploring the features of Inkscape, and with practice, you'll be able to combine images like a pro!

 admin
admin


