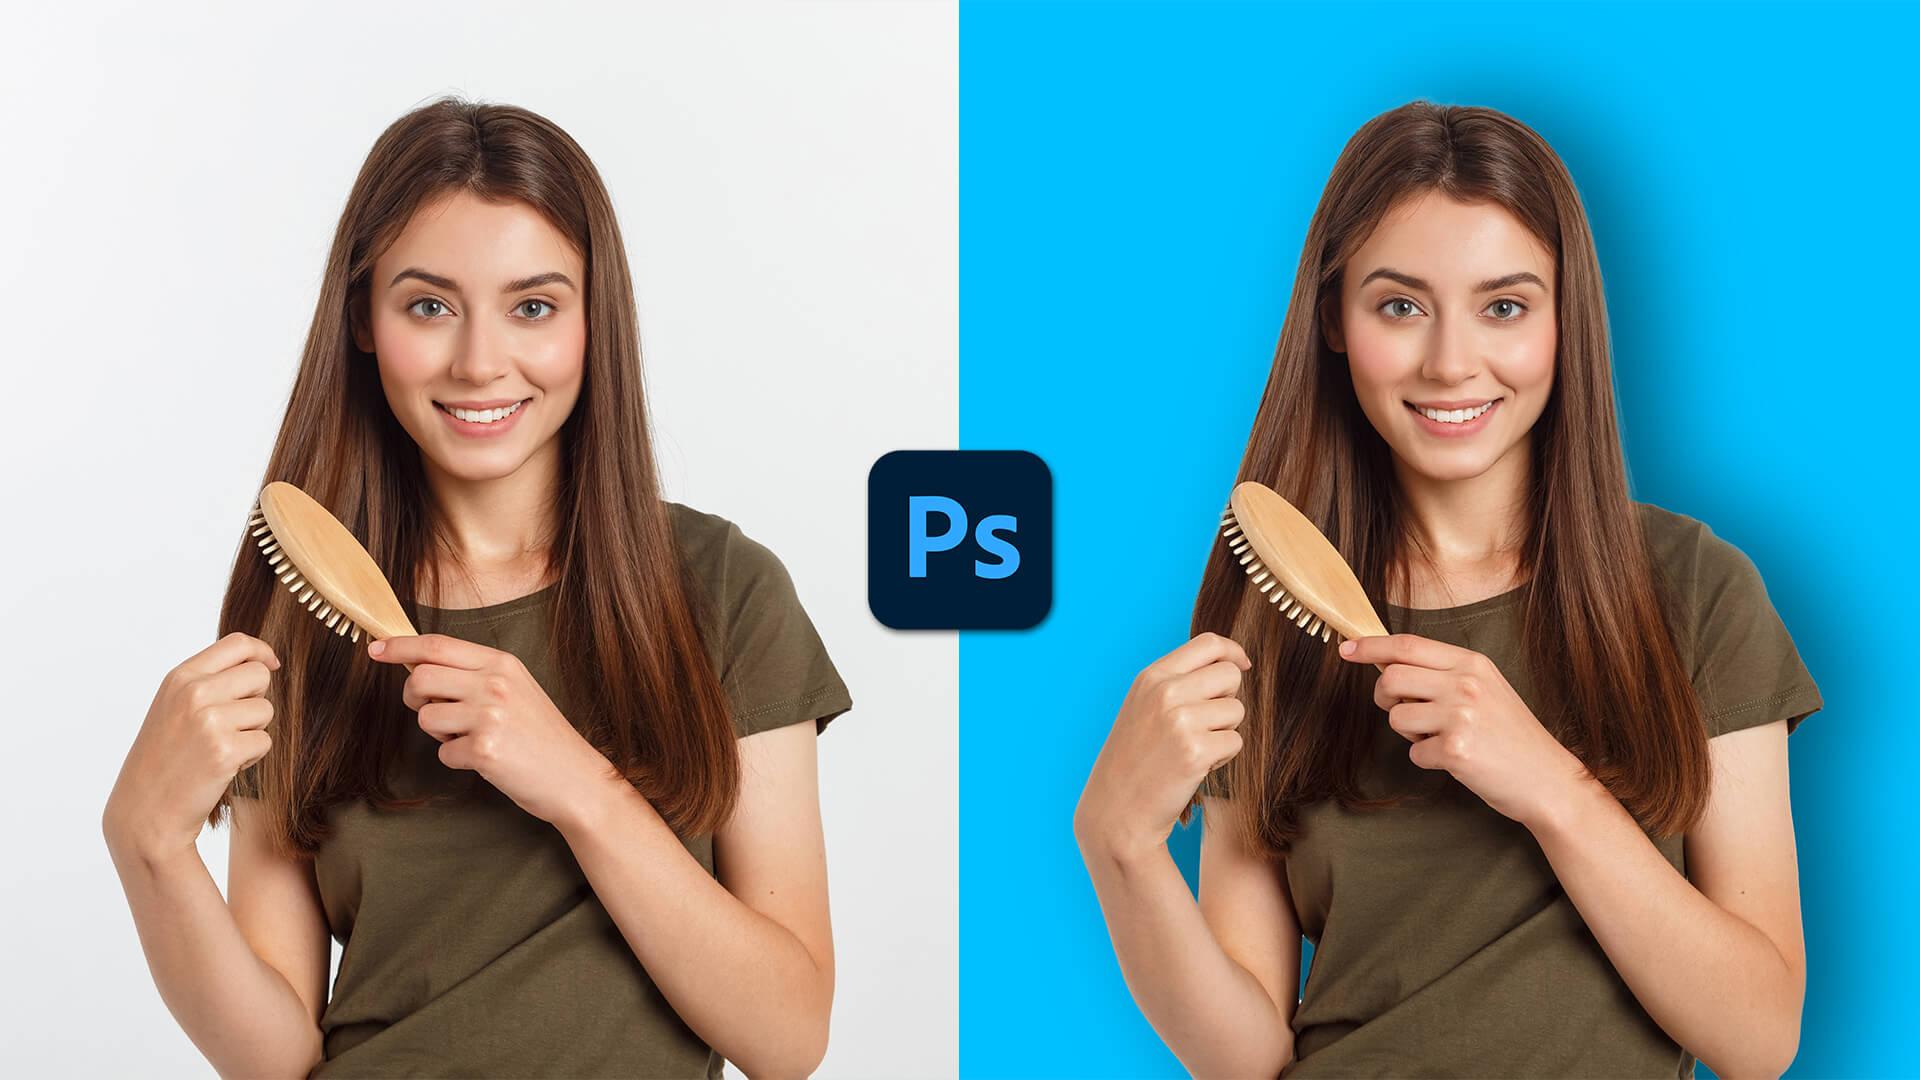
Changing the background in Adobe Photoshop 7.0 is a fantastic way to elevate your images, whether for personal projects or professional use. This classic version of Photoshop, even though it's not the latest, is still packed with powerful tools that can help you transform your visuals. By the end of this guide, you’ll have a solid understanding of the steps involved in changing backgrounds. So grab your creative hat and let’s dive in!
Getting Started with Photoshop 7.0

Before we jump into the fun part of changing backgrounds, let’s get familiar with Adobe Photoshop 7.0. As one of the earlier popular iterations of this beloved software, it’s important to know how to navigate its interface and tools effectively.
Once you have installed Adobe Photoshop 7.0, open the program, and let’s take a look at the main areas of the workspace:
- Menu Bar: Located at the top, this is where you’ll find all the commands. You can access everything from file options to editing tools.
- Toolbox: Usually on the left side of the screen, the toolbox holds essential tools like the selection tool, brush, eraser, and more. Familiarize yourself with these, as they will be your best friends during the process.
- Options Bar: Right below the menu bar, the options bar changes based on the selected tool, providing further settings and adjustments.
- Layers Panel: Found on the right side, this panel is crucial for working with different elements in your image. Each layer acts like a separate canvas, allowing for easy edits.
As you work, remember that practice makes perfect. Spend some time exploring these areas and getting comfortable with the tools available to you. It will make the process of changing backgrounds much smoother, and you’ll unleash your creativity in no time!
Also Read This: Understanding Earnings Potential on Adobe Stock
3. Steps to Change Background

Changing the background in Adobe Photoshop 7.0 can be a fun and creative process! Whether you're looking to give a fresh vibe to your images or to highlight a particular subject, following the right steps can make all the difference. Let’s break it down step-by-step:
- Open Your Image: Launch Photoshop and open the image you want to work on. You can do this by clicking on File > Open, then navigating to your image file and selecting it.
- Duplicate the Layer: For non-destructive editing, it's a good idea to duplicate your original layer. Right-click on the layer in the Layers panel and select Duplicate Layer. Now you have a backup of your original image.
- Use Selection Tools: This is where the magic happens! Using the selection tools, you can carefully select the subject you’d like to keep. We’ll go into more detail about this in the next section.
- Delete the Background: Once your subject is selected, you can delete the background. Simply press the Delete key on your keyboard. Don’t worry; your subject remains intact!
- Add a New Background: Now it’s time for the fun part! Open another image that you’d like to use as your new background. You can do this by following the same step as opening the original image.
- Position the Background Layer: Make sure the new background layer is positioned below your subject's layer in the Layers panel. You may need to use the Move Tool to adjust its placement.
- Save Your Work: To keep your changes, save your image by clicking on File > Save As. Choose the format you prefer and hit OK.
And there you have it! You’ve successfully changed the background in your image using Adobe Photoshop 7.0.
Also Read This: How to Record YouTube Audio Using Audacity
4. Using Selection Tools

Selecting the right tools in Photoshop 7.0 is crucial for achieving a clean background change. Here’s a closer look at the different selection tools you can use, along with some tips to make your selections smoother:
| Selection Tool | Description |
|---|---|
| Marquee Tool | This tool is perfect for selecting rectangular or elliptical areas. It’s straightforward and great for basic shapes. |
| Lasso Tool | The Lasso Tool lets you draw freehand around your subject. It's ideal for irregular shapes or when precision is required. |
| Polygonal Lasso Tool | If you need straight-edged selections, this tool is your best friend. Click to create points around your subject for a defined selection. |
| Magnetic Lasso Tool | This tool automatically clings to the edges of your subject as you drag, which saves time and improves accuracy. |
| Quick Selection Tool | It’s a brush that allows you to paint over the area you want to select. It’s super intuitive for selecting more complex shapes. |
Here are some tips while using these selection tools:
- Zoom In: Make sure to zoom in on your subject for better accuracy. It will allow you to see the finer details.
- Refine Edge: Once you've made a selection, don’t forget to use the Refine Edge option to smooth out the edges.
- Undo If Necessary: If your selection isn’t quite right, use Ctrl + Z to undo and try again!
With these selection tools and tips in hand, you’ll be ready to select your subject with confidence, making the background change process seamless and enjoyable!
Also Read This: The Cost of One Credit on iStock Explained
5. Adding a New Background

Adding a new background in Adobe Photoshop 7.0 is a straightforward process, but it requires a little patience and practice for the best results. First and foremost, ensure you have your subject ready on a separate layer. This step is vital as it allows you to manipulate your background without altering your main subject.
Here’s a step-by-step guide to adding a new background:
- Open Your Project: Launch Photoshop and open the image file that contains your subject.
- Import Your New Background: Go to File -> Place and select the image you want as your new background. This will add the new image as a layer in your project.
- Resize and Position: Use the Transform Tool (Ctrl + T) to resize and position the background layer as per your requirement. Make sure it completely covers the canvas.
- Layer Ordering: In the Layers Palette, drag your new background layer below your subject layer. This way, your subject will remain visible on top.
- Final Touches: If you want, you can use the Crop Tool or the Marquee Tool to adjust any excess parts of the background image that don’t fit the scene.
And just like that, you've added a new background to your image! Remember, the key here is to keep experimenting until you find the background that complements your subject perfectly.
Also Read This: How to Overlay Two Images in Preview for Mac Users
6. Adjusting and Blending the New Background
Now that you’ve successfully added a new background, it’s time to blend it in seamlessly with the subject. Adjusting and blending is where the real magic happens, and it helps in creating a cohesive image that feels natural. Here are some tips and tricks to help you achieve that:
Follow these steps to blend your background effectively:
- Adjust Colors: Use the Image -> Adjustments menu to change the color balance of the background. You may want to adjust brightness, contrast, and saturation to match the subject better.
- Apply Filters: To add uniformity, consider applying a subtle filter to your background. This could be a blur effect or a noise filter, depending on what gives a more authentic look.
- Layer Styles: Experiment with different Blending Modes in the Layers Palette. Modes like Multiply or Overlay can create interesting effects that help fuse the layers together.
- Masking Techniques: Use a layer mask to refine the edges of your subject for a more natural look. Paint with soft brushes to blend edges into the background.
- Final Adjustments: Don’t be afraid to go back and forth! Check for shadows and highlights; they should be consistent across both layers.
Remember, blending takes a keen eye and some experimentation. Trust your instincts and, most importantly, have fun watching your project evolve into something beautiful!
Also Read This: How to Select Part of an Image
7. Finalizing Your Image
Alright, you've done the hard work of changing the background in your image, and it’s looking pretty fabulous! Now, it's time to finalize your masterpiece. Here are some steps to make sure your image is polished and ready for sharing:
- Check Your Edges: Zoom in and examine the edges of your subject. Make sure there are no rough spots or leftover bits of the old background. Use the Eraser Tool or soften the edges with the Blur Tool if you need to tidy up.
- Add Final Touches: Consider adding some final touches like brightness or contrast adjustments. Go to Image > Adjustments > Brightness/Contrast to fine-tune the lighting.
- Apply Filters: If you want to enhance your image even more, think about applying some filters. Explore Filter > Artistic to change the overall feel of the image without altering the background.
- Save Your Work: Before you get too carried away with the details, make sure to save your work! Use File > Save As to save a copy in PSD format, preserving all your layers. For a final version, save as a JPEG or PNG.
Finally, take a moment to look at your image as a whole. Are there any additional adjustments or refinements you'd like to make? Once you're satisfied, you’re ready for the world to see your awesome creation!
8. Conclusion
And there you have it! Changing backgrounds in Adobe Photoshop 7.0 really can be an enjoyable and creative process. Whether you're sprucing up personal photos or creating dynamic graphics for projects, mastering this skill can open many doors for you.
Remember, the key steps we covered include:
- Choosing your subject wisely.
- Using tools like the Lasso Tool and Magic Wand for precise selections.
- Carefully adding your new background and making necessary adjustments.
As you continue practicing, your skills will improve, and you'll find new ways to experiment with backgrounds. Don't hesitate to try different techniques or explore alternative styles to see what works best for your unique vision.
Now, it’s your turn! Dive into Photoshop, play around with those backgrounds, and let your creativity shine. Happy editing!
 admin
admin


