Applying foundation is a crucial step in any makeup routine. It sets the stage for a flawless look, enhancing your natural beauty while providing even coverage. Whether you're getting ready for a special occasion or just a day out, mastering the art of foundation application can make a world of difference. Today, we're diving into one of the best methods for achieving that smooth, natural finish: using a sponge. With the right techniques, you’ll create a canvas that looks fresh and radiant!
Choosing the Right Sponge for Your Foundation
When it comes to applying foundation, the sponge you choose can significantly impact the end result. Here’s what you need to consider:
- Material: Sponges come in various materials like latex, foam, and silicone. Latex sponges tend to absorb more product, while foam sponges offer a lighter application. Opt for a high-quality, non-latex sponge for better results.
- Shape: The shape of the sponge matters! A teardrop or egg-shaped sponge is versatile; the pointed end is perfect for reaching areas like around the nose and under the eyes, while the rounded end can cover larger areas like the cheeks and forehead.
- Size: Choose a sponge that fits comfortably in your hand. Smaller sponges are great for precision work, while larger ones are better for quick applications.
- Brand Quality: Some popular brands, like Beautyblender and Real Techniques, are often recommended due to their durability and performance. Don't hesitate to invest a bit in a quality sponge as it can last much longer and perform better.
By selecting the right sponge, you’ll not only enhance your foundation's application but also achieve that desirable smooth and natural finish!
Also Read This: Exploring Rumble’s Stance on Adult Content
Preparing Your Skin Before Application
Before diving into the world of foundation application, it’s crucial to prep your skin properly. Think of your face as a blank canvas; the smoother it is, the better your makeup will look. Here’s how to get that flawless base:
- Cleanse: Start with a gentle cleanser to remove any dirt or oil. This ensures your foundation adheres well and doesn’t slide off.
- Exfoliate: If you have dry patches or uneven texture, exfoliate your skin a couple of times a week. A mild scrub or exfoliating pad works wonders. Just be gentle!
- Moisturize: After cleansing, apply a lightweight moisturizer. This is key, especially if you have dry skin. Look for moisturizers with ingredients like hyaluronic acid for hydration.
- Prime: Using a primer creates a smooth surface for your foundation. Choose one that suits your skin type; for example, a mattifying primer for oily skin or a dewy finish for dry skin.
Remember, allowing your skincare products to absorb for a few minutes before applying foundation can make a significant difference. Your skin will be prepped and ready, ensuring a smooth, natural finish!
Also Read This: Is Dailymotion Free to Sign Up and Use? Everything You Should Know
Step-by-Step Guide to Applying Foundation with a Sponge
Ready to apply your foundation like a pro? Using a sponge can give you that airbrushed effect. Here’s a simple step-by-step guide to achieve a smooth finish:
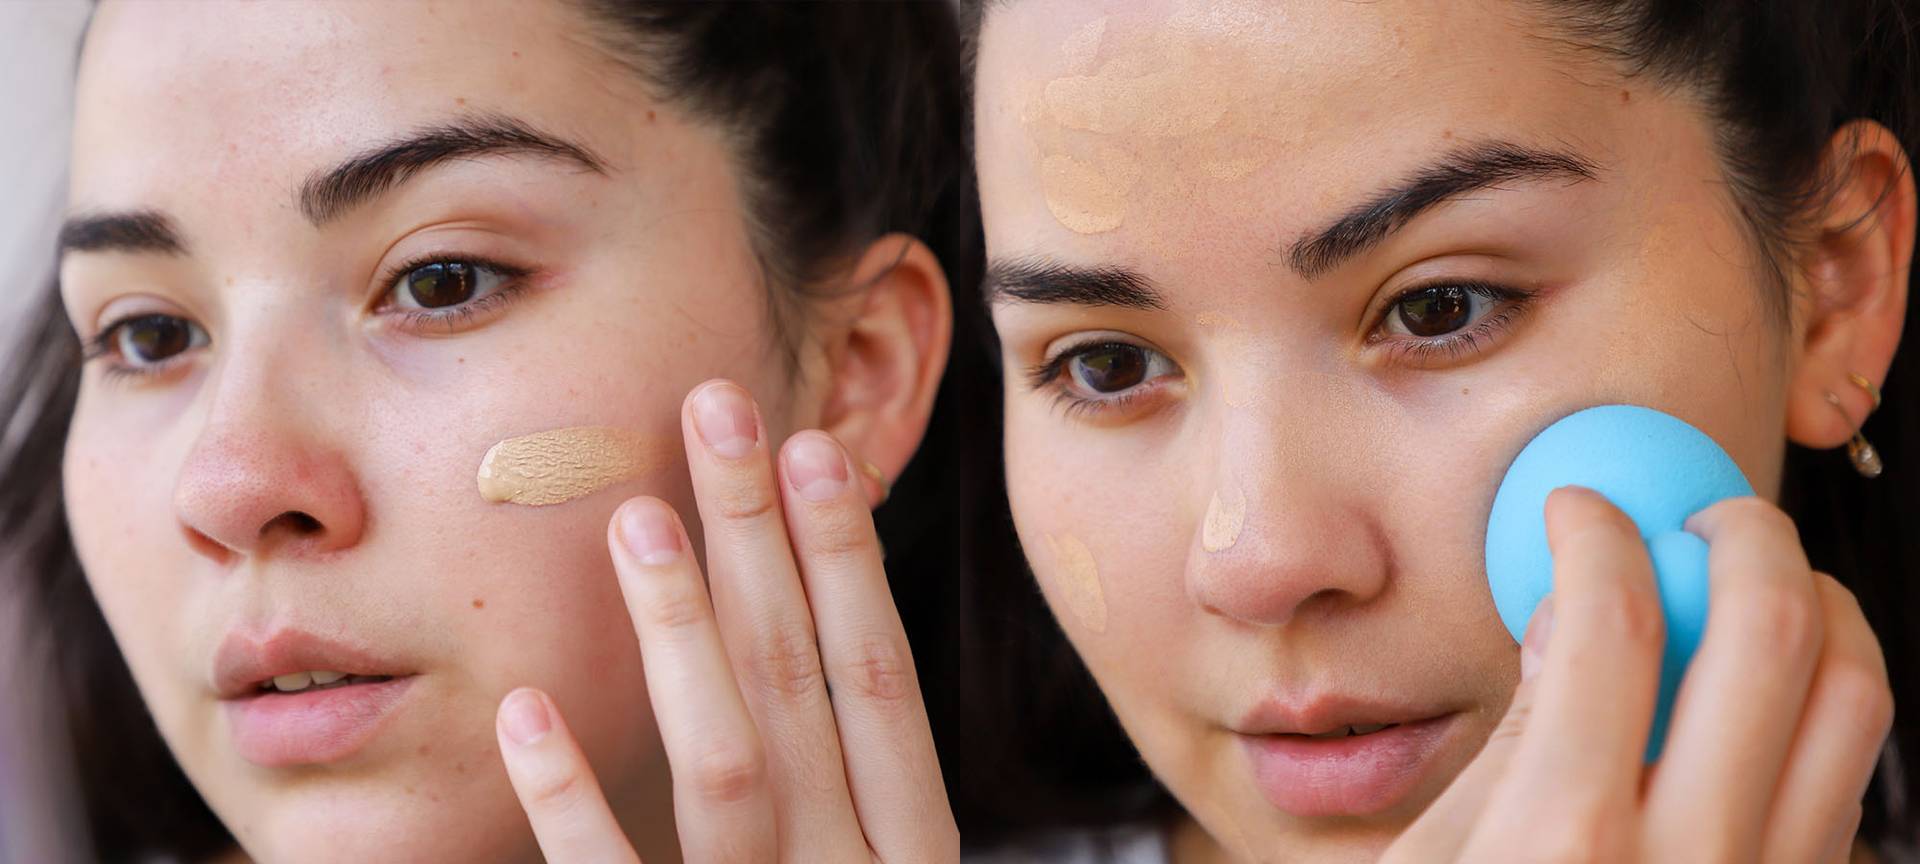
- Dampen the Sponge: Begin by wetting your makeup sponge and squeezing out excess water. A damp sponge helps blend the foundation seamlessly.
- Choose Your Foundation: Whether it’s liquid, cream, or stick, pick a foundation that matches your skin tone. Shake it well (if it's liquid) before using.
- Apply Foundation to the Sponge: Pour a small amount of foundation onto the sponge or the back of your hand. Start with a pea-sized amount; you can always add more if needed.
- Start Blending: Use the rounded side of the sponge to apply foundation. Tap it on your skin using a bouncing motion, starting from the center of your face and blending outward.
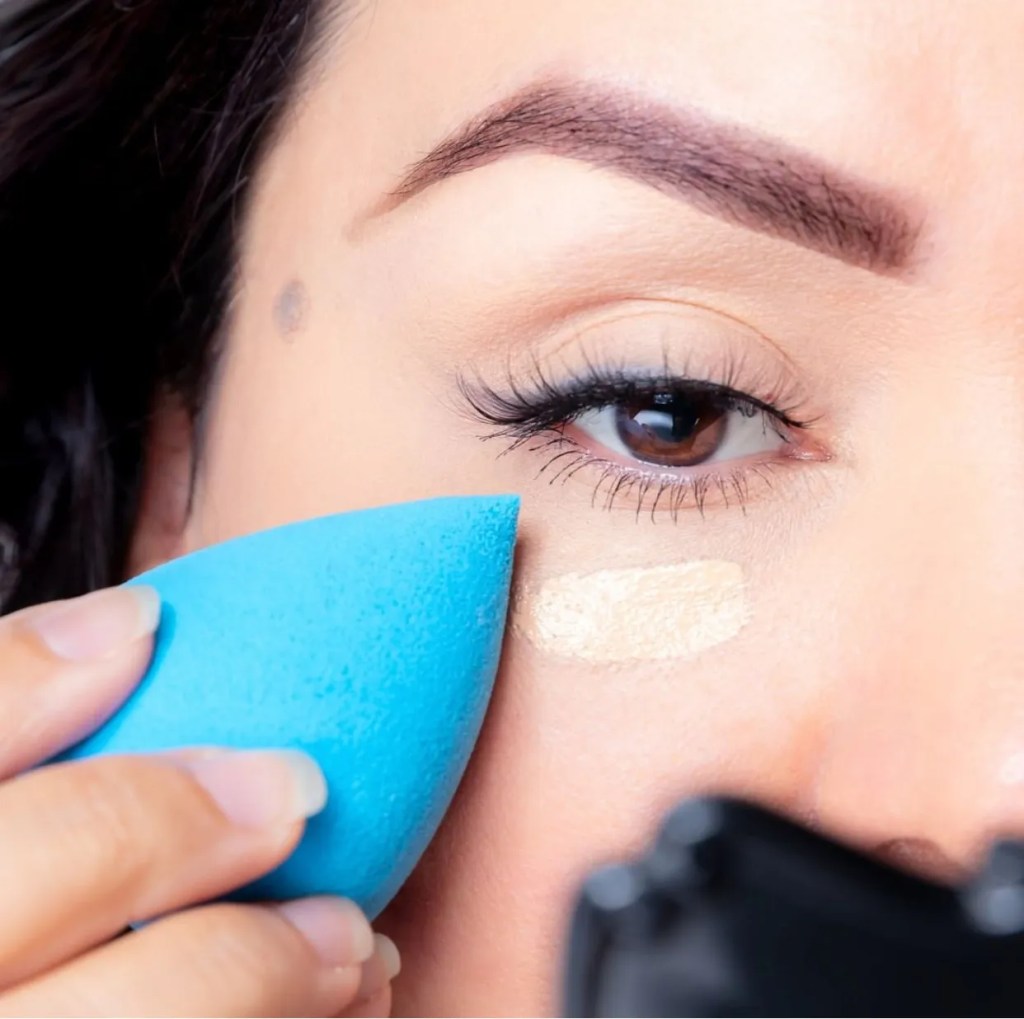
- Cover Your Areas: Focus on areas that need more coverage, like redness or blemishes. Use the tip of the sponge for precision around your eyes and nose.
- Finish with a Light Layer: For a more natural look, apply a second thin layer only where needed. Remember, less is more!
And there you have it! Following these steps transforms your foundation application into a breeze, leaving you with a beautiful, natural finish.
Also Read This: How to Apply BB Cream with Fingers: Achieve a Flawless Finish
5. Tips for Achieving a Flawless Finish
Applying foundation with a sponge can be a game changer, especially if you want that smooth, natural finish. Here are some tips to elevate your foundation application:
- Moisten Your Sponge: Before you start, dampen your makeup sponge. A damp sponge helps the foundation blend seamlessly into your skin, preventing that cakey look.
- Use the Right Foundation: Choosing a foundation that matches your skin type is crucial. For dry skin, opt for a hydrating foundation, while oily skin benefits from a matte finish.
- Start with a Primer: Applying a primer before foundation can create a smoother canvas. Look for a primer that suits your skin type to enhance longevity and finish.
- Work in Sections: Don’t slather foundation on all at once. Work in small sections, starting with the center of your face and blending outward.
- Build Coverage Gradually: If you want more coverage, apply thin layers instead of one thick one. This ensures a more natural look while allowing you to control the coverage.
- Stippling Technique: Use a stippling motion to apply your foundation. This means pressing and bouncing the sponge against your skin for an even distribution.
- Finish with Setting Spray: A setting spray can lock in your makeup and give it a dewy finish. It’s the perfect final touch for that polished look!
Also Read This: How to Change Background in Adobe Photoshop CC: Step-by-Step Guide
6. Common Mistakes to Avoid
Even with the best intentions, we can make some sneaky mistakes while applying foundation with a sponge. Here are a few to watch out for:
- Using a Dry Sponge: Applying foundation with a dry sponge can absorb more product and lead to an uneven finish. Always remember to dampen your sponge first!
- Choosing the Wrong Shade: Testing foundation shades on your wrist or hand can be misleading. Always test on your jawline to find your perfect match.
- Not Blending Enough: Rushing the blending process can leave harsh lines. Take your time and ensure everything is blended out perfectly.
- Applying Too Much Product: Less is more! Applying too much foundation can lead to a cakey appearance. Start small and build up where necessary.
- Neglecting Skin Prep: Skipping skincare steps like moisturizing can affect how your foundation sits. Always prep your skin for the best results.
- Using Expired Products: Old foundations can separate and look uneven. Check expiry dates and toss anything that’s past its prime!
Also Read This: Creative DIY Net Flower Craft Ideas
How to Apply Foundation with a Sponge for a Smooth Natural Finish
Applying foundation with a sponge can elevate your makeup game, giving you a flawless and natural look. Here’s a step-by-step guide to help you achieve that perfect finish.
1. Choose the Right Sponge: The type of sponge you use can impact the final outcome. Here are some popular options:
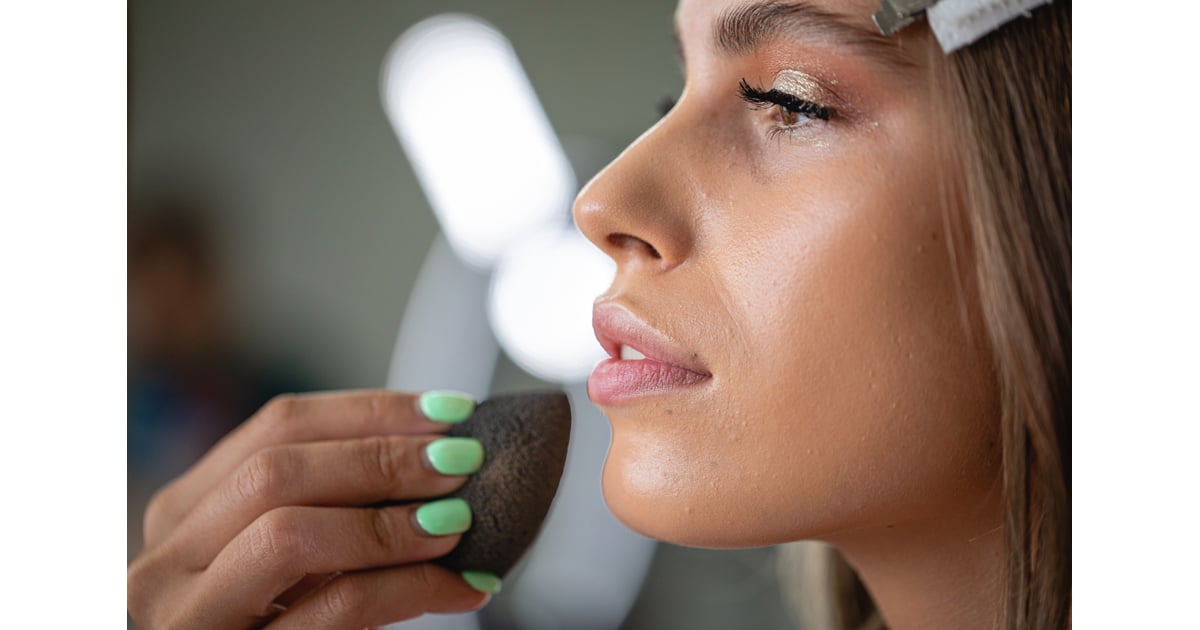
- Beauty Blender: A classic choice for seamless blending.
- Latex-Free Blending Sponge: Ideal for sensitive skin.
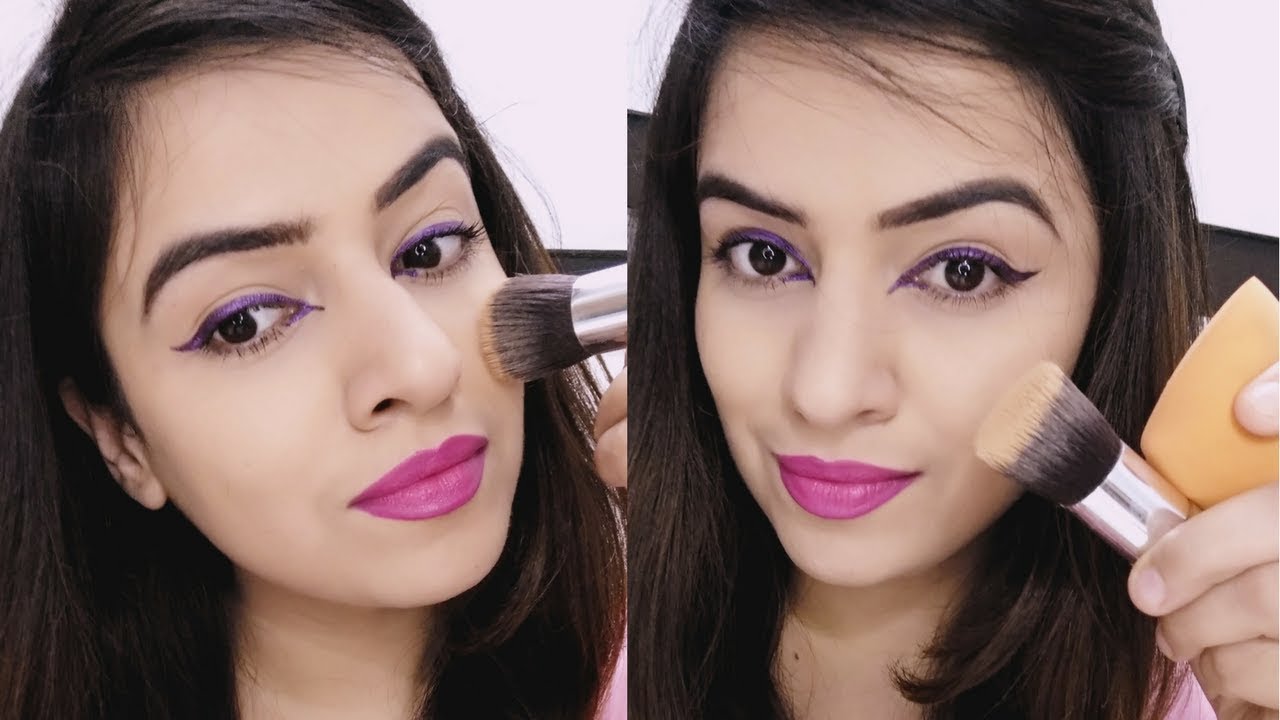
- Flat-Top Sponge: Great for buffing and covering larger areas.
2. Prepare Your Skin: Before applying foundation, prepare your skin by following these steps:
- Cleanse your face to remove impurities.
- Moisturize to ensure a smooth base.
- Apply a primer to help the foundation adhere better.
3. Dampen Your Sponge: Wet the sponge with water and squeeze out excess. A damp sponge helps to blend foundation evenly and prevents cakiness.
| Step | Description |
|---|---|
| Dot Foundation | Apply small dots of foundation on your forehead, cheeks, nose, and chin. |
| Blend | Using the sponge, gently bounce and blend the foundation into your skin. |
| Build Coverage | For more coverage, add another layer and blend using the same bouncing motion. |
4. Finish with Setting Powder: To lock in your look, lightly dust a setting powder over your foundation.
By following these steps and using a sponge correctly, you can achieve a smooth, natural finish that enhances your beauty without looking overdone.
Conclusion and Final Thoughts
Mastering the art of applying foundation with a sponge not only boosts your makeup skills but also gives your skin a radiant and polished appearance. With practice, you'll find the technique that works best for you, ensuring a flawless finish every time.
 admin
admin


