When working with Adobe Illustrator, one of the most common tasks is incorporating images into your designs. Illustrator allows you to either link or embed images. Embedding an image means you’re including the image file directly within your Illustrator document, so it becomes part of your design file. This is different from linking, where the
Why You Should Embed Images in Illustrator

Embedding images in Illustrator offers several advantages, especially when working on complex projects or collaborating with others. Here are some key reasons why you should consider embedding your images:
- File Portability: Embedded images become part of your Illustrator file, making it easy to transfer or share the project without worrying about missing files or broken links.
- Consistent Appearance: Since the image is embedded, you won’t have to worry about the image looking different on other devices or when opening the file later. It ensures that the image appears exactly as it was intended.
- File Security: If you’re working with confidential or proprietary images, embedding ensures that no one can access the source file unless they have the Illustrator document itself.
- Simplified Workflow: Especially for print or web projects, embedding ensures that all elements are in one place, reducing the chances of missing or misplaced assets.
Also Read This: Blurring an Image in PowerPoint
How to Embed Images in Illustrator Step by Step

Embedding an image in Illustrator is a straightforward process. Follow these simple steps to embed an image in your Illustrator document:
- Step 1: Open your Illustrator document.
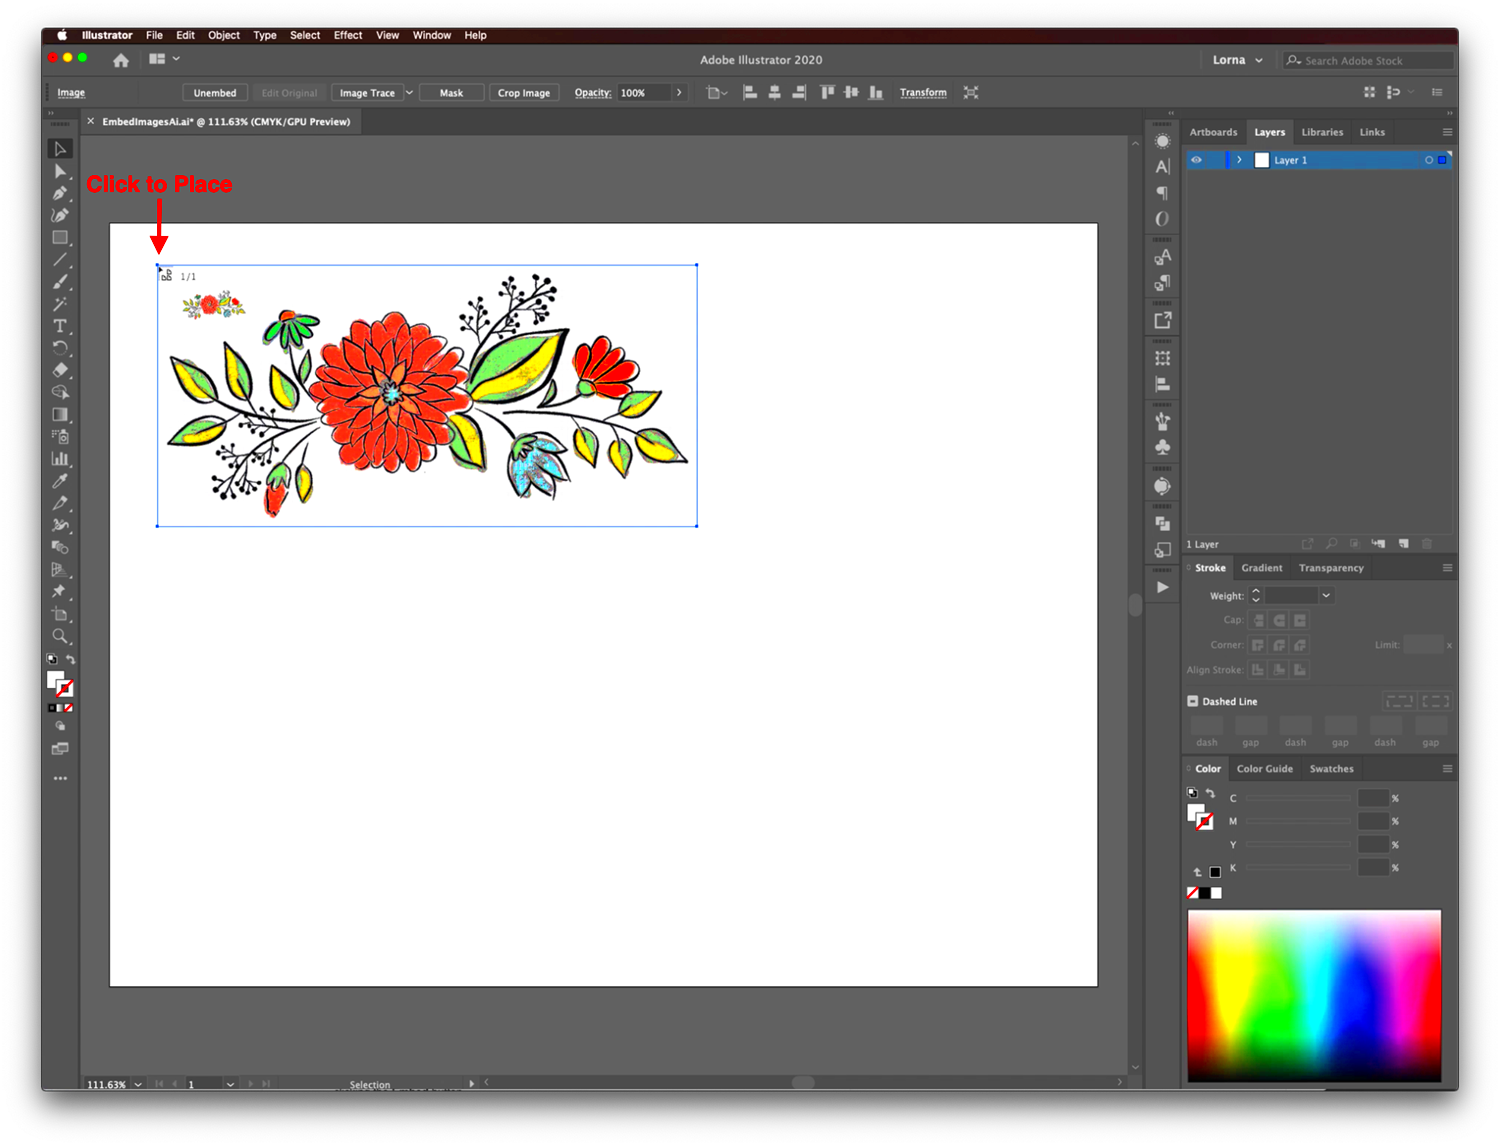
- Step 2: Place the image by going to File > Place, and then select the image you want to add to your document.
- Step 3: After placing the image, you'll see a small checkbox in the options bar at the top of the screen that says "Link". Uncheck this box to embed the image.
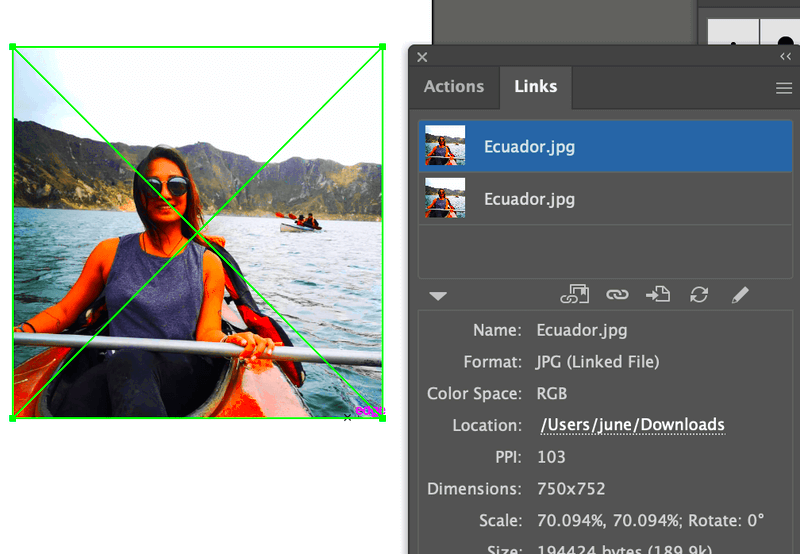
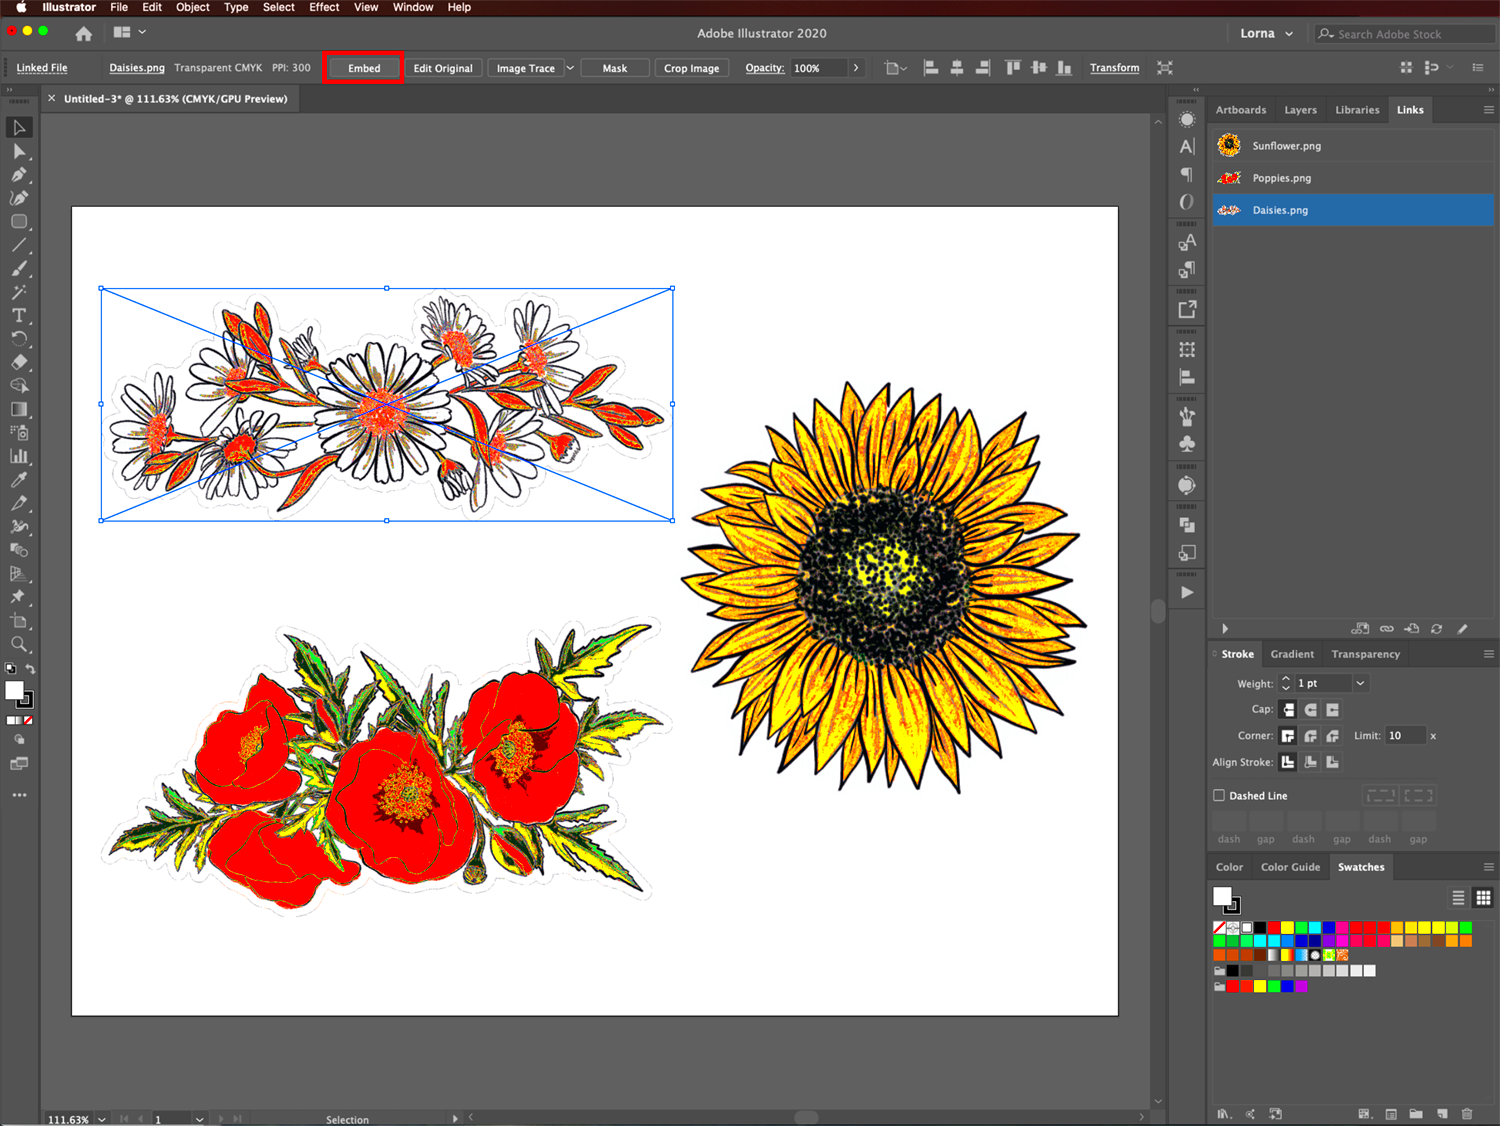
- Step 4: Click OK, and your image will now be embedded within the Illustrator file. You’ll notice that the image will no longer have a link icon beside it in the Links panel.
- Step 5: Save your document as usual, and your image will remain embedded within the file.
That's it! You've successfully embedded your image in Illustrator, ensuring that it's part of the file and won't go missing even when you move or share the document.
Also Read This: How to Access and Manage Your Photos on Adobe Stock
Benefits of Embedding Images Over Linking

When you decide to work with images in Adobe Illustrator, one of the main decisions is whether to link or embed them. While linking has its advantages, embedding offers several clear benefits that are worth considering for long-term projects. Let’s take a look at why embedding images might be the right choice for your workflow.
- Complete Control Over Your Design: When you embed an image, it becomes a part of your Illustrator file. This means that all your design elements stay together, reducing the chances of errors or missing images when you share or move the file.
- Ease of File Sharing: With embedded images, you don’t need to worry about managing separate image files. Simply send or share your Illustrator document, and the images will remain intact, without the need for anyone to search for external files.
- File Integrity: Since embedded images are stored within your Illustrator file, you avoid issues like broken links. This can be particularly useful when you work on projects with multiple images or when your images are stored in a different location on your computer.
- Less Dependency on External Files: Linked files can sometimes go missing, especially if they’re stored in different folders or on external devices. With embedded images, your design is more self-sufficient and less dependent on external resources.
- Faster Workflow in Some Cases: For designs that require a lot of moving around or sharing, embedding can save time. There’s no need to re-link missing images or worry about paths when you open a project on another machine.
Also Read This: Removing Storyblocks Logo or Watermark From Downloaded Content
Common Issues When Embedding Images in Illustrator
While embedding images in Illustrator can be very convenient, it’s not without its challenges. Understanding potential issues upfront can help you avoid headaches down the line. Here are some common problems you might encounter when embedding images:
- Increased File Size: One of the most significant downsides to embedding images is that it can dramatically increase the size of your Illustrator file. This can make saving, sharing, and working with large files slower, especially when dealing with high-resolution images.
- Loss of Image Quality: If you embed a low-resolution image into a high-resolution Illustrator project, you might not notice the degradation of quality right away. However, when printed or viewed at large sizes, the image might appear pixelated or blurry.
- Limited Editing Capabilities: Once an image is embedded, you cannot easily replace it with another image or edit its source file outside Illustrator. If you need to make changes to the original, you’ll have to edit it directly within Illustrator or update the embedded version manually.
- Lack of Flexibility: Since the image is now embedded in the file, it’s more difficult to move the image to another location on your computer or edit it outside Illustrator. You’re stuck with the embedded version unless you choose to unembed it later.
- Increased Risk of File Corruption: Very large embedded images, especially if you're working with several high-resolution photos or graphics, can cause Illustrator to freeze or crash. This is more likely to happen if your computer’s memory or processing power is insufficient to handle large files.
Also Read This: How to Remove Getty Images Watermark Easily
Best Practices for Managing Embedded Images in Illustrator
Embedding images in Illustrator can be very helpful, but to get the most out of this process, it’s essential to follow a few best practices. These strategies will help you manage your embedded images efficiently and avoid common pitfalls.
- Optimize Your Image Before Embedding: Before embedding an image into your Illustrator file, make sure it’s optimized for your project. Resize it to the correct dimensions, adjust the resolution, and crop unnecessary areas. This will help keep your file size manageable.
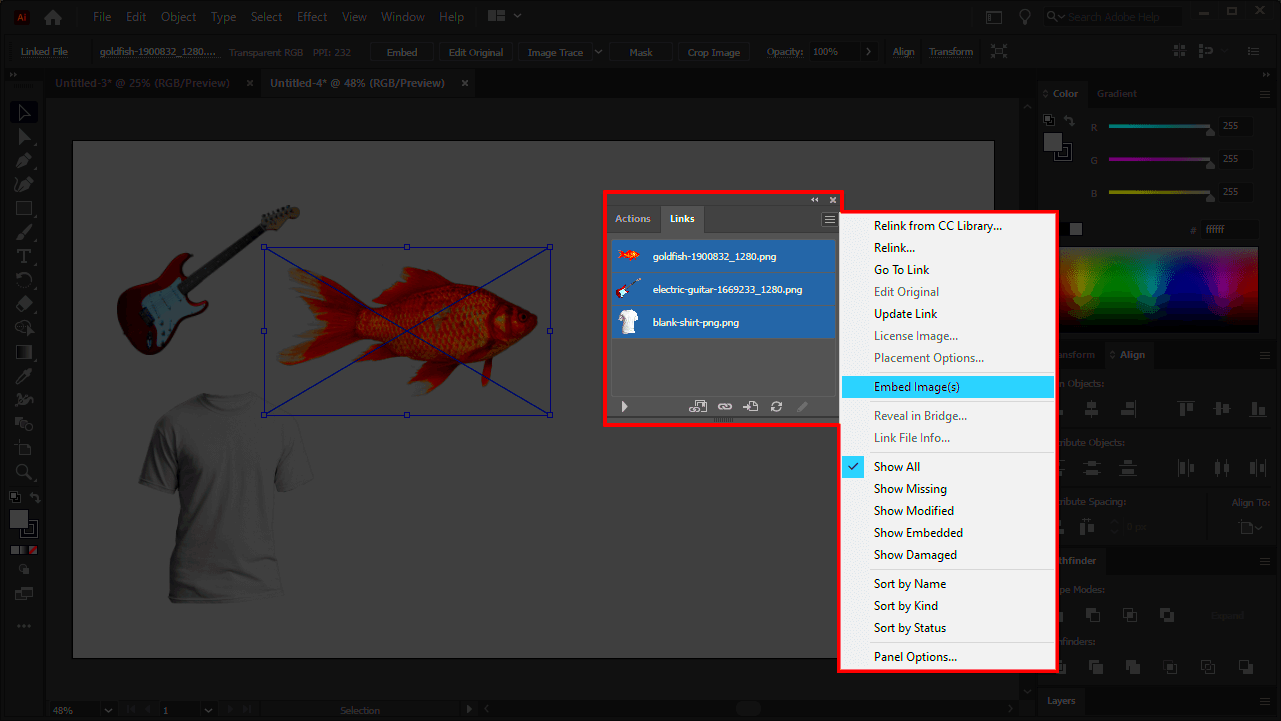
- Use the Links Panel: Even if you're embedding images, the Links panel is still useful. It helps you keep track of any linked assets and gives you the option to embed them later if needed. It also shows the file size of embedded images and can alert you to any potential issues.
- Keep a Backup of Original Files: It’s always a good idea to keep a backup of your original images, especially if you need to make edits later. If you plan on embedding high-quality images, make sure you have the original files saved somewhere safe, as you won’t be able to edit the image outside of Illustrator once it’s embedded.
- Limit the Use of Large Images: Try to avoid embedding too many large, high-resolution images in a single Illustrator file, as this can cause performance issues. If the project requires a lot of large images, consider using linked images instead and only embed the most crucial assets.
- Consider File Size and Performance: If your file becomes too large, Illustrator may struggle to handle it. Keep an eye on your file size and consider reducing the resolution of embedded images if possible. You can also use compression techniques to help keep the file size in check.
- Unembed Images When Necessary: If you decide later that you want to switch to linking an image instead of embedding it, Illustrator makes this easy. Simply select the embedded image in the Links panel, and you can unembed it to restore it as a linked file. This is particularly useful if you need to reduce your file size.
Also Read This: How to Upload Videos to Behance for Maximum Exposure and Engagement
How to Edit Embedded Images in Illustrator
Once you've embedded an image into your Illustrator document, you may need to make changes or edits to it. While embedded images don’t allow you to make changes directly to the source file outside of Illustrator, there are still several ways you can manipulate the image within your design. Here’s how you can edit your embedded images in Illustrator:
- Resizing and Scaling: To resize your embedded image, simply select the image with the selection tool (V), then drag the corners to scale it up or down. Hold the Shift key while dragging to maintain the aspect ratio.
- Adjusting Image Opacity: You can change the opacity of your image by selecting it and adjusting the Opacity slider in the top toolbar. This is useful if you want to create a faded or transparent effect.
- Applying Filters: Illustrator allows you to apply various filters and effects to your embedded images. Go to the Effect menu and choose from options like Blur, Distort, or Texture to modify the look of your image.
- Clipping Masks: You can also apply clipping masks to embedded images, which allows you to hide parts of the image or crop it into a specific shape. Create a shape with the Pen Tool or the Shape Tools, and then go to Object > Clipping Mask > Make to clip the image inside the shape.
- Color Adjustments: While Illustrator is not as robust as Photoshop for advanced color editing, you can still adjust the color of embedded images using Image Adjustments under the Edit menu. This includes brightness, contrast, saturation, and other basic controls.
- Unembedding the Image for More Advanced Edits: If you need to make significant changes to the image (such as altering its layers or using advanced Photoshop tools), you may want to unembed the image. Go to the Links Panel, select the embedded image, and choose Unembed. This will convert the image back into a linked file, which you can edit in external image editing software.
Also Read This: A Step-by-step Guide on How to Post Carousel on LinkedIn
Frequently Asked Questions (FAQ)
Here are some common questions people have about embedding images in Illustrator:
- What happens if I embed a low-resolution image?
If you embed a low-resolution image in your Illustrator document, it may appear pixelated when printed or displayed at large sizes. It's best to use high-resolution images for embedding to maintain quality. - Can I embed vector images in Illustrator?
Yes, Illustrator supports embedding vector files (like .AI or .EPS) as well. However, embedding raster images like JPEG or PNG is more common in design work. - How do I reduce the file size after embedding large images?
You can reduce the size of your Illustrator file by unembedding large images, compressing them, or by lowering the image resolution before embedding. Alternatively, you can replace some embedded images with linked images to keep the file size manageable. - Can I edit an embedded image in Illustrator after embedding it?
Yes, you can edit embedded images within Illustrator by resizing, applying filters, adjusting opacity, and more. However, for more detailed edits, you’ll need to unembed the image and edit it in an external image editor like Photoshop. - How do I embed an image into an existing document?
To embed an image, go to File > Place, choose the image, and uncheck the Link option in the place dialog box before clicking OK. The image will be embedded into your document. - Can I unembed an image in Illustrator?
Yes, if you decide to switch back to linking an image, you can unembed it. Go to the Links Panel, select the image, and choose Unembed to convert it back to a linked file.
Conclusion
Embedding images in Illustrator can be an invaluable tool for ensuring your designs remain intact and portable. By embedding your images, you gain better control over your project, avoid the risk of broken links, and streamline your workflow. However, it’s essential to be mindful of potential challenges such as increased file size and limited editing options. By understanding these factors and following best practices, you can take full advantage of embedded images without compromising the quality or efficiency of your design process. Whether you're working on a client project, a personal design, or a print-ready file, embedding images in Illustrator can provide a more reliable and convenient solution for keeping everything together.

 admin
admin


