Editing text in an image can help you customize visuals to meet your needs. Whether you are creating marketing materials, social media posts, or personal projects, knowing how to modify text within an image is an essential skill. This process allows you to change fonts, sizes, colors, and even the placement of the text to create a more polished and professional look. In this guide, we will walk you through the basics of editing text in an
Understanding the Basics of Image Editing Tools
Before diving into text editing, it’s important to understand the tools you'll be using. Image editing software comes with a range of features designed to help you manipulate and improve your images. Here are some key tools and concepts you should familiarize yourself with:
- Text Tool: This is the basic tool used to add and edit text in an image. You can choose the font, size, style, and color.
- Selection Tool: This allows you to select and move parts of your image, including text, around the canvas.
- Layer Management: Working with layers gives you the ability to isolate elements (like text) for easier editing without affecting the rest of the image.
- Color Adjustment Tools: You can adjust the color of your text, background, and other elements in the image using color pickers, gradients, and swatches.
Having a solid understanding of these basic tools will make your text editing tasks much smoother and faster. Depending on the software, the interface might look slightly different, but these features are typically available in most image editing programs.
Also Read This: Making an Image 300 DPI: A Guide for High Quality
Using Flaticon Downloader for Image Editing
Flaticon Downloader is a handy tool for downloading high-quality icons and graphics that you can easily edit in your images. Whether you need to add decorative elements, text icons, or other symbols, Flaticon offers a vast library of resources to enhance your design. Here's how you can use Flaticon Downloader for image editing:
- Step 1: Search for an icon or graphic on the Flaticon website. You can filter your search based on style, category, and even color to find the perfect match for your project.
- Step 2: Once you've found your desired icon, download it in your preferred format (SVG, PNG, EPS, etc.). SVG files are especially useful for text-based edits since they maintain quality when scaled.
- Step 3: Open the downloaded graphic in your chosen image editing software. From here, you can overlay or integrate the icon with your text or other design elements.
- Step 4: Customize the text and icon to fit your design vision. You can adjust the icon size, color, and even combine multiple elements into one cohesive image.
By using Flaticon Downloader, you can access a range of high-quality icons and vector graphics that add a professional touch to your designs, making text editing even easier and more dynamic.
Also Read This: Download Dilemma: How to Download Photos from Photobucket
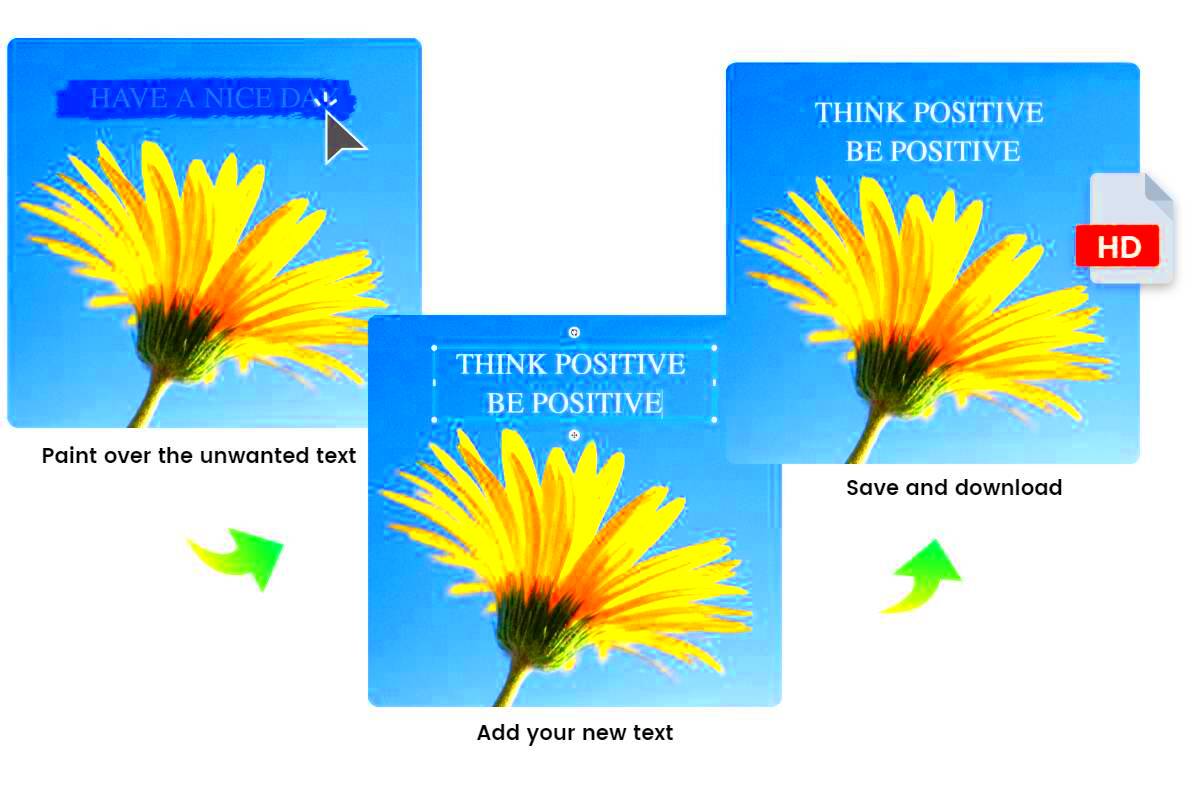
Steps to Edit Text in an Image
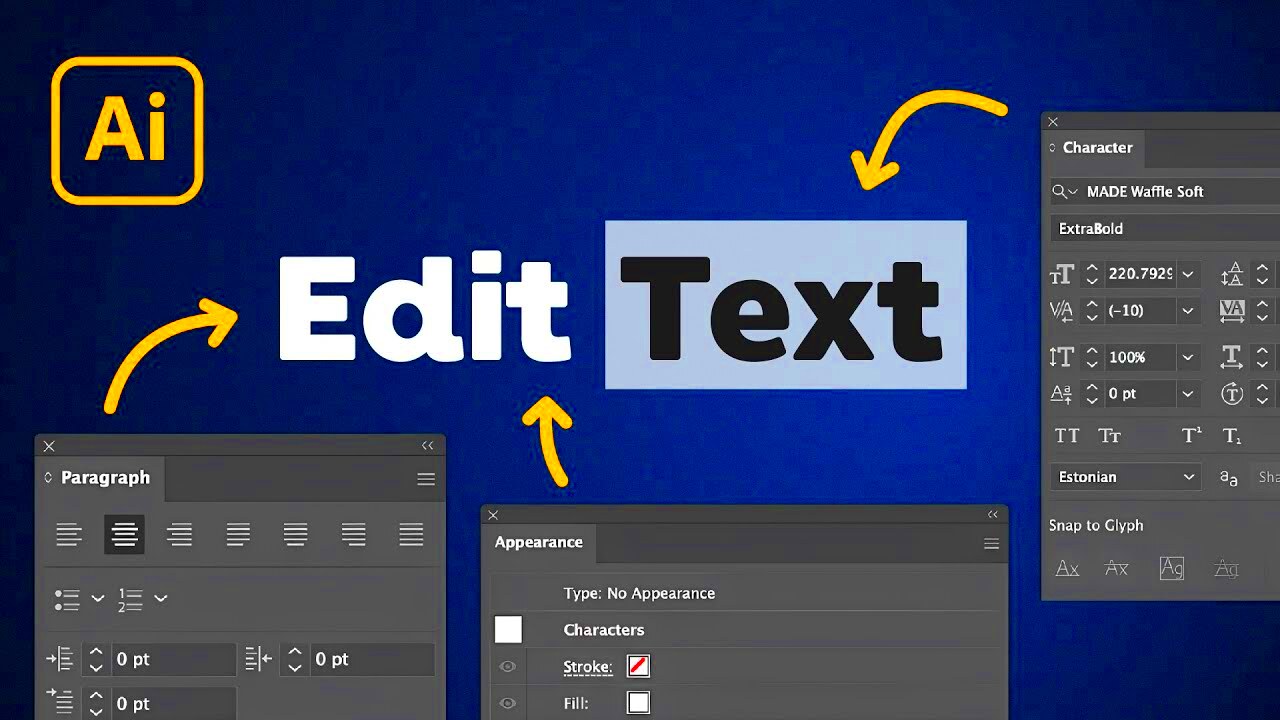
Editing text in an image can seem intimidating, but the process is relatively simple when broken down into manageable steps. Whether you're using software like Photoshop, Canva, or even simpler tools, these steps remain quite similar. Here’s a quick guide to editing text in your image:
- Step 1: Open your image in an image editing software.
- Step 2: Select the Text Tool from the toolbar. This tool allows you to add new text or select and edit existing text.
- Step 3: Click on the area where you want the text to appear and start typing. You can also highlight existing text if you want to change it.
- Step 4: Customize the font, size, and color of the text using the options in the editing toolbar. Choose something that fits the style and message of your image.
- Step 5: Adjust the text placement by dragging the text box to the desired position within the image. Make sure it’s balanced and doesn’t clutter the visual elements.
- Step 6: Once you're satisfied with the text, save the image in the appropriate format for your use (JPEG, PNG, etc.).
By following these simple steps, you can easily modify or add text to any image, improving its clarity and appeal.
Also Read This: Discover Must-Have Tips for Tiktok Pic Downloading
Common Challenges While Editing Text in an Image
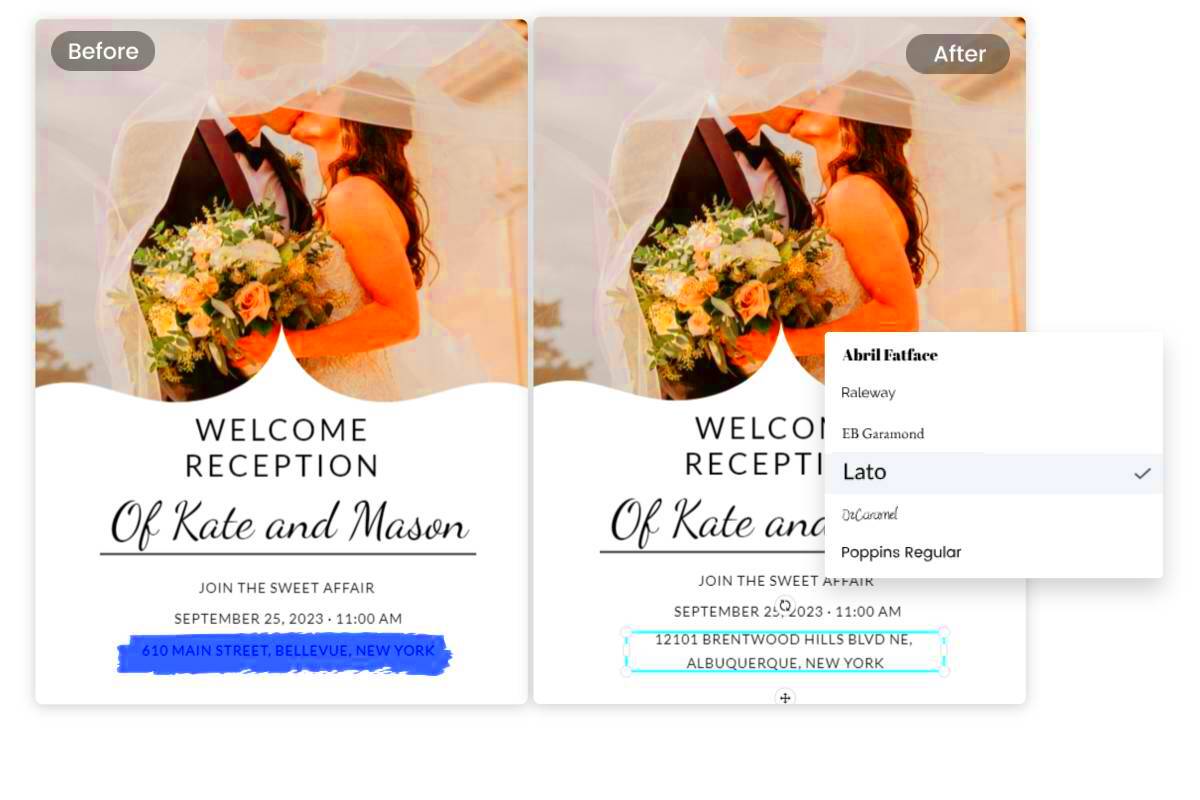
While editing text in an image can be fun and rewarding, there are some common challenges that may come up. Being aware of these can help you avoid mistakes and improve your workflow. Here are a few issues to keep in mind:
- Text Legibility: Sometimes, the text may not be clear enough due to poor contrast with the background. To fix this, try changing the text color or adding a shadow or outline around the text to make it stand out more.
- Font Compatibility: Using fonts that don’t match the tone of the image or design can lead to poor readability or a mismatched look. Stick to fonts that align with the message you're trying to convey.
- Incorrect Text Placement: Text that’s too close to the edges of the image or overlapped by other design elements can make the overall image look cluttered. Ensure your text is placed with ample margins around it.
- Overcrowding with Text: Too much text in one image can overwhelm the viewer. Be concise and only include the essential information to avoid visual clutter.
- Resolution Issues: If you're working with text and low-resolution images, the text may appear pixelated or blurry. Always start with a high-resolution base image for better clarity.
Recognizing these challenges and learning how to solve them will help you create polished and professional-looking images with well-edited text.
Also Read This: How to Remove Adobe Stock Watermark: Free and Paid Methods
Best Practices for Text Editing in Images
To ensure your text editing enhances your image, following best practices is essential. These tips will help you achieve a more professional and effective design:
- Choose Readable Fonts: Make sure the font you select is easy to read, especially for people who may view the image on mobile devices. Sans-serif fonts like Arial, Helvetica, or Roboto are great choices for readability.
- Ensure Proper Contrast: High contrast between the text and the background ensures legibility. For example, dark text on a light background or vice versa works well.
- Limit Text Size and Amount: Too much text can make the image overwhelming. Keep it concise and use appropriate font sizes to create a clear visual hierarchy.
- Consider Text Placement: Place text where it complements the image. Don’t block key visual elements like faces or logos. Also, avoid putting text too close to the edges of the image.
- Use Text Effects Sparingly: While text effects like shadows, outlines, or glows can be eye-catching, overusing them can make the text look messy or hard to read. Use these effects only when necessary and in moderation.
- Maintain Consistency: If you are working with multiple images or a series of designs, ensure your text style remains consistent. This includes using the same font family, color palette, and layout to create a cohesive look.
By following these best practices, your edited text will not only be more effective in communicating your message but also improve the overall design quality of your image.
Also Read This: Expert Editing Techniques for Flawless Pictures in Photoshop CS6
How to Save and Export Edited Images
Once you’ve finished editing your image, it’s time to save and export it in the correct format. Saving and exporting your images properly ensures they maintain their quality, especially when you plan to use them for print or online platforms. Here’s a step-by-step guide to help you save and export your edited images:
- Step 1: After editing the text and image, click on the "File" menu in your image editing software.
- Step 2: Choose the "Save As" or "Export" option. This allows you to specify the location and file format for your image.
- Step 3: Select the file format you need. Common formats include:
- PNG: Great for images with transparent backgrounds and high-quality graphics.
- JPEG: Ideal for photographs and images where file size is a concern.
- SVG: Best for vector images, allowing you to scale without losing quality.
- Step 4: Name your file and choose a location on your computer where you can easily find it later.
- Step 5: Check the resolution settings before exporting. For print, a resolution of 300 DPI (dots per inch) is ideal, while 72 DPI works well for online use.
- Step 6: Once all settings are configured, click "Save" or "Export" to finish the process.
By following these steps, you can ensure your edited image is saved in the best format and resolution for your intended use, whether it’s for a website, social media, or print material.
Also Read This: Automatically Tracing Images in Procreate
FAQ
Q: Can I edit text in any image format?
A: Yes, you can edit text in various image formats like PNG, JPEG, or PSD. However, editable text is easier to work with in vector formats like SVG or in a layered file like PSD, where the text is not merged with the image.
Q: How do I ensure my edited text doesn’t look pixelated?
A: To avoid pixelation, always work with high-resolution images and avoid scaling up images too much. When exporting, ensure you use the correct resolution settings for your intended purpose (300 DPI for print and 72 DPI for web).
Q: Can I edit the text in a downloaded Flaticon icon?
A: Yes, you can edit the text in Flaticon icons, especially if you download them in SVG format. SVG files are vector-based, meaning you can easily modify text, color, size, and more without losing quality.
Q: What should I do if my edited text looks blurry?
A: Blurry text can occur if the image resolution is too low. Always ensure that your original image has a high resolution before starting the editing process, and avoid enlarging the image after text has been added.
Conclusion
Editing text in an image is a simple yet powerful way to enhance your designs and make your visuals stand out. Whether you are working with icons, graphics, or photographs, knowing how to properly add and edit text can transform an ordinary image into something impactful. By following the steps we’ve outlined, handling challenges effectively, and applying best practices, you can create polished images that communicate your message clearly and professionally.
Remember, always save and export your edited images in the correct format and resolution for the best results. With these tips and tools at your disposal, you’ll be able to create stunning images with ease!
 admin
admin


