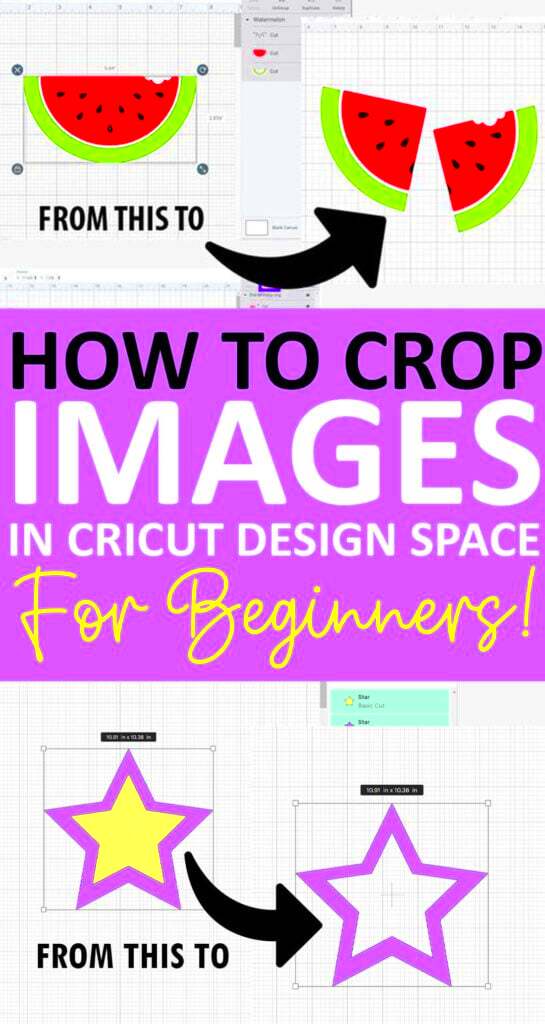
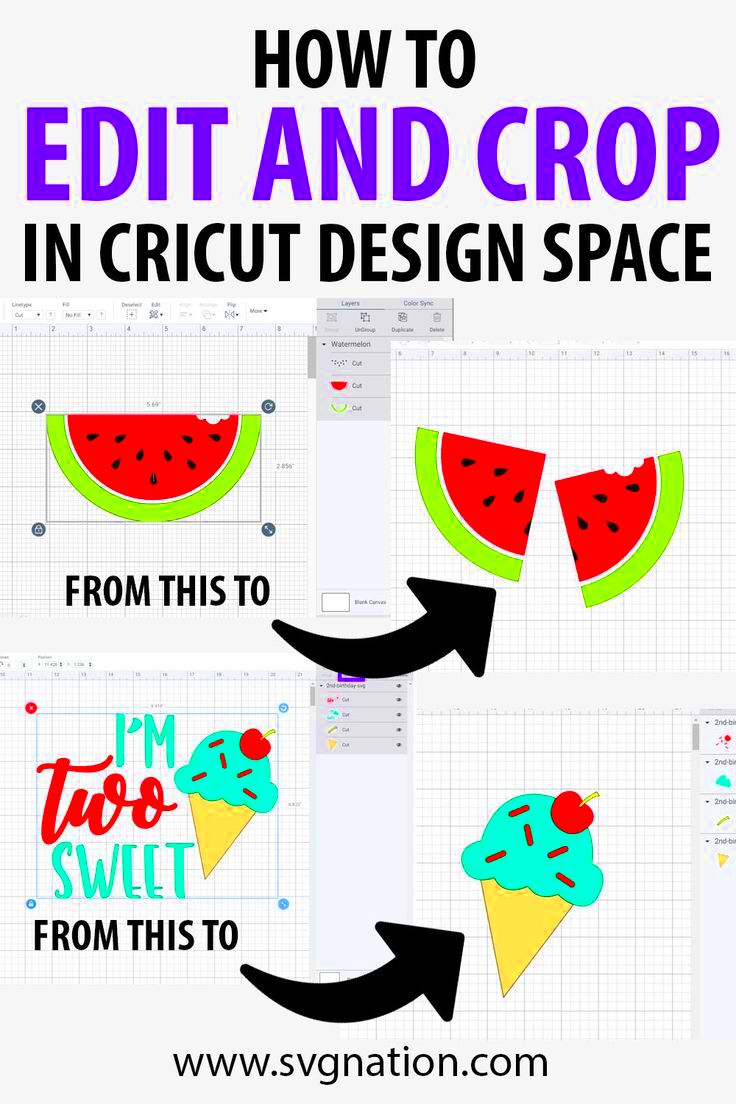
When you work with Cricut, having the right image for your project is crucial. Cropping an image allows you to remove unnecessary parts, making it fit perfectly within your design. Whether you're preparing images for cutting, printing, or other Cricut crafts, cropping ensures that your final product looks polished and professional. In this guide, we’ll walk you through the basics of cropping an
Why Cropping is Important for Cricut Projects

Cropping an image in Cricut isn’t just about making it smaller or cutting out excess space—it’s about improving the overall appearance of your craft. Here are some reasons why cropping is essential for Cricut projects:
- Optimized for Cutting: Cropping ensures your design fits within the cutting area of your Cricut machine, avoiding wasted material.
- Improved Precision: By removing unwanted background elements, your Cricut cuts more accurately, giving you a cleaner result.
- Better Use of Materials: Cropping helps you use your materials efficiently by removing unnecessary parts of the image that you don’t need.
- Customization: Cropping allows you to modify images to suit your unique project, whether that’s resizing, altering shapes, or focusing on key details.
By cropping your image before you start, you can avoid frustration later and create professional-looking Cricut designs every time.
Also Read This: Discover How to Download Someone’s Facebook Story
Steps to Crop an Image in Cricut Design Space

Now that you understand why cropping is important, let’s dive into the steps of how to crop an image in Cricut Design Space. Follow these simple steps to crop your image for a cleaner and more efficient design:
- Upload Your Image: First, open Cricut Design Space and click on "Upload" to add your image.
- Select Your Image: Once your image is uploaded, click on it to select it. You'll see the image appear on your canvas.
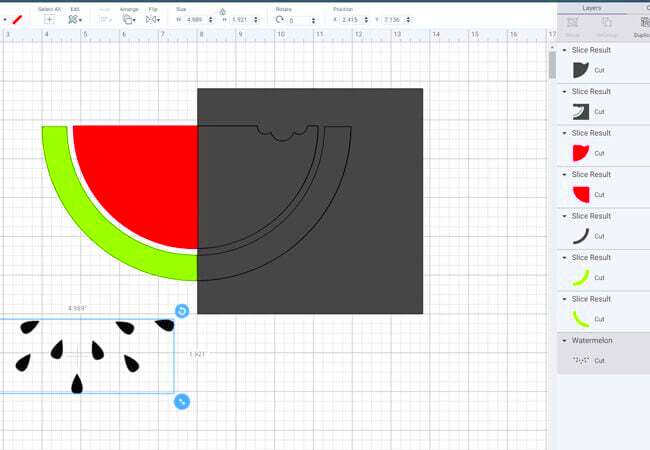
- Use the Crop Tool: In the toolbar, click on the "Crop" button. This will allow you to select the area you want to keep and remove the rest.
- Adjust the Crop Area: Resize the crop box by dragging its corners until it covers the part of the image you want to keep. Be mindful of your design’s dimensions.
- Apply the Crop: Once you're satisfied with the crop area, click "Apply." This will remove the unwanted parts of the image, leaving only the portion you want to use.
- Save and Continue: After cropping, you can save the image and move on to other edits, like resizing or changing colors, before sending it to your Cricut machine.
With these simple steps, cropping your images in Cricut Design Space becomes a quick and easy task, letting you focus on what matters most—creating amazing projects!
Also Read This: How to Get GIF Covers to Work on Behance
How to Adjust Image Size After Cropping
Once you've cropped your image in Cricut Design Space, the next step is often adjusting the size to fit your project perfectly. Whether you’re making a greeting card, t-shirt, or home décor item, ensuring the image is the right size is key to a successful result. Luckily, adjusting the size in Cricut Design Space is simple and can be done in just a few steps. Let’s take a look at how to resize your cropped
- Select the Cropped Image: After cropping, make sure your image is selected. You can do this by clicking on it on the canvas.
- Unlock the Proportions: If you need to adjust the width and height independently, unlock the proportions by clicking the lock icon in the top toolbar. If you want to keep the aspect ratio intact, leave the lock icon locked.
- Resize Using the Corners: Drag the corners of the image to resize it. Hold the Shift key while resizing to maintain the aspect ratio (if the lock is on).
- Set Exact Dimensions: If you need a specific size, you can manually input the dimensions in the width and height boxes in the top toolbar. This is especially useful for precise projects.
- Check the Size Relative to the Canvas: Make sure the resized image fits within the dimensions of your project area or Cricut cutting mat.
By following these steps, you can ensure that your image is the right size for any Cricut project, whether it’s a small cutout or a larger design.
Also Read This: Creating a Mirror Image of a Picture
Tips for Cropping Images for Different Cricut Materials
Different Cricut materials—like vinyl, cardstock, or fabric—require different approaches when cropping images. Knowing how to adjust your image for each material ensures better results. Here are some tips to keep in mind when cropping images for various Cricut materials:
- For Vinyl: When cropping images for vinyl, avoid overly detailed shapes or tiny cuts that might be difficult to weed. Simplify your design by cropping away unnecessary parts and leaving enough space for clean cuts.
- For Cardstock: Cardstock cuts well with more intricate designs. After cropping, make sure to adjust the image size based on the size of your card or project. Keep in mind that you’ll want to avoid tiny details that might tear during cutting.
- For Fabric: Fabric requires larger, cleaner cuts. When cropping images for fabric, it’s a good idea to remove any delicate or thin elements. Ensure your image is scaled to the size of your fabric to avoid wasting material.
- For Infusible Ink: Infusible ink requires crisp lines and vibrant colors. Make sure to crop any background or distracting elements and focus on the image’s most important features to achieve the best results.
Remember, each material has its own characteristics, and adjusting your image before cutting can help you get the most out of your Cricut machine. By cropping for specific materials, you ensure a smoother cutting process and better finished products.
Also Read This: How to Create a Smokey Eye Makeup Look A Step-by-Step Tutorial
Common Cropping Issues and How to Solve Them
While cropping images in Cricut Design Space is usually straightforward, you might encounter some common issues along the way. Here’s a guide to some typical cropping problems and their solutions:
- Image Not Cropping Properly: Sometimes the crop tool might not work as expected. This can happen if the image is locked or in the wrong format. To fix this, make sure the image is selected and check its format. If needed, try re-uploading the image or converting it to a compatible format (like PNG or JPG).
- Image Appears Pixelated After Cropping: If you notice pixelation after cropping, it’s usually because the image was too small to begin with. Always use high-resolution images when possible to avoid this issue.
- Inaccurate Crop Area: If your crop box isn’t aligning with the image correctly, it might be due to the aspect ratio. Try unlocking the ratio and manually adjusting the crop area. Be sure the crop box includes only the essential parts of the image.
- Excessive Background Remaining After Cropping: If you still have unwanted background after cropping, use the "Remove Background" tool in Cricut Design Space to eliminate any remaining areas.
- Problems with Resizing After Cropping: After cropping, if the image doesn’t resize properly, make sure the aspect ratio is locked (if needed) or adjust the dimensions manually in the toolbar. You can also try zooming in on the image to get more precise control.
By knowing what issues might come up and how to handle them, you can work through problems quickly and keep your projects moving forward smoothly. Cricut Design Space is full of helpful tools, and troubleshooting these common issues will improve your overall crafting experience.
Also Read This: How to Find Image Distance
Best Practices for Cropping Images for Cricut Cutting
To achieve the best results when cropping images for Cricut cutting, it’s important to follow some best practices that can save you time and help avoid common mistakes. Cropping isn’t just about cutting out unnecessary parts of an image—it’s about ensuring precision and maximizing the use of your materials. Let’s go over some tips to keep in mind:
- Start with High-Quality Images: Always use high-resolution images. Low-quality images can become pixelated when cropped, leading to poor cuts. The higher the quality, the sharper the results.
- Avoid Over-Cropping: While it’s tempting to crop images too much, over-cropping can remove important details. Make sure the image you keep still has enough space for cutting, especially for intricate designs.
- Use the Right Size for Your Project: Before cropping, determine the size your image needs to be for your project. This will help you avoid resizing it after cropping, which can distort or pixelate the image.
- Leave Space for Weeding: If you're cutting intricate designs like text or detailed shapes, leave a small margin around the design to make weeding easier. This is particularly important for vinyl and other materials that require careful removal of excess parts.
- Ensure a Clean Crop: Make sure the crop box is aligned correctly and cuts evenly. Avoid jagged edges, as these can affect the cutting process. Double-check before applying the crop to ensure a clean, sharp result.
By following these best practices, you can ensure that your cropped images are perfectly suited for Cricut cutting, saving time, effort, and material in the long run.
Also Read This: How to Make Text Bold in LinkedIn Post for Better Visibility
Frequently Asked Questions
If you're new to cropping images for Cricut, you might have a few questions. Here are some of the most common ones, along with answers to help guide you:
| Question | Answer |
|---|---|
| Can I crop any image in Cricut Design Space? | Yes, you can crop most image types in Cricut Design Space, including JPG, PNG, and SVG files. Just make sure the image is uploaded correctly. |
| What happens if I crop an image too much? | Over-cropping can remove important parts of the design, leaving you with incomplete or distorted images. Always preview your crop before applying it. |
| Will cropping affect the quality of the image? | If you crop a high-resolution image, the quality should remain intact. However, cropping a low-resolution image too much can make it appear pixelated. |
| How do I crop an image for a specific material? | When cropping for specific materials, such as vinyl or fabric, consider the size of the material and how intricate your design is. For smaller or detailed cuts, crop out unnecessary elements, leaving enough space for precision. |
| Can I undo a crop if I make a mistake? | Yes! Cricut Design Space allows you to undo any changes you make, including cropping. Simply click the undo button (or press Ctrl+Z) to revert back to the original image. |
Conclusion
Cropping images for Cricut is a crucial skill that can help you achieve clean, precise designs for all kinds of projects. Whether you're working with vinyl, cardstock, or fabric, knowing how to crop and adjust your images will ensure your final product looks exactly as you imagined. By following the steps and best practices outlined in this guide, you can confidently crop your images and get the best results from your Cricut machine.
Remember, take your time to select high-quality images, use the crop tool effectively, and tailor your designs to suit the material you’re working with. With these tips in mind, you’ll be ready to tackle any Cricut project with ease!

 admin
admin


