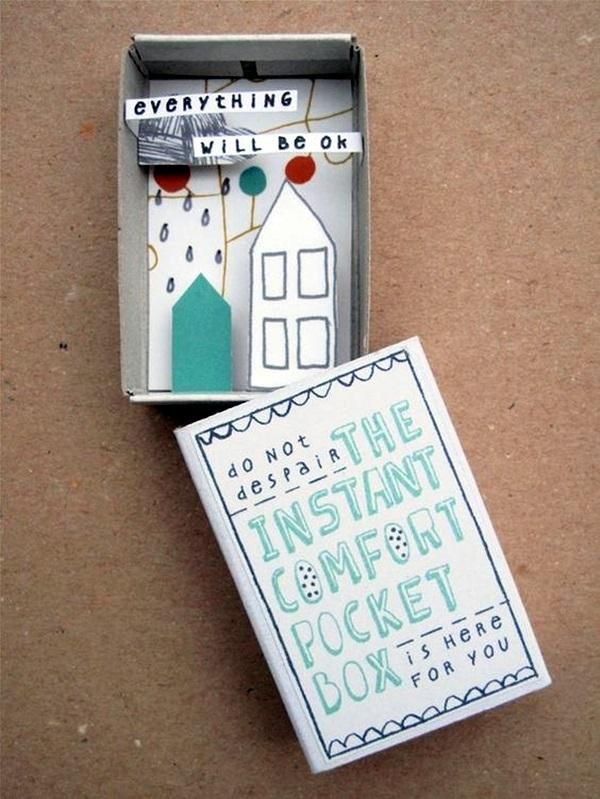
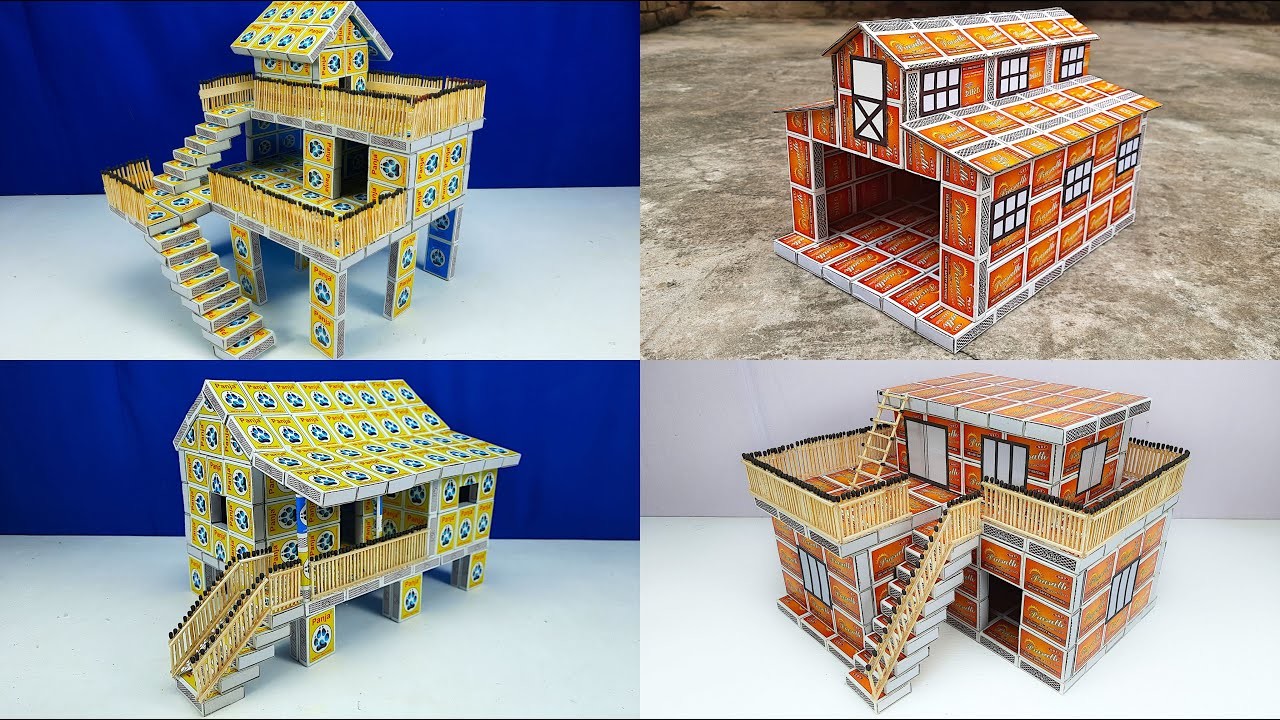
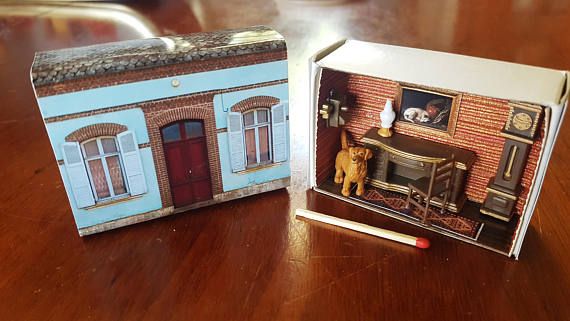
Building a matchbox house is a delightful DIY project that sparks creativity and imagination. Whether you're a crafting novice or a seasoned DIY enthusiast, this charming activity offers an opportunity to create something unique and adorable. Not only is it a fantastic way to spend an afternoon, but it's also a wonderful way to repurpose materials you might already have lying around the house. From matchsticks to paint, the possibilities are endless when it comes to designing your tiny abode. So, let’s roll up our sleeves and transform a simple matchbox into a whimsical home that can brighten up your space or serve as a perfect gift!
Materials Needed

Before embarking on your matchbox house-building adventure, it’s important to gather all the necessary materials. Here’s a handy list to ensure you have everything you need at your fingertips:
- Matchboxes: The main building block! You can use one or several depending on the size of your house.
- Craft Paint: Choose your favorite colors for the exterior and interior of the house. Acrylic paint works best!
- Brushes: A few brushes in different sizes to help you paint and clean up those edges.
- Glue: A strong adhesive like craft glue or hot glue will hold everything together. Avoid using too much – just enough to secure your pieces!
- Decorative Materials: Things like small buttons, beads, fabric scraps, or paper to embellish your house.
- Scissors: For cutting through any paper, fabric, or other materials.
- X-Acto Knife: Handy for precise cutting, especially if you plan to create windows or doors.
- Miniature Items: Tiny furniture, dolls, or household items to complete the scenes (optional but fun).
- Ruler: For measuring and ensuring everything is symmetrically placed.
- Pencil: For marking where you want to cut or decorate.
With these materials in hand, you’re all set to get started on your matchbox house! Happy crafting!
Also Read This: Managing Multiple YouTube Channels with One Email
Step-by-Step Instructions

Building a matchbox house can be a delightful project! Whether you're crafting it for decorative purposes or simply as a fun activity, following these detailed steps will help you create your very own mini masterpiece.
- Gather Your Materials: For this DIY project, you'll need a few matchboxes, scissors, glue (or a glue stick), paint, and some decorative items like stickers, washi tape, or tiny beads.
- Plan Your Design: Before you start assembling, sketch a rough layout of what you want your matchbox house to look like. How many rooms will it have? Will there be a garden? This blueprint will guide you as you proceed.
- Assemble the Base: Take your matchboxes and arrange them according to your plan. You might want to stack them or place them side by side. Secure them together using glue, ensuring that they are stable.
- Create the Roof: Use a sturdy piece of cardboard or foam for the roof. Cut it to size, then glue it to the top of your matchbox structure. You can also use other matchboxes, just turned upside down, for a unique look.
- Paint and Decorate: Now comes the fun part! Use paint to decorate your house. Consider painting the walls in cheerful colors or patterns. Stickers and washi tape can add extra flair!
- Add Accessories: Little details make all the difference! Use tiny furniture pieces, or create them from scraps. A toothpick can double as a flagpole or a garden fence.
- Let It Dry: Allow your masterpiece to dry completely before displaying it. This ensures all components are secure and prevents any accidental mess.
Also Read This: How to Mirror Print Images in PDF Format
Creative Design Ideas

When it comes to designing your matchbox house, the sky’s the limit! Here are some creative ideas to inspire your imagination:
- Theme-Based Houses: Consider creating a house that follows a specific theme, like a beach house with pastel colors and seashell decorations or a fairy tale cottage with whimsical designs.
- Multi-Storied Designs: Challenge yourself by creating a multi-story matchbox house. Simply stack several matchboxes and connect them with staircases made from paper or chips.
- Nature-Inspired: Incorporate elements of nature by adding faux plants, tiny stones for a pathway, or cotton for clouds. You can use green felt to create a grassy yard!
- Functional Spaces: What about a matchbox house with a little bit of functionality? Create a small drawer or compartment in one of the matchboxes for hidden treasures or notes.
- Decorative Lighting: If you want to take it up a notch, try integrating fairy lights. It could be magical when your house glows softly at night!
- Personalization: Add personal touches like family names or favorite colors. You can even create miniature portraits to inhabit your little home!
The key to a creative design is to let your imagination run wild! What will your matchbox house look like? Get started, and enjoy the process!
Also Read This: Mastering Concealer Application for a Flawless Skin Tone
Tips for Decorating Your Matchbox House
Decorating your matchbox house is where your creativity truly comes to life! It's all about personalizing your tiny abode to reflect your style and imagination. Here are some fun tips to consider:
- Choose a Theme: Whether it’s a cozy cottage, a modern apartment, or a whimsical fairy house, picking a theme can help guide your decoration choices. Think about what makes you feel at home!
- Natural Materials: Use materials like twigs, leaves, or stones for a rustic touch. For instance, tiny branches can make lovely furniture, and pebbles can serve as garden paths.
- Miniature Furniture: You can either create your own mini furniture using scraps or purchase dollhouse furniture to make your matchbox house come alive. Look for pieces that fit your theme perfectly!
- Paint and Color: A bit of paint can go a long way. Use vibrant colors or soft pastels to create walls, furniture, and even tiny artwork that brightens up the space.
- Textiles and Fabrics: Incorporate fabrics as curtains, rugs, or cozy blankets. Felt or fabric scraps can easily be cut and glued to create functional décor.
- Personal Touches: Add photos, tiny books, or items that have personal meaning. This will not only beautify your space, but also tell a story!
- Lighting Effects: If you’re feeling adventurous, consider adding tiny LED lights to simulate cozy lighting in your home. Just remember to be cautious about battery safety!
Above all, make it fun and don’t be afraid to experiment. Your matchbox house is a canvas waiting for your artistic touch!
Conclusion
Building and decorating a matchbox house is more than just a fun project; it’s a delightful way to express yourself and taps into boundless creativity. As you embark on your tiny home journey, consider all the possibilities that lie within those little walls. From charming decorations to practical furniture, every detail awaits your touch.
Creating a matchbox house can also remind us of the joy found in simplicity. It’s a gratifying experience that allows for experimentation with textures, colors, and themes, employing materials you may already have at home. Plus, it makes for a fantastic bonding activity with friends or family, encouraging teamwork and shared creativity.
As you bring your tiny house to life, remember to enjoy every moment of the process. Whether you choose to create a sophisticated mansion or a playful cottage in the woods, the key ingredient is your imagination. So gather your materials, unleash your creativity, and let your matchbox house reflect the magic of your unique vision!
 admin
admin


