In today's world, where visual content dominates
social media and digital platforms, having
high-quality and professionally edited
photos is crucial. Whether you're an aspiring
photographer, a
social media influencer, or a business owner looking to showcase your products, knowing how to edit your photos for a
professional look is essential.In this article, we will explore five ways to
edit your photos to give them a professional look, including adjusting exposure and
color balance, removing blemishes and distractions, adjusting composition, sharpening the
photo, and adding a vignette. With these
tips, you can
enhance the quality and appearance of your
photos and take them to the
next level.
5 Ways to Edit Your Photos for a Professional Look
In today's digital age,
photography has become an essential tool for personal and professional use. With the advancement of technology, it's become easier than ever to take photos, but to truly make them stand out, you need to edit them.
Editing your photos can help you achieve a more professional look, and it doesn't have to be a daunting task. In fact, there are five key ways to edit your photos for a
professional look:
- Crop and straighten the photo
- Adjust the exposure and color balance
- Remove blemishes and distractions
- Adjust the composition
- Sharpen the photo
By following these simple techniques, you can transform your ordinary
photos into
stunning images that look like they were taken by a professional
photographer. In the
following sections, we'll explore each of these techniques in more detail and provide some
tips and tricks for getting the most out of them.
Yes, adjusting the exposure and color balance are both important steps in
photo editing for a professional look. Here are some tips for each:Adjusting Exposure:

- Use the histogram tool to analyze the distribution of light and dark tones in the image
- Increase exposure to brighten up the image or decrease exposure to darken it
- Use the highlight and shadow sliders to recover details in overexposed or underexposed areas
- Use the contrast slider to increase the difference between light and dark tones in the image
Adjusting Color Balance:
- Use the white balance tool to correct any color casts in the image
- Adjust the temperature slider to make the photo warmer (more yellow/orange) or cooler (more blue)
- Use the tint slider to adjust the green/magenta balance in the image
- Use the saturation slider to increase or decrease the overall intensity of colors in the photo
- Adjust individual color sliders (e.g. red, green, blue) to fine-tune the color balance and make certain colors stand out more.
Yes, removing blemishes and distractions can also help give
photos a more professional look. Here are some ways to do this:
- Spot Healing Brush Tool: This tool is great for removing small blemishes like acne or scars. Simply select the tool, choose a brush size that matches the blemish, and then click or brush over the area to remove it.
- Clone Stamp Tool: This tool is good for removing larger distractions like people or objects in the background. It allows you to copy a specific area of the photo and paste it over the distraction, effectively erasing it from the image.
- Content-Aware Fill: This is a more advanced tool that is available in some photo editing software. It can automatically fill in areas of the photo with content that matches the surrounding pixels, making it ideal for removing larger distractions or even entire objects.
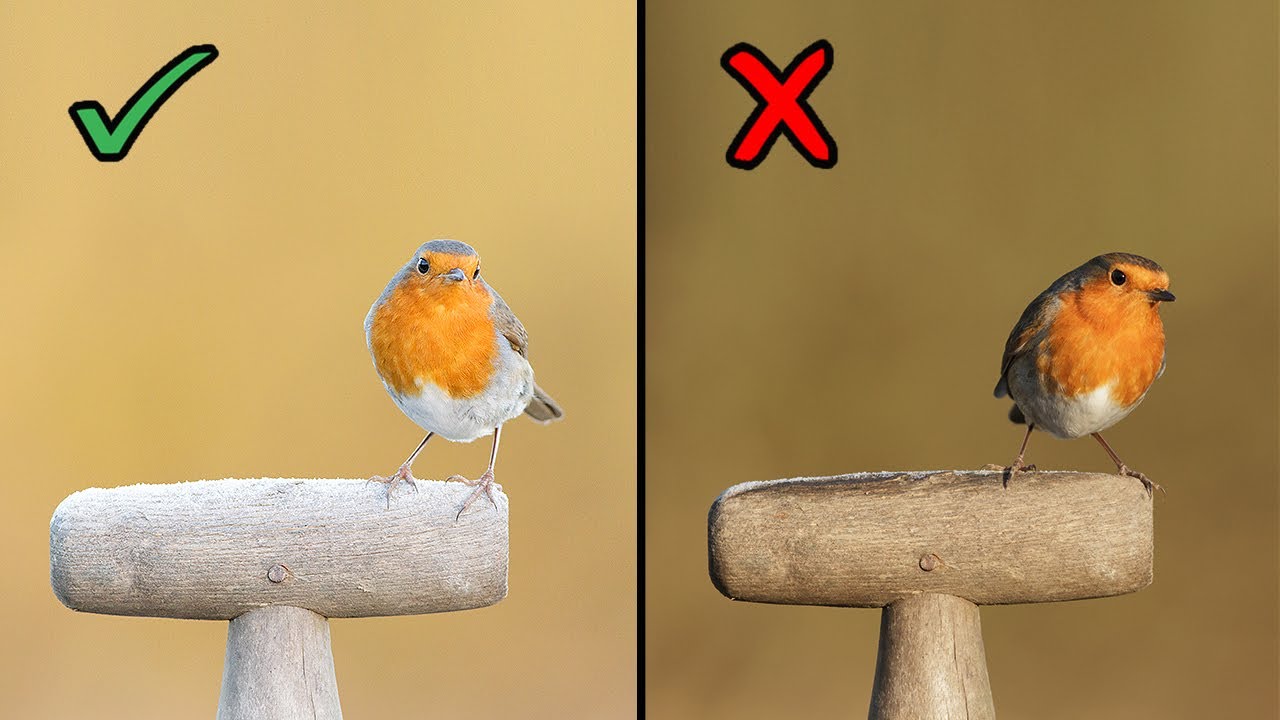
- Crop: Sometimes the easiest way to remove distractions is simply to crop them out of the photo. This can be especially effective for images with cluttered backgrounds or unwanted elements along the edges.
By using these tools to remove blemishes and distractions, you can help to create a cleaner, more professional-looking photo.
Yes, adjusting the composition is another important step in
photo editing for a professional look. Here are some tips for improving the composition of your photos:
- Rule of Thirds: One of the most basic rules of composition, the rule of thirds involves dividing the image into thirds both horizontally and vertically, and then placing the subject or important elements of the photo along these lines or at their intersections.
- Leading Lines: Use natural or man-made lines in the image to lead the viewer's eye towards the main subject or point of interest. Examples include roads, fences, and even tree branches.
- Symmetry: If the subject or scene is symmetrical, try to capture it as such, as this can create a sense of balance and harmony in the image.
- Framing: Use elements in the scene to frame the subject, such as trees, doorways, or windows. This can add depth and context to the image.
- Cropping: Sometimes simply cropping an image can improve the composition, by removing distracting elements or creating a more balanced frame.
By adjusting the composition of your photos, you can create more visually appealing and professional-looking images.
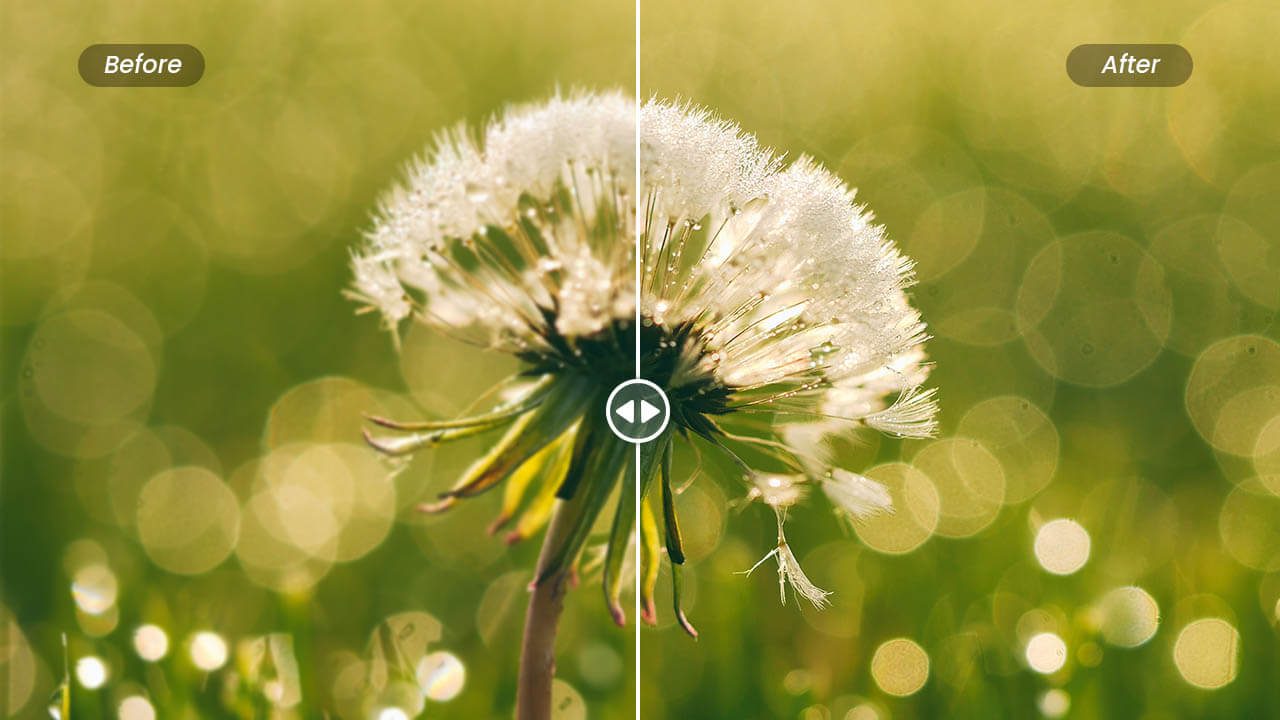
Yes, sharpening the photo is another important step in photo editing for a professional look. Here are some ways to do this:
- Unsharp Mask: This is a popular sharpening technique that involves increasing the contrast between the edges in the photo. To use this technique, go to the "Filters" menu, select "Sharpen," and then choose "Unsharp Mask." Adjust the amount, radius, and threshold settings until you get the desired level of sharpness.
- High Pass Filter: This technique involves duplicating the image layer, applying a high pass filter to the top layer, and then adjusting the blend mode and opacity of the layer to bring out more details and sharpness. To use this technique, duplicate the image layer, go to the "Filters" menu, select "Other," and then choose "High Pass." Adjust the radius until you get the desired level of sharpness, and then change the blend mode of the top layer to "Overlay" or "Soft Light."
- Smart Sharpen: This technique is available in some photo editing software, and uses advanced algorithms to selectively sharpen the edges in the photo while minimizing noise and artifacts. To use this technique, go to the "Filter" menu, select "Sharpen," and then choose "Smart Sharpen." Adjust the settings until you get the desired level of sharpness.
By using these techniques to sharpen your photos, you can bring out more detail and create a more professional-looking image. However, be careful not to over-sharpen the image, as this can lead to noise and artifacts.
Yes, adding a vignette can be a subtle yet effective way to enhance the overall look of a photo and give it a more professional appearance. A vignette is a gradual darkening of the edges of the photo, which can help to draw the viewer's attention towards the center of the image. Here are some ways to add a vignette to your photo:
- Lens Correction Tool: Some photo editing software includes a Lens Correction tool that can be used to add a vignette. To use this tool, go to the "Lens Correction" panel, and then adjust the "Vignette" settings until you get the desired effect.
- Radial Gradient Tool: Another way to add a vignette is to use the Radial Gradient tool, which allows you to apply a gradient effect that darkens the edges of the photo. To use this tool, select the Radial Gradient tool, draw a circle or ellipse around the subject, and then adjust the settings until you get the desired level of darkness.
- Burn Tool: The Burn tool can be used to selectively darken the edges of the photo to create a vignette effect. To use this tool, select the Burn tool, choose a brush size and strength, and then paint around the edges of the photo to darken them.
By adding a vignette to your photo, you can create a more visually appealing and professional-looking image. However, be careful not to overdo it, as a heavy vignette can be distracting and take away from the overall composition of the photo.
FAQ
What is photo editing?Photo editing is the process of modifying an image to enhance its quality, appearance, or message. It can include adjusting the exposure, color balance, composition, and other elements of the photo to create a desired effect.
What are some photo editing software options?There are many photo editing software options available, ranging from free options like GIMP and Pixlr to paid options like Adobe Lightroom and Photoshop. Other popular options include Capture One, Affinity Photo, and Corel PaintShop Pro.
Can I edit photos on my phone?Yes, many mobile devices come with built-in photo editing tools, and there are also many apps available for download that offer a range of editing features.
How do I know when I've gone too far with editing my photo?It's important to keep in mind that photo editing should enhance the quality of the photo, not completely alter it. If your photo starts to look unnatural or over-edited, it may be time to dial back the adjustments and strive for a more natural look.
Can I use someone else's photo and edit it as my own?No, it's important to respect the copyright laws of photographers and artists. Using someone else's photo without permission and claiming it as your own is illegal and unethical.
conclusion
In conclusion, editing your photos is an essential part of creating high-quality and professional-looking images. By adjusting the exposure and color balance, removing distractions and blemishes, adjusting composition, sharpening the photo, and adding a vignette, you can enhance the overall quality and appearance of your photos. Whether you're a professional photographer or just looking to improve your social media game, these tips will help you take your photos to the next level. Remember to always respect the copyright laws of others and strive for a natural look in your edited photos.


 admin
admin


