Welcome to the wonderful world of matchstick house crafting! This delightful hobby combines creativity and precision, allowing you to build charming miniature homes using simple materials. Whether you're a seasoned crafter or just starting out, constructing a matchstick house is a rewarding project that sparks imagination. Plus, it’s a fantastic way to unwind and express your artistic side. So, grab your materials, and let’s dive into this fun and engaging crafting experience!
Materials Needed for Your Matchstick House

Before we start building, let's gather everything you'll need. Don't worry; most of these items are easy to find and won't break the bank! Here’s a handy list:
- Matchsticks: You can use regular wooden matchsticks or craft sticks. A box of about 200 should be sufficient for a small house.
- Glue: A strong adhesive like wood glue or hot glue works best. Make sure it dries clear for a neat finish.
- Baseboard: A sturdy base is essential. You can use a piece of cardboard, wood, or even a plastic board.
- Scissors: For cutting matchsticks if you need to adjust sizes or create different shapes.
- Ruler: To measure and ensure your house is symmetrical and proportional.
- Pencil: For marking measurements and guidelines on your baseboard.
- Decorative items: Get creative! You might want to add paint, tiny furniture, or even miniature plants to enhance your house.
Once you have all your materials ready, you’ll be well-equipped to start crafting your matchstick masterpiece. Remember, the key is to have fun and let your creativity shine through. Happy crafting!
Also Read This: How to Apply Kajal on Eyes: A Classic Look for a Bold Statement
3. Step-by-Step Guide to Constructing Your Matchstick House

Alright, let’s dive into the fun part: constructing your matchstick house! Grab your supplies and let’s get building. You’ll need matchsticks (or toothpicks for a smaller version), glue, and a sturdy base like a piece of cardboard. Ready? Let’s go!
Step 1: Create the Foundation
Start by cutting your cardboard base to the desired size. A 10x10 inch square works great for beginners. This will serve as the foundation of your house, so make sure it’s sturdy.
Step 2: Build the Walls
Now, let’s construct the walls. Take two matchsticks and glue them together at a right angle to form a corner. Repeat this for the other corners, creating a rectangular frame. Make sure to let the glue dry completely before adding more walls. Here’s a quick list of what you should do:
- Glue two matchsticks together to form a corner.
- Repeat for all four corners.
- Add horizontal matchsticks between the vertical ones to create a solid wall.
Step 3: Assemble the Structure
Once your walls are sturdy, it’s time to connect them. Glue the walls together at the corners. To add some stability, you can use additional matchsticks diagonally across the corners. Once again, patience is key—let it all dry!
Step 4: Build the Roof
For a classic look, you can create a simple triangular roof. Use two matchsticks for the main roof beams and then add smaller matchsticks across for support. Glue them at the top to form a peak. If you want to get fancy, try a gabled roof or even a thatched look!
Step 5: Add Details
This is where your creativity shines! Consider adding doors, windows, and even a chimney. Cut smaller matchsticks to size and glue them in place. You can create window frames or even a little porch.
Step 6: Finishing Touches
Once everything is assembled and dried, you can paint your matchstick house, decorate it with bits of fabric, or even add tiny furniture made from more matchsticks. The sky's the limit!
Also Read This: How to Make a Paper Horse: Fun Craft Tutorial on Dailymotion
4. Creative Design Ideas for Matchstick Houses
Now that you’ve got the basic structure down, let’s explore some creative design ideas for your matchstick house that will impress your friends and family. Here are some fun concepts to spark your imagination:
1. The Cottage Look
Give your matchstick house a cozy cottage vibe by using small pieces of fabric for the roof, resembling thatch. Paint the walls in pastel colors for a charming touch, and don’t forget to add a tiny front garden using colored paper or real moss!
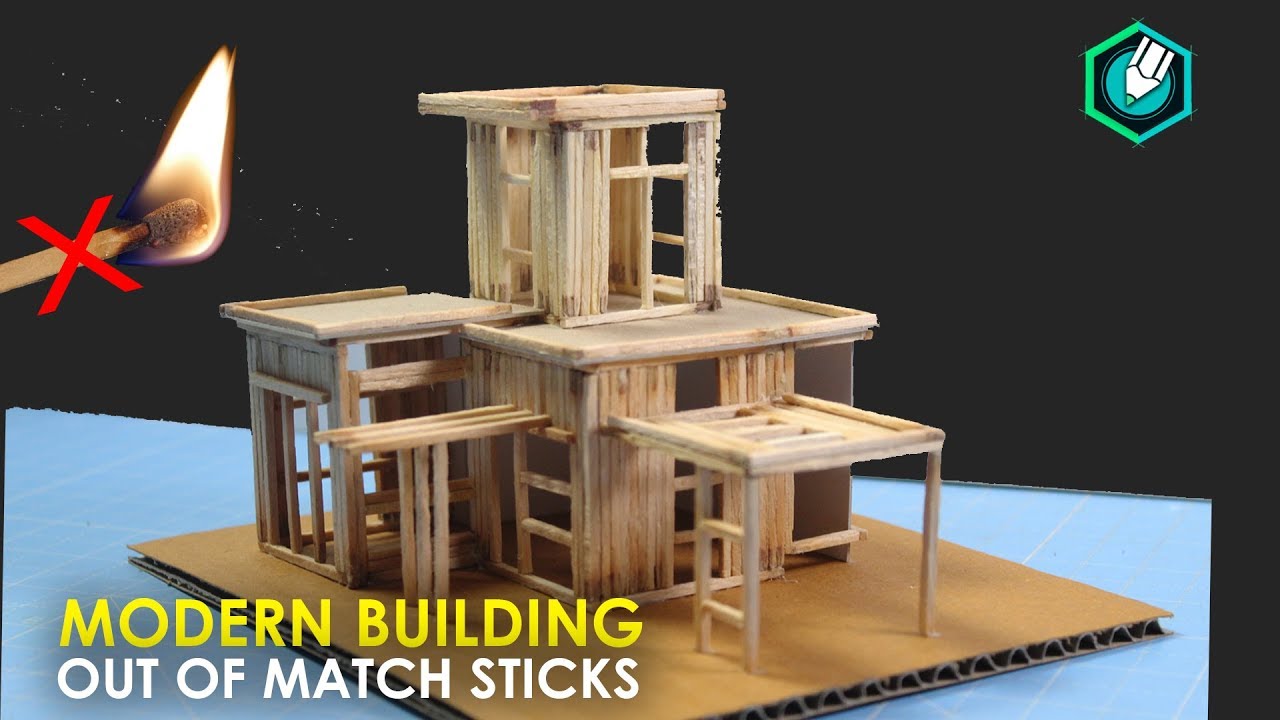
2. Modern Minimalism
If you prefer a sleek look, go for a modern design with straight lines and a monochromatic color scheme. Consider using fewer matchsticks to create an open floor plan appearance. You can even create a flat roof for that contemporary feel!
3. Fairy Tale Castle
Channel your inner architect with a fairy tale castle. Use extra matchsticks to create towers or even a drawbridge. Add decorative elements like tiny flags made from paper and toothpicks, and use glitter paint for that magical touch!
4. Eco-Friendly Theme
To enhance the charm of your matchstick house, incorporate natural materials. Use twigs for fences, pebbles for pathways, and even small leaves for trees to create a miniature landscape around your house.
5. Seasonal Decor
Why not change your matchstick house’s look with the seasons? Add tiny pumpkins for fall, snowflakes for winter, flowers in spring, or shells for a summer beach vibe. This keeps your craft fresh and fun all year round!
Remember, the key to a beautiful matchstick house is your imagination. Don't be afraid to experiment and make it your own. Happy crafting!
Also Read This: How to Make a Pancake at Home: Quick and Easy Dailymotion Recipe
5. Tips for Ensuring Stability and Durability

Crafting a matchstick house can be an exciting project, but to make sure it stands the test of time, you’ll want to follow some essential tips for stability and durability. Here are a few key strategies to consider:
- Choose the Right Adhesive: Using the right glue is crucial for your matchstick house's longevity. Consider using wood glue or a strong craft adhesive that dries clear. Avoid using too much glue, as it can create a mess and weaken the structure if it oozes out.
- Build a Solid Foundation: Start with a sturdy base. A thick piece of cardboard or a wooden board can serve as a solid foundation. This will help distribute the weight evenly and prevent your house from wobbling.
- Cross-Bracing: Incorporate cross-bracing in your design. This means adding diagonal matchsticks in the walls or roof to add strength. Think of it as an X shape – it reinforces the structure and makes it less prone to collapsing.
- Use Matchsticks of Similar Length: Consistency is key! Using matchsticks of the same length for walls and roof sections can help ensure even weight distribution, which makes your house more stable.
- Regularly Check for Weak Points: As you build, periodically check for any weak points or areas that need reinforcement. It’s easier to fix issues early on rather than after the house is finished.
By keeping these tips in mind, you’ll ensure that your matchstick house not only looks fantastic but also withstands the test of time. A little extra attention to detail can make a world of difference!
6. Showcasing Your Finished Matchstick House
Congratulations on completing your matchstick house! Now it’s time to showcase your hard work. Here are some creative ways to display your masterpiece:
- Decorate Your Display Area: Choose a prominent spot in your home, like a shelf or coffee table, to feature your matchstick house. Surround it with small plants, fairy lights, or themed decorations to create a lovely diorama.
- Photography: Capture the beauty of your matchstick house with some photographs. Use natural lighting to highlight the details and textures. You could even stage a mini photoshoot with props like tiny figures or animals to bring your scene to life!
- Create a Shadow Box: Consider placing your matchstick house inside a shadow box for a polished look. This will protect it from dust while giving it a professional display feel. You can add a backdrop that complements your house, like a painted sky or a grassy scene.
- Host a Crafting Party: Share your crafting journey with friends! Invite them over to see your matchstick house and encourage them to create their own. You could even turn it into a friendly competition to see who can build the most elaborate structure.
- Document the Process: Keep a scrapbook or a digital album detailing your crafting process. Include photos of your progress and jot down thoughts or funny moments you encountered along the way. This can serve as a great conversation starter!
Showcasing your finished matchstick house not only celebrates your creativity but also inspires others to try their hand at crafting. So, let your creativity shine and enjoy sharing your unique creation with the world!
 admin
admin


