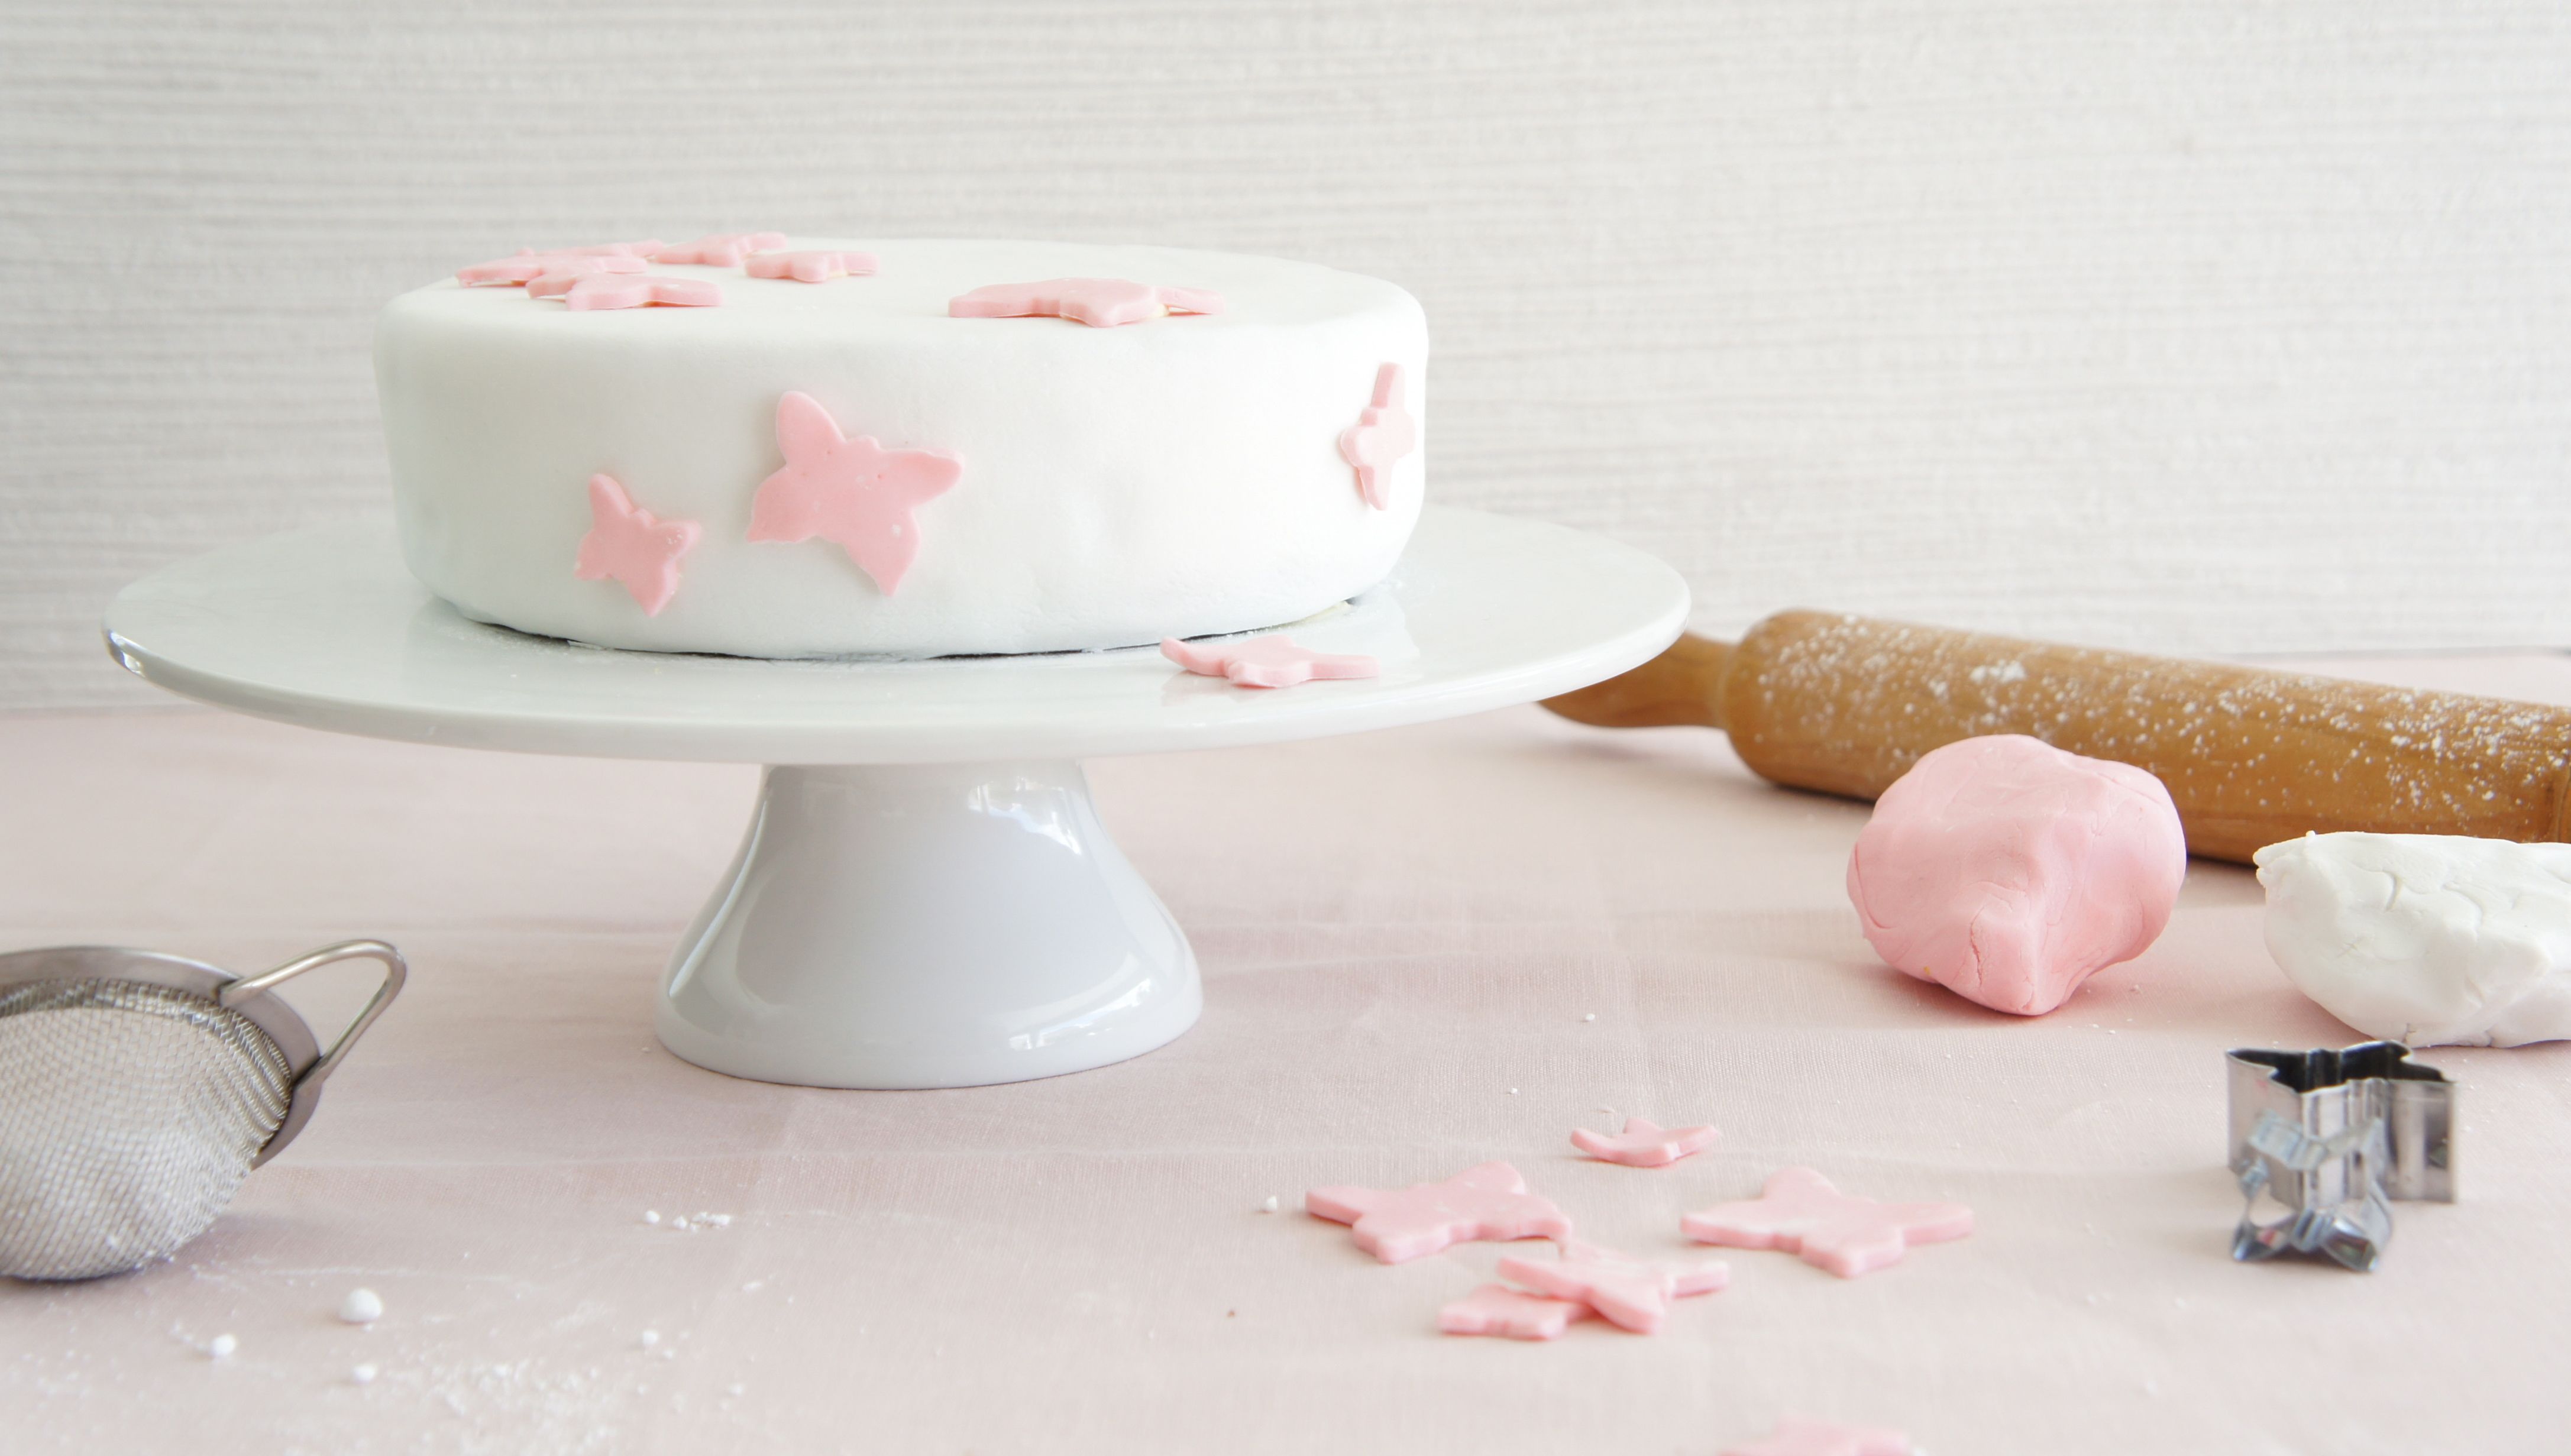
Fondant icing is a cake decorator's best friend! This smooth, pliable icing transforms ordinary cakes into stunning masterpieces. Whether you’re crafting a wedding cake or a fun birthday treat, fondant helps you achieve that professional look. Plus, making it at home is easier than you might think! In this post, we’ll dive into the world of fondant, explore what makes it special, and gather all the ingredients you'll need to whip up your batch. Let’s get started!
Ingredients Needed for Homemade Fondant
Making fondant at home requires just a few simple ingredients. Here’s what you’ll need:
- Marshmallows: 16 oz (1 bag) - the base of your fondant.
- Powdered Sugar: 2-5 cups - adds sweetness and helps with texture.
- Water: 2 tablespoons - to help melt the marshmallows.
- Shortening: for greasing your hands and working surface.
- Flavoring (optional): vanilla or almond extract for added taste.
- Coloring (optional): gel food coloring to personalize your fondant.
Let’s break these down a bit:
Marshmallows are the star of the show! They provide the sweet, chewy texture that fondant is known for. You can use any brand, but mini marshmallows often melt more evenly.
Powdered sugar is essential as it gives your fondant structure. Start with 2 cups and gradually add more until you reach your desired consistency; this helps prevent it from becoming too sticky.
Water is simply used to help melt the marshmallows when you’re heating them.
Shortening is your best friend here! Use it to grease your hands and surfaces to prevent sticking and ensure smooth handling of the fondant.
If you want to add a touch of flavor, extract can make your fondant taste even better. Just a teaspoon should do the trick! And when it comes to color, use gel food coloring for vibrant hues without altering the consistency too much.
Now that you have everything you need, you're all set to create your very own fondant icing! Let's move on to the fun part—making it!
Also Read This: Craft a Stunning Origami Diamond: Step-by-Step on Dailymotion
3. Step-by-Step Guide to Making Fondant Icing
Making fondant icing at home may seem daunting, but with a little patience and the right ingredients, you can create a smooth and pliable icing that will elevate your cakes to the next level. Let’s break it down into manageable steps!
Ingredients you’ll need:
- 1 cup of water
- 1 tablespoon of gelatin powder
- 1/4 cup of light corn syrup
- 2 tablespoons of glycerin
- 8 cups of powdered sugar (more if needed)
- 1 teaspoon of vanilla extract (optional)
- Food coloring (if desired)
Step 1: Prepare the Gelatin
Begin by pouring the water into a small saucepan. Sprinkle the gelatin powder over the water and let it sit for about 5 minutes to bloom. Once it has thickened, turn on the heat to low and stir until fully dissolved. Remove from heat and add the corn syrup and glycerin. Mix until combined.
Step 2: Combine with Sugar
In a large mixing bowl, sift your powdered sugar to remove any lumps. Make a well in the center and pour in the gelatin mixture along with vanilla extract if you’re using it. Stir with a spatula until it starts to come together. You might need to switch to your hands as it becomes thicker.
Step 3: Knead the Fondant
Dust your clean countertop with powdered sugar and turn out the mixture. Knead it like you would bread dough, adding more sugar as needed until it’s smooth and elastic. This might take about 10 minutes, so don’t rush through this step!
Step 4: Color Your Fondant
If you want to add color, divide your fondant into smaller portions and use gel food coloring. Start with a small amount and knead until evenly colored. Remember, you can always add more color, but you can’t take it away!
Step 5: Wrap and Store
Wrap your fondant tightly in plastic wrap and store it in an airtight container. It can be kept at room temperature for a week or in the fridge for longer. Just remember to bring it back to room temperature before using it, as it can become stiff when chilled.
And there you have it! Your homemade fondant icing is ready to use on cakes, cupcakes, or any sweet creation you have in mind!
Also Read This: How to Download Dailymotion Videos on iPhone with Ease
4. Common Mistakes to Avoid When Making Fondant
Even the most experienced bakers can run into a few hiccups when making fondant. Here are some common mistakes to watch out for, ensuring your fondant turns out perfect every time!
1. Not Measuring Ingredients Accurately
Baking is a science! Make sure you measure your ingredients accurately. Too much sugar can make your fondant dry and hard, while too little can make it gooey. Use a kitchen scale for the best results!
2. Skipping the Sifting Step
Sifting powdered sugar is crucial to avoid lumps in your fondant. If you skip this step, you might end up with a lumpy texture that’s hard to work with. Always sift first!
3. Over-Kneading or Under-Kneading
Finding the right balance in kneading is essential. If you under-knead, your fondant will be sticky and difficult to roll out. On the flip side, over-kneading can make it too tough. Aim for a smooth, elastic consistency.
4. Using Too Much or Too Little Corn Syrup
Corn syrup adds flexibility to your fondant. If you add too little, it can crack when rolling out. Conversely, too much can make it too sticky. Stick to the recipe for the perfect balance!
5. Not Storing Properly
Fondant can dry out quickly if not stored properly. Wrap it tightly in plastic wrap and keep it in an airtight container. If it gets hard, you can try to soften it by kneading in a little glycerin.
By avoiding these common pitfalls, you’ll be well on your way to crafting beautiful cakes with your homemade fondant icing. Happy baking!
Also Read This: Download Your Dailymotion Playlist Easily with This Step-by-Step Guide
5. Tips for Coloring and Flavored Fondant
When it comes to making your cakes pop, the right color and flavor can make all the difference! Fondant icing is incredibly versatile, allowing you to customize it to fit your cake's theme perfectly. Here are some tips to help you achieve the best results:
Coloring Your Fondant:
- Use Gel Food Colors: Gel food colors are your best bet for vibrant shades. They're concentrated, so a little goes a long way! Start with a tiny amount and gradually add more to reach your desired color.
- Mix Thoroughly: Once you've added the gel color, take your time to knead it into the fondant. It may look a bit streaky at first, but just keep working it until the color is uniform.
- Test Before You Commit: If you're going for a specific shade, consider testing it on a small piece of fondant first. This way, you can adjust as necessary without ruining a large batch.
Flavoring Your Fondant:
- Extracts and Oils: To flavor your fondant, add a few drops of extracts (like vanilla, almond, or lemon) or flavored oils. Just remember that a little flavoring goes a long way, so start small!
- Try Using White Chocolate: If you’re feeling adventurous, consider using white chocolate fondant. It not only tastes great but also has a lovely creamy color that can enhance certain designs.
- Incorporate Pre-Made Flavorings: Many cake supply stores offer flavored fondant options. These can save you time while still giving you a delicious taste!
Remember, coloring and flavoring your fondant is all about personal preference. Don’t hesitate to experiment until you find the combinations that work best for you. Happy decorating!
Also Read This: Craft a Paper Robot Easily
6. How to Store Fondant Icing Properly
Once you've made your fondant icing, proper storage is essential to keep it fresh and pliable for your cake creations. Here are some straightforward guidelines to ensure your fondant stays in top shape:
Short-Term Storage:
- Wrap It Up: If you plan to use your fondant within a few days, wrap it tightly in plastic wrap to prevent it from drying out. Make sure there are no air pockets!
- Seal in an Airtight Container: After wrapping, place it in an airtight container. This extra layer of protection will help maintain its moisture.
Long-Term Storage:
- Refrigeration: While fondant can be refrigerated, it’s best to avoid this if possible, as the cold environment can cause condensation and make it sticky. If you must refrigerate it, ensure it’s wrapped tightly and stored in a container.
- Freezing for Extended Periods: Fondant can be frozen for up to six months. Wrap it in plastic wrap, then place it in a freezer-safe bag or container. When you’re ready to use it, let it thaw in the fridge overnight before bringing it to room temperature.
Reviving Your Fondant: If your fondant gets a bit hard after storage, don’t worry! Simply knead it with a little vegetable shortening or water, and it should become pliable again. Just be cautious not to overdo it with moisture!
By following these storage tips, you’ll ensure that your fondant stays fresh and ready for your next cake masterpiece. Happy baking!
Also Read This: Step-by-Step Guide to Streaming Dailymotion Videos on VLC Media Player
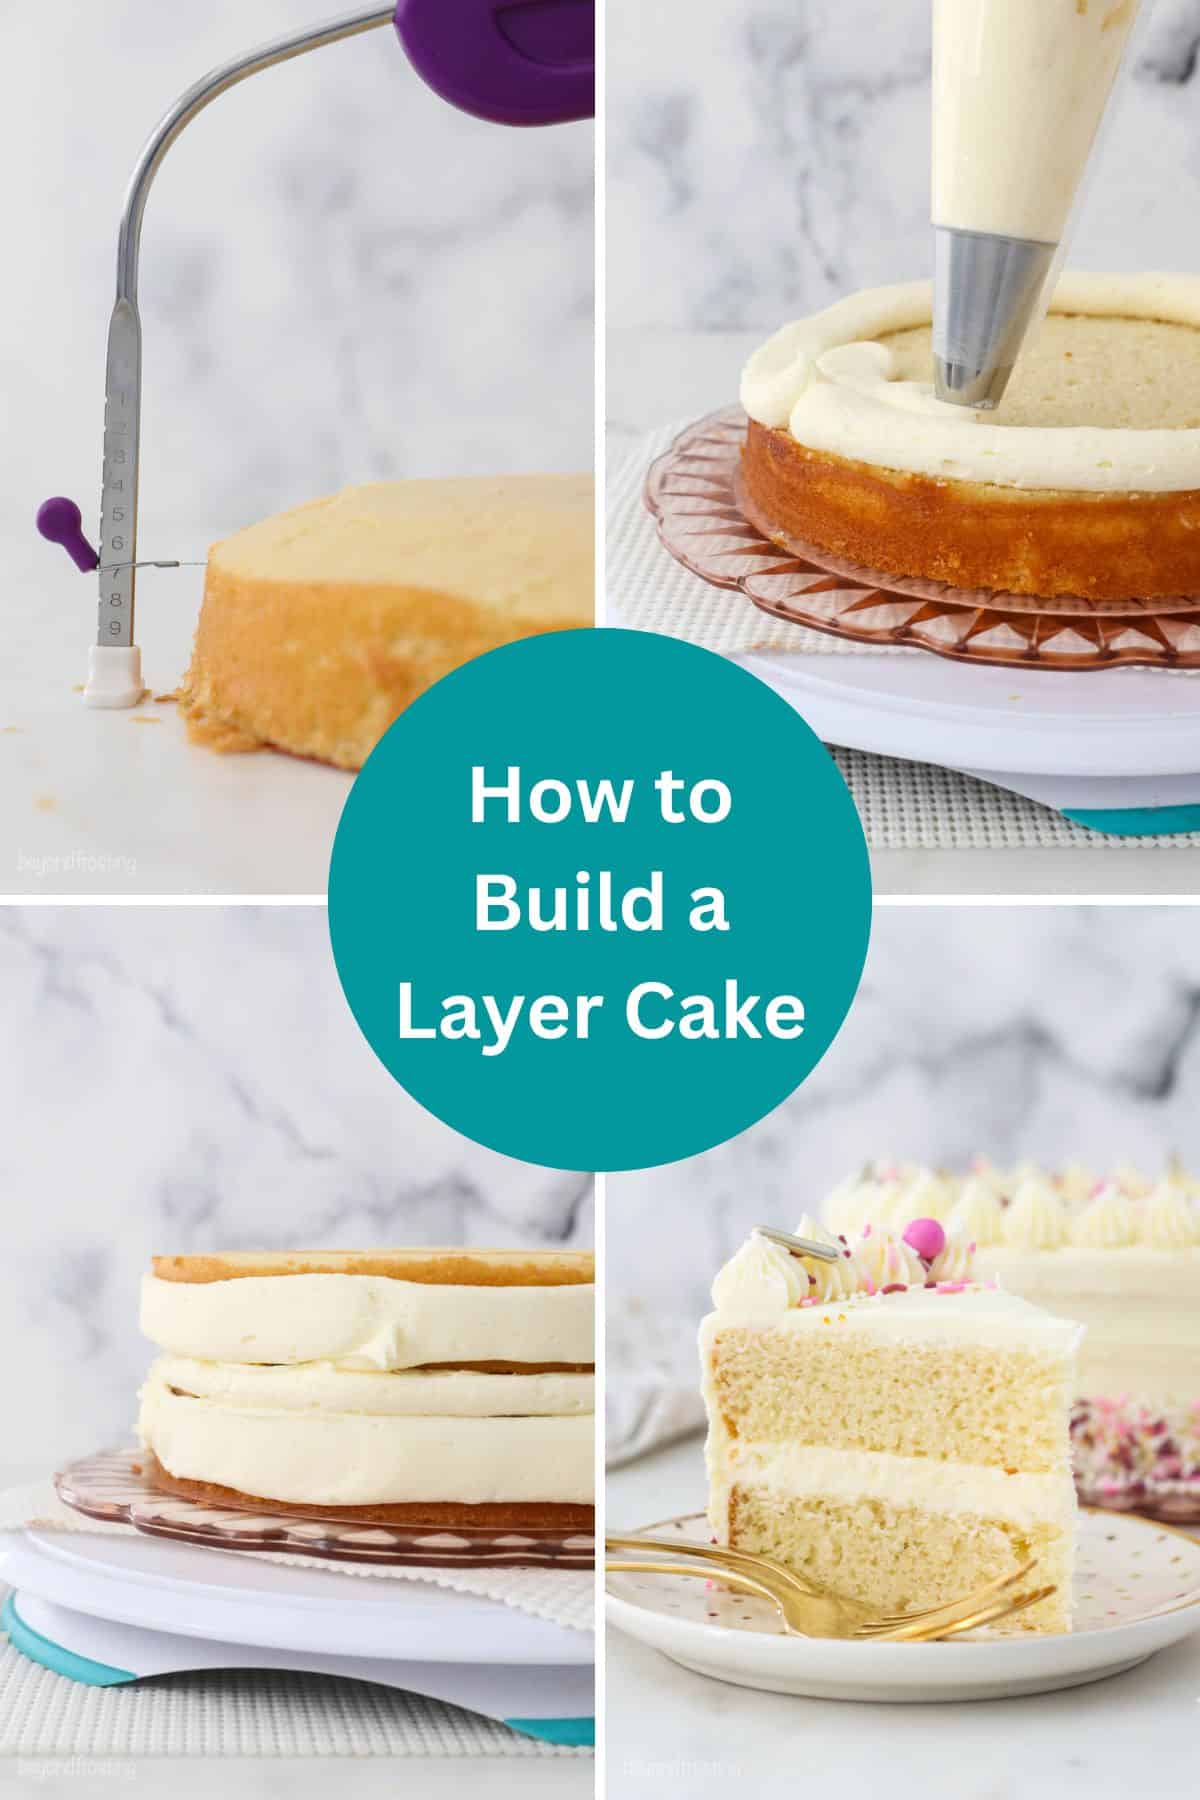
7. Creative Ways to Use Fondant Icing on Cakes
Fondant icing isn't just for covering cakes; it's a versatile medium that can transform your baking creations into stunning works of art! Here are some creative ways to use fondant icing to elevate your cakes:
- Decorative Toppers: Use fondant to create intricate toppers like flowers, figures, or themed shapes that match your cake's theme. For example, if you're making a birthday cake for a child, consider crafting fun cartoon characters or animals. Just roll out the fondant, shape it, and let your imagination run wild!
- Textured Designs: Achieve elegant textures by using various tools like embossing mats or fondant rollers. You can create a quilted look or even add lace patterns. This is particularly effective for wedding cakes, where sophistication is key. A textured fondant finish can add depth without overwhelming the design.
- Color Blending: Fondant can be tinted to create stunning ombre effects. Simply mix different shades of the same color to create a seamless gradient on your cake. This technique is especially popular for celebratory cakes, providing a modern twist to traditional designs.
- Building 3D Structures: If you're feeling ambitious, try constructing 3D elements like carriages, castles, or other themed decorations. For instance, a tiered cake topped with a fondant castle can be the centerpiece of any birthday party. Just remember to use a sturdy base to support your creations!
- Personalized Messages: Roll out fondant and cut it into letters or shapes to spell out names or special messages. This adds a personal touch to your cakes, making them memorable for any occasion. A simple "Happy Birthday" or "Congratulations" can make all the difference!
- Layered Fondant: Experiment with layering different colors of fondant for a fun and funky look. This technique can create a vibrant cake that stands out at any gathering. Think of bright colors for a children's party or more muted tones for an elegant occasion.
With these creative ideas, you can take your fondant skills to the next level and impress your friends and family with unique and beautiful cake designs. Remember, the key is to have fun while you create!
8. Conclusion and Additional Resources
Making fondant icing at home opens up a whole new world of possibilities for your cake decorating adventures. From simple to intricate designs, fondant can help you express your creativity and make your cakes truly special. Whether you’re a beginner or a seasoned baker, mastering fondant can enhance your cake presentations and give you that professional touch.
Before you dive into your fondant journey, here are a few additional resources that can help you along the way:
- YouTube Tutorials: There are countless video tutorials available that show step-by-step processes for making and working with fondant. Channels like "Rosanna Pansino" and "How To Cake It" provide great visuals and tips.
- Baking Blogs: Websites like "The Cake Blog" and "Sweetapolita" offer recipes, decorating tips, and inspiration for fondant creations. They often post detailed guides to help you troubleshoot any issues you might encounter.
- Social Media Groups: Join Facebook groups or follow Instagram accounts dedicated to cake decorating. You can find a supportive community where you can share your work, ask for advice, and gather inspiration for your fondant projects.
- Books: Consider investing in a few baking books focused on fondant techniques. Titles like "Fondant 101" by the experts at Wilton can provide you with valuable insights and techniques.
With practice and the right resources, you’ll be crafting beautiful fondant-covered cakes in no time. So gather your ingredients, roll up your sleeves, and start creating delicious masterpieces!
 admin
admin


