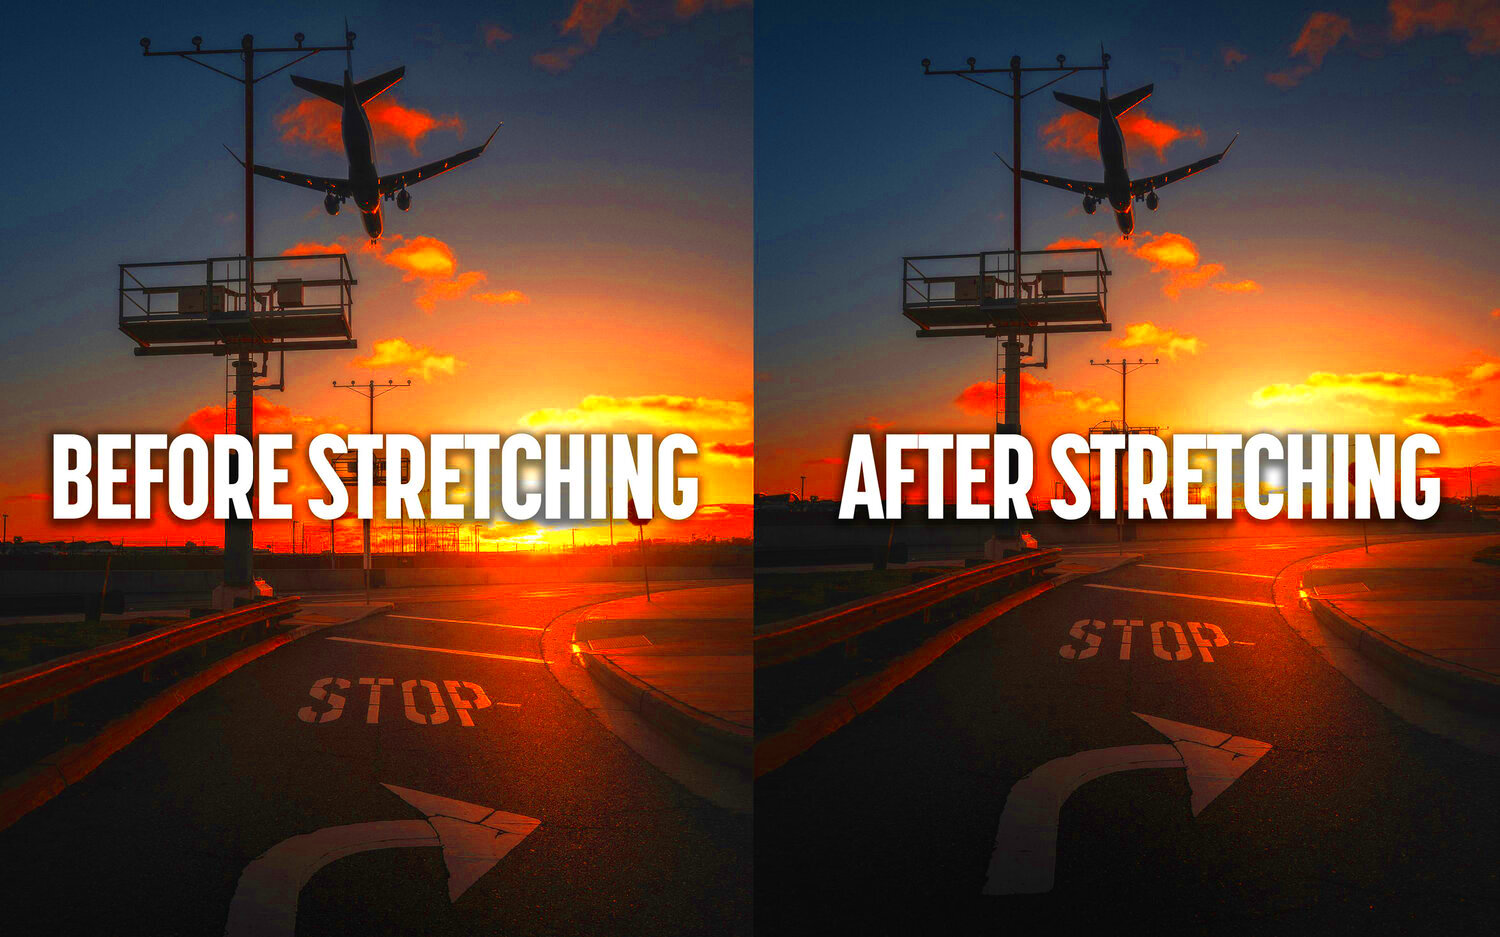
When it comes to images, resolution and quality are key factors that affect how they appear on different screens. Resolution refers to the amount of detail an image holds, typically measured in pixels. Higher resolutions mean more detail, while lower resolutions can lead to blurry images when stretched or enlarged.
Image quality, on the other hand, encompasses factors like color accuracy, contrast, and clarity. It's important to know that simply having a high resolution doesn't guarantee good quality. Here are a few points to keep in mind:
- Pixel Density: This measures how many pixels are packed into a given area. More pixels per inch (PPI) usually mean better quality.
- File Format: Different formats (like JPEG, PNG, and TIFF) have different ways of handling data. For example, PNG files are lossless, while JPEGs may lose quality when compressed.
- Editing and Resizing: Altering an image can affect its quality. Understanding how to resize images properly is crucial.
Importance of Stretching Images Correctly

Stretching images may seem straightforward, but doing it incorrectly can ruin their appearance. Properly stretching images ensures that they maintain their visual appeal and do not become distorted. Here’s why it's essential:
- Professional Appearance: Well-stretched images look polished and professional, which is crucial for branding and marketing.
- Maintain Viewer Engagement: Distorted images can distract viewers, leading them to disengage from your content.
- SEO Benefits: Search engines favor high-quality images, which can improve your site's ranking.
By understanding the nuances of stretching images, you can ensure your visuals remain impactful and clear.
Also Read This: How to Retrieve Links from 123RF for Your Projects
Tools and Software for Image Stretching
There are many tools available to help you stretch images without sacrificing quality. Here are some popular options:
- Adobe Photoshop: A powerful image editing software that offers extensive tools for resizing and stretching images. You can use the 'Transform' feature to adjust dimensions while keeping the quality intact.
- GIMP: A free alternative to Photoshop that also allows for precise image editing. Its scaling tool is effective for stretching images without quality loss.
- Canva: An easy-to-use online graphic design platform. It allows you to stretch images with just a few clicks, making it accessible for beginners.
- Pixlr: A free online photo editor that offers tools for resizing and stretching images. It's great for quick edits without needing to download software.
Choosing the right tool can make all the difference. Each of these options has its strengths, so consider your needs and level of expertise when making a choice.
Also Read This: how to add an image to email signature
Step-by-Step Guide to Stretching Images
Stretching images can be a bit tricky, but with the right approach, you can do it effectively. Here’s a simple step-by-step guide to help you stretch images without losing quality:
- Choose Your Software: Select an image editing tool like Photoshop, GIMP, or Canva based on your comfort level.
- Open the Image: Load your image into the software. Make sure you are working with a high-resolution file for the best results.
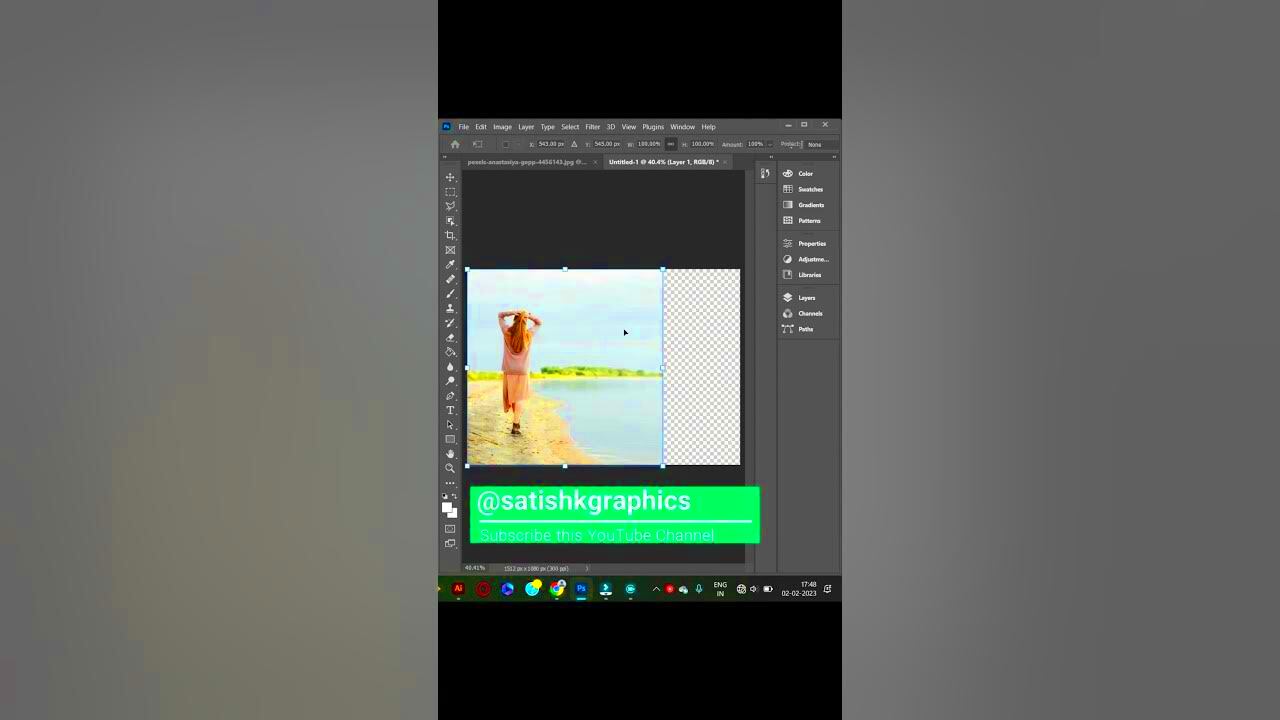
- Select the Stretch Tool: Look for the 'Transform' or 'Scale' tool in your software. This is usually found in the Edit menu.
- Adjust the Dimensions: Click and drag the corners of the image to stretch it. Hold down the Shift key to maintain the aspect ratio if needed.
- Check the Quality: Zoom in to inspect the image quality as you stretch it. Look for any pixelation or distortion.
- Save Your Work: Once you’re satisfied, save your image in a suitable format, like PNG for lossless quality or JPEG for a smaller file size.
By following these steps, you can stretch images effectively and maintain their quality, making them perfect for your projects.
Also Read This: Exploring the Number of Channel IDs Available on Storyblocks for YouTube Content
Tips for Maintaining Image Quality While Stretching
When stretching images, it’s crucial to keep their quality intact. Here are some helpful tips to ensure your images look their best:
- Start with High-Resolution Images: The higher the original resolution, the better the outcome when stretching.
- Avoid Excessive Stretching: Try to limit how much you stretch an image. Small adjustments are usually better.
- Use Smart Objects: In software like Photoshop, convert your image to a Smart Object before stretching. This allows for non-destructive edits.
- Check Pixelation: Zoom in while editing to monitor any pixelation as you stretch the image. If it looks grainy, consider starting over with a higher resolution.
- Utilize Image Restoration Tools: Some software has features to help restore quality after stretching. Explore these options for better results.
By keeping these tips in mind, you can stretch your images while preserving their quality and making them visually appealing.
Also Read This: How to Print Sublimation Images for Tumblers and Crafts
Common Mistakes to Avoid When Stretching Images
While stretching images, it's easy to make a few common mistakes that can affect quality. Here’s what to avoid:
- Using Low-Resolution Images: Starting with a low-resolution image can lead to poor results. Always use the highest resolution available.
- Forgetting to Maintain Aspect Ratio: If you stretch an image unevenly, it can look distorted. Remember to hold the Shift key or lock the aspect ratio.
- Ignoring Image Formats: Some formats compress images more than others. JPEG files can lose quality when stretched; consider using PNG or TIFF instead.
- Not Reviewing Changes: Failing to zoom in and check your work can lead to missed imperfections. Always review the final image closely.
- Skipping Backups: Always save a copy of the original image before making changes. This way, you can revert if necessary.
By avoiding these mistakes, you can ensure your stretched images maintain their visual appeal and effectiveness for your projects.
Also Read This: How to Find Your Photos on Getty Images
Examples of Successful Image Stretching
Seeing examples of successful image stretching can really help you understand how to do it right. Let's take a look at a few scenarios where stretching images has worked wonders:
- Website Banners: Many websites use stretched images for banners. For instance, a travel site might stretch a stunning landscape photo to fit a wide header. The key is ensuring the image is high resolution so it remains clear and appealing.
- Social Media Posts: Brands often stretch images to fit specific formats on platforms like Instagram and Facebook. A company might take a product photo and stretch it to fit a story format without losing the details that make the product look good.
- Marketing Materials: In brochures and flyers, stretching images can help create eye-catching visuals. For example, a restaurant could stretch a mouth-watering image of food across a flyer, drawing attention to their offerings.
These examples highlight how effective stretching can be when done correctly. Always remember to start with high-quality images, as this is essential for ensuring your stretched images look professional and appealing.
Also Read This: How to Use Natural Light to Enhance Your Photography
Frequently Asked Questions
Many people have questions about stretching images. Here are some common ones along with their answers:
- Can I stretch any image? Yes, but results vary. It's best to start with a high-resolution image to avoid pixelation.
- Will stretching an image affect its quality? It can, but if done correctly using the right tools, you can maintain quality.
- What software is best for stretching images? Popular options include Adobe Photoshop, GIMP, and Canva, each with its strengths depending on your needs.
- How do I know if an image is high resolution? A high-resolution image typically has a pixel density of 300 PPI or more and is at least 2000 pixels wide.
- What formats should I save stretched images in? For best quality, consider using PNG or TIFF. JPEG is fine for web use, but be cautious of compression artifacts.
If you have more questions, feel free to explore tutorials or reach out to online communities for advice!
Conclusion
Stretching images is a valuable skill that can enhance your visuals, whether for websites, marketing materials, or social media posts. By understanding image resolution, using the right tools, and following best practices, you can stretch images effectively while maintaining their quality.
Remember to avoid common mistakes, like stretching low-resolution images or failing to check the quality during the process. With the tips and examples shared in this post, you're now equipped to stretch images successfully.
So go ahead, experiment with your images, and watch as your visuals transform into something eye-catching and professional!

 admin
admin


