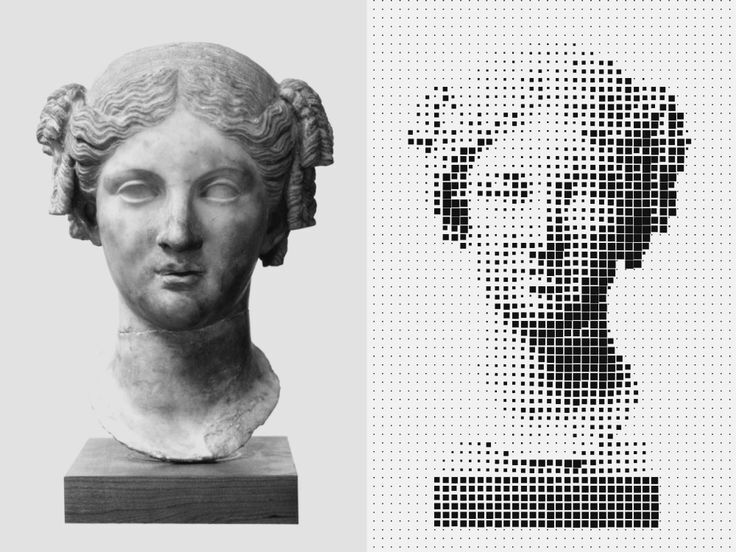
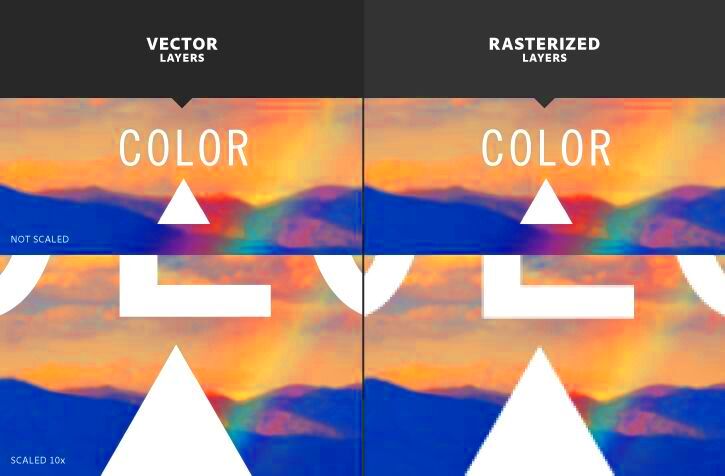
Rasterization is the process of converting vector images into raster images. Vector
When an image is rasterized, its quality depends on the resolution. Higher resolutions yield better quality but also increase file size. Rasterization is crucial when you want to print an image or display it on screens that require pixel data.
Reasons to Rasterize an Image

There are several reasons why you might want to rasterize an image:
- Editing Flexibility: Raster images allow for pixel-level editing, giving you more control over details.
- Compatibility: Some software and platforms only support raster images, making rasterization necessary for sharing or publishing.
- Image Effects: Certain effects, like blurs or textures, can only be applied to raster images.
- Preparing for Print: Raster images ensure that your artwork retains its quality when printed.
Also Read This: Page Ownership: Claiming Your IMDb Page – Taking Control of Your IMDb Presence
Steps to Rasterize an Image

Rasterizing an image can be done easily using various software tools. Here’s a simple step-by-step guide to help you:
- Open your image: Launch your image editing software and load the vector image you want to rasterize.
- Select the rasterize option: Look for the "Rasterize" option in the menu. This might be under “Layer” or “Image,” depending on your software.
- Choose your settings: Set the resolution and other preferences before finalizing the rasterization process.
- Save your image: Once rasterized, save your image in a suitable format like JPEG or PNG.
Remember to keep a copy of the original vector image, as rasterizing is often a one-way process. Once you rasterize, you lose the scalability benefits of the vector format.
Also Read This: Saving Images from Cricut to Your Computer
Tools for Rasterizing Images
When it comes to rasterizing images, you have plenty of tools at your disposal. Whether you’re a professional designer or just starting out, the right software can make all the difference. Here’s a list of some popular tools you can use to rasterize images:
- Adobe Photoshop: A leading choice for many graphic designers, Photoshop provides a wide range of tools for rasterization, allowing for detailed pixel-level editing.
- GIMP: This free, open-source software is a great alternative to Photoshop and offers robust rasterization features.
- CorelDRAW: Primarily a vector graphic design tool, CorelDRAW also allows users to rasterize images easily within the program.
- Affinity Photo: A cost-effective solution for rasterizing images, Affinity Photo is known for its powerful editing capabilities.
- Online Tools: Websites like Photopea and Pixlr provide convenient online options for quick rasterization without needing to install software.
Each of these tools has unique features, so choosing the right one depends on your needs and preferences. Most of them offer tutorials to help you get started with rasterization quickly.
Also Read This: How to Sell Your Photos to Getty Images and Earn Money as a Contributor
Common Issues When Rasterizing
While rasterizing images is generally straightforward, some common issues can arise. Here are a few pitfalls to watch out for:
- Loss of Quality: Rasterizing a low-resolution vector image can lead to pixelation and loss of detail.
- File Size Increase: High-resolution raster images can become very large, making them cumbersome to store and share.
- Irreversible Changes: Once you rasterize an image, you can’t convert it back to its original vector format. Always keep a backup!
- Color Shifts: Sometimes, colors may appear differently after rasterization due to the change in image format.
By being aware of these issues, you can take steps to avoid them and ensure a smooth rasterization process.
Also Read This: Understanding the Licensing Process for Adobe Stock Photos
Tips for Successful Rasterization
To ensure your rasterization process goes smoothly and yields high-quality results, here are some handy tips:
- Choose the Right Resolution: Start with a resolution that meets your needs. For print, aim for 300 DPI; for web, 72 DPI is usually sufficient.
- Use Layers: Work with layers when editing to maintain flexibility and organization in your projects.
- Preview Before Saving: Always preview the rasterized image before finalizing to check for any issues.
- Save in Multiple Formats: Save your rasterized image in various formats (like PNG, JPEG, and TIFF) depending on its intended use.
- Practice Regularly: The more you practice rasterizing images, the more comfortable you’ll become with the tools and techniques.
By following these tips, you can achieve stunning results when rasterizing images, enhancing your projects and workflows.
Also Read This: Recording YouTube Videos with Audacity Software
FAQs About Rasterizing Images
When it comes to rasterizing images, you might have some questions. Here are answers to some frequently asked questions that can help clarify the process:
- What is the difference between raster and vector images? Raster images are made up of pixels, while vector images are created using paths defined by mathematical equations. Raster images can lose quality when scaled, whereas vector images can be resized without loss.
- Can I rasterize a vector image without losing quality? Yes, but you need to ensure that the resolution is set high enough before rasterization. Higher resolution helps maintain quality.
- What file formats are best for raster images? Common formats for raster images include JPEG, PNG, and TIFF. Each format has its benefits: JPEG is great for photos, PNG supports transparency, and TIFF is often used for high-quality prints.
- Is it possible to edit a rasterized image? Absolutely! Once an image is rasterized, you can edit it using various software tools. However, you will be working at the pixel level rather than the object level.
- How do I avoid common rasterization issues? To avoid issues like quality loss or color shifts, always start with a high-resolution image and check your settings before rasterization.
- Can I convert a raster image back to vector? While it is difficult to convert a raster image back to vector format, some software offers tracing tools that can help create vector shapes from raster images.
Conclusion on Rasterizing Images
Rasterizing images is an essential skill for anyone working in digital design or photography. By understanding the process, the tools available, and the common issues you might face, you can effectively transform your images for various uses. Whether you're preparing for print or simply looking to edit your artwork, mastering rasterization will enhance your creative projects and ensure high-quality results.

 admin
admin


