Digital artists are drawn to Procreate, especially if it is about creating intricate cut outs out of images. Not only does Procreate offer an extensive package for imageries manipulation but also helps in manipulating subject matters efficiently. Therefore, this guide encompasses everything related to cutting images in Procreate for a professional touch.
Getting Started with Procreate's Selection Tools
Procreate has numerous choice tools that are meant to allow you to take charge of getting rid of photographs. Everyone must know what each instrument can do in order to get clear, sharp cutouts. Following is a brief summary:
- Automatic Selection: This tool is ideal for selecting areas with distinct color or tonal differences. It’s quick and useful for high-contrast images.
- Freehand Selection: For custom-shaped selections, Freehand allows you to outline your subject with precision by drawing around it. This is especially useful for images with intricate edges.
- Rectangle and Ellipse Selection: These tools are best for simple, geometric selections. They’re great when you need quick, symmetrical shapes.
- Polygon Selection: With this, you can create straight-edged selections by tapping to add points around your subject. It’s helpful for architectural shapes or items with hard edges.
ускуслюдидоищейнои для каждой вручную былн орудия этих понимание.
Also Read This: How to Save Clipboard Images to Your Computer
Exploring the Different Selection Techniques for Clean Cutouts
In order to become successful in cutting, an appropriate method is supposed to be applied in accordance with individual cutting requirements. Here, we will take some closer look that can help in considering the clearest possible results of using these methods:
- Adjusting Tolerance: The Automatic Selection tool has a tolerance slider to adjust sensitivity. Increase tolerance to include more area or decrease it to focus on finer details.
- Using Add and Subtract: Each selection tool has options to add to or subtract from your current selection, letting you fine-tune the cutout boundaries.
- Smooth and Feather Edges: These options allow you to soften or sharpen the edges of your selection, creating a natural look that blends well with different backgrounds.
- Refining with Eraser Tool: For extra precision, refine your cutout with Procreate's Eraser tool to clean up any stray pixels or rough edges.
It is possible to achieve professional and polished cutouts by experimenting with these techniques so that you receive the right equilibrium among both speed and precision.
Also Read This: How to Create a Banner in Photoshop CS5 Comprehensive Guide
How to Refine Edges for Precise Image Cutouts
It is imperative to improve edges for better endings out of intricate shapes/cuts particularly when it comes to hair strands. Procreate has numerous alternatives in enhancing edge snares and this ensures that your document retains a professional touch. Follow these procedures and you will be able to improve your edges like no one else:
- Feathering: Feathering softens the edges of your selection, making transitions look natural. Use the Feather option in the selection tool menu, and adjust it to avoid harsh, unnatural lines.
- Smooth and Sharpen: Procreate’s selection tools allow you to smooth or sharpen edges. For smoother edges, increase the smoothness setting, while a slight sharpen can help with crisp details.
- Manual Refining with the Eraser Tool: The eraser can help clean up edges post-selection. Set a small, soft eraser to remove unwanted pixels for a seamless edge finish.
- Use Masks for Non-Destructive Edits: Masking allows you to hide parts of your image without erasing them permanently. Add a mask to your layer, then paint over the unwanted areas in black to refine the cutout.
Smoothing out edges is important not just for aesthetic reasons but also to enable your cutouts to blend well into anything new you create, be it a piece of digital art, a collage or even more complex assignments like photo manipulation or graphic design.
Also Read This: How to Avoid YouTube Copyright Risks for Content Creators
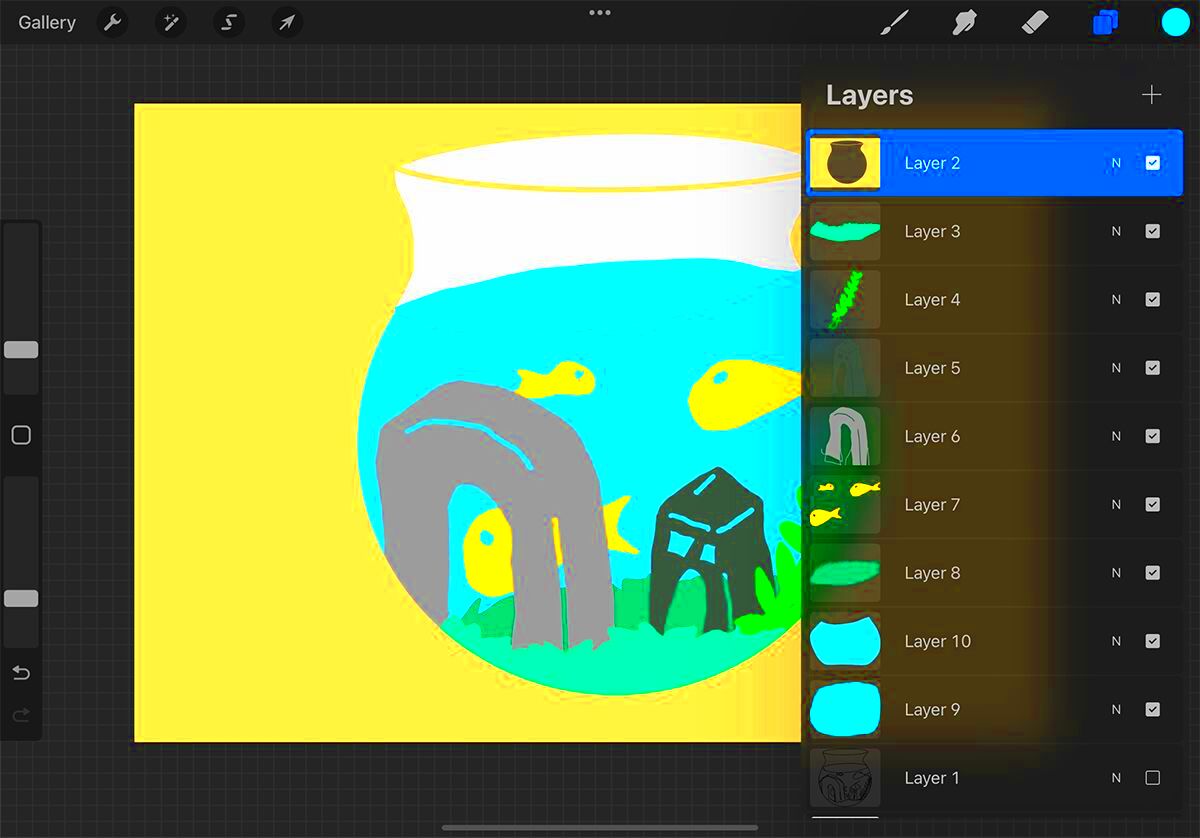
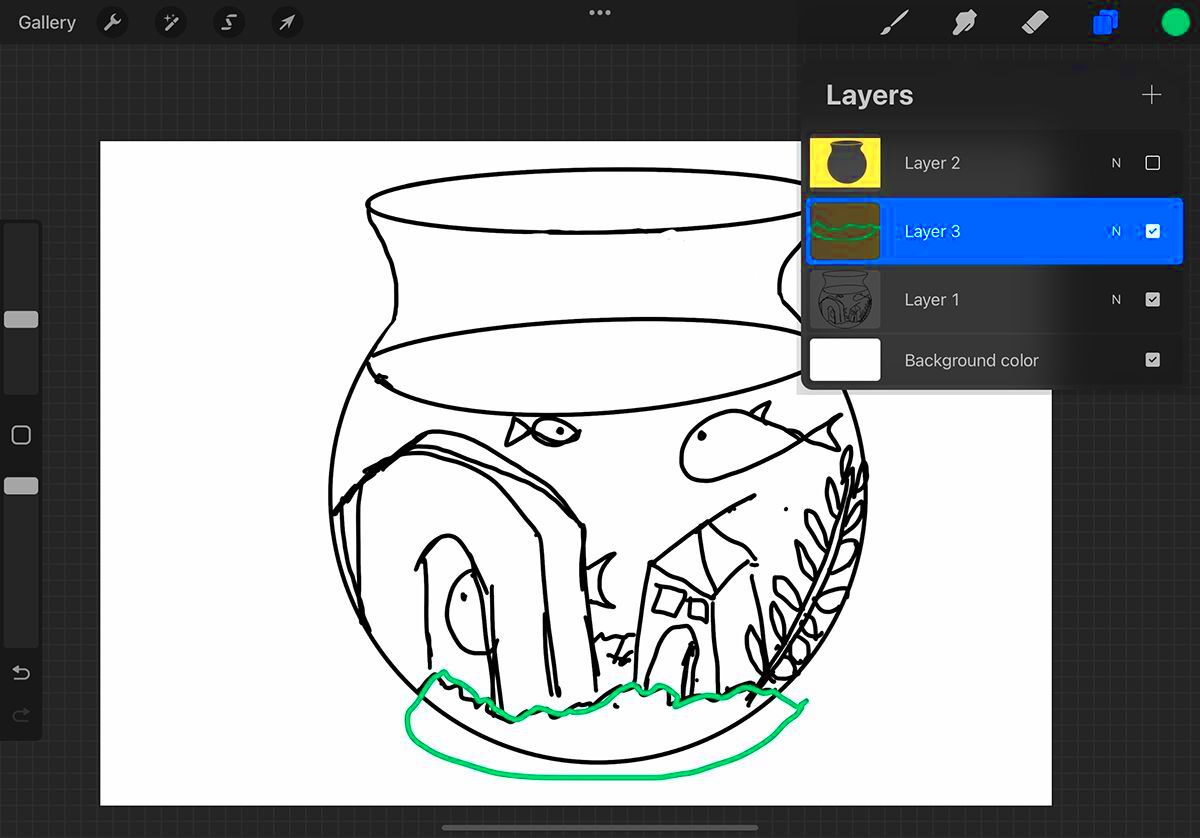
Using Layers to Enhance Cutout Detail
When it comes to improving cutout specifics and performing non-destructive modifications, the use of layers in Procreate is essential. Below are ways in which layers can assist in perfecting and refining your cutting process:
- Create Duplicate Layers: Start by duplicating the original layer before making any cuts. This gives you a backup and lets you experiment without risking the main layer.
- Layer Masks for Flexibility: Layer masks allow you to hide parts of the image without deleting them. This is particularly helpful when you need to toggle visibility for comparison.
- Add Adjustment Layers: By adding a layer on top, you can adjust colors, contrast, or apply effects to enhance your cutout without altering the original image.
- Clipping Masks for Better Control: Clipping masks link a new layer directly to your cutout, enabling you to add shadows, highlights, or color adjustments precisely to the cutout only.
Control through cutout detail using layers does allow for convenience in modifying or enhancing aspects of the entire project later on.
Also Read This: Is YouTube a Social Media App? Understanding YouTube’s Role in Social Media
Tips for Blending Cutout Images Seamlessly
Once a cutout is accurately created, it should be blended into the new project for it to appear natural. Therefore, here are some tips that will assist you in achieving a unified appearance:
- Match Lighting and Shadows: To make your cutout appear natural in its new environment, adjust the lighting and shadows. Use Procreate’s Brightness and Contrast settings to match the original lighting.
- Use the Gaussian Blur Tool: For softer blends, apply a slight Gaussian Blur to the edges of the cutout. This creates a subtle transition that avoids sharp boundaries.
- Adjust Colors for Harmony: Color matching is essential for realistic blending. Use the Color Balance and Hue adjustments to align the cutout’s tones with the background image.
- Layer Opacity for Finer Control: Adjust the opacity of the cutout layer to soften its integration, especially in images with a mix of transparency and texture.
Following these blending advice assist you in placing your cutouts perfectly in a scene, thereby making the final assembly uniform and looking like an out-and-out professional piece of work.
Also Read This: How to Change Your Dailymotion Icon and Personalize Your Profile with Ease
Best Practices for Saving and Exporting Cutouts in Procreate
When you're finished with a cutout on Procreate, saving and exporting it properly is essential to maintain quality and to make it compatible with other programs. Here are a few ways that you can manage your files:
- Choose the Right File Format: If your cutout has a transparent background, export as a PNG to retain transparency. For high-quality print work, consider using TIFF format.
- Export as Procreate File for Editing: Saving as a Procreate file preserves layers, masks, and settings, making it easy to edit later. This is useful if you plan to revisit or refine the project.
- Adjust Resolution for Different Uses: High-resolution files (300 DPI or higher) are ideal for print, while a lower resolution works well for web or digital media. You can adjust this in Procreate’s settings before exporting.
- Use Export Settings for Social Media: For social media, Procreate provides optimized options for specific platforms, ensuring your image looks its best when shared online.
You must keep the quality and flexibility of your cutouts for various creative purposes by adhering to these saving and exporting methods.
Also Read This: Cart Chronicles: How to Add Items to Your Cart on AliExpress
FAQs on Image Cutouts in Procreate
Procreate signifies the best app for cut out designs. Some frequently asked questions by users regarding cutouts in this application are listed below along with their answers:
- How can I cut out images with intricate details like hair?
Use Procreate’s Automatic Selection tool with a lower tolerance, then refine edges using the Feather and Smooth options for detailed areas like hair. - Can I make non-destructive cutouts?
Yes, use Layer Masks to hide parts of your image without permanently erasing them. This technique allows you to adjust or restore parts of your cutout as needed. - How do I blend cutouts into new backgrounds?
Matching lighting, color adjustments, and slight blurring can help your cutout blend naturally with a new background. - What’s the best format to export a cutout with a transparent background?
Export your cutout as a PNG to maintain transparency, especially if you plan to layer it over other images or designs.
Conclusion: Achieving Flawless Cutouts in Procreate
To create impeccable cutouts on Procreate, one needs to master the app's selection tools, refine edges, and blending techniques. By acquiring the necessary proficiency, one can produce immaculate and professional cutouts that improve artwork or design projects. In this manner, cutouts will be saved in a way that they remain versatile and can be used for all forms of creativity. Besides, what remains is to practice more and concentrate on Procreate's tools that enable you to make sleek and clean edges.
 admin
admin


