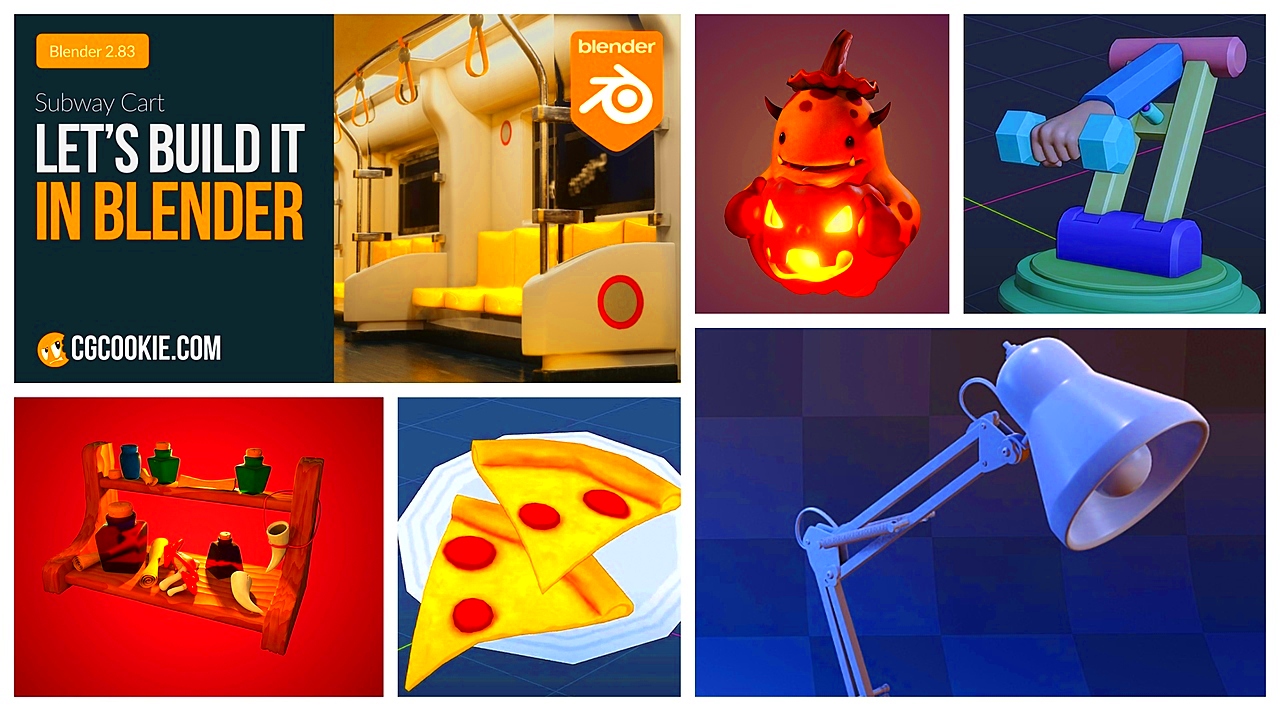
Blender is a free 3D making tool worth utilizing for every artist’s or developer’s project that can be in the form of either animation or game design. One of the best things about Blender is how malleable it is. You may do your modeling work, make sculptures and also animate here. It does not matter whether you are starting off or already an expert in using it; there are various tools meant for every level of proficiency available on this software. This makes it among the most preferred picks by many creators globally.
Some important features of blender are:
- 3D Modeling: Create detailed models using various techniques like sculpting and mesh modeling.
- Animation: Bring your creations to life with advanced animation tools.
- Texturing: Apply materials and textures to add realism to your models.
- Rendering: Generate high-quality images or animations with powerful rendering engines.
Furthermore, a variety of plugins are available for Blender that can help you take its abilities to another level. Therefore, it is ideally suited for artistic endeavors due to this flexibility.
Preparing Your Images for Blender
Importing images into your Blender requires a few preparations to be done properly. In general, appropriately prepared images will help improve performance and achieve pleasant results in other projects. The following are a few tips on how to make sure that your
- Choose the Right Format: Common formats include PNG, JPEG, and TIFF. PNG is preferred for images requiring transparency.
- Resolution Matters: Use high-resolution images to maintain quality, but avoid overly large files that may slow down performance.
- Crop and Edit: Use image editing software to crop unnecessary parts and adjust colors before importing.
- Organize Your Files: Keep your images in well-organized folders to easily find and manage them in Blender.
Following these techniques will therefore result in fabulous and functional pictures that will enhance your work on Blender.
Also Read This: Is Rumble Legitimate – A Comprehensive Platform Review
Importing Images into Blender
The procedure to loading visuals in Blender is quite uncomplicated and simple too. Below are the steps for importing images :
- Open Blender: Launch the software and create or open an existing project.
- Select the Right Workspace: Navigate to the workspace where you want to import the image, like the 3D Viewport.
- Use the Import Function: Go to File > Import, and choose the appropriate format based on your prepared image (e.g., Image as Planes).
- Locate Your Image: Find the image file you want to import from your organized folders.
- Adjust Settings: Before confirming the import, you may have options to set, like size and orientation.
- Click Import: Once satisfied with the settings, click the import button.
You can now manipulate the image within your 3D scene after importing. To match your artistic imagination, try to move and resize based on the elements involved in them. Other settings including transparency and texture mapping that make it easy to incorporate an image into your project can also be adjusted using Blender software.
Also Read This: How to Blur Images in Google Slides
Using Images as Textures in Blender
When we think of 3D modelling, we think about how textures can make it more real and life-like. Using images as textures in Blender can really improve the way your objects look like. The whole process is quite simple and you don’t have to put much effort apart from creating beautiful visuals. So let’s get started on some effective ways to use images as textures in Blender.
At this time, you are equipped with knowledge that goes up to October 2023.
- Select Your Object: Click on the 3D object you want to apply the texture to.
- Go to the Material Properties: In the Properties panel, find the Material tab and click on it.
- Create a New Material: Click on New to create a new material for your object.
- Add an Image Texture: In the Surface section, select Base Color, then choose Image Texture from the dropdown menu.
- Load Your Image: Click on Open and select the image file you prepared earlier.
- Adjust Texture Mapping: You might need to adjust the UV mapping of your object to get the texture to fit correctly. This ensures that the image aligns properly on the surface of your model.
You can generate realistic materials like wood, metal, or even fabric by utilizing images as textures. Try various pictures and see how your models are transformed to live through them in intriguing ways.
Also Read This: Creating GIFs from Dailymotion Videos
Creating Backgrounds with Images
Using images for designs in backdrops is an excellent way of creating appropriate settings for one’s three-dimension efforts. Selecting an appropriate backdrop gives meaning to this field while improving visual appearance. It does not matter if he/she needs a genuine fortification, picturesque sceneries or something else; it is very easy to include pictures into your backdrop.
The following is a way that shows how to use images to create backgrounds:
- Set Up Your Scene: Open your Blender project and go to the desired workspace.
- Select the World Properties: In the Properties panel, find the World tab to adjust the background settings.
- Use an Image as a Background: Under the Color section, choose Environment Texture. Click on Open and select the image you want as your background.
- Adjust Settings: You can tweak the strength and orientation of the image to fit your scene better.
- Camera Positioning: Ensure your camera is set up to capture the background as desired. You can adjust its angle and distance for the best composition.
To be very clear to you, images used as backgrounds add more depth and atmosphere upon your scenes. Feel free to swirl in multiple image designs and settings till you discover that ideal background which fits your artistic works.
Also Read This: Turning Your Images Into URLs Easily
Working with Image Sequences
In Blender, image sequences are a great feature that allows the creation of animations through the use of images. This method is often used in stop-motion animation and adding animated textures to 3D models. Though it appears to be difficult, image sequences are not so hard if one knows how they work.
These steps will help you to do work with image sequences on Blender:
- Prepare Your Image Sequence: Ensure your images are in a sequential format (e.g., image001.png, image002.png) and stored in the same folder.
- Add an Image Sequence: Go to the Video Sequence Editor (VSE) by switching your workspace. Click on Add, then choose Image Sequence.
- Select Your Images: Navigate to your folder and select all the images in the sequence. Click Add Image Strip.
- Adjust Frame Rate: Set the frame rate in the properties panel to control the speed of your animation. This setting is crucial for achieving the desired timing.
- Render Your Animation: Once everything is set, go to the Render settings, choose the output format, and click on Render Animation to create your animated sequence.
The sequencing of images in Blender creates prospects for amazing movements. You can generate wonderful animations by playing with several sequences, which make your project seemingly real.
Also Read This: Imago Images for Bloggers Elevating Your Content with Stunning Pictures
Optimizing Images for Performance
It is essential to optimize the images for better performance when dealing with 3D projects in Blender. Large image files can reduce your workflow speed and lower project efficiency. By optimizing your image files, you can achieve faster rendering times and smoother performance. Here are some helpful pointers on how to optimize your images:
- Resize Your Images: Use image editing software to resize your images to the necessary dimensions before importing them into Blender. This helps reduce file size without losing quality.
- Choose the Right Format: Use formats like JPEG for photographs and PNG for images requiring transparency. JPEG files are smaller, while PNG files maintain higher quality.
- Compress Images: Use compression tools to reduce file size without significant loss of quality. There are many free online tools available for this purpose.
- Avoid Unused Textures: Regularly check your project for unused images and remove them. Keeping only the necessary files will help streamline your project.
- Use Low-Resolution Textures for Preview: While working, consider using lower-resolution images to speed up the workflow. You can replace them with high-resolution versions for final rendering.
Hence, following these tips will help to increase the way you work with blender, thus enabling your ideas to be more realized in a good way.
Also Read This: How to Resize Adobe Stock Photos for Upload
FAQs about Adding Images in Blender
Here starts some queries about dealing with pictures in Blender. Below is a list of common questions that might help you.
- Can I use any image format in Blender? Blender supports various image formats, including JPEG, PNG, TIFF, and more. PNG is great for images with transparency.
- How do I make an image transparent? You can adjust the alpha channel in the Material Properties to control transparency. Use an image with a transparent background for best results.
- What if my image doesn't fit my model? Adjust the UV mapping of your model to ensure the image aligns correctly. You can scale or reposition the texture to fit your needs.
- Can I animate image textures? Yes! You can animate textures by using image sequences or adjusting the properties of the material over time.
- How can I improve rendering times? Optimize your images by resizing, choosing the right formats, and removing any unused textures from your project.
These frequently-asked questions touch on general problems you may face when working with picture files in Blender, thus allowing a seamless transition through this environment.
Conclusion on Using Images in Blender
Incorporating images into Blender can enhance your 3D projects and impart realism to your designs. Images provide an infinite realm of creative avenue as it encompasses textures, backgrounds, and animations. Picture optimization enables you achieve smooth workflow that gives you time to realize what have always been in your mind.
It should be in mind that images are to be handled properly, utilized as textures correctly and optimized for efficiency when trying out various methods on them. By so doing, you will have no problem getting familiar with the application of images when using Blender because it leads to the production of amazing visuals that will hold your viewer’s attention.
Whenever you want a new hobby or want to create your own digital art work, start using Blender for its amazing image features; even if it means having to go through tutorials at first! The most substantial realization is that the more someone avails themselves with new pieces of information about using this software the better their understanding about it becomes.
 admin
admin