When working on designs in Adobe Illustrator, transparency can be a powerful tool. It allows you to create stunning visuals by blending images and colors seamlessly. By making parts of your image see-through, you can achieve depth and dimension in your artwork. This guide will walk you through the process of making images transparent, helping you elevate your design skills and create eye-catching graphics.
Why Transparency Matters in Design
Transparency plays a crucial role in graphic design for several reasons:
- Enhances Aesthetics: Transparent elements can make your designs look more modern and appealing.
- Creates Depth: Using transparency can add layers to your design, making it feel more dynamic.
- Improves Focus: By adjusting the opacity of certain elements, you can guide the viewer's attention to key areas of your design.
- Flexibility: Transparent images can easily blend with different backgrounds, allowing for versatile applications.
Incorporating transparency thoughtfully can significantly enhance the overall look of your designs and make them stand out.
Also Read This: how to knit images
Preparing Your Image for Transparency

Before you start adjusting transparency in Illustrator, it's important to prepare your image properly. Follow these steps to get your image ready:
- Select the Right Image: Choose a high-quality image for best results. Low-resolution images may lose detail when you apply transparency.
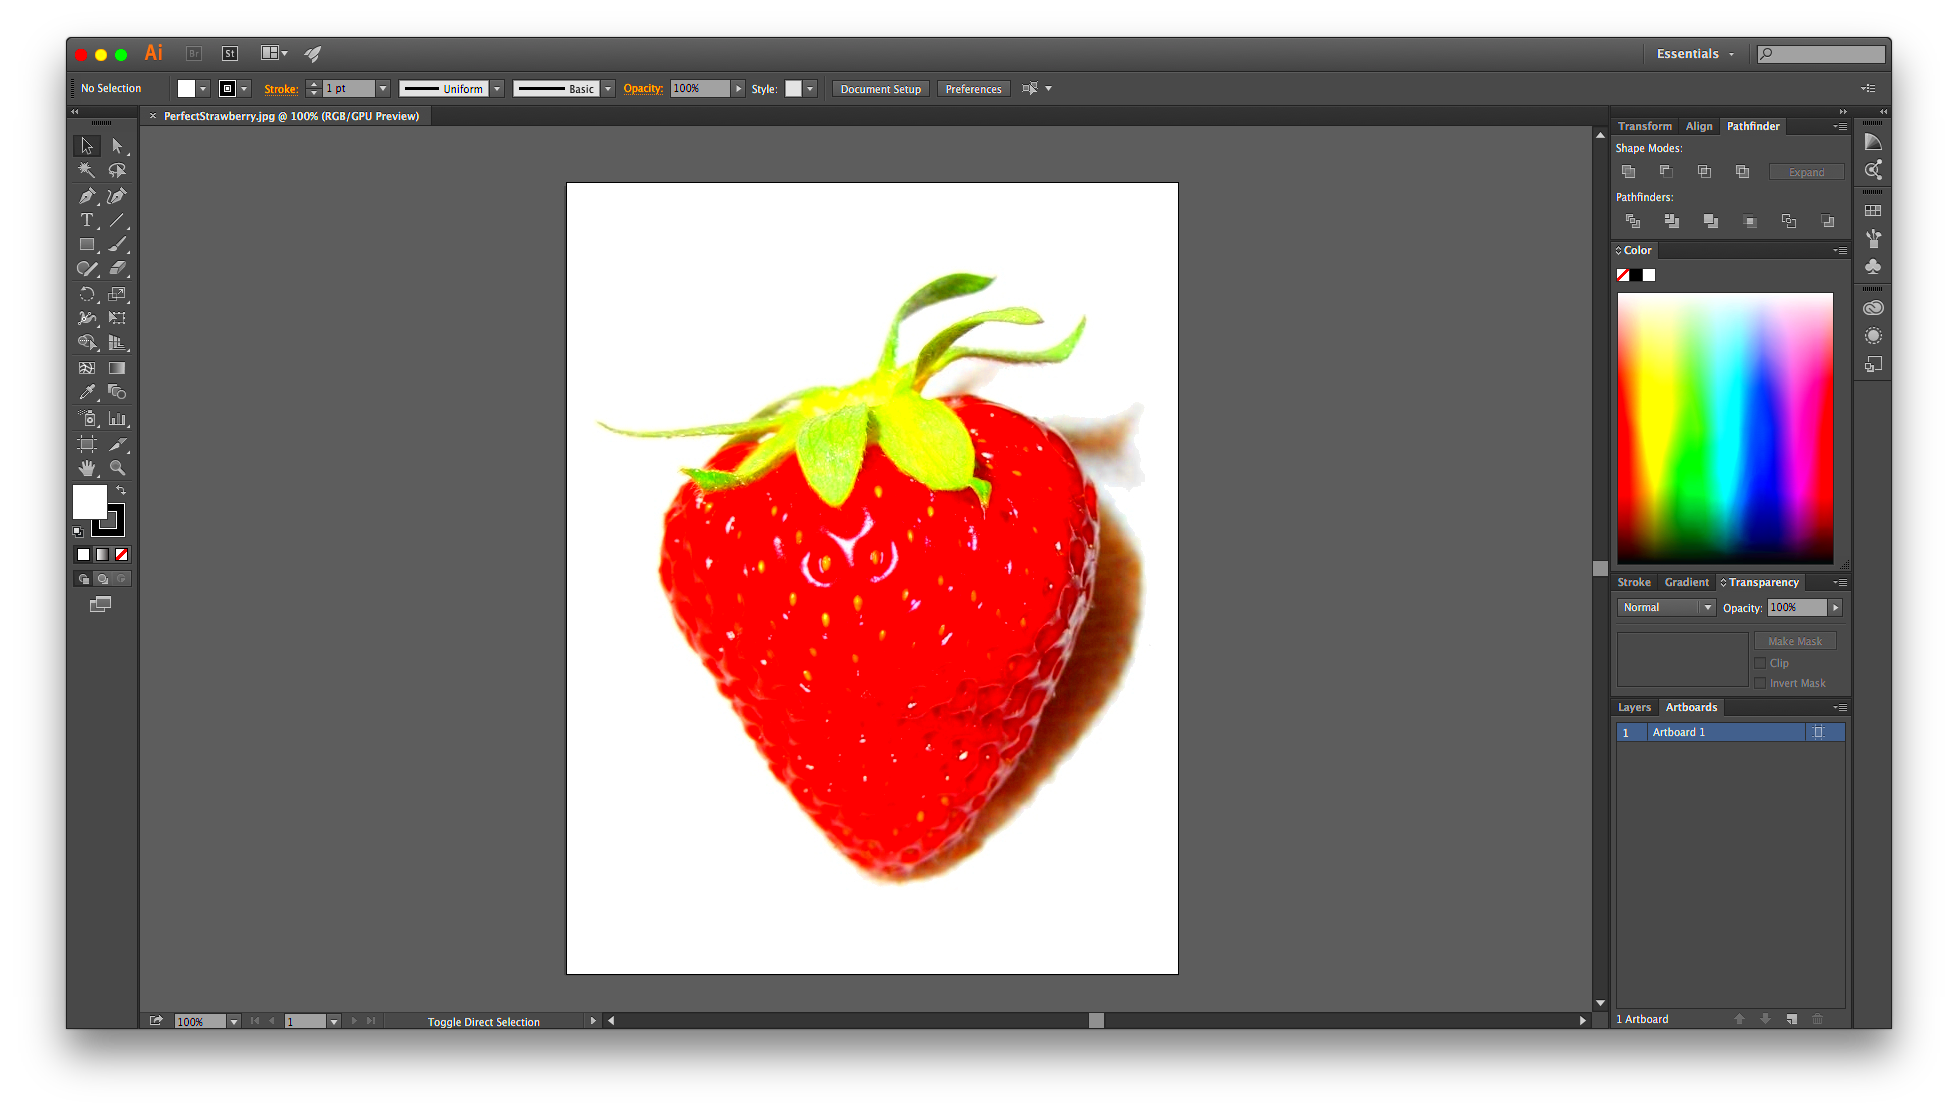
- Open the Image in Illustrator: Start a new document or open an existing one and place your image in the workspace.
- Remove Unwanted Backgrounds: Use the Image Trace feature or the Pen Tool to isolate the subject. This step helps in applying transparency more effectively.
- Save Your Work: Always save your progress. Use formats like AI or PSD to maintain your layers and adjustments.
Once your image is prepared, you can move on to applying transparency and exploring its creative possibilities.
Also Read This: Easy Steps to Move and Organize Images on Behance
Using the Transparency Panel Effectively
The Transparency panel in Adobe Illustrator is your go-to tool for managing the visibility of your artwork. It provides a straightforward way to adjust the transparency of various elements. Here's how to use it effectively:
- Open the Transparency Panel: You can find this panel by going to Window > Transparency. Once open, you’ll see options to adjust opacity and blending modes.
- Select Your Object: Click on the image or object you want to make transparent. This will activate the settings in the Transparency panel.
- Adjust Opacity: Use the slider to change the opacity percentage. A lower percentage means more transparency. For example, setting it to 50% will make your object semi-transparent.
- Explore Blending Modes: Experiment with blending modes like Multiply or Screen to see how your object interacts with others. This can create interesting effects that enhance your design.
Using the Transparency panel allows for creativity and flexibility, so don’t hesitate to play around with different settings to achieve the look you want.
Also Read This: How to Download a Template from Behance
Applying Opacity to Your Images
Applying opacity is one of the simplest ways to make your images transparent in Illustrator. Here’s how to do it:
- Select Your Image: Click on the image to activate it.
- Access the Transparency Panel: Navigate to the Transparency panel as mentioned earlier.
- Adjust the Opacity: Move the slider left to decrease the opacity. For example:
- Preview Your Changes: Click outside the panel to see how the image looks within your design. Adjust as necessary until you're satisfied with the effect.
| Opacity Level | Appearance |
|---|---|
| 100% | Fully opaque |
| 50% | Semi-transparent |
| 0% | Completely transparent |
Adjusting opacity is an easy way to create depth and highlight other elements in your design.
Also Read This: How to Access the Website Editor on Behance Using Behance’s Website Editing Tools
Creating Clipping Masks for Clean Designs
Clipping masks are a fantastic way to create clean and professional-looking designs. They allow you to show only a portion of your image, which is especially useful for intricate designs. Here’s how to create a clipping mask:
- Prepare Your Shape: First, draw the shape you want to use as a mask. This could be a rectangle, circle, or any custom shape.
- Select the Image and Shape: Hold down the Shift key to select both the image and the shape you created.
- Create the Clipping Mask: Right-click on your selection and choose Make Clipping Mask. Alternatively, go to the top menu and select Object > Clipping Mask > Make.
- Adjusting the Mask: You can double-click on the clipping mask to adjust its position or size if needed. This allows for flexibility in your design.
Clipping masks help keep your designs tidy and focused, making them more visually appealing. They are a vital part of any designer's toolkit.
Also Read This: Understanding Earnings Per Download on Adobe Stock
Exporting Your Transparent Images
Once you’ve created stunning transparent images in Illustrator, it’s time to export them for use in your projects. Exporting correctly ensures that your transparency effects remain intact. Here’s how to do it:
- Select Your Artwork: Make sure to highlight the area you want to export. This could be your entire design or just a part of it.
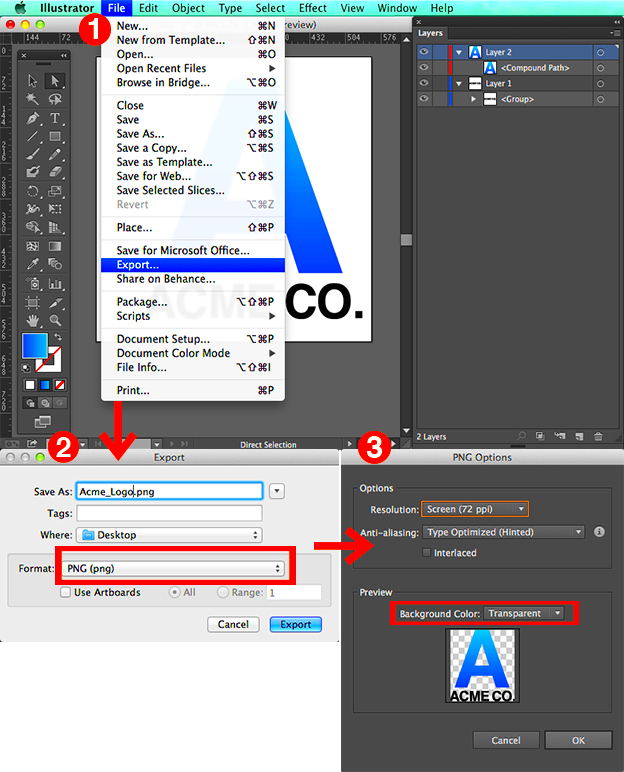
- Go to Export: Click on File in the top menu, then select Export > Export As.
- Choose the Right Format: Select a file format that supports transparency. Here are a few options:
- Set Export Options: Depending on the format, you may have options like resolution and background color. For PNGs and SVGs, ensure that the background is set to transparent.
- Click Export: Once you’ve selected your options, hit the export button and your image will be saved with transparency intact!
| File Format | Transparency Support |
|---|---|
| PNG | Yes |
| GIF | Yes |
| JPEG | No |
| SVG | Yes |
Exporting your images correctly helps maintain the quality and effects you’ve worked hard to achieve. Always double-check the output to ensure everything looks just right.
Also Read This: adobe stock how much can i make
Tips for Effective Use of Transparency in Designs
Using transparency effectively can elevate your designs significantly. Here are some tips to help you make the most of this powerful feature:
- Use Subtlety: Sometimes less is more. Subtle transparency effects can add elegance without overwhelming the viewer.
- Pair with Strong Colors: Transparent elements work well with bold backgrounds. This contrast can make your transparent images pop.
- Consider Layering: Layer different transparent elements to create depth. This technique adds interest to your designs.
- Maintain Consistency: Use similar transparency levels throughout your design to create a cohesive look. Consistency helps with overall harmony.
- Test on Different Backgrounds: Always check how your transparent images look against various backgrounds. This ensures your design works in different contexts.
By following these tips, you can enhance your designs and create visuals that truly stand out.
Also Read This: How to Hide End Cards on YouTube for a Cleaner Video Layout
Frequently Asked Questions
Here are some common questions about making images transparent in Illustrator:
- Can I make a text transparent? Yes, you can apply transparency to text just like any other object. Select the text and adjust the opacity in the Transparency panel.
- Will transparency affect printing? It can, depending on your printer. Always check with your printer to see how transparent images will print.
- Can I revert transparency changes? Absolutely! Just select the object and adjust the opacity back to 100% in the Transparency panel.
- Is there a way to save my transparency settings? You can save your document as an AI or PDF file to maintain transparency settings. Other formats like JPEG may not preserve them.
If you have more questions, don’t hesitate to explore online forums or reach out to fellow designers for help. Understanding how to use transparency effectively will take your designs to the next level!
Conclusion on Making Images Transparent in Illustrator
Making images transparent in Adobe Illustrator is a valuable skill that can significantly enhance your design work. By understanding how to use the Transparency panel effectively, adjusting opacity levels, and creating clipping masks, you can create stunning visuals that stand out. Remember to export your images in formats that support transparency to maintain the quality of your designs. Using transparency thoughtfully allows you to add depth, focus, and elegance to your projects. As you continue to explore and experiment with these techniques, you’ll find that transparency can be a powerful tool in your design arsenal.
 admin
admin


