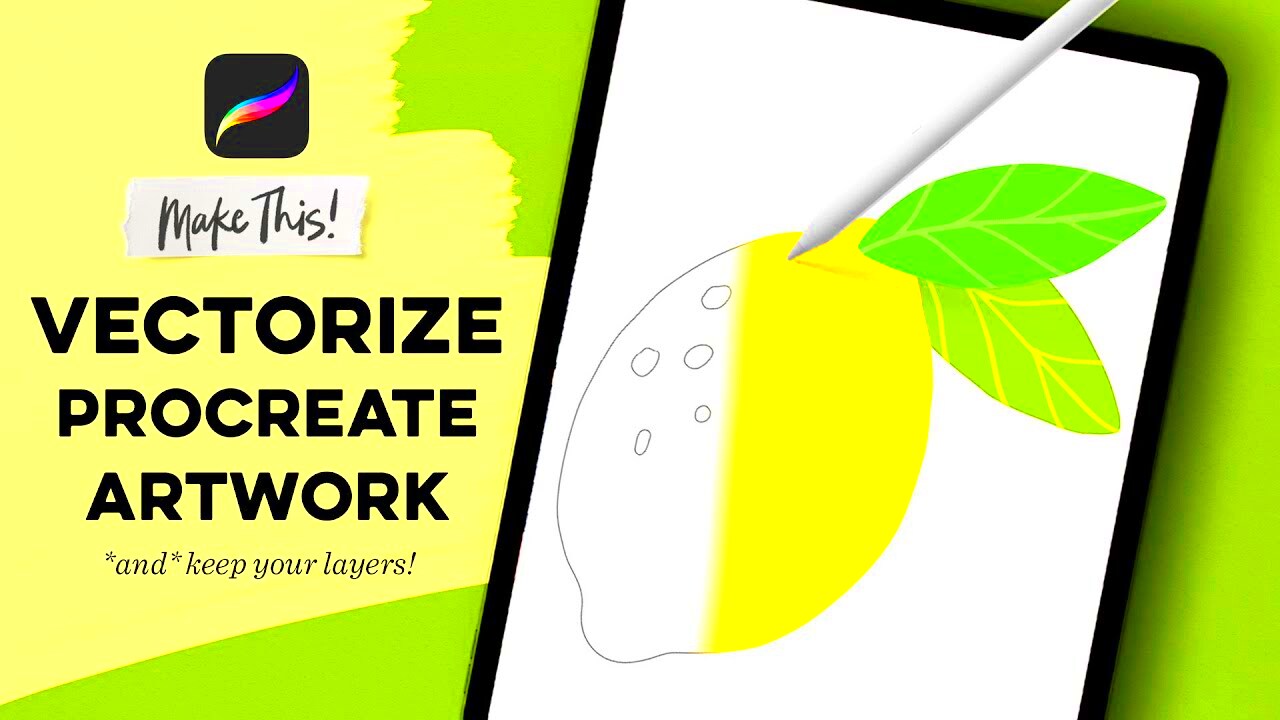
Vectorizing is the process of converting raster images, made up of pixels, into vector graphics, which are created using mathematical paths. In simple terms, vector art is resolution-independent and remains sharp no matter how much you scale it. While Procreate is primarily a raster-based app, artists often create illustrations in it and then vectorize them for better scalability and professional use.
Vectorizing allows you to turn your Procreate drawings into versatile assets that can be used for logos, prints, or digital designs. This process often involves transferring your artwork to vector tools like Adobe Illustrator or Affinity Designer for final refinement.
Benefits of Using Vectors in Your Artwork

Switching to vector art offers a range of benefits for artists and designers. Below are some key advantages of using vectors:
- Scalability: Vector images can be resized without any loss in quality, making them ideal for both small icons and large billboards.
- File Size Efficiency: Vectors often have smaller file sizes compared to high-resolution raster images.
- Editability: It’s easier to edit individual components of vector art, such as shapes, colors, and lines, even after the design is complete.
- Professional Use: Many industries, including graphic design and printing, prefer vector graphics for their sharpness and versatility.
Whether you’re creating illustrations for digital platforms or physical prints, vector art ensures your work looks polished and professional.
Also Read This: Tips for Downloading YouTube Videos on Your iPad for Offline Access
How to Prepare Your Artwork for Vectorizing

Before you vectorize your Procreate artwork, proper preparation can save time and ensure the best results. Here are some steps to follow:
- Use Clean Lines: Make sure your artwork has clear, well-defined lines. Avoid excessive textures or gradients if they’re unnecessary.
- Work on a High-Resolution Canvas: Starting with a larger canvas ensures your details are preserved during vectorization.
- Organize Layers: Separate key elements into individual layers. This makes editing easier when transferring to vector tools.
- Limit Color Palette: Using a simple color scheme makes vectorization faster and cleaner, especially when working with software like Illustrator.
- Export in High Quality: Save your Procreate artwork in formats such as PNG or PSD to retain as much detail as possible.
Proper preparation ensures your vectorized design is accurate and efficient, minimizing the need for extensive editing in later stages.
Also Read This: How to Use Hair Chalks for Fun and Temporary Hair Color for Every Occasion
Step-by-Step Guide for Vectorizing in Procreate
Vectorizing your Procreate artwork can seem like a complex task, but it’s straightforward if you break it into steps. While Procreate itself doesn’t support vector graphics, you can use external tools to achieve professional results. Here’s a detailed guide to help you:
- Create Your Artwork in Procreate: Start with clean, sharp lines and avoid overly complex textures or gradients. Ensure your canvas resolution is high for the best quality export.
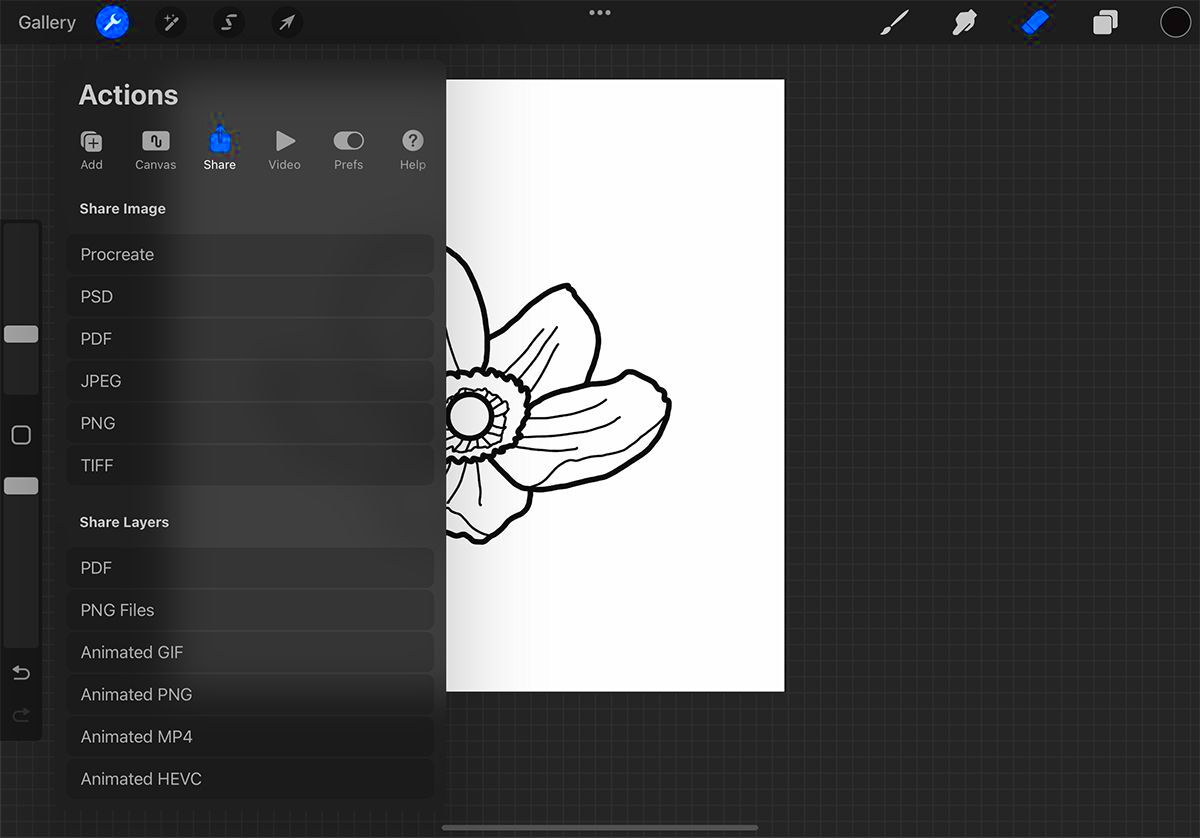
- Export Your File: Save your Procreate design as a PNG or PSD. PNG files work well for simple designs, while PSD is better for layered artwork.
- Import into Vector Software: Use tools like Adobe Illustrator, CorelDRAW, or Affinity Designer. Open your exported file in one of these programs.
- Trace Your Artwork: Use the image trace or manual tracing features to convert your design into vector paths. Adjust the settings to ensure accuracy and clean edges.
- Refine the Design: Edit the vector paths to fix any imperfections. This may involve adjusting anchor points, cleaning up curves, or reworking fine details.
- Save in Vector Formats: Once your design looks perfect, export it as an SVG, EPS, or PDF file to ensure scalability and professional usability.
By following these steps, you’ll turn your Procreate designs into scalable vector graphics that are ready for any project.
Also Read This: How to Delete Photos from Adobe Stock
Best Tools to Use with Procreate for Vector Art
When it comes to vectorizing Procreate artwork, the right tools can make all the difference. Here’s a list of some of the best tools you can use alongside Procreate:
| Tool | Key Features |
|---|---|
| Adobe Illustrator | Offers powerful tracing features, advanced editing tools, and compatibility with various vector formats. |
| Affinity Designer | A budget-friendly alternative with robust vector design capabilities and Procreate file compatibility. |
| CorelDRAW | Known for its precision and professional vector editing tools. |
| Vectornator | A free app for iPad that integrates seamlessly with Procreate for vector design. |
Each of these tools has unique features to suit different needs, so choose one that aligns with your workflow and budget.
Also Read This: Discover How to Save Videos from Pinterest on iPhone With This Simple Trick
Common Mistakes to Avoid While Vectorizing
Vectorizing artwork is an essential skill, but even experienced artists can make mistakes. Here are some common errors to avoid:
- Ignoring Preparation: Skipping the preparation stage can result in messy vectors. Ensure your Procreate file is clean and organized before vectorizing.
- Overcomplicating the Design: Adding too many details or gradients in Procreate can make vectorization more difficult and less accurate.
- Using Low-Resolution Files: Exporting your Procreate design at low resolution reduces quality, leading to jagged or pixelated edges during vectorization.
- Relying Too Much on Auto-Trace: Automated tracing tools can save time but often require manual adjustments for precision. Don’t skip the refinement stage.
- Forgetting to Save as a Vector Format: Exporting your design in raster formats like PNG or JPEG defeats the purpose of vectorizing. Always save as SVG, EPS, or PDF.
Avoiding these mistakes will help you produce clean, professional vector graphics from your Procreate artwork.
Also Read This: Find Out How to Sell Images on Shutterstock
Frequently Asked Questions About Vectorizing in Procreate
Vectorizing in Procreate raises many questions, especially for beginners. Here are some commonly asked questions and their answers to guide you through the process:
- Can Procreate Create Vector Art Directly?
- What is the Best Format to Export from Procreate for Vectorizing?
- Do I Need Paid Software to Vectorize Procreate Art?
- How Do I Maintain the Quality of My Design During Vectorization?
- Can I Use Vector Art for Printing?
No, Procreate is a raster-based app, meaning it works with pixels rather than vectors. However, you can export your artwork and use tools like Adobe Illustrator or Affinity Designer to vectorize it.
The best formats are PNG for simple artwork or PSD for layered files. These formats preserve quality and details for vectorization.
While professional tools like Adobe Illustrator are popular, there are free options like Inkscape and Vectornator that can handle vectorizing effectively.
Start with high-resolution artwork, use clean lines, and avoid overly complex textures. These steps ensure better results when converting to vectors.
Yes, vector graphics are perfect for printing because they maintain clarity at any size. This makes them ideal for logos, posters, and other print materials.
These FAQs cover the basics of vectorizing in Procreate, ensuring you have the answers you need to get started.
Conclusion
Vectorizing in Procreate involves turning pixel-based artwork into scalable vector graphics, a process that combines creativity with technical skills. While Procreate itself doesn’t support vector art, tools like Adobe Illustrator or free alternatives make it possible to achieve professional-quality results. With the right preparation and tools, your Procreate designs can become versatile assets ready for any project.

 admin
admin


