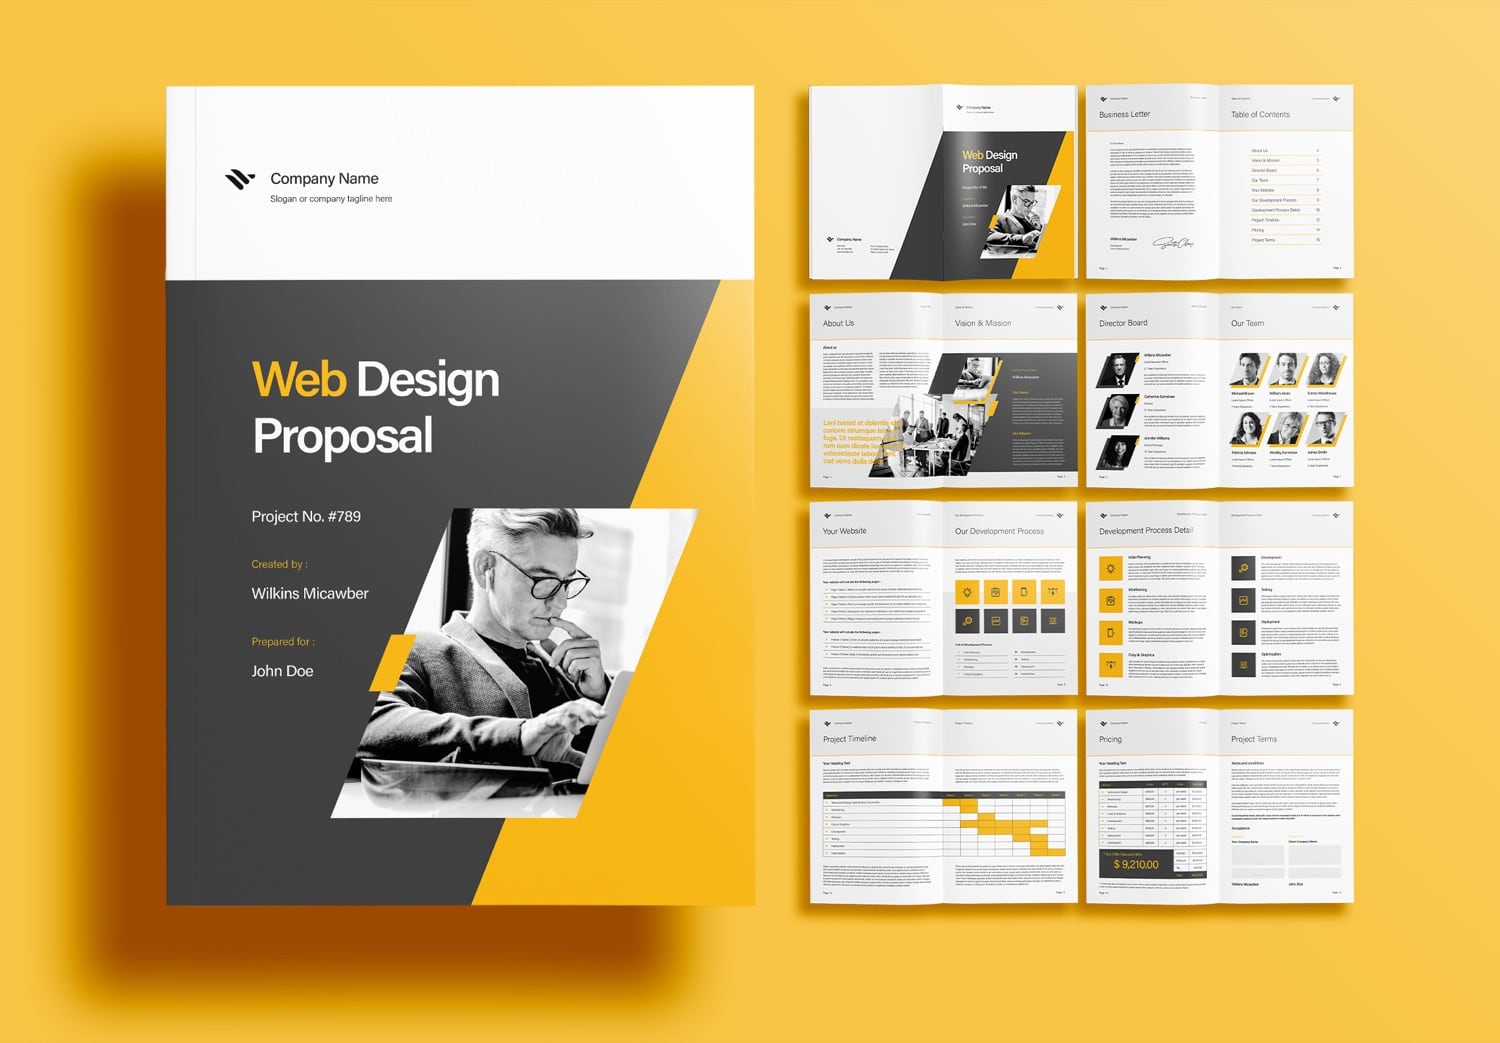
If you're a designer, marketer, or content creator, you know how essential it is to have visually appealing materials. Adobe Stock templates offer a fantastic solution to enhance your projects effortlessly. These templates provide high-quality, professionally designed assets that streamline your workflow while elevating your designs. You can find templates for anything from brochures and business cards to social media posts and presentations. With Adobe Stock, you have access to a vast library of customizable options, helping you save time and imagine your projects without limits.
Getting Started with InDesign

InDesign is one of Adobe's flagship design applications, known for its powerful layout capabilities. Whether you're crafting magazines, books, advertisements, or any print and digital media, InDesign provides the tools and flexibility you need. Here’s how you can get started:
- Install InDesign: Begin by downloading and installing Adobe InDesign through the Adobe Creative Cloud app. Make sure your system meets the software requirements.
- Familiarize Yourself with the Interface: When you first open InDesign, spend some time exploring the layout. Key components include the toolbar on the left, the properties panel on the right, and the document area in the center. Understanding these sections will boost your efficiency.
- Create a New Document: Click on 'File' > 'New' > 'Document.' Choose your settings—like page size, orientation, and margins—that best suit your project.
- Import Adobe Stock Templates: To access the templates, go to the 'Window' menu, select 'Libraries,' and navigate to Adobe Stock. You can search and directly download templates to use in your design.
- Customize Your Design: Once you’ve imported a template, you can tailor it to match your branding or style. Change colors, adjust text, and alter layouts as needed.
With these foundational steps, you're all set to dive into the world of InDesign and make the most of the fantastic Adobe Stock templates at your fingertips!
Also Read This: Resizing PDF Images Easily
Accessing Adobe Stock from InDesign

One of the standout features of Adobe InDesign is its seamless integration with Adobe Stock, an expansive library full of high-quality images, graphics, templates, and more. Accessing Adobe Stock from within InDesign is a breeze, and it opens a world of possibilities for enhancing your projects. Here’s how you can easily access
- Open InDesign: Launch Adobe InDesign on your computer and create a new document or open an existing project.
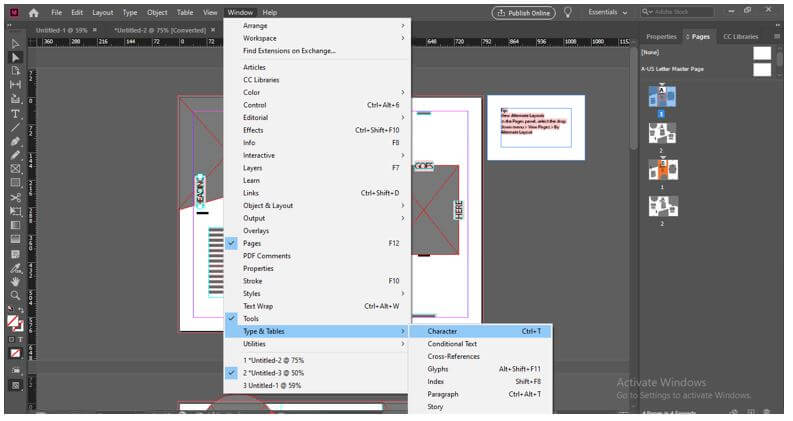
- Access the Libraries Panel: Navigate to the top menu bar, click on Window, then go to Libraries. This will open the Libraries panel where you can store and access assets.
- Find Adobe Stock: In the Libraries panel, look for the Adobe Stock tab or icon. Click on it to explore the various categories available—whether you’re in need of images, illustrations, or even templates!
- Search for Assets: Use the search bar to find specific assets or templates. You can narrow down your search using filters. This makes it easier to find exactly what you need.
- Preview and License: When you find something you like, you can preview it. If it suits your project, you can license it directly from the panel, and it will be instantly available in your InDesign workspace.
With these simple steps, you’ll be able to enhance your designs and projects in no time, tapping into the vast resources Adobe Stock has to offer!
Also Read This: Playlist Puzzle: Moving Songs Around in Your Spotify Playlist – Organize with Ease
Choosing the Right Template
Templates can be a game-changer when it comes to speeding up your design process. However, with so many options available, choosing the right one can feel overwhelming. Here are some tips to help you pick the perfect template for your project in InDesign:
- Define Your Project Goals: Before diving into templates, clearly define what your project aims to achieve. Are you creating a portfolio, a magazine, or a brochure? Knowing the end purpose will guide your choice.
- Consider Your Audience: Think about who will view your work. A template tailored for a corporate presentation will likely differ significantly from one meant for a community newsletter. Make sure your template speaks to your audience.
- Evaluate Style and Design: Browse through different styles—from minimalist and modern to colorful and dynamic. The template should align with your overall brand aesthetics and message.
- Check for Customizability: Choose templates that are flexible and easy to customize. You don’t want to be boxed in by rigid layouts. Look for options that allow you to tweak colors, fonts, and layouts.
- Read Reviews: If you're accessing templates from Adobe Stock, take advantage of user reviews. They can offer insights into how the template performs in actual use.
By following these guidelines, you'll be able to zero in on a template that fits your project like a glove, allowing your creativity to flow seamlessly!
Also Read This: How to Save Getty Images Without Watermark on Tumblr
Customizing the Template in InDesign
Once you've chosen a template from Adobe Stock, the exciting part begins: customizing it in InDesign! This software is a powerful design tool that allows you to tweak various elements of your template to suit your specific needs.
Let’s break down the customization process:
- Open the Template: Start by launching InDesign and opening the template you downloaded. You can easily access it under 'File' > 'Open.'
- Understanding the Layers: Most templates come with multiple layers. Take a moment to explore these layers in the Layers panel (Window > Layers) to see how the elements are organized. This will help you know what you can change.
- Editing Text: Click on any text box to start editing the text. Adjust the font, size, color, or style as needed. Don’t forget to use character and paragraph styles for consistent formatting.
- Modifying Images: If the template contains placeholder images, simply select the image frame, go to 'File' > 'Place,' and choose your own images. You can also resize and crop the images as you see fit.
- Adjusting Color Schemes: You can tweak the color palette by selecting objects and using the Swatches panel. Consider incorporating your brand colors for a cohesive look!
By using these techniques, you'll transform a standard template into a unique design that conveys your message or brand perfectly.
Also Read This: What Does a Getty Images Photographer Do?
Saving and Exporting Your Final Design
Now that you’ve customized your template, it’s time to save and export your design! This step is crucial because it ensures your work is preserved and ready for distribution.
Here’s how to go about it:
- Saving Your Project: Go to 'File' > 'Save As' to save your project in InDesign format (.indd). This allows you to make further edits later without losing your progress.
- Exporting Options: When you’re ready to share or print your design, choose 'File' > 'Export.' You’ll see several options such as PDF, JPEG, and PNG. Pick the format that best fits your needs.
- PDF Export Settings: If you opt for PDF, ensure you select the correct settings based on your purpose: print or digital. For print quality, use 'High Quality Print' options and check the 'Embed Fonts' box for a polished look.
- JPEG and PNG Formats: If you need images for the web or social media, both JPEG and PNG formats are great choices. Adjust the quality settings as necessary, keeping in mind that higher quality leads to larger file sizes.
Remember, it’s always a good idea to save a backup of your original template and your customized design separately. Once everything is in place, you’re ready to share your stunning creation with the world!
Also Read This: Importing Images on MacBook for Fujifilm
7. Best Practices for Using Adobe Stock Templates
When you're diving into the world of Adobe Stock templates in InDesign, there are some handy best practices to keep in mind. These tips will not only streamline your workflow but also ensure you get the most out of these fantastic resources.
- Choose the Right Template: Take your time browsing and selecting a template that aligns with your project's goals. Look for designs that can easily blend into your brand’s aesthetic.
- Customizable Elements: One of the best features of Adobe Stock templates is their customizability. Ensure that the template you choose allows for easy adjustments in colors, fonts, and layouts to make it your own.
- Keep It Simple: While it might be tempting to use every element of a rich template, sometimes less is more. Choose the elements that truly enhance your message and keep the design clean.
- Organize Your Assets: Save time and frustration by keeping your downloaded templates well-organized. Create specific folders for different projects or themes, so you can easily find what you need.
- Optimize for Your Audience: Always think about your target audience. The design should resonate with them, so adjust the template’s style to make it more appealing.
- Preview Before Committing: Make use of InDesign’s Preview mode to see how your changes affect the overall look of your project. This feature can save you from making decisions that aren’t in line with your design vision.
By following these best practices, you'll not only save time but also elevate the quality of your projects, ensuring a polished final product.
8. Conclusion: Enhancing Your Workflow with Adobe Stock
In conclusion, integrating Adobe Stock templates into your InDesign projects can truly revolutionize the way you approach design. These templates provide a foundation that allows you to unleash your creativity while streamlining your workflow.
Here’s what makes Adobe Stock templates valuable:
| Advantages | Description |
|---|---|
| Time-Saving: | Templates eliminate the need for starting from scratch, significantly reducing your design time. |
| Professional Quality: | Access to high-quality, professionally designed templates ensures that your projects have a polished look. |
| Creative Flexibility: | You can customize templates to fit your style, allowing for a personal touch in every project. |
| Variety: | With thousands of templates available, you’ll find designs for virtually every type of project imaginable. |
So, whether you’re a seasoned designer or a novice, Adobe Stock templates can enhance your creative process and take your projects to the next level. Dive in, explore the options, and start creating amazing designs today!
 admin
admin


