YouTube is a fantastic platform that allows users to share and enjoy a multitude of video content. However, there’s nothing more frustrating than clicking on a video only to find that it’s blurry and hard to watch. Whether you're trying to catch up on your favorite vlogs, learn a new skill, or enjoy a film, video quality matters. In this post, we’ll explore the common causes of blurriness on YouTube and provide you with practical solutions to enhance your streaming experience. Grab your favorite snack, get comfy, and let’s dive in!
Common Causes of Blurriness on YouTube

When you encounter blurriness while watching YouTube videos, multiple factors could be at play. Understanding these common causes can help you troubleshoot the problem effectively. Let’s take a closer look:
- Internet Connection Speed: A slow or unstable internet connection can lead to buffering and reduced video quality. YouTube automatically adjusts video quality based on your available bandwidth. If your connection is weak, it may lower the resolution to ensure smoother streaming.
- Video Quality Settings: Sometimes, the video you’re watching might be set to a lower resolution. YouTube allows you to manually adjust the quality settings. If it’s on automatic or a lower resolution, the video may appear blurry.
- Device Limitations: The device used to watch YouTube can also impact video quality. Older devices may struggle with higher resolution playback due to processing limitations.
- Browser Issues: Web browsers can be tricky sometimes. If you’re using an outdated browser or have too many extensions installed, they could interfere with video playback. This can lead to poor viewing experiences, including blurriness.
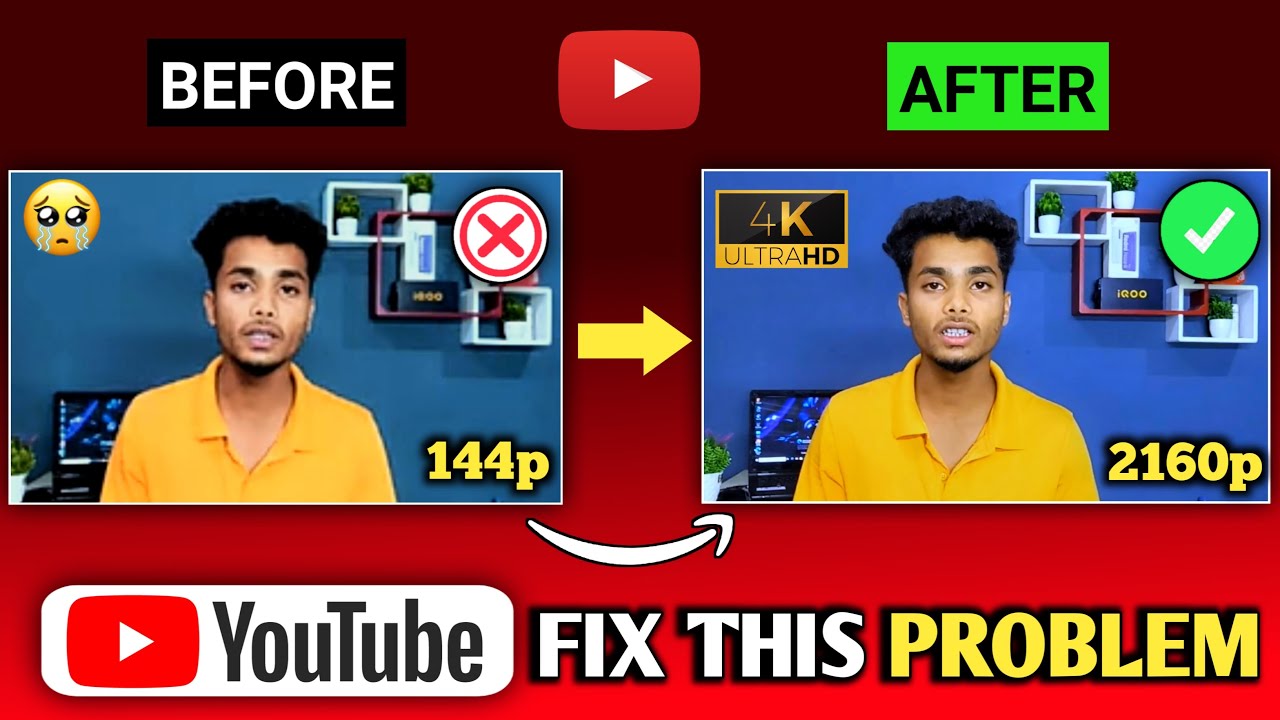
- Video Source Quality: The original quality of the uploaded video plays a huge role. If the video was recorded in low resolution, even the highest playback settings on your end won’t fix the blurriness.
Identifying the root cause of blurriness on YouTube is the first step towards enjoying your videos in crisp and clear quality. By being aware of these common issues, you'll be better equipped to troubleshoot and enhance your viewing experience!
Also Read This: A Complete Guide to Embedding All Images in Illustrator
Adjusting Video Quality Settings
So, you’re sitting down to enjoy your favorite YouTube video, but the quality looks more like a mushy mess than a masterpiece. Don’t sweat it! Sometimes, the solution can be as simple as adjusting the video quality settings. Let’s dive into how you can do this.
When you hit that play button on a video, YouTube often plays it at a default resolution, which may not always be the highest quality available. Here’s how to change it:
- Start by playing the video you want to watch.
- Click on the gear icon (⚙️) located at the bottom right corner of the video player.
- Select “Quality” from the options that pop up.
- You’ll see a list of resolutions to choose from—720p, 1080p, 1440p, and so on. Tap on the one that suits your needs!
*Pro Tip: Opt for the highest quality that your device and internet connection can handle. Sometimes, dropping down a notch—like choosing 720p instead of 1080p—can actually improve the playback if your connection is a little shaky.
Also, keep in mind that YouTube may adjust the quality automatically, especially if you're on mobile data, to save bandwidth. So, if you notice that the quality keeps changing mid-video, take a moment to manually set it again. Happy viewing!
Also Read This: How to Sell Images on Getty Postcards for Unique Marketing Opportunities
Checking Internet Connection and Speed

Alright, let’s talk about your internet connection. You might be able to adjust quality settings all day long, but if your Wi-Fi is on the fritz, that won’t really help you out. A solid internet connection is crucial for smooth streaming, and here’s how to make sure yours is up to snuff.
First off, here are the essential questions to ask:
- Are other devices using the same network? If yes, they could be hogging the bandwidth.
- Is your router too far away from your device? Distance matters!
- Are you using an older router? It might be time for an upgrade.
Next, let’s check your internet speed:
- Open a web browser and visit a speed test site like speedtest.net.
- Run the test to find out your current download and upload speeds.
- Ideal Speeds for YouTube:* For smooth playback:
- 480p: Minimum 1 Mbps
- 720p: Minimum 3 Mbps
- 1080p: Minimum 5 Mbps
- 4K: Minimum 25 Mbps
If your speeds are significantly lower than these recommendations, it might be time to check with your internet service provider or try resetting your router. Sometimes a simple reboot can work wonders! Remember, a strong and steady connection is your best friend for binge-watching your favorite content without interruptions.
Also Read This: Troubleshooting Guide for YouTube Video Upload Issues
Device and Browser Considerations
When it comes to watching YouTube, the device and browser you're using can make a significant difference in video quality. Different devices, like smartphones, tablets, laptops, or smart TVs, each have varying display capabilities and processing power that can impact how videos play back.
For instance, a video that looks crisp on a high-end laptop may appear blurry on an older smartphone. Here are a few considerations to keep in mind:
- Device Specifications: Ensure your device meets the recommended specifications for streaming. Higher resolutions require more powerful hardware.
- Browser Compatibility: Not all browsers handle video playback the same way. Chrome, Firefox, Edge, and Safari have differing efficiencies with video rendering. Generally, using an updated version of these browsers can enhance performance.
- Mobile vs. Desktop: Mobile devices often auto-adjust the video quality based on connection speed. If you're on Wi-Fi, ensure you're also using the mobile data settings that allow higher resolutions.
- Software Updates: Keeping your device's operating system and browser updated is essential. Updates often fix bugs that could be affecting video playback.
By understanding these device and browser considerations, you can enhance your YouTube viewing experience and tackle issues like blurriness effectively.
Also Read This: How to Sell Your Pictures on Getty Images for New Contributors
Clearing Cache and Cookies
Have you ever noticed how your favorite web pages can slow down or even act a bit funky? It might be time to clear out your cache and cookies! When you use a browser, it stores data to help load things faster, but sometimes this accumulated data can create issues, including blurry video playback on platforms like YouTube.
Here’s why clearing cache and cookies is a good idea:
- Improved Performance: A cluttered cache can slow down your browser and affect streaming quality, leading to blurry or buffering videos.
- Fixed Errors: Sometimes cached data can conflict with the latest versions of web pages, causing playback issues. Clearing it can resolve these conflicts.
- Updated Content: Clearing cookies and cache ensures you're loading the most recent version of YouTube, which may have updated features and improvements that enhance your viewing experience.
Here’s a basic guide on how to clear cache and cookies for your browser:
| Browser | How to Clear Cache & Cookies |
|---|---|
| Chrome | Go to Menu > More tools > Clear browsing data. Select "Cookies and other site data" and "Cached images and files." Click "Clear data." |
| Firefox | Menu > Options > Privacy & Security. Scroll down to "Cookies and Site Data" and click "Clear Data." |
| Edge | Menu > Settings > Privacy, search, and services. Under "Clear browsing data," click "Choose what to clear." |
So, don't forget to give your browser a refresh and clear that cache and those cookies. It might just be the magic solution to that pesky blurriness!
Also Read This: Boost Engagement with 123RF Stock Photos
7. Updating the YouTube App
If you find that your YouTube videos are blurry or not playing in the expected quality, one of the first things you should consider is updating the YouTube app. Much like any other software, YouTube regularly releases updates to enhance functionality, fix bugs, and improve performance. An outdated app can lead to various problems, including video quality issues.
Here's how to update the YouTube app:
- For Android: Open the Google Play Store, tap on the menu icon, select "My apps & games," and look for YouTube in the list. If an update is available, you will see an "Update" button.
- For iOS: Go to the App Store, tap on your profile icon at the top of the screen, and scroll down to see pending updates. If YouTube is listed, simply tap "Update."
It's essential to regularly check for updates, as these enhancements can significantly improve your viewing experience. In addition to potentially fixing blurriness, updates can introduce new features and improve loading times, buffering, and overall app stability.
So, the next time you're struggling with low-quality video playback, make sure your YouTube app is up to date. Keeping your app current is a quick way to enhance your viewing experience.
Also Read This: Tips for Fast Uploading Videos to Dailymotion Without Errors
8. Re-encoding Videos for Creators
For content creators, maintaining video quality is paramount. If you notice that your uploaded videos appear blurry on YouTube, one possible solution is re-encoding your videos before uploading. Re-encoding helps ensure that your video meets YouTube's recommended specifications, which can significantly improve playback quality.
Here’s a brief overview of what re-encoding entails:
- Using the Right Codec: YouTube supports various video codecs like H.264, VP9, etc. Using the recommended codec can enhance quality.
- Optimal Bitrate: A higher bitrate means better quality. Be sure to check YouTube's guidelines for the recommended bitrates based on the resolution. For example:
| Resolution | Recommended Bitrate (Mbps) |
|---|---|
| 1080p | 8-12 Mbps |
| 4K | 35-45 Mbps |
Additionally, make sure your frame rate is consistent with the original recording (e.g., 30fps or 60fps). This consistency avoids quality degradation and motion issues.
To re-encode, you can use video editing software or dedicated encoding tools like HandBrake. Simply select your parameters, encode the video, and then upload it to YouTube. By taking this extra step, you can help ensure that your videos look their best when they reach your audience.
Understanding YouTube Blurriness and How to Fix Video Quality Issues
YouTube is a fantastic platform for sharing and discovering video content. However, users often encounter issues with video quality, notably blurriness. This can significantly affect the viewing experience. Understanding the reasons behind YouTube’s video blurriness is vital for finding a solution.
There are several factors that can cause videos to appear blurry on YouTube:
- Internet Connection: A slow or unstable internet connection can result in lower video quality as YouTube automatically adjusts to available bandwidth.
- Playback Settings: Sometimes, the video playback settings are set to a lower quality, which can make the video appear blurry.
- Device Compatibility: Not all devices support high-resolution playback, leading to a potentially downgraded viewing experience.
- Video Source Quality: If the video was uploaded in low resolution, no amount of buffering will improve its quality.
Solutions to Fix YouTube Blurriness
Here are some effective solutions to resolve video quality issues on YouTube:
| Issue | Solution |
|---|---|
| Slow Internet Connection | Check your speed test and consider upgrading your internet package. |
| Playback Settings | Change settings to a higher resolution by clicking the gear icon while playing the video. |
| Device Compatibility | Use a compatible device or ensure your software is up to date. |
| Low Video Quality from Source | Look for a different video or contact the uploader for clarification. |
In conclusion, resolving YouTube blurriness involves understanding the root causes and applying simple fixes, enhancing your overall viewing experience and ensuring you get the most out of the diverse video content available on the platform.
 admin
admin


