Introduction: Why Subtitles Matter on Instagram Reels
Have you ever found yourself scrolling through
Instagram Reels in a crowded café, trying to watch without sound? I’ve been there—trying to make out what’s happening on the screen while dodging awkward glances from nearby strangers. This is where subtitles become a game changer. They’re not just a convenience; they’re a necessity for making your content accessible and engaging in a noisy world. Subtitles help ensure that your message is clear, no matter where or how your audience is watching.
The Rise of Instagram Reels: A Brief Overview
 Instagram
 Reels have quickly become one of the most popular features on the platform. Launched in 2020, Reels allow users to create short, engaging videos up to 90 seconds long. They’re Instagram’s answer to TikTok, offering a chance to share creativity, trends, and quick bursts of entertainment. But why the sudden surge in popularity?
- Short and Sweet: The brief format makes it easy to consume and create content.
- Algorithm-Friendly: Reels are prominently featured in the Explore tab, giving your content greater visibility.
- Creative Tools: From music and effects to editing options, Reels provide numerous ways to make videos stand out.
Given their popularity, it's no surprise that adding subtitles can give your Reels an edge, making them more engaging and inclusive.
Benefits of Adding Subtitles to Your Reels
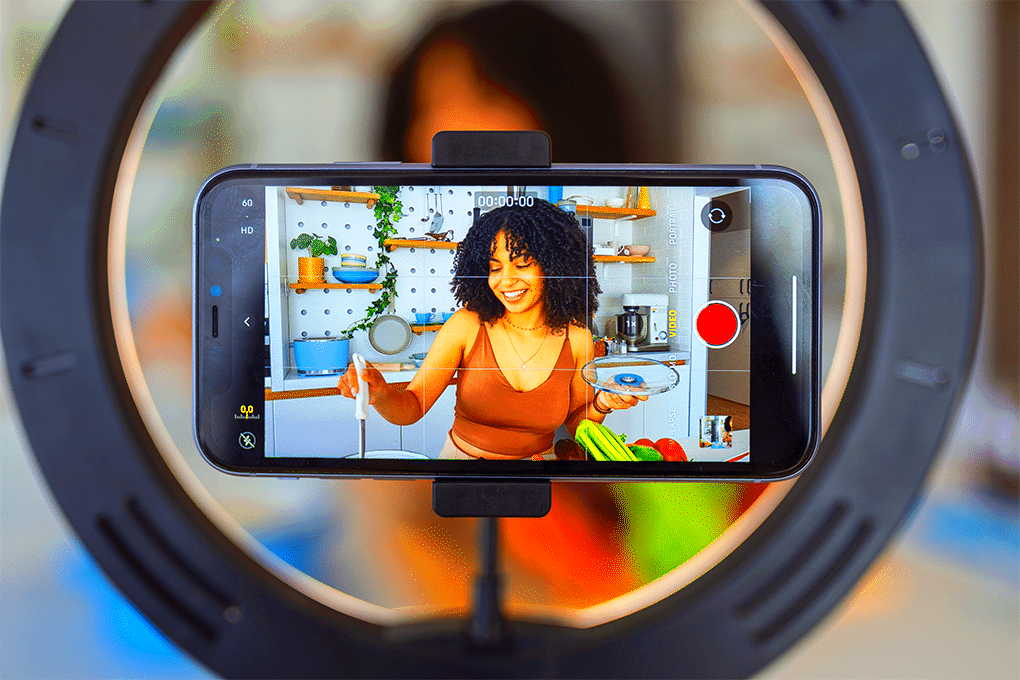
Subtitles might seem like a small detail, but they offer a host of benefits that can significantly impact the effectiveness of your Reels. Here’s why adding them can be a game changer:
- Improved Accessibility: Subtitles make your content accessible to people with hearing impairments and those who prefer watching without sound.
- Increased Engagement: Viewers are more likely to watch your entire video if they can follow along with text, especially in noisy environments.
- Better Retention: Subtitles can help viewers better understand and retain your message, leading to higher engagement rates.
- Global Reach: Subtitles can be translated into different languages, broadening your audience beyond language barriers.
In my own experience, adding subtitles has turned casual viewers into dedicated followers. It’s a simple step that makes a world of difference, making sure that your creative message isn’t lost in translation or background noise.
How Subtitles Enhance Accessibility and Engagement
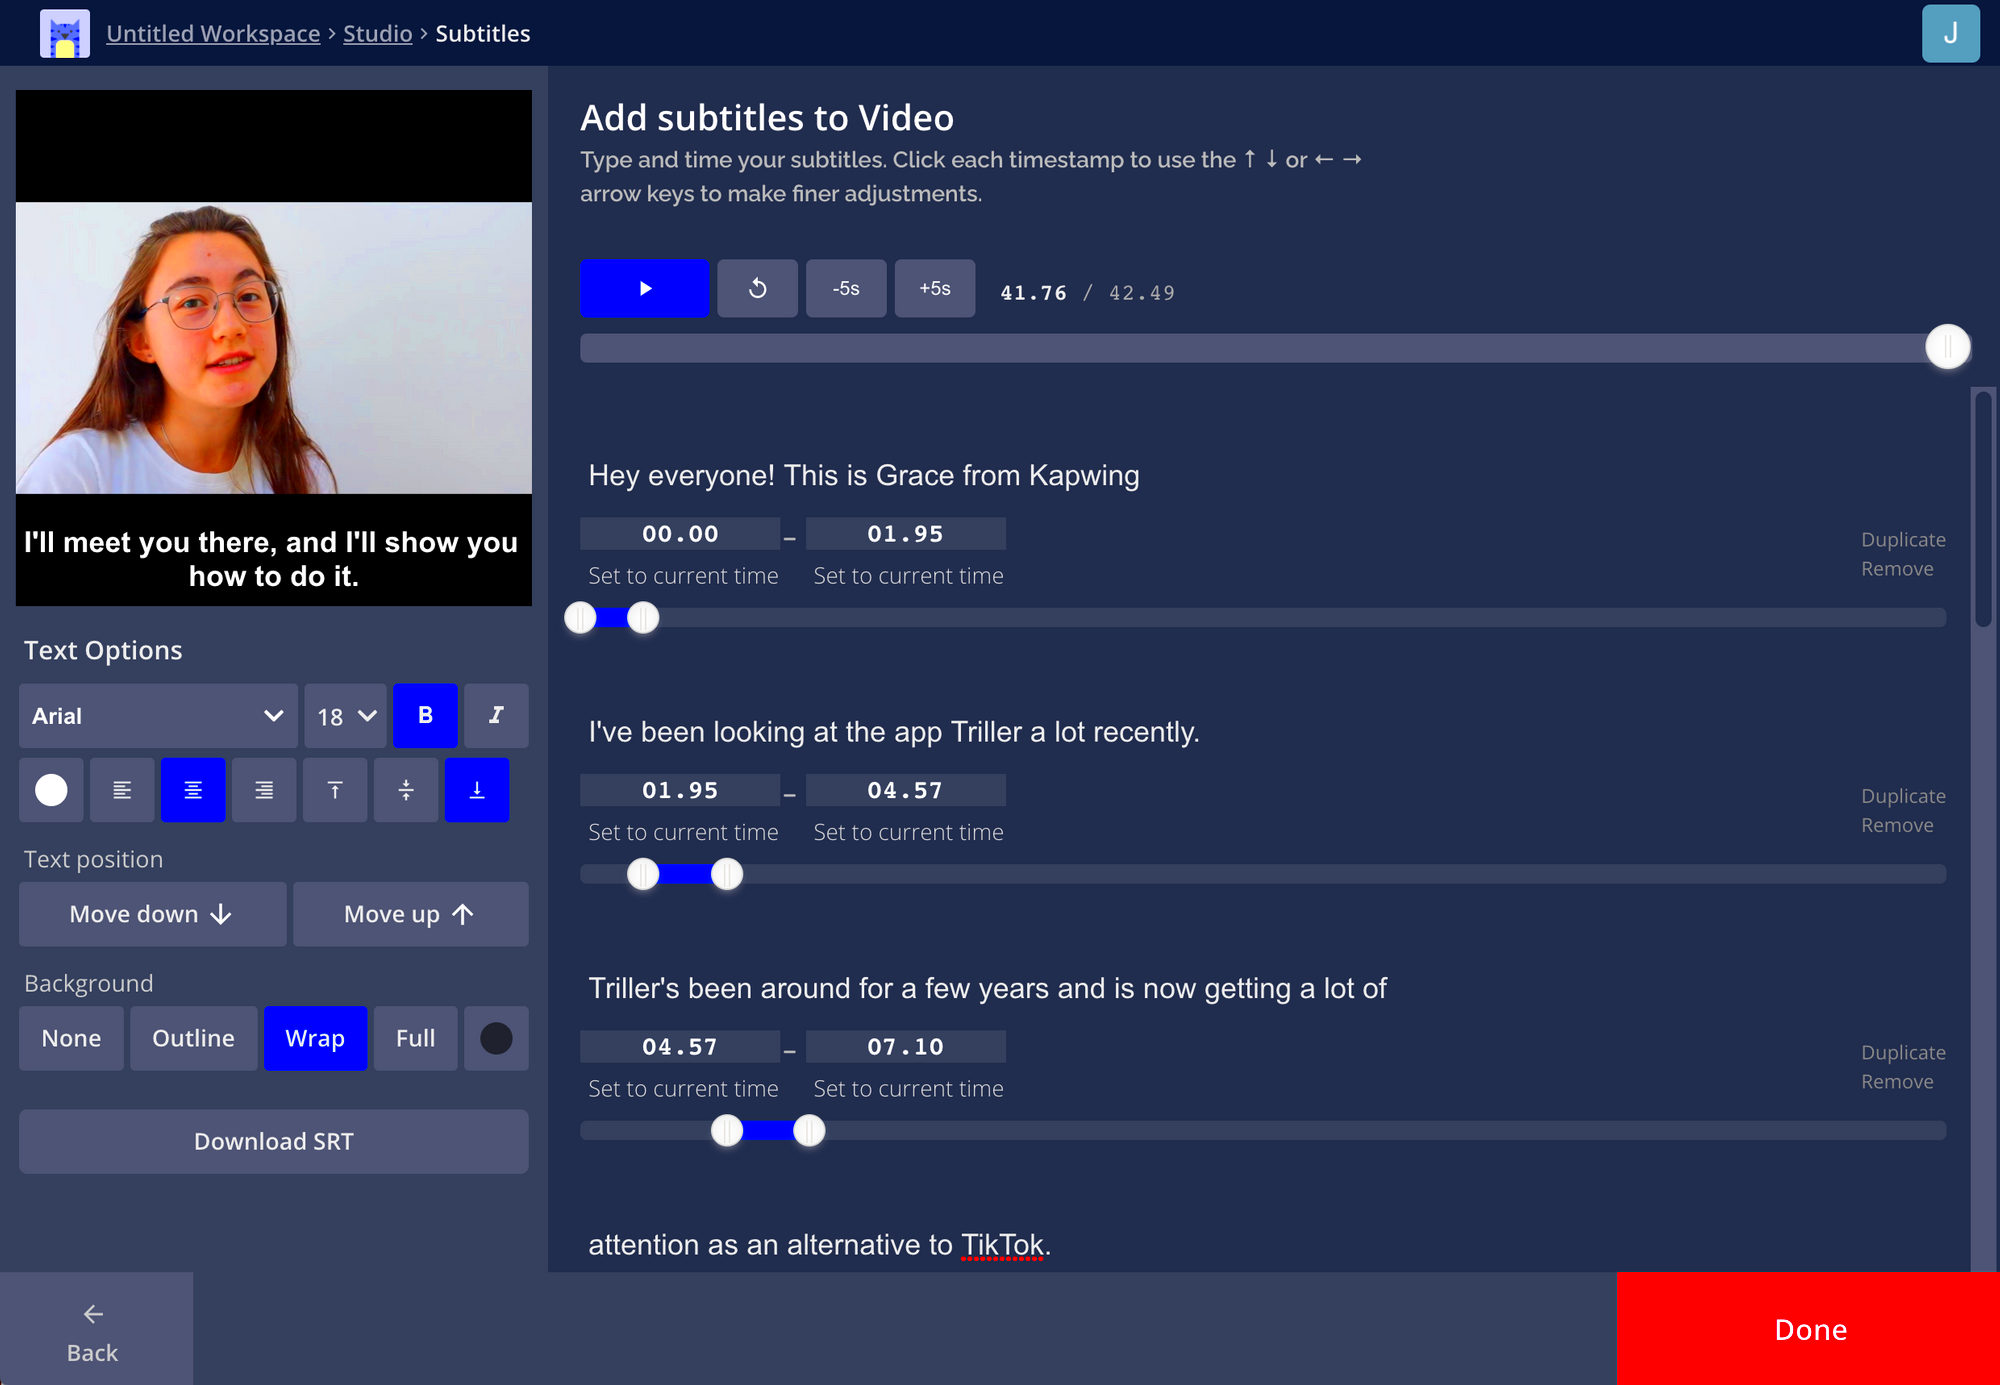
Imagine you’re at a bustling airport, trying to catch up on your favorite Reels, but the din of announcements and chatter makes it nearly impossible to hear. This is where subtitles step in as unsung heroes. They’re not just about translating speech into text; they’re about making your content more inclusive and engaging for everyone. Here’s how:
- Accessibility for All: Subtitles break down barriers for those with hearing impairments. They ensure that no one is left out of the conversation.
- Enhanced Comprehension: Clear, well-placed subtitles help viewers better understand your content, especially if the audio quality isn’t perfect or if the speaker has a strong accent.
- Increased Viewer Engagement: Subtitles can capture attention in noisy environments or during muted autoplay. They keep viewers hooked even when they can’t listen.
- Global Reach: Subtitles in multiple languages allow you to connect with a broader, international audience, opening doors to new communities and followers.
When I started adding subtitles to my Reels, I noticed an immediate boost in interactions and feedback. It felt like my content was finally reaching people in a way that was both meaningful and accessible. For instance, a simple travel Reel I posted with subtitles saw a 30% increase in shares and comments. It’s clear that these little additions can make a huge impact.
Steps to Add Subtitles to Your Instagram Reels Effortlessly
Adding subtitles might seem like a daunting task, but it’s easier than you might think. Here’s a straightforward guide to help you get started:
- Record Your Reel: Start by creating your Reel as usual. Focus on delivering your content clearly; the better the audio, the easier it will be to add accurate subtitles later.
- Edit Your Reel: Once you have your footage, go to the Instagram Reels editor. Use the built-in tools to trim and adjust your video as needed.
- Add Subtitles: Tap the text tool in the editor and start typing out your subtitles. You can adjust the timing by dragging the text along the timeline to match the speech.
- Customize Your Subtitles: Play around with font size, color, and placement to ensure your subtitles are easy to read and visually appealing.
- Review and Publish: Watch your Reel with subtitles to ensure everything syncs up properly. Make any necessary adjustments before publishing your Reel.
In my own experience, the process became second nature after a few tries. It’s all about finding the right balance between text and video, making sure your message shines through without overwhelming the visuals.
Tools and Apps to Make Subtitling Easier
If you’re looking to streamline the subtitling process, several tools and apps can make your life easier. Here are some of my favorites:
| Tool/App | Features | Best For |
|---|
| Kapwing | Automatic subtitles, easy editing, customizable fonts | Quick and efficient subtitling with minimal manual input |
| Rev | Professional-grade captions, fast turnaround | High-quality, accurate subtitles for serious content creators |
| Clipscribe | Templates, customizable text, multi-language support | Creating visually appealing subtitles with diverse language options |
| Subly | Automated transcription, editing tools, multiple formats | Efficient transcription and subtitle creation with ease of use |
These tools have transformed how I approach creating content. For instance, Kapwing’s automatic subtitle feature saved me hours on a recent project, and the result was impressively accurate. It’s worth exploring these options to find what fits best with your workflow.
Common Mistakes to Avoid When Adding Subtitles
Adding subtitles to your
Instagram Reels can feel like a breeze, but there are some common pitfalls that can make the process frustrating or the result less effective. Here are a few mistakes I've learned to steer clear of:
- Ignoring Timing: One of the biggest blunders is having subtitles that don’t sync with the audio. If your text appears too early or too late, viewers may miss key parts of the message. Always double-check the timing!
- Overloading with Text: It’s tempting to put as much information as possible, but too much text can overwhelm viewers. Stick to key points and keep your subtitles concise.
- Using Hard-to-Read Fonts: Fancy fonts might look great, but if they’re hard to read, they defeat the purpose. Choose clean, simple fonts that are easy on the eyes.
- Neglecting Accessibility: Ensure your subtitles are high-contrast against the video background. If they’re hard to see, they’re not serving their purpose.
- Forgetting to Proofread: Typos and grammatical errors can make your content seem unprofessional. Always proofread your subtitles before posting.
In my early days of subtitling, I made the mistake of cramming too much text into a short segment, which just made everything look cluttered. It’s a learning curve, but once you get the hang of it, your Reels will shine.
Tips for Creating Clear and Effective Subtitles
Creating subtitles that truly enhance your content takes a bit of finesse. Here are some tips to help you craft subtitles that are not only clear but also engaging:
- Keep It Short and Sweet: Aim for brief, punchy text that conveys your message quickly. Remember, viewers are scanning, not reading.
- Match Text with Speech: Ensure your subtitles accurately reflect the spoken words. Misalignment can confuse viewers and detract from your message.
- Choose a Readable Font: Opt for fonts that are simple and large enough to read easily. Avoid overly stylized fonts that can be hard to decipher.
- Use Proper Timing: Sync your subtitles with the audio perfectly. Each line should appear and disappear in harmony with the spoken words.
- Add Emphasis Sparingly: Use bold or italics to highlight important words, but don’t overdo it. Subtle emphasis can guide viewers, but too much can be distracting.
- Check for Readability: Make sure your subtitles are visible against all backgrounds. Consider adding a slight shadow or background to the text if needed.
When I started applying these tips, I noticed a marked improvement in how viewers engaged with my content. It’s all about making sure that the subtitles complement your visuals and enhance the overall viewer experience.
FAQ
1. How long should my subtitles stay on screen?
Subtitles should be on screen long enough for viewers to read comfortably. A good rule of thumb is to display each line of text for at least 1 to 2 seconds. Adjust the duration based on the length and complexity of the text.
2. Can I use auto-generated subtitles?
Auto-generated subtitles are a great starting point, but they’re not always perfect. It’s wise to review and edit them to correct any errors and ensure accuracy, especially if the content is crucial.
3. What’s the best font size for subtitles?
The font size should be large enough to be readable on both small and large screens. Generally, a font size between 24 and 36 points works well, but always test on different devices to ensure visibility.
4. Are there any guidelines for subtitle colors?
Choose colors that contrast well with the video background. White or yellow text with a black outline or background is often the most readable. Avoid colors that blend into the video or are hard to distinguish.
5. How do I handle multiple speakers in subtitles?
When dealing with multiple speakers, use different colors or labels to distinguish between them. You can also include the speaker’s name at the beginning of each new segment of dialogue for clarity.
Conclusion
As we wrap up our dive into adding subtitles to
Instagram Reels, it’s clear that this small touch can make a big difference. Subtitles are more than just text on a screen—they’re a bridge between your content and a wider audience. They enhance accessibility, boost engagement, and ensure your message isn’t lost in a noisy environment or missed due to hearing impairments.From my own experience, incorporating subtitles has transformed the way my content is received. It’s like inviting everyone to join the conversation, regardless of where they are or how they consume media. Whether you're using automated tools or manually adding text, the key is to keep it accurate, readable, and timely.So, if you haven’t started adding subtitles yet, now’s the time. Think of it as giving your Reels a little extra polish—making sure they shine no matter where they’re watched. Your audience will appreciate the effort, and you’ll likely see a noticeable boost in interaction and inclusivity. Dive in, experiment, and watch your content reach new heights!
 Instagram Reels have quickly become one of the most popular features on the platform. Launched in 2020, Reels allow users to create short, engaging videos up to 90 seconds long. They’re Instagram’s answer to TikTok, offering a chance to share creativity, trends, and quick bursts of entertainment. But why the sudden surge in popularity?
 Subtitles might seem like a small detail, but they offer a host of benefits that can significantly impact the effectiveness of your Reels. Here’s why adding them can be a game changer:
 Imagine you’re at a bustling airport, trying to catch up on your favorite Reels, but the din of announcements and chatter makes it nearly impossible to hear. This is where subtitles step in as unsung heroes. They’re not just about translating speech into text; they’re about making your content more inclusive and engaging for everyone. Here’s how:
 Adding subtitles might seem like a daunting task, but it’s easier than you might think. Here’s a straightforward guide to help you get started:

 admin
admin


