Have you ever found yourself gazing up at the sky, mesmerized by a colorful kite dancing in the breeze? There's something magical about kites that captures both the young and the young-at-heart. In this ultimate DIY guide, we're going to take a deep dive into crafting your very own kite from scratch. Not only is kite-making a fun and rewarding project, but it also allows you to express your creativity and enjoy the great outdoors. So, grab your supplies and let’s get started on this exciting adventure that will have you soaring high in no time!
Materials Needed

Before we launch into the kite-making process, let’s gather all the materials you’ll need. This project can be as simple or as intricate as you wish, but having the right tools at your disposal will certainly help. Below is a handy list of essentials, along with some options for additional materials if you want to personalize your kite!
- Kite Frame:
- Bamboo skewers or dowels (lightweight and sturdy)
- Flexible fiberglass rods (for more advanced designs)
- Kite Sail Material:
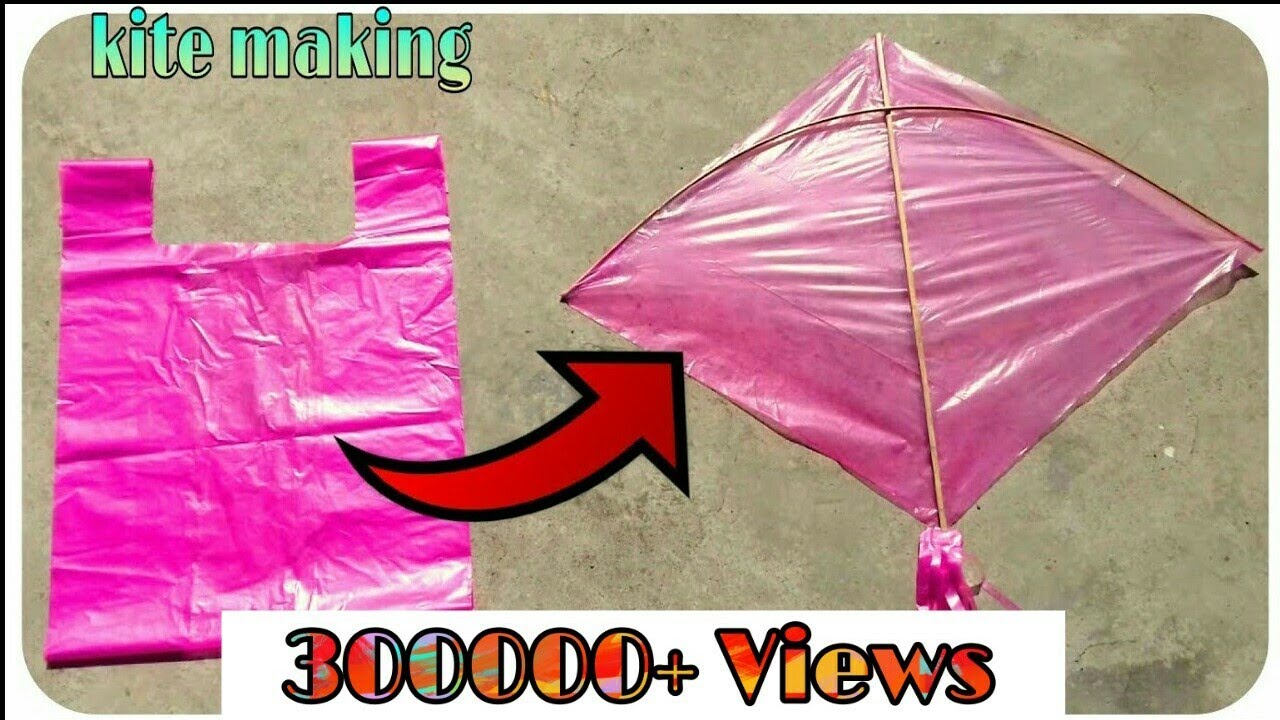
- Plastic sheeting (like a garbage bag)
- Lightweight fabric (like ripstop nylon or polyester)
- Craft paper (for smaller indoor kites)
- Kite String:
- Strong nylon string (for outdoor kites)
- Lightweight thread (for smaller or indoor kites)
- Adhesives:
- Hot glue gun and glue sticks
- White school glue (for lightweight materials)
- Decorative Supplies:
- Markers, paint, or stickers for personalization
- Streamers or ribbons for tail decoration
With these materials gathered and ready, you’re well on your way to creating a kite that is uniquely yours. Let your imagination take flight as we embark on this thrilling journey into kite-making!
3. Step-by-Step Instructions

Have you ever wanted to create something that soars through the sky? Making a kite can be an exciting and rewarding DIY project! Let’s break down the steps to craft your very own kite.
Materials Needed:
- Lightweight fabric (like ripstop nylon or plastic)
- Bamboo skewers or lightweight wooden dowels
- String
- Glue
- Scissors
- Tape
- Marker (for decoration)
- Ruler
Instructions:
- Design Your Kite: Start by sketching your kite design on paper. Think about the shape and dimensions. A simple diamond shape is great for beginners!
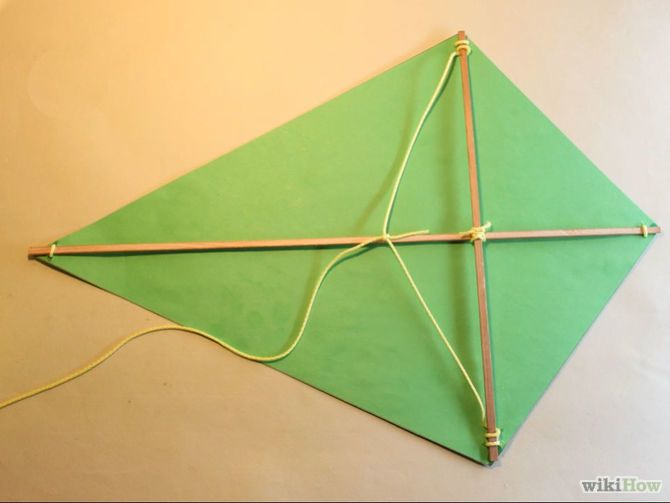
- Cut the Frame: Use your ruler to measure out the wooden dowels or skewers for the frame. Typically, use two pieces: one for the vertical spine and a shorter one for the horizontal crossbar.
- Construct the Frame: Use glue and tape to secure the crossbar to the spine. Ensure it’s sturdy!
- Attach the Sail: Cut the lightweight fabric according to your kite's dimensions. Leave some excess for folding over the edges. Lay the fabric over the frame and fold the edges over, securing with glue or tape.
- Create the Tail: Cut a long piece of fabric or ribbon to serve as the kite tail. This helps provide stability while flying.
- Attach the String: Tie one end of the string to the top of the kite. Make sure it’s strong and secure!
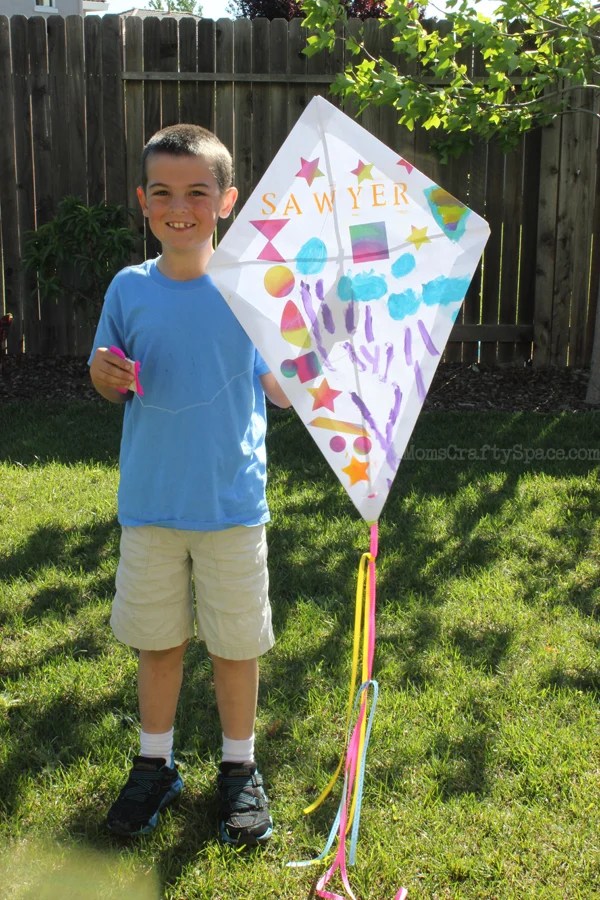
- Decorate: Let your creativity shine! Decorate your kite with markers or additional fabric to give it personality.
And voilà! You’ve made a kite ready to take to the skies. Next up is learning how to fly it!
4. Tips for Flying Your Kite

So, you’ve built your fabulous kite—now it’s time to get it soaring! Here are some essential tips that'll help you enjoy your flying experience to the fullest.
Choose the Right Location: Ideally, pick an open field or beach with minimal obstructions. Avoid areas with trees, power lines, or other hazards.
Check the Wind Conditions: A gentle breeze (around 5-15 mph) is perfect for flying kites. If the wind is too strong, it may damage your creation.
Launch Your Kite:
- Hold the kite against the wind, with the string fully unwound.
- Begin walking backward to give it some lift.
- Once the kite catches the wind, let out more string to let it ascend higher.
Maintaining Control: Keep an eye on the wind direction. Use gentle pulls on the string to steer your kite. If it starts to tumble or dive, give some slack to regain control.
Be Aware of Surroundings: Always be mindful of others around you. Kites can take unexpected dives, and it's important to be considerate of fellow kite enthusiasts or anyone nearby.
Pack it Up Right: When you’re done flying, gently bring your kite down. Carefully roll up the string and store your kite without crumpling the fabric.
By following these tips, you’re set for an enjoyable kite-flying experience. Remember, the joy of flying a kite is not just about getting it up in the air—it’s also about the fun you have while doing it!
5. Common Mistakes to Avoid
When you embark on your DIY kite-making adventure, avoiding pitfalls can make all the difference between a successful flight and a frustrating flop. Here are some common mistakes that novice kite makers often encounter:
- Poor Material Selection: Using the wrong materials can lead to a flimsy structure. Avoid cheap plastics that may tear easily, and opt for lightweight yet durable options like ripstop nylon or mylar.
- Inaccurate Measurements: If your dimensions are off even slightly, your kite's balance might be affected. Always double-check your measurements before cutting any materials!
- Ignoring the Wind: Not factoring in wind conditions can be a major setback. Make sure to test your kite in an appropriate area with enough wind to lift it, but not so much that it causes damage.
- Weak Frame Construction: A sturdy frame is crucial. Skimping on support or using weak materials can mean a quick demise for your kite. Use strong, lightweight materials like bamboo or fiberglass rods.
- Not Testing Before Flight: Some users fail to test their kite properly on the ground before launching. A gentle shake and tug can help ensure everything is secure and ready for take-off.
A little preparation and awareness can help you avoid these common mistakes, setting you on the path to kite-making success!
6. Conclusion
Creating your own kite can be one of the most rewarding experiences, blending creativity, physics, and a touch of nostalgia. From choosing the right materials to understanding the design principles that ensure your kite flies successfully, every step is part of a fun and engaging process.
As we wrap up this DIY guide, remember that kite-making is as much about the journey as it is about the end result. Each kite you build will teach you something new, whether it's mastering an intricate design or learning how to adjust for wind conditions.
So gather your materials, invite a friend or family member to join you, and let your creativity soar! And who knows? You might just find yourself looking forward to those windy days, eagerly awaiting the chance to see your handiwork dance across the sky.
Happy kite-making!
 admin
admin


