Turning images into circles using Google Slides can make your presentations unique. In contrast, circular images are more likely to catch attention than rectangular ones. Such slides can have a more contemporary appearance that is also cleaner thus appealing to the eyes. Amongst other uses, it could be used in highlighting a person’s profile as well as illustrating an essential graphic through a circular image.
Why You Might Want to Use Circular Images

There are many reasons to use round images in your presentations:
- Improved Aesthetics: Circular images can create a softer look, making your slides more inviting.
- Focus on Key Elements: Circular cropping can help direct the viewer's attention to specific parts of an image.
- Consistent Style: Using circular images throughout your presentation can create a cohesive design.
- Branding: If your brand uses circular logos or images, matching your presentation style can reinforce your brand identity.
Steps to Insert an Image in Google Slides

Picture adding in Google Slides is an easy thing to do. All you need to do is take these steps:
- Open your Google Slides presentation.
- Go to the slide where you want to insert the image.
- Click on the Insert menu in the top toolbar.
- Select Image, then choose Upload from computer or another option like By URL or Google Drive.
- Find and select the image you want to use, then click Open.
Upon placing the image on your slide, you have the option of shifting it around or adjusting its dimensions prior to making it circular via cropping.
How to Crop Images into a Circle Shape
Google Slides employs certain online platforms such as the internet to receive crop images into a circle shape. However, this method may present some shortcomings depending on the context in which it is used. Nonetheless, here are the steps to follow:
- First, select the image you want to crop by clicking on it.
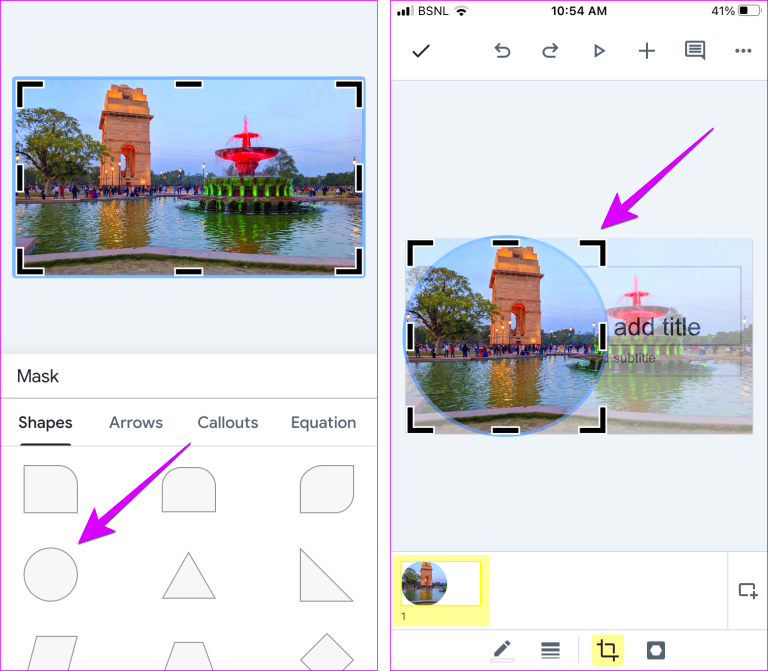
- Next, click on the Crop icon in the toolbar. It's the icon that looks like a small rectangle with diagonal lines.
- In the dropdown menu, hover over the Shapes option.
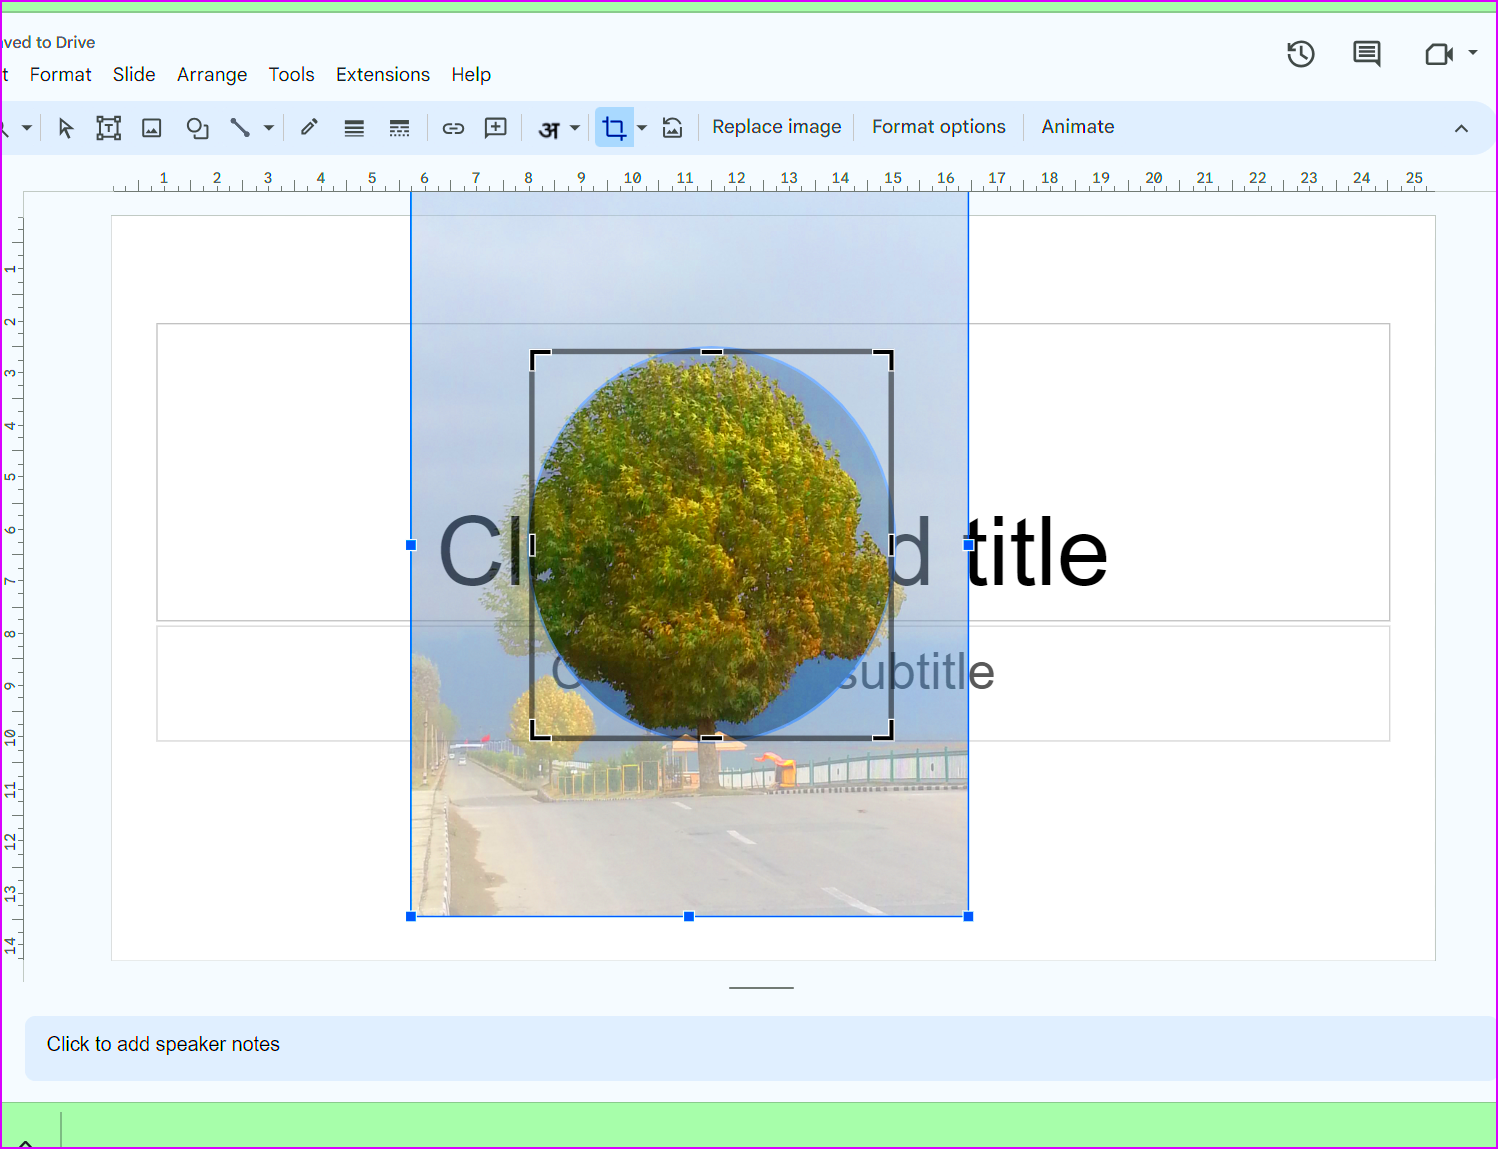
- Select the circle shape from the available options. This will crop your image into a circle.
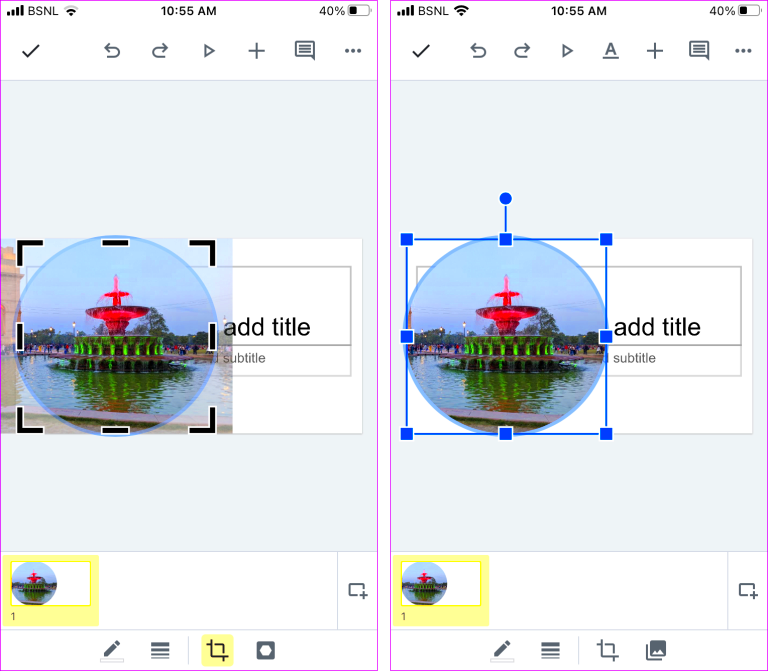
- Once cropped, you can adjust the position of the image within the circle by dragging it around.
And that's it for now! Now you have a round image which can provide your slides with an entirely new and modern appearance.
Adjusting Image Position and Size
Once you’ve cut your picture into circular shape, you might want to resize it and relocate it so that it looks better. Here are some suggestions on how to go about doing this:
- Resizing: Click on the image and use the corner handles to resize it. Dragging from the corners will maintain the circular shape.
- Positioning: Click and drag the image to move it around the slide. Try to place it where it draws attention without crowding other elements.
- Alignment: Use the alignment tools in the toolbar to center your image or align it with other objects on the slide.
- Rotation: If you want to change the angle, use the rotation handle at the top of the image.
The overall demeanor and professionalism of your presentations can greatly be improved by taking time to tweak these components.
Using Shape Options for Better Results
Conversely, you should use Google Slides forms to make those circular images more impressive. This is how to make good use of these:
- Adding Borders: You can add a border to your circular image by selecting the image, clicking on the Border color option, and choosing your desired color.
- Shadow Effects: Adding a drop shadow can create depth. To do this, click on Format options, then select Drop shadow and adjust the settings as needed.
- Reflection: Adding a reflection effect can give a polished look. In the same Format options menu, choose Reflection and adjust the transparency and distance.
- Combining Shapes: If you want a unique look, consider combining your circular image with other shapes. You can layer shapes for interesting designs.
By trying out these shape alternatives, you may give your pictures a unique identity as well as create coherence with the topic of your presentation.
Common Issues and Solutions
A few frequent problems might come up when trying to create circular images on Google Slides. Don’t panic, most of them can be solved with slight alterations. Here’s what could happen and ways you can solve them:
- Image Not Cropping Properly: Sometimes, images don’t crop as expected. Ensure you select the correct shape from the crop menu. If the shape seems off, try resizing or repositioning your image before cropping again.
- Image Quality Deteriorates: Cropping can sometimes reduce image quality. Make sure you start with a high-resolution image. If quality decreases after cropping, consider re-uploading a better version of the image.
- Alignment Issues: After cropping, the image may not align well with other elements. Use the alignment tools in the toolbar to help center or align your circular image with text or other images on the slide.
- Shapes Overlapping: If shapes overlap, it can create a messy appearance. Click on the image and use the “Arrange” menu to bring the image forward or backward in the layer order.
Understanding these usual problems together with their solutions will ensure that your presentation is always neat and respectable.
FAQ About Circular Images in Google Slides
Below are some commonly asked questions about circular images on Google Slides which have been designed to eliminate ambiguity and maximize your learning experience.
- Can I use images from Google Drive? Yes, you can insert images directly from Google Drive. Just select the Insert menu and choose Image, then Drive.
- Is there a way to change the circle to another shape later? Absolutely! You can always crop the image again by selecting a different shape from the crop menu.
- What if my image appears pixelated after cropping? This usually means the original image was of low resolution. Try to use higher-quality images for the best results.
- Can I animate circular images? Yes, you can add animations to circular images just like any other image in Google Slides. Use the Animate option in the toolbar.
If you want to make amazing presentations, these queries will help you solve the most frequent problems, thus allowing a more pleasant experience for creating them.
Conclusion on Using Circular Images
It can be important to include circular images into your Google Slides presentations because they will make a big difference in how people view the content you have produced. These elements give a modern feel; they help keep attention on key visuals and they are part of a unified design. You can easily insert, crop and customize your images by applying the steps indicated in this blog post.
Making your slides unique is all about trying out different styles and designs. Circular pictures work well in both formal presentations and amusing projects when it comes to communicating a message. Go on, use these methods and give an edge to your slide!

 admin
admin


