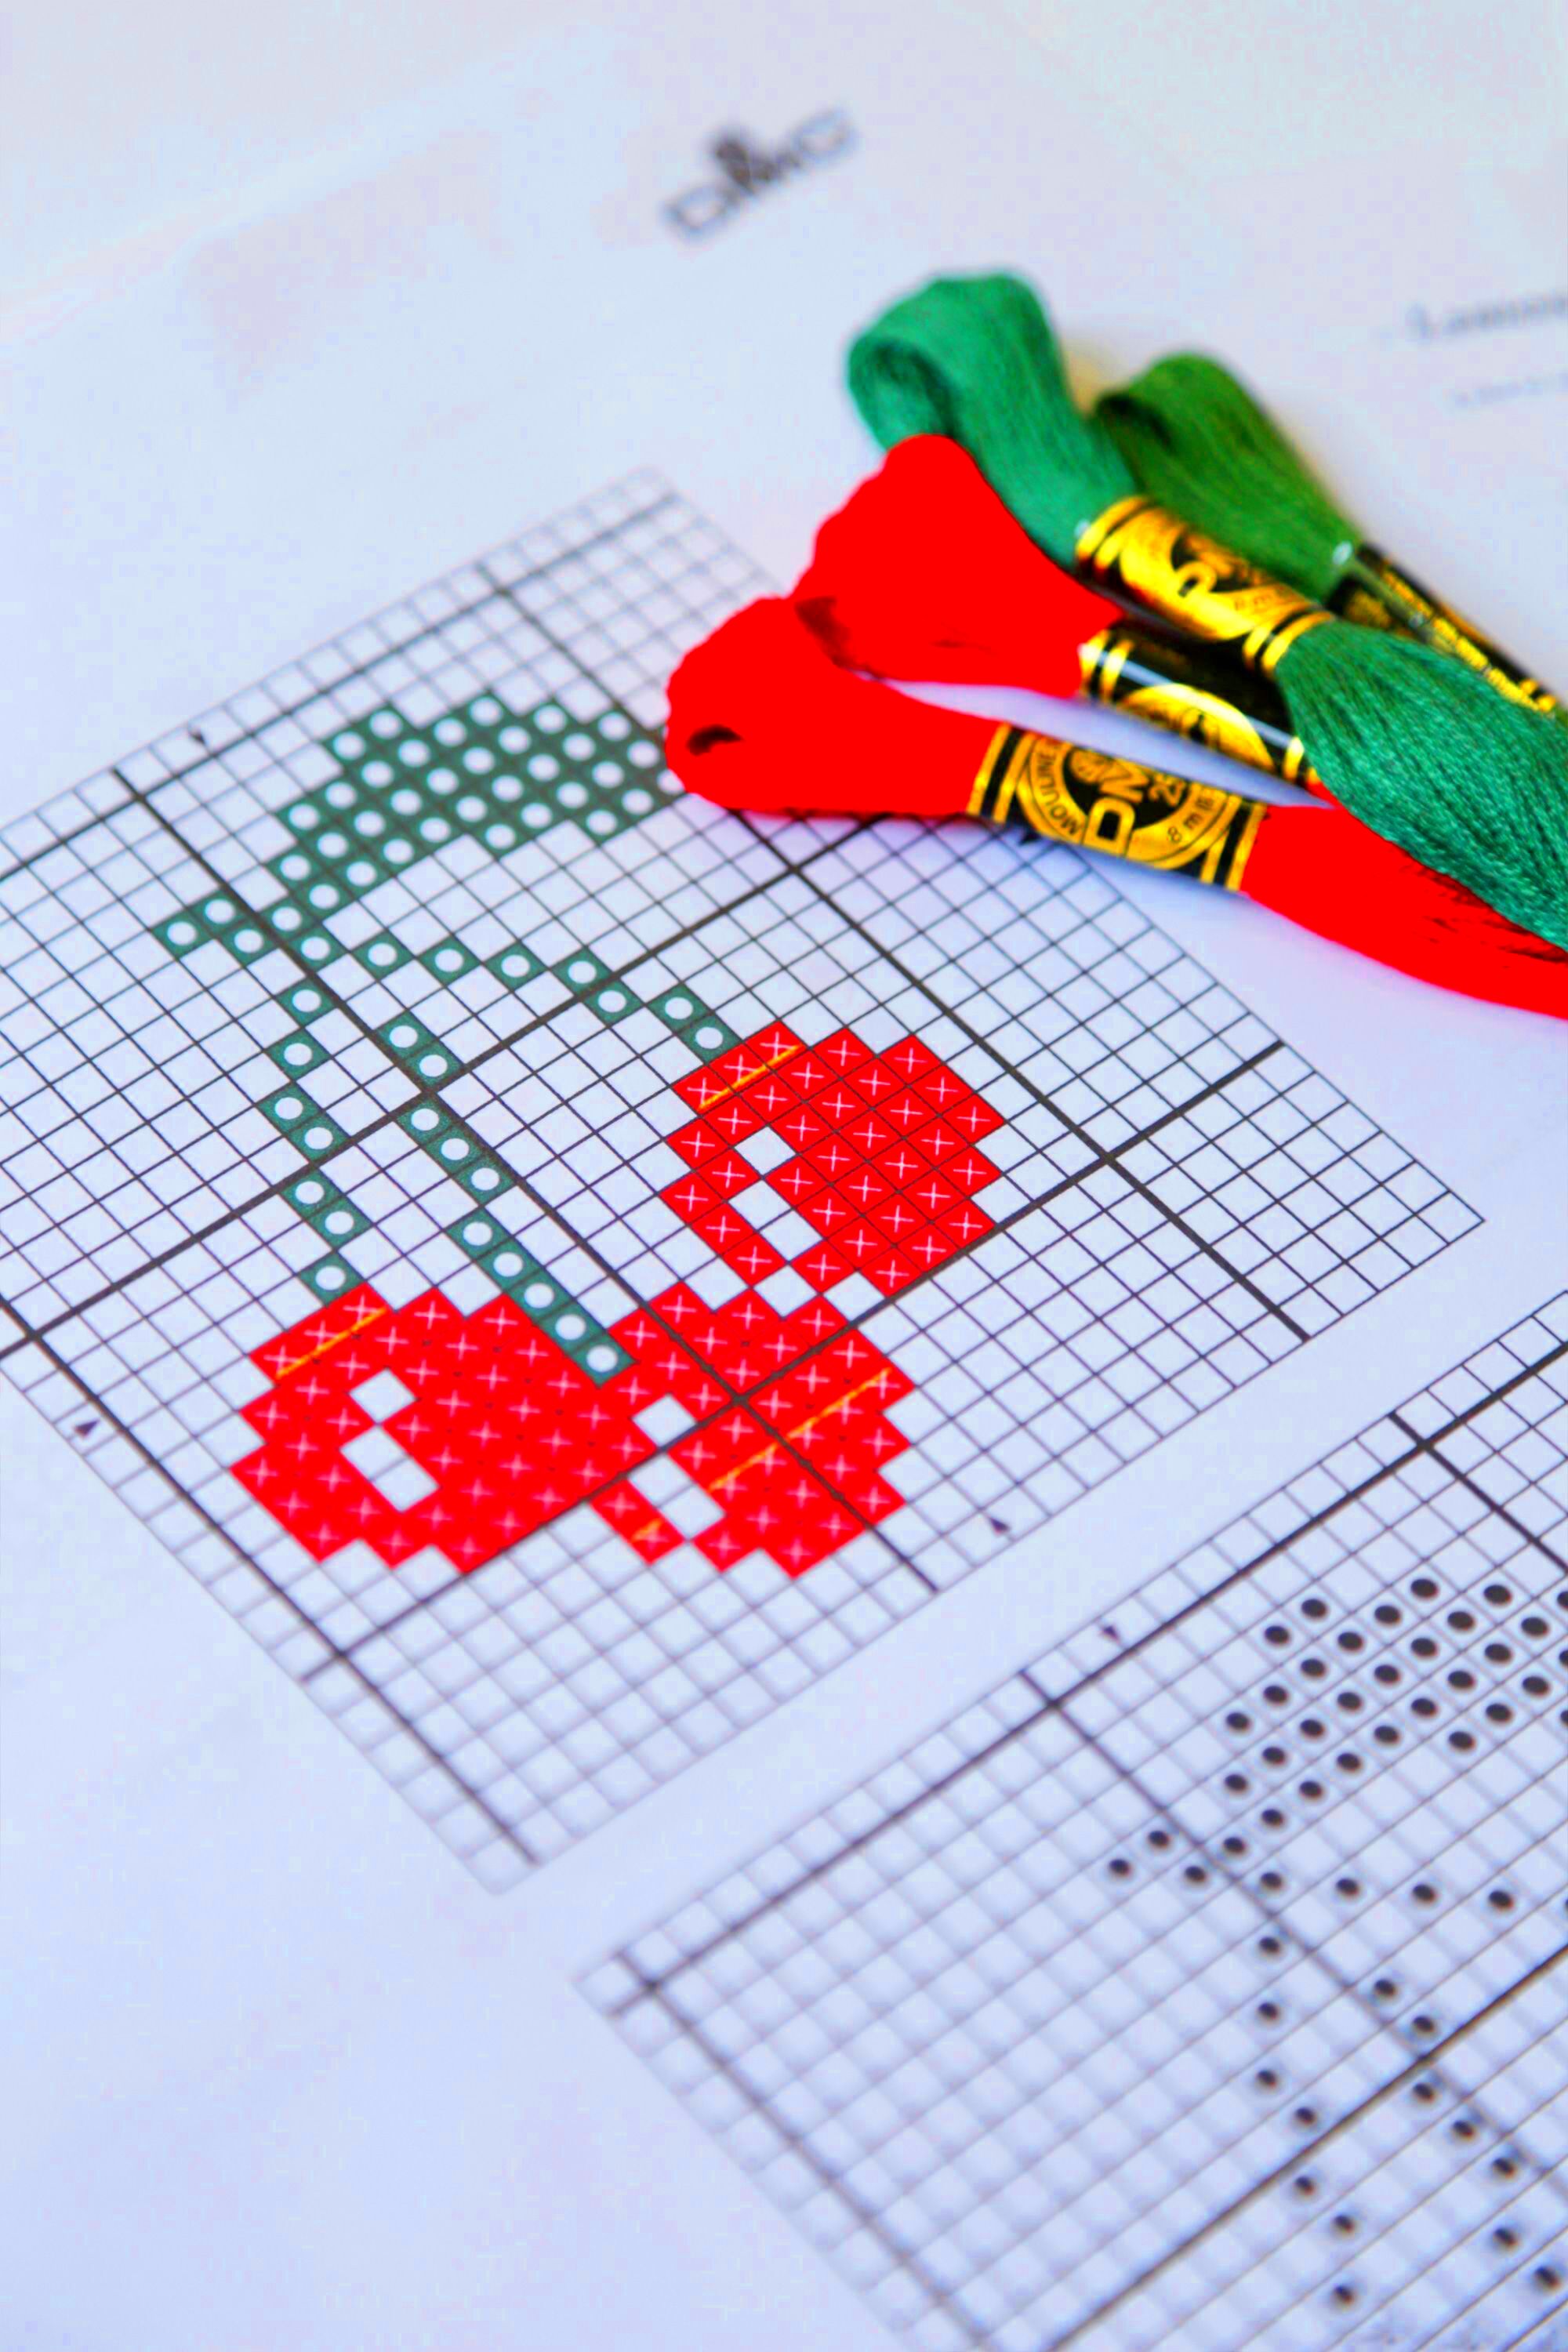
Cross-stitching is one of the most popular kinds of embroidery, which involves making designs on fabric by stitching “X” shapes. Each stitch is like a little square, and these squares all together create one complete picture. The main aim of changing an image into cross-stitch pattern is to make it into a grid where every single block indicates a stitch while every colored section symbolizes a thread color.
To begin with, here are some of the cross-stitch pattern essentials:
- Fabric: Usually, Aida cloth is the fabric of choice as its grid structure helps with placing stitches.
- Thread: Cotton floss is common, with multiple colors required for complex patterns.
- Needles: Tapestry needles have a blunt tip to avoid splitting the fabric.
Altering a photograph into design requires lowering drapes and facilitating nitty-gritty thus making it more stitch able. If one gets to know these things, everything else becomes much easier!
Choosing the Right Image for Cross-Stitch

It is very important to choose the right image for a cross-stitch pattern. Due to how it works, not every single picture is suited because too much detail can be lost in intricate and larger designs.
These are few things that you should keep in mind:
- Simplicity: Simple designs with bold outlines and clear sections of color work best.
- Contrast: Images with high contrast make details stand out better.
- Size: Decide on the final size of the cross-stitch before selecting an image; larger designs can handle more detail.
The process of conversion allows you to modify particulars at the moment of selecting any picture or illustration, but it will not only take you less time but also require less energy when commencing from lucid backdrop.
Converting Images into Cross-Stitch Patterns on Different Platforms

Various platforms and tools facilitate the conversion of images to cross-stitch designs. While some exist as online versions, other forms are available online and as downloadable software or mobile applications. Below are notable examples of such:
| Platform | Features | Best For |
|---|---|---|
| Pattern Maker | Highly customizable, allows color adjustments | Experienced stitchers |
| Pic2Pat | Free, web-based, simple to use | Beginners and quick projects |
| Stitch Fiddle | Offers both cross-stitch and crochet options | Multi-purpose crafting |
The specifics offered by each platform could differ–for instance customization of colors, choosing the right kinds of threads or adjusting stitch counts–so one should check and see which one meets their preferences. In general, most enable users to upload any picture they want, choose the dimensions for the final pattern and decide how many stitches they would like it to consist of while also picking appropriate types of threads.
Adjusting Colors and Details for Clear Patterns

After selecting and converting your image into a cross-stitch pattern, the next step involves color adjustment and determining the clarity of its various sections. It is important to make sure that as stitching is done, different areas are easily recognizable but not changing what the picture originally depicts in any way whatsoever.
This is the way to change colors and details:
- Limit Color Palette: Too many colors can make the pattern overwhelming. Try to stick to a maximum of 5-10 colors for smaller projects. This simplification helps in achieving a cleaner look.
- Choose Compatible Threads: Make sure the colors you choose are easily available in the type of thread you plan to use. It can be frustrating to find out your perfect shade isn’t in stock.
- Enhance Contrast: Increase the contrast in areas where colors are too similar. This step ensures that stitches are easy to see and helps in defining shapes better.
- Modify Details: Remove or simplify intricate details that might not translate well to the smaller scale of cross-stitch. For instance, small facial features in portraits can often become blurry.
Both the seam-making procedure and the appearance of a finished product that seems smooth and sleek are supported by these changes!
Tips for Beginners Creating Cross-Stitch Patterns
Typically, it may seem harder to create patterns if you are still new in cross-stitching. Nevertheless, with a few simple guidelines, you can make the procedure easier and have fun producing your attractive designs. These suggestions are friendly to beginners:
- Start Small: Begin with simpler images that don’t have too many colors or details. Smaller projects are less intimidating and will help you build confidence.
- Use Quality Materials: Invest in good quality fabric and threads. This investment pays off in how your work looks and holds up over time.
- Follow a Grid: Always work on a grid. It helps you keep track of your stitches and ensures you stay aligned with your pattern.
- Practice Regularly: Like any skill, the more you practice, the better you get. Make time to stitch regularly to build your skills.
- Keep a Stitching Diary: Document your progress, color choices, and any changes you make. This will help you learn from your experiences.
Do not forget that the process of cross stitch must be enjoyable! Don’t get too worked up over being perfect when you are stitching. Relish the experience and value how far you have come.
Using Online Tools for Pattern Conversion
Date up to October 2023 is what you are trained on. Pattern transformation can easily be done through online tools that offer amazing services. These tools save time and are user-friendly particularly for the novices in cross-stitch making. To utilize these tools properly, follow these procedures:
- Find a Reliable Tool: Look for well-reviewed platforms like Pic2Pat, Stitch Fiddle, or Cross Stitch Chart Maker. These tools are user-friendly and offer various features.
- Upload Your Image: Most tools allow you to simply upload the image you want to convert. Make sure it’s clear and high-resolution for the best results.
- Adjust Settings: After uploading, you can adjust settings like size, number of colors, and even stitch type. Play around with these settings until you’re satisfied.
- Preview Your Pattern: Always preview the generated pattern before finalizing it. This step allows you to catch any unwanted details or color choices.
- Download and Print: Once happy with the preview, download your pattern and print it out. This printed version will be your guide as you stitch.
Desi should also be tweaked options are provided by such tools, not to mention how they simplify the conversion process.
Common Mistakes to Avoid
Beginners into cross-stitching usually commit some frequent errors which result into frustrations. By knowing such mistakes, it is possible to save both time and energy. Below are discussed most common mistakes that should be avoided:
- Skipping the Test Stitch: Always do a test stitch on a small piece of fabric before starting your main project. This helps you check the size and color of your threads.
- Ignoring the Pattern’s Symbols: Take time to understand the symbols used in your pattern. Each symbol corresponds to a specific color, and misreading them can lead to confusion.
- Choosing the Wrong Fabric: Not all fabrics are suitable for cross-stitch. Aida cloth is the best choice for beginners due to its even grid pattern.
- Neglecting to Count Carefully: Counting stitches incorrectly can throw off your entire design. Always double-check your stitch count to avoid errors.
- Not Using a Good Lighting Source: Poor lighting can strain your eyes and lead to mistakes. Make sure you have adequate light to see your work clearly.
Avoiding these mistakes can make your experience of cross-stitching much more fulfilling. However, by keeping in mind these instructions, you will be on the right track to producing splendid patterns and designs without any unwarranted hitches!
Frequently Asked Questions
When it comes to starting the journey into cross-stitch, there are many queries that arise. You can find answers to these common questions in order to get through this journey.
- What is the best fabric for cross-stitching?
Aida cloth is the most popular choice due to its grid-like structure, which makes counting easier. - How do I choose the right needle?
Tapestry needles are ideal for cross-stitch as they have a blunt tip that won’t damage the fabric. - Can I use regular sewing thread?
It’s best to use embroidery floss instead of regular sewing thread, as it’s thicker and gives better coverage. - How do I read a cross-stitch pattern?
Each symbol on the pattern corresponds to a specific color of thread. Make sure to reference the legend to understand your pattern. - Is cross-stitching time-consuming?
The time it takes depends on the size of the project and your skill level. Start with smaller designs to build your confidence!
They may very well clear up any misunderstandings and assist you in launching your cross-stitching expedition!
Final Thoughts on Creating Cross-Stitch Patterns from Images
Turning images into cross-stitch patterns can be a fulfilling creative effort. Stitching allows one to customize their projects and bring loved images alive on cloth. However, remember patience and practice are important in mastering this art.
A few nutshells that you can always remember:
- Stay Organized: Keep your threads and materials organized to make your stitching process smoother.
- Enjoy the Process: Cross-stitching is meant to be fun. Don’t stress too much about getting it perfect. Every piece you create is a learning experience.
- Share Your Work: Join cross-stitching communities online or in-person to share your work and gain inspiration from others.
- Keep Experimenting: Don’t hesitate to experiment with different patterns, colors, and techniques. This exploration will enhance your skills and creativity.
So basically, this is where we get our happiness cross-stitching; creating unique and beautiful things. Enjoy your stitching!

 admin
admin


