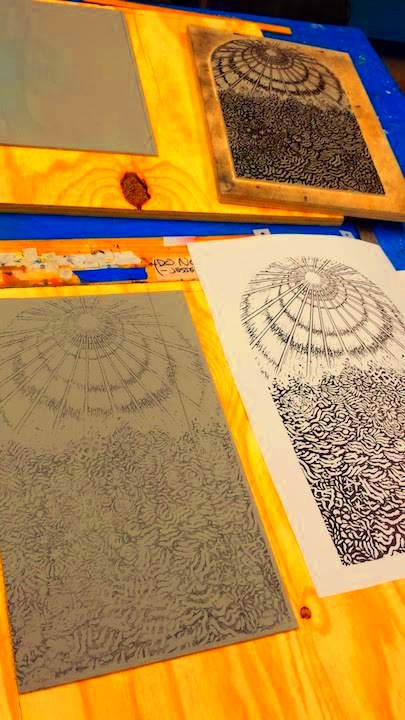
Transferring images to linoleum blocks is a popular technique in printmaking. Whether you're a beginner or an experienced artist, this method allows you to create detailed and unique prints. By transferring your design onto a linoleum block, you can carve out the negative space, which will then be used to transfer the image onto paper or fabric. This technique opens up endless possibilities for creating textured and layered artwork, making it a favorite among printmakers.
Why Choose Linoleum Blocks for Printmaking

Linoleum blocks are a favorite among printmakers for several reasons. They are easy to carve, making them ideal for both beginners and professionals. The surface is soft enough to carve with relative ease but durable enough to withstand multiple prints. Additionally, linoleum blocks are affordable and widely available, which makes them accessible for artists working with different budgets.
Here are a few reasons why linoleum blocks are often preferred:
- Ease of carving: Linoleum is softer than wood, which makes it easier to carve fine details without the need for excessive force.
- Affordable: Compared to other printmaking surfaces, linoleum is reasonably priced, making it a great option for artists just starting out.
- Consistency: The material provides a smooth surface, which allows for consistent results in every print.
- Flexibility: Linoleum can be used for a wide range of printmaking techniques, from traditional relief printing to more modern, experimental styles.
Also Read This: Adding Images to Janitor AI
Preparing the Image for Transfer

Before you begin transferring your image onto a linoleum block, proper preparation is key to achieving the best results. The first step is to choose an image that will work well in print form. High-contrast images with bold outlines and clear shapes are ideal for this technique. Here are the steps to prepare your
- Select your image: Choose a design that will translate well into a carved print. Simple designs with strong lines or graphic elements usually work best.
- Size the image: Make sure your image fits within the dimensions of your linoleum block. You can adjust the size digitally or manually using a photocopier.
- Transfer the design: There are various methods for transferring your image to the block. Some artists use graphite paper, while others prefer the direct method of drawing the design onto the linoleum with a pencil or marker.
- Flip the image: If you’re using text or a design that requires a mirror image, make sure to reverse the image before transferring it to the block. This ensures that the print will appear the correct way when finished.
Once your image is prepared and transferred, you're ready to start carving your linoleum block for printing.
Also Read This: How Do I Contact Getty Images: Reaching Out for Support and Licensing Inquiries
Choosing the Right Tools for Transferring

When it comes to transferring your image to a linoleum block, using the right tools can make the process much smoother and more accurate. Whether you’re working on a small design or a larger block, the tools you select will directly impact the quality of your print. Here are the most important tools you’ll need:
- Graphite Paper: A simple way to transfer your design onto the block is by using graphite paper. Place the graphite paper between your image and the linoleum, then trace over the design to leave an imprint.
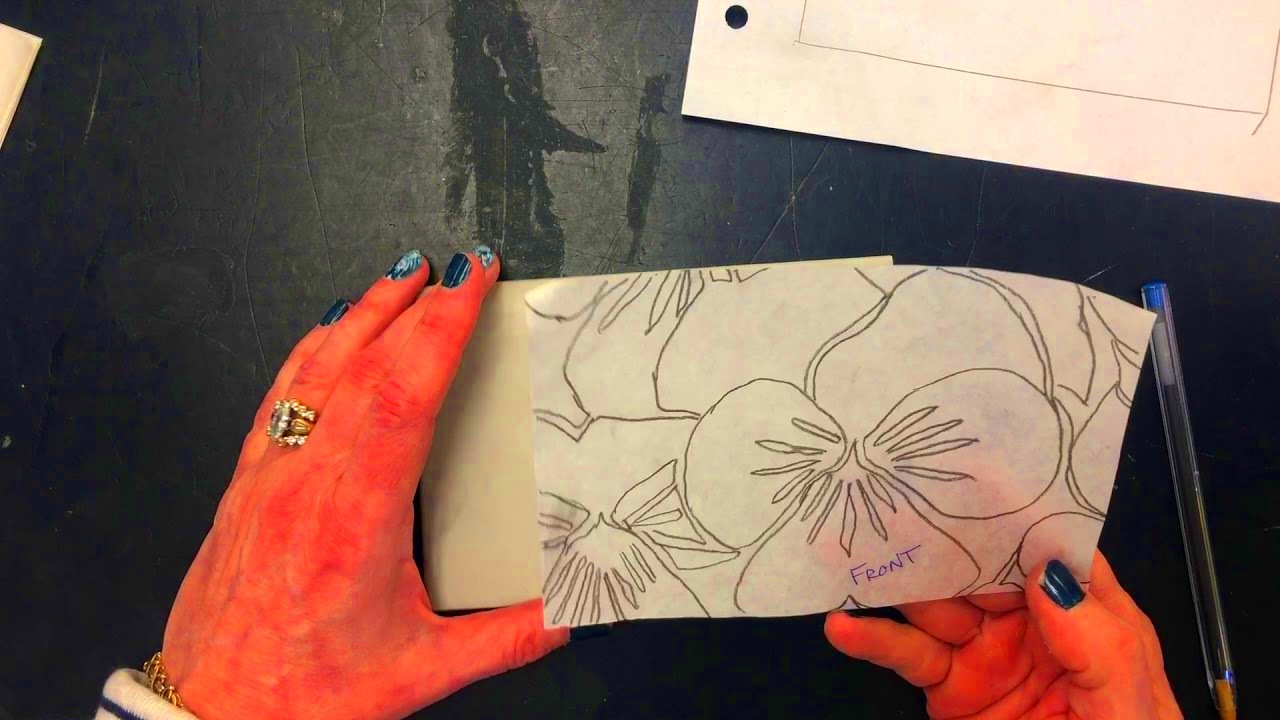
- Tracing Paper: For more precision, you can use tracing paper. Trace the design onto the paper, then flip it over onto the linoleum and transfer the design by pressing down with a pencil or pen.
- Transfer Rubbing Tool: A transfer rubbing tool, or bone folder, helps to rub the image onto the block. This method is excellent for achieving clean and sharp lines.
- Carbon Paper: Another option is using carbon paper, which works similarly to graphite paper but often provides a darker, clearer transfer. It's great for designs with intricate details.
- Pencils and Markers: If you prefer a direct method, you can simply sketch your design freehand on the linoleum using a pencil or marker. Just remember to reverse the image if needed.
Choosing the right tool often depends on your preference and the complexity of the design. Some artists prefer the ease of graphite paper, while others like the control that tracing provides. Whatever your choice, using the correct tools will ensure a more accurate and successful transfer.
Also Read This: How to Use Images from Getty: A Guide to Proper Attribution and Usage
Step-by-Step Guide to Transferring the Image
Once you have your image ready and the necessary tools, it’s time to transfer it onto the linoleum block. This process requires patience and attention to detail to make sure your design is correctly transferred. Here’s a simple step-by-step guide to follow:
- Prepare Your Work Area: Set up a clean, flat surface for your work. Make sure the linoleum block is clean and free from dust or debris.
- Position Your Image: Place your image on top of the linoleum block. If using graphite or carbon paper, position it between the image and the block.
- Trace the Design: Use your preferred tool (graphite paper, tracing paper, or a pencil) to trace the outline of your design onto the linoleum block. Apply even pressure as you trace to ensure the design transfers cleanly.
- Check for Accuracy: Once you’ve traced the design, remove the paper and check to make sure all lines are visible on the linoleum. You can use a pencil to add any missing details or darken any faint lines.
- Flip the Design (if needed): If you’re working with text or a mirrored design, make sure to flip the image to ensure it appears correctly when printed.
- Finalize Your Transfer: Once you’re satisfied with the transferred image, you’re ready to start carving. Double-check your design for any last-minute adjustments before moving on to the next stage.
This step-by-step process is simple, but it requires care to ensure that your design is perfectly aligned and ready for carving. With practice, you’ll become more efficient in transferring your images onto linoleum blocks.
Also Read This: How to Download Getty Images Without Watermark (2019 Version): Updated Methods to Remove Watermark from Getty Images
Carving the Linoleum Block
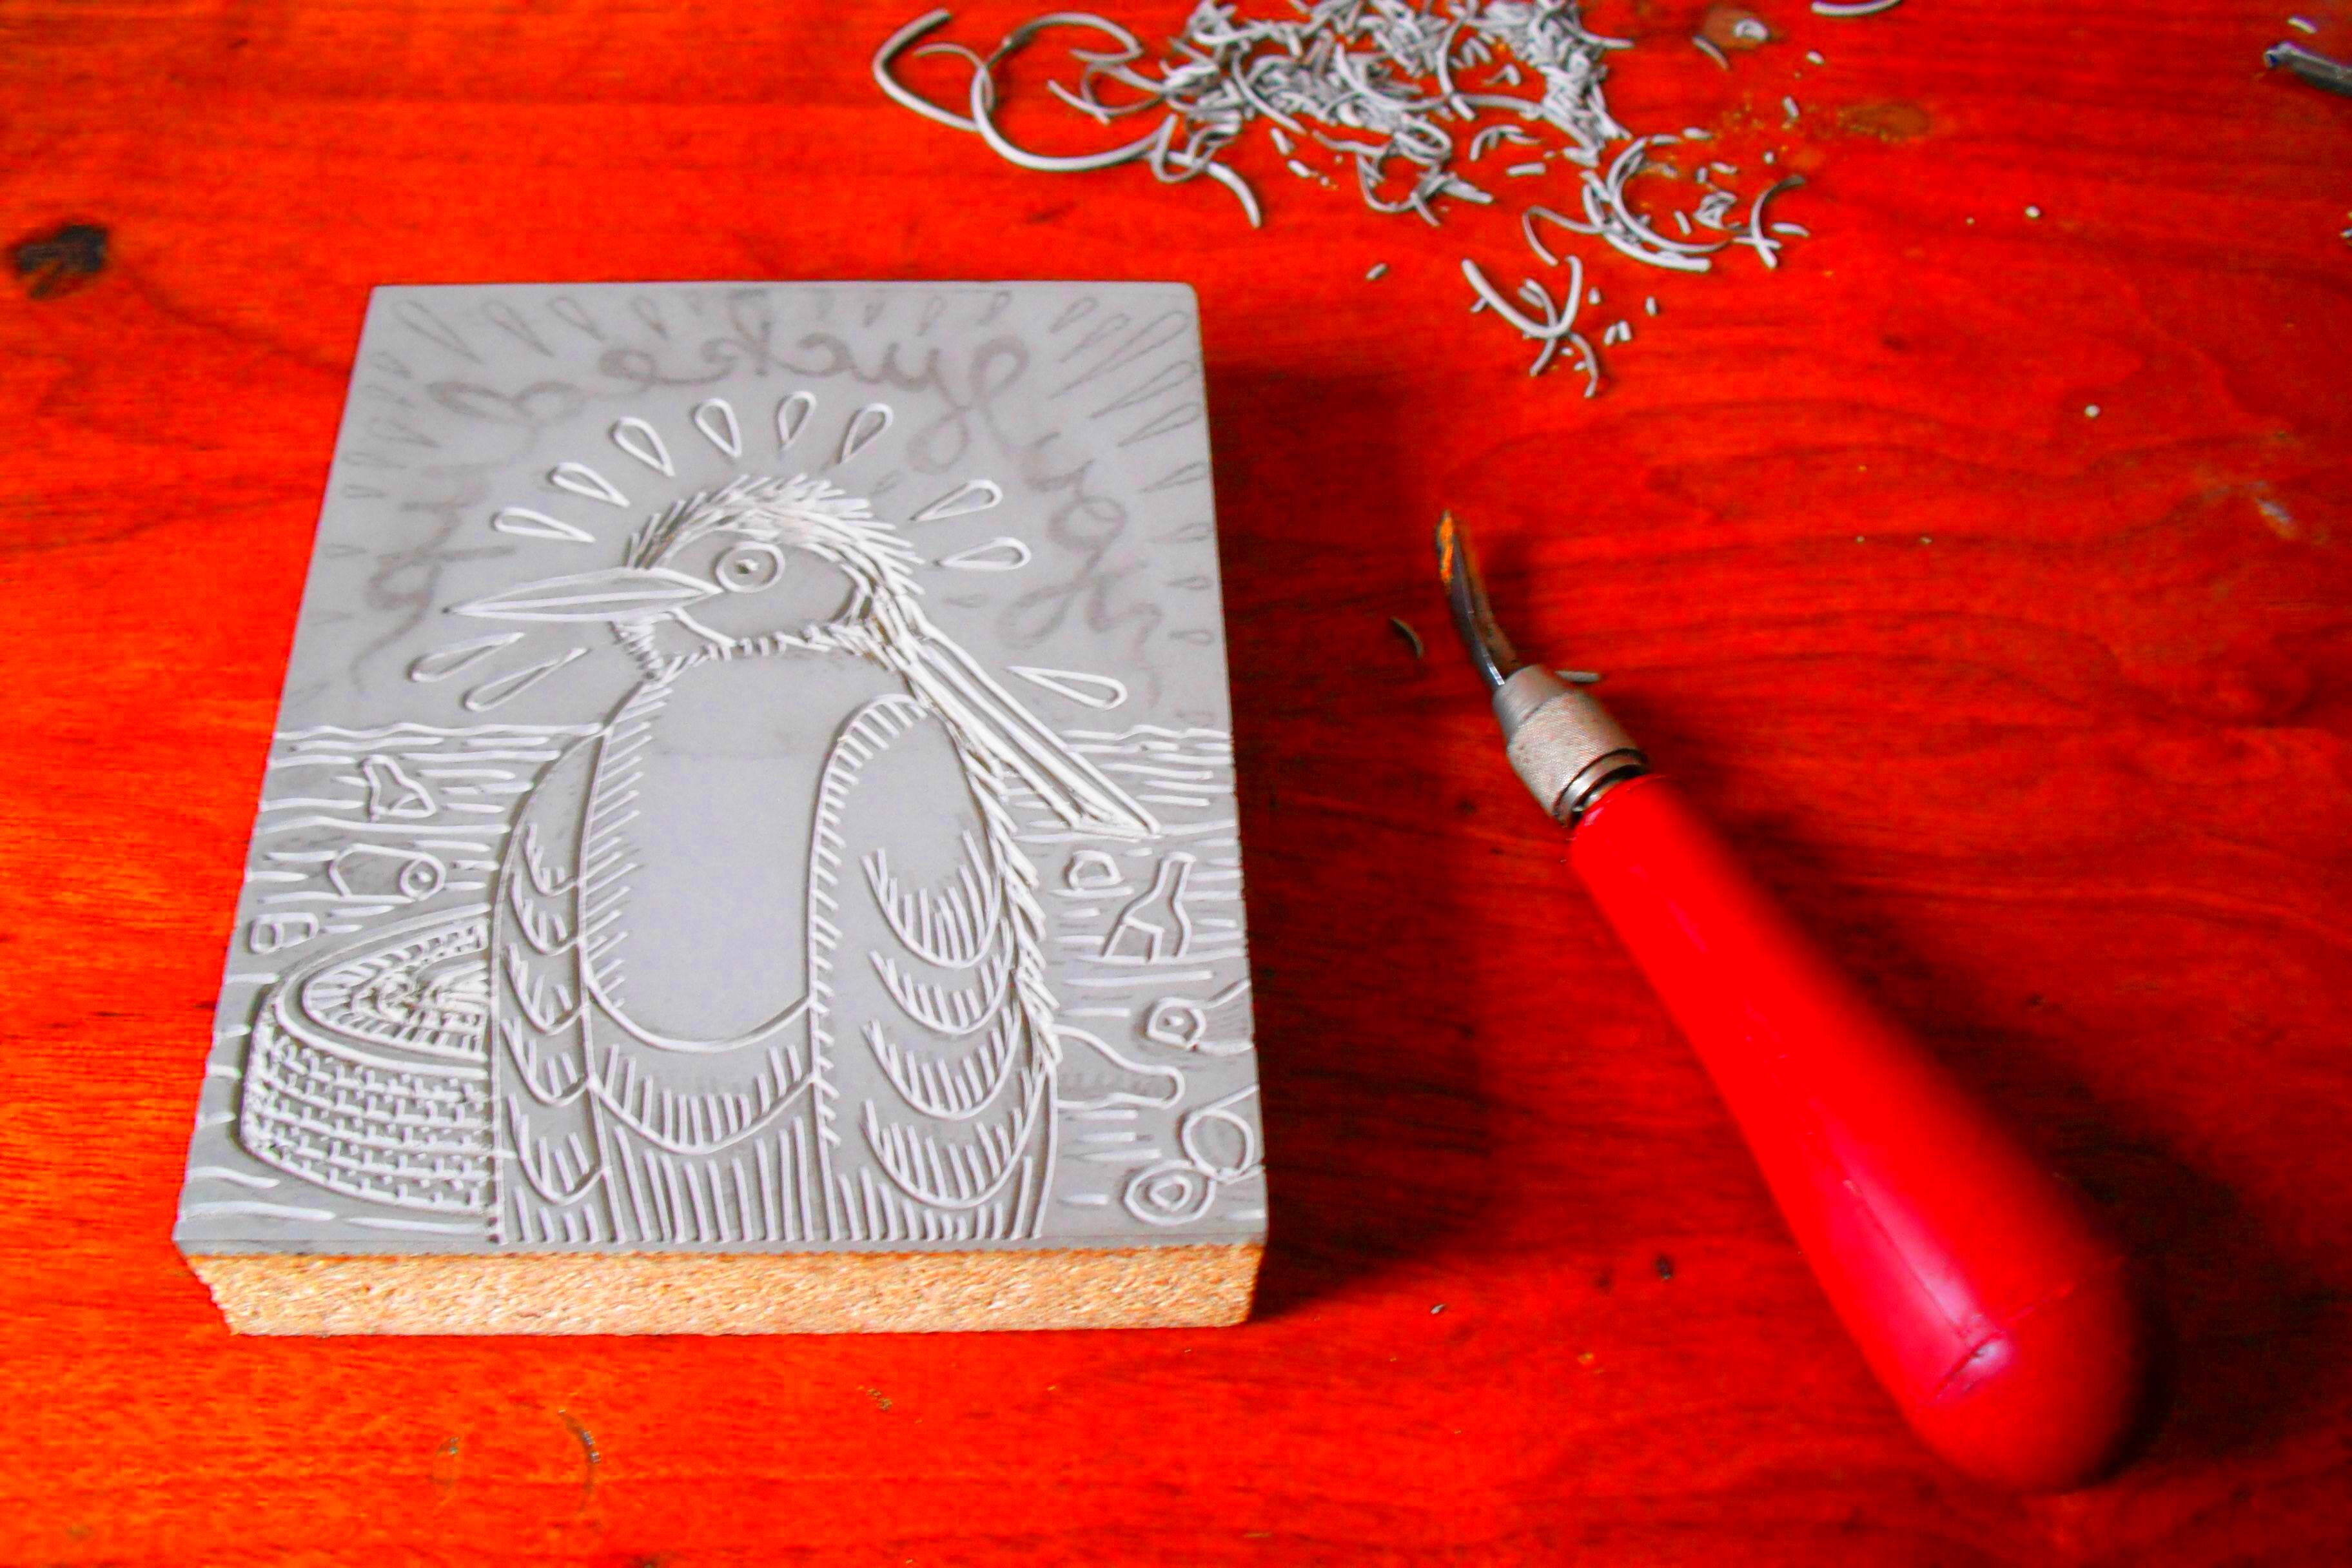
Now that your design is transferred to the linoleum block, it’s time to start carving. Carving is where the magic happens – it’s what transforms your design into a print-ready block. The key here is to carefully cut away the negative space, leaving the areas that will hold the ink. Here’s how to carve your linoleum block step-by-step:
- Choose the Right Carving Tools: Use specialized linoleum carving tools, which come in various shapes and sizes. The most common tools are V-shaped gouges, U-shaped gouges, and knives. Each tool serves a different purpose:
- V-shaped gouges: Perfect for creating fine, detailed lines and sharp edges.
- U-shaped gouges: Ideal for removing larger areas of linoleum and creating broad cuts.
- Start with the Outline: Begin carving around the outline of your design. This allows you to define the boundaries of the image, making it easier to carve out the rest of the block.
- Carve the Negative Space: Carefully start removing the linoleum from the areas that you don’t want to print. Be gentle and take your time to avoid mistakes. It’s always better to carve a little at a time rather than too much.
- Use a Steady Hand: Hold your tools firmly, but with a relaxed grip to prevent accidents. Keep your hands steady as you carve along the lines to maintain smooth, clean cuts.
- Check Your Progress: Periodically stop and check your carving to make sure everything is turning out as expected. You can lightly run your fingers over the surface to feel for any areas that still need carving.
- Test the Block: After carving, do a test print to check your progress. Apply ink to the block and press it onto paper to see if any adjustments are needed. If you notice any areas that need more detail or deeper cuts, now’s the time to fix them.
Carving is a delicate process that takes patience. The more you carve, the more control you’ll have over your design, resulting in a more polished and professional-looking print. Remember to take your time and enjoy the process!
Also Read This: How to Cite a Getty Image in Your Work
Printing from the Linoleum Block
Once you’ve carved your linoleum block, it’s time to bring your artwork to life by printing it. The printing process is the final step where all your hard work pays off, transferring your carved design onto paper or fabric. To get the best results, it’s important to follow a few key steps for inking and pressing your block properly.
Here’s how to print from a linoleum block:
- Prepare the Ink: Choose the right ink for your print. You can use block printing ink, which is specifically designed for this purpose, or other types of printing inks like relief ink. Use a brayer (roller) to evenly spread a thin layer of ink over the surface of the carved block.
- Evenly Apply Ink: Roll the brayer over the ink until it’s evenly coated. Then, gently roll it over the surface of the linoleum block. Be sure not to apply too much ink – a thin, even layer is key to avoiding smudges or uneven prints.
- Align the Paper: Once the ink is applied, position your paper carefully on top of the block. You can use a clean, flat surface or a press to ensure the paper makes contact with the inked block evenly.
- Press the Paper: Using a baren (a smooth tool) or a press, apply even pressure over the back of the paper to ensure the ink transfers well from the block to the paper. If you’re using a hand-press, apply firm, even pressure for several seconds.
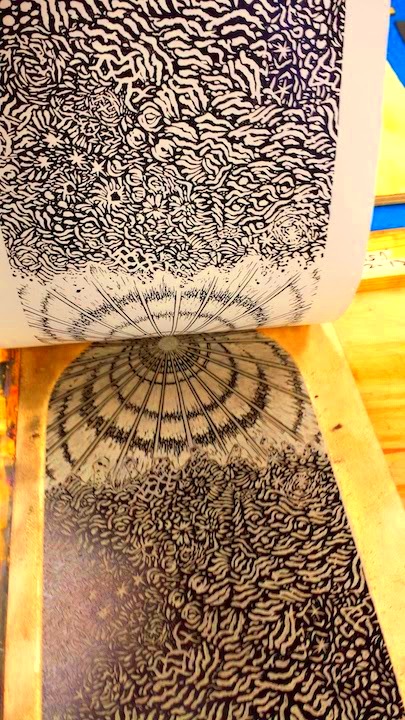
- Lift the Paper: Gently peel the paper off the block, starting at one corner. Be careful not to tear the paper. You should now see your printed design. Let the print dry before handling further.
With practice, you’ll get the hang of this process and produce crisp, professional-looking prints. The key is in the details – making sure the ink is applied evenly and the pressure is consistent will lead to the best results.
Also Read This: How Much Ideal Image Services Cost
Common Mistakes to Avoid During the Process
Like any creative process, transferring and printing from linoleum blocks can be challenging, and it’s easy to make mistakes along the way. Avoiding these common errors will help you achieve a cleaner, more professional-looking print.
Here are some mistakes to watch out for:
- Using Too Much Ink: Applying too much ink can cause it to smear or pool, resulting in a messy, uneven print. Always use a brayer to spread the ink thinly and evenly across the block.
- Improperly Carving the Block: If your carvings are too shallow or uneven, it can lead to blurry or inconsistent prints. Take your time carving, and don’t rush the process. Check your progress often to make sure the block is carved to your liking.
- Incorrect Paper Alignment: If your paper isn’t properly aligned with the block, parts of the design might not transfer. Take care to position the paper exactly where you want it on the block, especially for multi-color prints.
- Not Applying Enough Pressure: When printing, not applying enough pressure can result in faint or incomplete prints. Make sure to apply consistent and even pressure to ensure the ink transfers properly from the block to the paper.
- Carving the Wrong Side of the Block: Always make sure you’re carving the right side of the linoleum. If you carve the side with the printmaking label or textured surface, it could ruin the print quality. Always use the smooth, unmarked side for carving.
By avoiding these common pitfalls, you can save time and effort, and ensure that your prints come out looking great every time. Remember, the more you practice, the better you'll get at avoiding these mistakes!
Also Read This: How Getty Images Music Pays Music Creators
FAQ about Transferring Images to Linoleum Blocks
Here are some frequently asked questions that can help clarify some of the common concerns about transferring images to linoleum blocks:
1. What kind of paper is best for printing from linoleum blocks?
The best type of paper depends on the style of printmaking you are doing. For relief printing, thicker papers like Rives BFK or similar printmaking paper are ideal. These papers hold ink well and can withstand the pressure applied during printing. Lightweight papers may not handle the ink as well and could tear more easily.
2. Can I use a regular pencil to transfer the design?
Yes, a regular pencil works fine for transferring the design, especially if you’re tracing the design directly onto the linoleum block. However, make sure the pencil lines are dark enough to be visible, but not so dark that they interfere with the carving process.
3. Do I need a printing press to print from linoleum blocks?
No, a printing press is not required. Many artists use hand presses, barens, or even their hands to apply pressure when printing. However, a press can make the process easier and more consistent, especially when working on larger prints.
4. How do I know if my linoleum block is ready for printing?
Once you’ve carved the design, you can test the block by applying ink to it and doing a test print. If the design is clear and sharp, with no areas of excess ink or rough carving, then your block is ready for printing.
5. Can I use linoleum blocks for multi-color prints?
Yes, linoleum blocks are great for multi-color prints. You can either carve different blocks for each color or use the same block and apply different colors of ink to specific areas. Just make sure to allow the ink to dry between each layer to avoid smudging.
These FAQs should help clear up any confusion you may have about the process of transferring and printing with linoleum blocks. Always remember, practice makes perfect!
Conclusion: Tips for Successful Printmaking
Printmaking with linoleum blocks is a rewarding and creative process, but it requires attention to detail and practice to perfect. Whether you’re a beginner or an experienced artist, following a few key tips can help ensure your prints turn out as you envision them. Here are some essential tips for successful printmaking:
- Take Your Time with Carving: Don’t rush the carving process. The more precise and thoughtful you are with your carving, the cleaner and more professional your prints will look. Take breaks if needed to avoid mistakes and keep your mind focused.
- Test Your Block: Always do a test print before printing your final piece. This gives you a chance to check the ink coverage, pressure, and any areas that may need refinement. Small adjustments can make a big difference.
- Use Quality Materials: Invest in high-quality inks, paper, and tools. These materials can significantly improve the final result of your prints and make the process easier. Don’t skimp on your supplies if you want professional-looking prints.
- Be Consistent with Pressure: Whether you’re using a press or a hand tool like a baren, consistency in pressure is key. Uneven pressure can cause blurry or incomplete prints, so try to apply even force when transferring the ink to paper.
- Experiment with Different Inks and Paper: Don’t be afraid to experiment with various types of ink and paper. Different combinations can give your prints a unique texture and appearance, adding more character to your work.
- Clean Your Tools Properly: After each print session, be sure to clean your carving tools and brayers thoroughly. Keeping your tools in good condition will not only improve their performance but also extend their lifespan.
By following these tips and staying patient throughout the process, you can create stunning prints that showcase your creativity and craftsmanship. Printmaking is a journey, and every step you take helps you refine your technique and discover new possibilities in your artwork.

 admin
admin


