Transferring images from your camera to your computer can feel daunting, but it doesn't have to be. This process allows you to edit, store, and share your favorite photos easily. Whether you’re a professional photographer or someone who loves taking pictures for fun, understanding how to transfer images efficiently can enhance your overall experience. Let’s break down the steps to make this task simple and straightforward.
Preparing Your Camera for Transfer

Before you connect your camera to your computer, a few simple preparations can make the transfer smoother:
- Charge Your Camera: Make sure your camera's battery is fully charged to avoid interruptions during the transfer.
- Check Storage Space: Ensure you have enough space on your computer to accommodate new images.
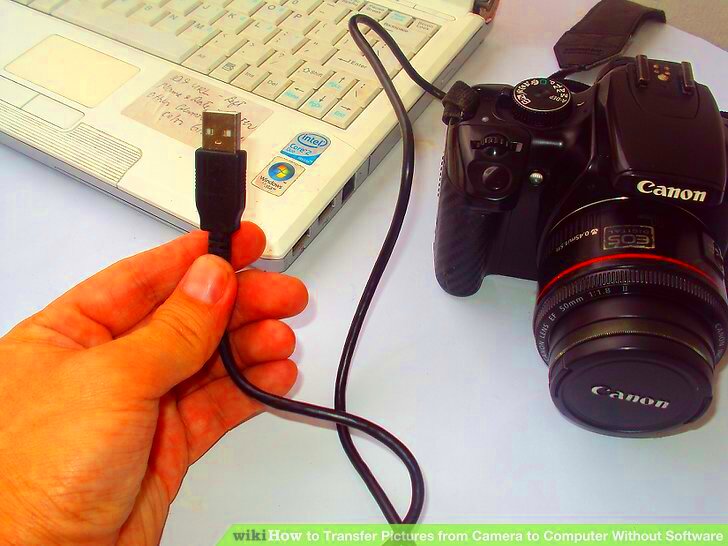
- Use the Right Cable: Find the USB cable that fits your camera. Most cameras use a standard USB, but some may require specific connectors.
- Update Software: If you use software to manage your photos, ensure it’s updated to the latest version.
Also Read This: How to Center Align an Image for Perfect Positioning on Websites
Connecting Your Camera to the Computer

Once your camera is ready, follow these steps to connect it to your computer:
- Plug the USB Cable: Connect one end of the USB cable to your camera and the other end to an available USB port on your computer.
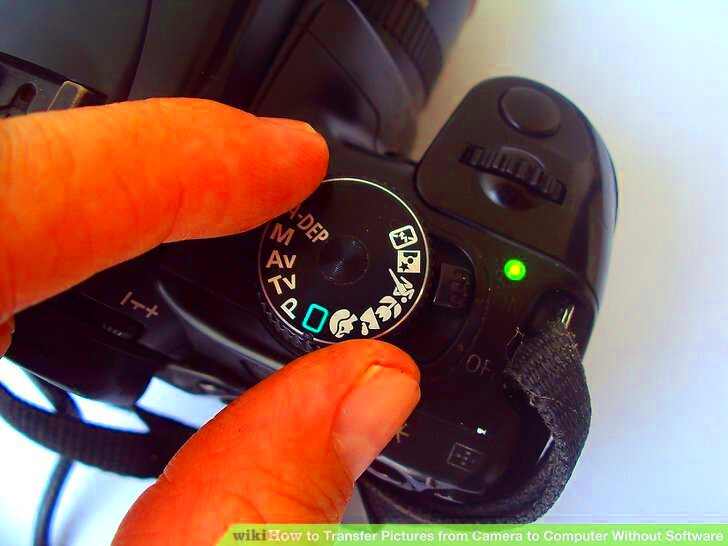
- Turn On the Camera: Power up your camera. Some cameras need to be set to a specific mode for file transfer, so check your manual.
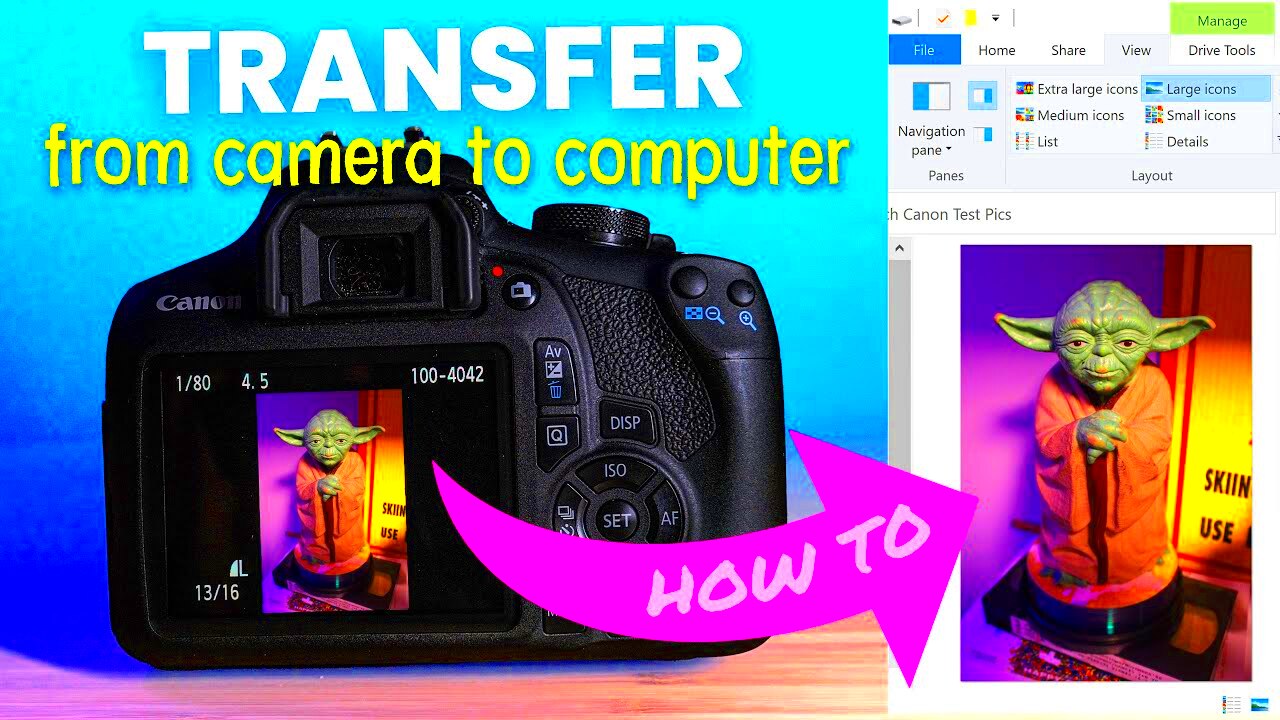
- Open File Explorer: On your computer, open File Explorer (Windows) or Finder (Mac) to locate your camera.
- Select Your Images: Browse through the folders to find your photos. You can select all images or just a few.
- Transfer Files: Drag and drop the selected images to your desired folder on your computer.
Following these steps will help ensure a smooth transfer process.
Also Read This: how to get licensed adobe stock into spark post android
Using a Memory Card Reader

If you want a quick and straightforward way to transfer images, using a memory card reader is a great option. This method allows you to access your photos directly from the memory card, bypassing the camera altogether. Here's how to do it:
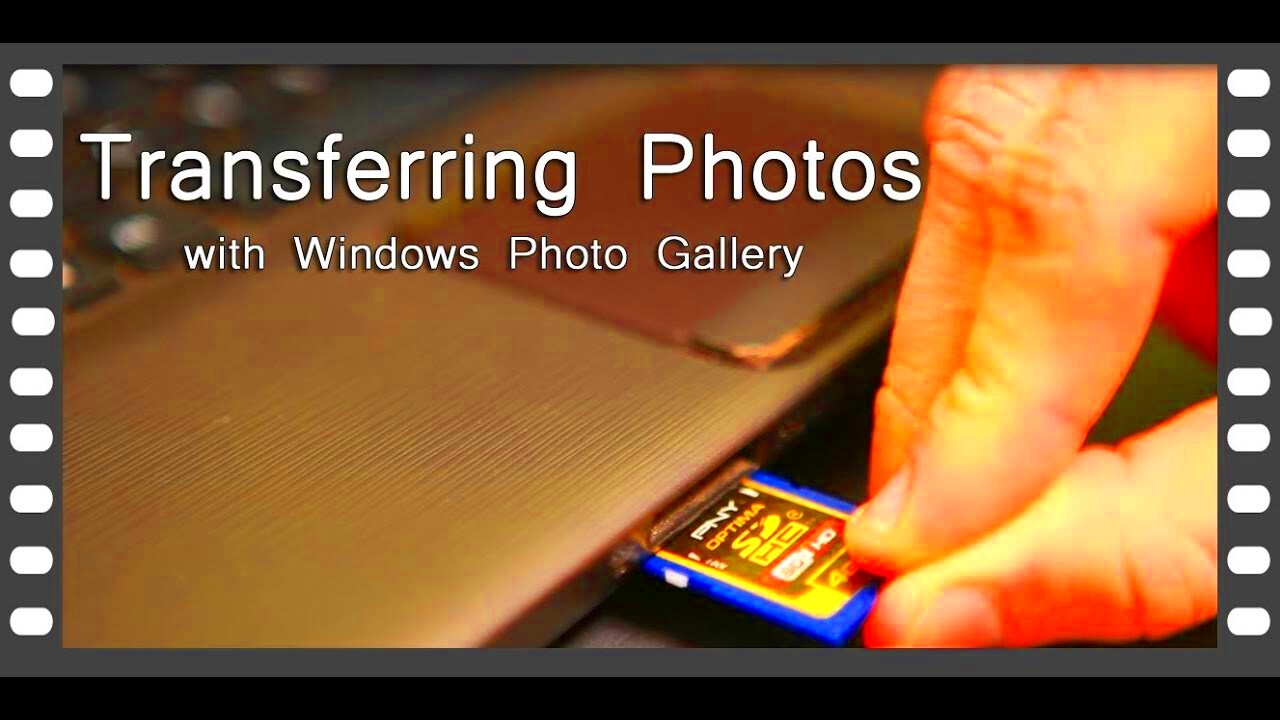
- Remove the Memory Card: Take the memory card out of your camera. Make sure to do this safely, following your camera’s instructions.
- Insert the Card into the Reader: Place the memory card into the card reader. Most readers have slots for different card types, like SD, microSD, or CF.
- Connect the Reader to Your Computer: Plug the memory card reader into a USB port on your computer. Wait a moment for your computer to recognize the device.
- Access Your Files: Open File Explorer (Windows) or Finder (Mac) to locate your memory card. It should appear as a removable drive.
- Select and Transfer Images: Browse through the folders, select the images you want, and drag them to your desired folder on your computer.
This method is fast and often eliminates connection issues, making it a favorite among photographers.
Also Read This: How to Update a Video on YouTube
Transferring Images Using Software
Using software to transfer images can streamline the process, especially if you want to organize your photos right away. Here’s how to make the most of it:
- Choose Your Software: Popular options include Adobe Lightroom, Windows Photos, and Apple Photos. Each has unique features to help you manage your images.
- Connect Your Camera: Follow the earlier steps to connect your camera or memory card to your computer.
- Open Your Chosen Software: Launch the program and look for an import option, usually located in the File menu.
- Select Images to Import: Most software will display thumbnails of your images. You can select all or just the ones you want.
- Organize During Import: Many programs allow you to create folders or tags during the import process. This can save time later!
- Complete the Import: Click the import button to transfer your selected images to your computer.
This method not only transfers your images but also sets you up for easy organization and editing later on.
Also Read This: Does iStock Offer Free Images? A Comprehensive Guide to Finding and Using Free Resources
Organizing Images on Your Computer
Once your images are transferred, organizing them is key to keeping your collection manageable. Here are some tips to help you get started:
- Create Folders: Set up main folders for different categories, like “Vacations,” “Family,” or “Events.” Inside each folder, you can create subfolders for specific occasions.
- Use Descriptive Names: When saving images, rename them with descriptive titles and dates. For example, “2024-10-31_Halloween_Party.jpg” is more informative than “IMG_1234.jpg.”
- Utilize Tags or Labels: Some software allows you to tag images. Use tags like “portrait,” “landscape,” or “nature” for easy searching later.
- Regularly Back Up Your Files: Make it a habit to back up your organized images to an external hard drive or cloud storage. This ensures you don’t lose precious memories.
Taking the time to organize your images will make finding and sharing your favorite memories much easier in the future!
Also Read This: Experience This Tool to Download TED Talk Intro Video
Common Issues During Transfer
Transferring images can sometimes come with its own set of challenges. Understanding these common issues can help you troubleshoot effectively and ensure a smooth transfer process. Here are some problems you might encounter:
- Connection Problems: If your camera or memory card isn’t recognized by your computer, double-check the connections. Ensure cables are securely plugged in and try a different USB port.
- Insufficient Storage Space: Sometimes, your computer might not have enough space to store new images. Before transferring, check your available storage and free up space if necessary.
- Corrupted Files: If some images fail to transfer, they might be corrupted. Try accessing the images directly from the camera or memory card to confirm if they are intact.
- Slow Transfer Speed: Large files or an older computer can slow down the transfer process. Consider closing other programs that may be using system resources to speed things up.
- Software Glitches: Occasionally, the software you’re using to transfer files may freeze or crash. Ensure your software is up to date and restart it if needed.
By being aware of these issues and their solutions, you can make your image transfer experience much smoother.
Also Read This: Rustic Towns Across the USA Captured in Photos
FAQ
Here are some frequently asked questions about transferring images from your camera to your computer:
- How long does the transfer usually take? The time varies based on the number of images and their file sizes. A few minutes to an hour is common for large batches.
- Can I transfer images wirelessly? Yes, if your camera supports Wi-Fi or Bluetooth, you can transfer images wirelessly, although it may take longer than using a cable.
- What should I do if my computer doesn’t recognize my camera? Try a different USB port, check the cable for damage, and ensure your camera is turned on. If issues persist, consult your camera’s manual.
- Is it safe to remove the camera while transferring? No, it’s best to wait until the transfer is complete to avoid corrupting files. Always eject the device properly before disconnecting.
Conclusion
Transferring images from your camera to your computer doesn’t have to be a complicated process. By following the steps outlined above and being aware of potential issues, you can easily manage your photos. Remember to organize your images once they’re on your computer, making it simple to find and share your favorite memories later. With a little practice, this process will become second nature, allowing you to focus more on capturing moments and less on the technical details of transferring them.

 admin
admin


