Transferring an image onto paper using a pencil is a simple yet powerful technique for artists and hobbyists. It allows you to reproduce any image with precision, whether you're creating a detailed portrait or a simple sketch. This method involves tracing an
Understanding the Image Transfer Process

Before starting the transfer process, it’s important to understand the steps involved. The key to a successful pencil transfer lies in getting a clear, precise outline of the image onto your paper. The process typically involves:
- Choosing the right image: Ensure the image is high-quality and clear, especially if you’re working with details.
- Setting up your workspace: Make sure you have the right tools, such as a pencil, eraser, and paper, before you begin.
- Selecting the method: There are various methods to transfer an image, such as the graphite method or the carbon paper method. Each has its advantages depending on your needs.
- Tracing or transferring the image: This step involves carefully outlining the image onto the paper.
By following these basic steps, you’ll be able to transfer any image onto paper quickly and accurately. Whether you're tracing a photo or drawing from a reference, understanding this process will ensure your results look professional.
Preparing the Image and Paper for Transfer

Proper preparation is key to ensuring the transfer process goes smoothly. Here’s how to get both the image and paper ready:
- Choose your image: Select an image with good contrast and clarity. Avoid images with too many tiny details unless you’re comfortable with precision.
- Resize the image: If the image is too large or too small, resize it to fit your paper. You can use software tools or print it out at the desired size.
- Prepare the paper: Select a smooth paper for better pencil marks. Heavier paper works best as it holds graphite better, but any standard drawing paper can work.
- Test the transfer method: It’s a good idea to test your chosen transfer method on scrap paper first to get familiar with how much pressure to apply and to avoid mistakes on the final sheet.
By following these simple steps, you'll be ready to transfer your image with ease. Preparing the image and paper properly ensures you achieve the clearest, most accurate transfer possible, giving you a great foundation for the rest of your artwork.
Tracing the Image with Pencil: Step-by-Step

Tracing an image with pencil is a straightforward but important step in transferring your image onto paper. It involves carefully following the lines of your image to create an outline on your paper. Here’s a simple step-by-step guide to help you trace the image accurately:
- Secure your image: Place the image under your drawing paper. You can use tape to keep it in place, ensuring it doesn't shift during the tracing process.
- Lightly sketch the outline: Using a light hand, start tracing the main lines of the image with a pencil. Don’t press too hard; this will make it easier to adjust the lines later.
- Focus on key details: Pay special attention to the main features of the image, such as eyes in a portrait or important shapes in a landscape. Don’t worry about every little detail yet.
- Refine the lines: Once the major outline is complete, go back and add finer details, such as texture or smaller features. Use lighter pencil strokes so they are easy to erase later if needed.
- Check for accuracy: After tracing, double-check your work to make sure the proportions and placement are correct. Make any adjustments as necessary.
Following these simple steps will help you transfer the image with precision, creating a solid foundation for the rest of your artwork.
Using Graphite Transfer Methods for Clearer Lines
If you want clearer, more defined lines when transferring an image, using graphite transfer paper or graphite powder is a great method. This technique provides a precise and easy way to transfer any image onto your paper without worrying about the faintness of pencil marks. Here’s how you can do it:
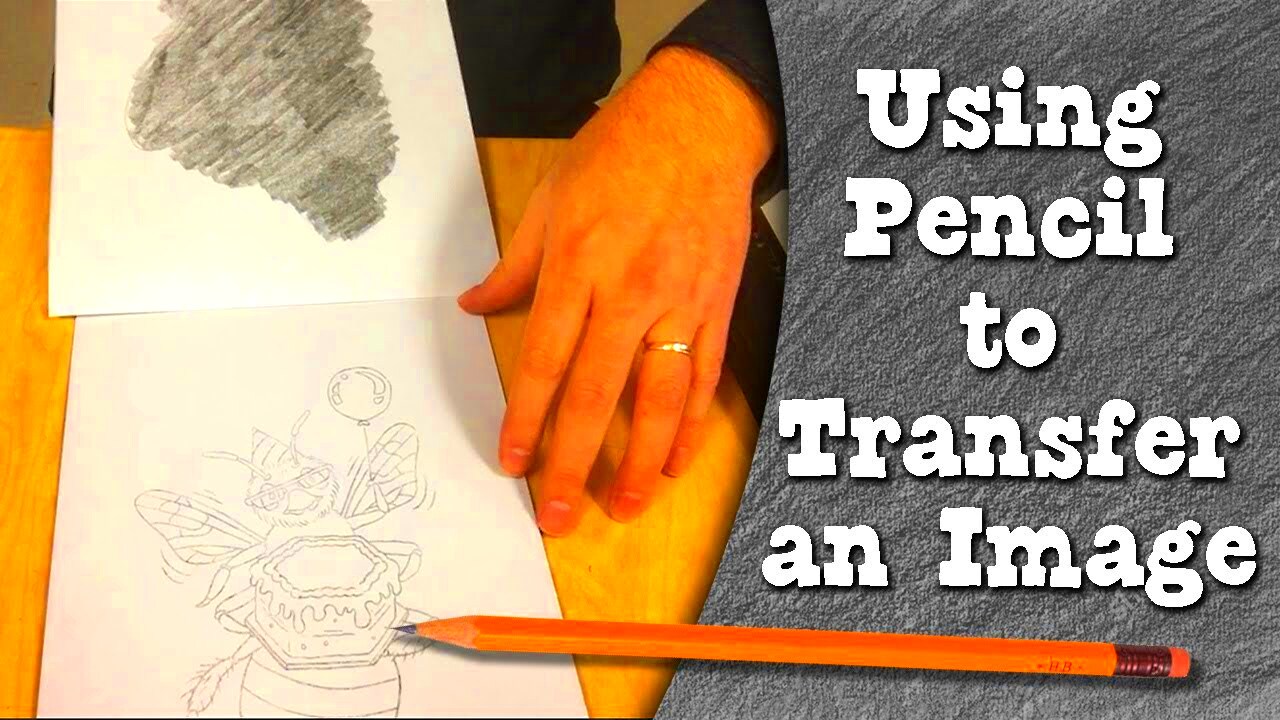
- Graphite transfer paper: Place a sheet of graphite transfer paper between your image and the drawing paper. The shiny side of the transfer paper should face down. Trace over the lines of your image, and the graphite will transfer onto your paper.
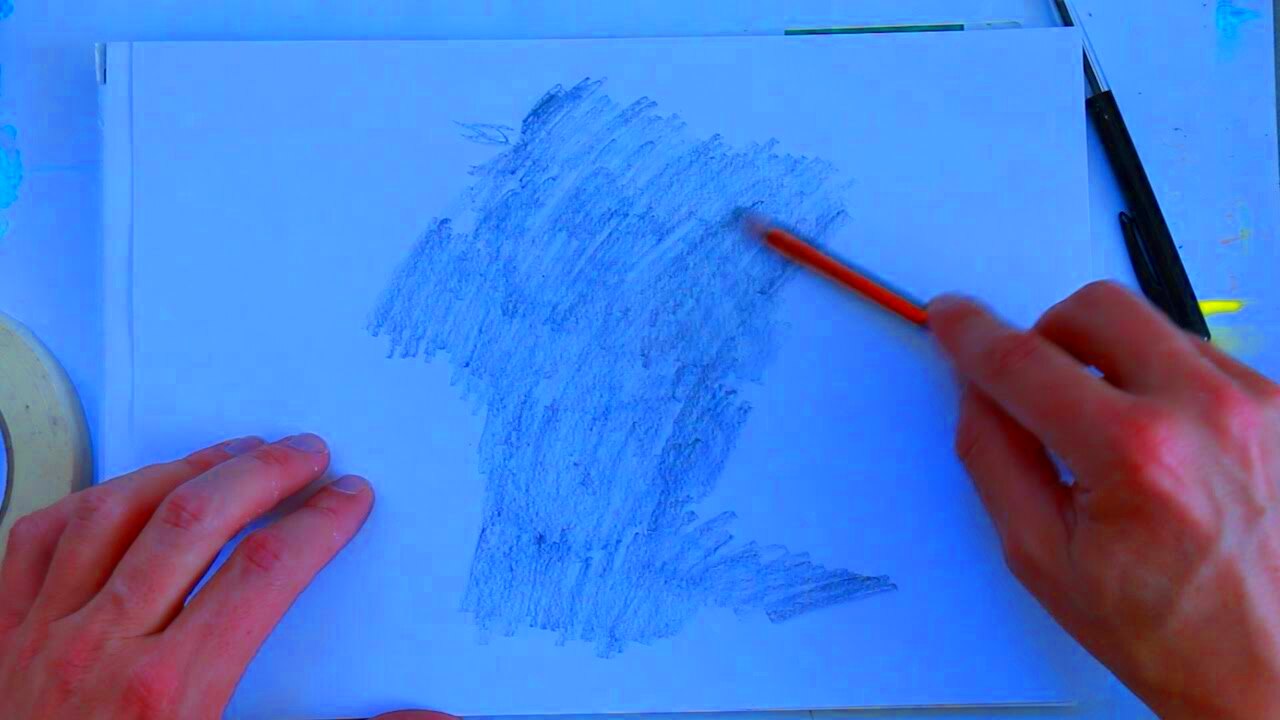
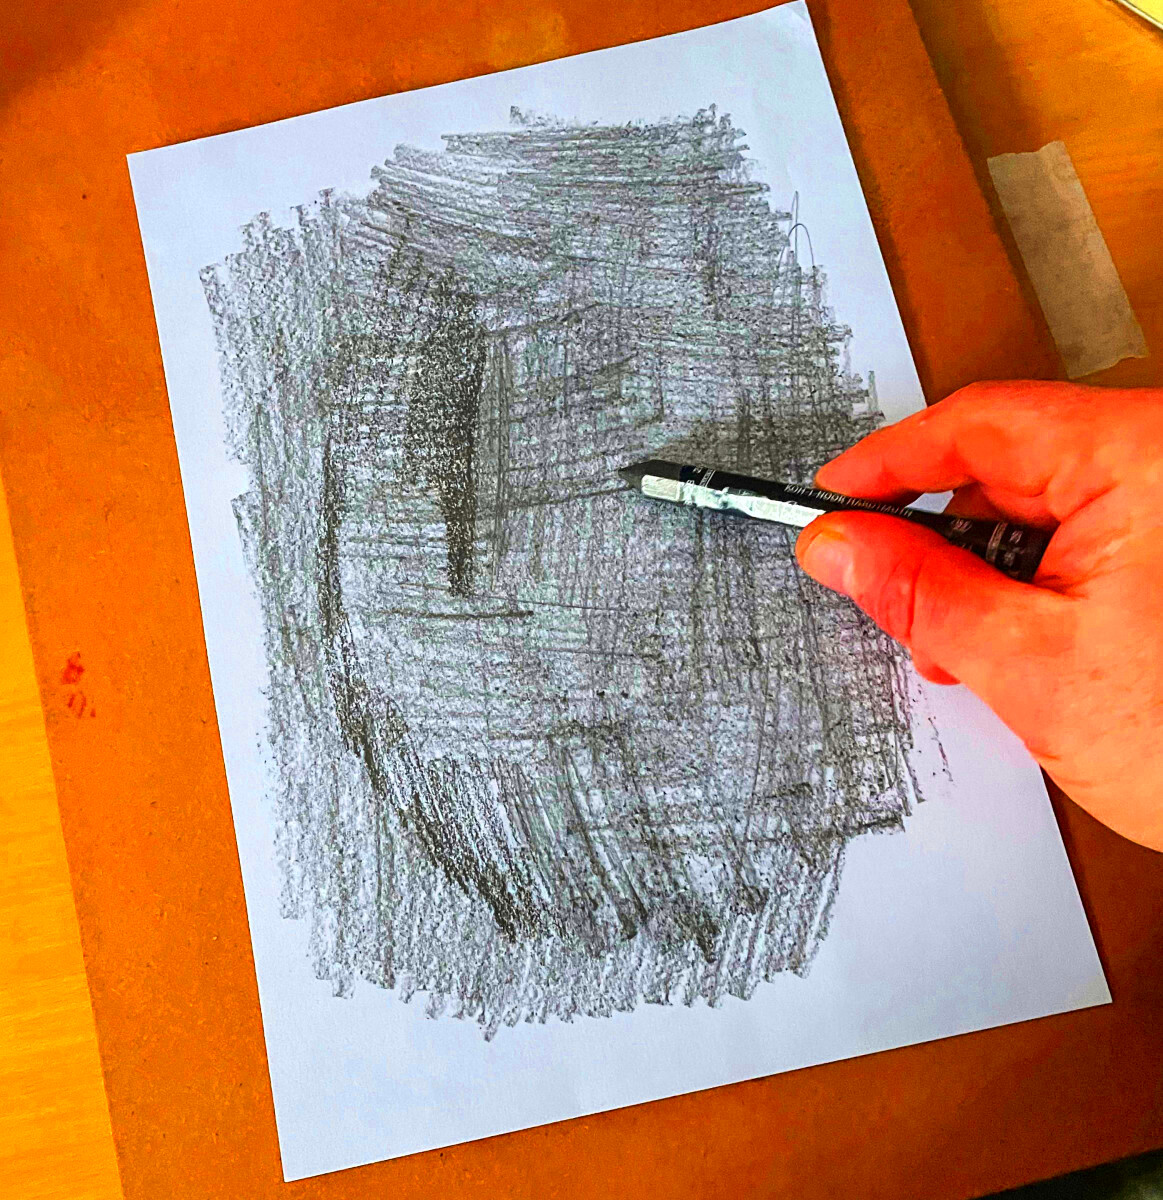
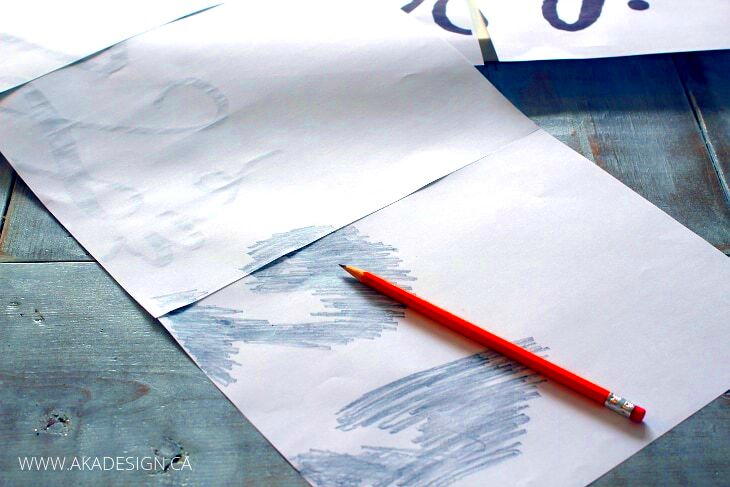
- Graphite powder method: Rub a thin layer of graphite powder on the back of your printed image. Afterward, place the image onto your drawing paper and carefully trace over the lines. The pressure will transfer the graphite powder onto the paper, leaving clear lines.
Both methods ensure that your lines are sharp and clear, which can be very helpful when working with intricate details. The advantage of graphite transfer is that the lines are easily erasable if you need to make corrections, and the transfer process is quick and efficient.
Enhancing the Pencil Transfer with Shading Techniques
Once you’ve traced the image and have a clear outline, it’s time to bring it to life with shading. Shading techniques can add depth, dimension, and realism to your pencil drawing. Here’s how you can enhance your transfer using shading:
- Use varied pencil pressure: Apply different levels of pressure with your pencil to create light and dark areas. Lighter pressure will give soft, light shading, while heavier pressure will create darker, more intense shadows.
- Layer your shading: Start with a light layer of graphite and gradually build up darker tones. This layering technique will give your shading a more natural, gradual transition.
- Utilize cross-hatching: Cross-hatching is when you draw parallel lines in one direction, and then layer another set of parallel lines in the opposite direction. This technique adds texture and depth to shaded areas.
- Blend with a tortillon or stump: To create smooth, seamless shading, use a blending tool like a tortillon (paper stump). Gently blend the graphite to soften the pencil marks and create a smooth gradient.
- Add highlights: To make certain areas pop, leave some areas untouched or use an eraser to gently lift off some graphite. This will create highlights that enhance the three-dimensionality of your drawing.
Shading transforms a simple pencil outline into a realistic piece of art. By experimenting with different techniques and practicing your control over the pencil, you can create stunning, lifelike transfers that feel as though they’ve been hand-drawn from scratch.
Common Mistakes to Avoid While Transferring Images
Transferring an image onto paper may seem easy, but there are a few common mistakes that can derail the process. Avoiding these can help ensure a clean, accurate transfer. Here are some common errors to watch out for:
- Not using enough light: If you’re tracing by hand, it’s important to have good lighting. Dim lighting can make it harder to see details, leading to mistakes in your transfer.
- Pressing too hard with your pencil: When tracing, using too much pressure can leave dark, permanent marks that are hard to erase. Always use light strokes, especially during the tracing phase.
- Skipping the test run: It’s tempting to jump straight into the final transfer, but testing your method on scrap paper can save you from mistakes. This is particularly important when using graphite transfer methods.
- Not checking proportions: Sometimes, when tracing, we get so caught up in details that we forget to check the proportions. Be sure to step back and evaluate if everything fits well on the paper.
- Ignoring the paper type: Using the wrong paper can affect the outcome. Rough paper can make pencil lines smudged and unclear, while too smooth paper might not hold the graphite properly.
Avoiding these mistakes will help you maintain control over the transfer process and ensure that your final result is clean, clear, and accurate.
Tips for Achieving Professional Results
If you’re looking to take your pencil transfers to the next level, there are several tips you can follow to achieve professional-quality results. Here’s how to enhance your work:
- Use high-quality materials: The right tools make a huge difference. Invest in good-quality pencils, paper, and transfer methods to ensure clean, sharp lines and smooth shading.
- Be patient and take your time: Rushing through the tracing and shading phases can lead to mistakes. Take your time to carefully outline and shade each part of the image, focusing on details and making adjustments as you go.
- Refine your shading techniques: Practice different shading methods, such as cross-hatching, stippling, and blending, to create depth and dimension in your drawing. The more you practice, the more natural it will look.
- Use reference lines: When working with complex images, consider using reference lines or grids to help maintain proper proportions and alignments, especially in portraits or architectural drawings.
- Keep your workspace clean: A tidy workspace is key to staying focused and avoiding accidental smudging. Use a clean eraser and make sure your tools are in order.
By following these tips, you'll be able to refine your technique, resulting in cleaner, more professional-looking pencil transfers that showcase your artistic skills.
FAQ
Q: What’s the best way to trace an image accurately?
A: The best way to trace an image accurately is by using light pencil strokes to outline the main features first, then gradually adding finer details. If you're using graphite transfer paper or the graphite powder method, these can make the process easier and more precise.
Q: Can I transfer an image onto colored paper?
A: Yes, you can transfer images onto colored paper. However, be mindful that the color of the paper may affect the visibility of your pencil lines. Lighter-colored paper works best for pencil transfers.
Q: How do I avoid smudging my pencil lines?
A: To avoid smudging your pencil lines, always use a clean sheet of paper underneath your hand while drawing. You can also use a fixative spray to seal the pencil marks once you're done.
Q: Is it necessary to erase after transferring the image?
A: Erasing is optional, but it can help clean up any unwanted marks. If you’ve used transfer paper or graphite powder, you may want to erase any visible guidelines or excess graphite that may not be part of the final drawing.
Q: How can I improve my shading skills?
A: To improve your shading, practice using different pencil pressures, blending techniques, and stroke patterns. Experiment with cross-hatching, stippling, and soft blending to create realistic textures and gradients.
Conclusion
Transferring images onto paper with a pencil is a rewarding process that opens up many creative possibilities. Whether you're a beginner or an experienced artist, mastering this technique will improve your ability to recreate and enhance images with ease. By following the steps outlined in this guide—such as properly preparing your image and paper, using effective tracing and shading techniques, and avoiding common mistakes—you’ll be well on your way to creating detailed and professional-quality artwork. With practice, patience, and the right tools, you can achieve stunning pencil transfers that are both accurate and beautifully detailed. Keep experimenting, and don’t forget to enjoy the artistic process!

 admin
admin


