Transferring an image onto paper is a creative and fun way to bring your ideas to life. Whether you're working on a personal art project, crafting a unique gift, or simply experimenting with new techniques, transferring images can open up a world of possibilities. You can transfer photographs, designs, or even digital art to create custom pieces that are ready to frame or use in a variety of other applications. This process can be done using a number of different methods, each offering its own benefits depending on the final look and feel you're aiming for.
Why Transfer an Image onto Paper?

Transferring images onto paper can be a valuable skill for a variety of reasons. Here are a few benefits to consider:
- Customization: You can personalize your projects with unique images, whether it’s a photograph, artwork, or digital design.
- Creative Expression: Transferring images onto paper allows you to explore different techniques, whether it’s for crafting, scrapbooking, or just fun DIY projects.
- Practical Use: It’s a great way to create custom home décor, cards, posters, or gifts that stand out.
- Preserving Memories: Transfer your favorite photos or artwork onto paper to keep them as mementos or create tangible versions of digital content.
In addition to these benefits, it’s a great way to give life to digital images by turning them into something physical and meaningful. The best part is that you don’t need professional tools or skills to get started. With the right materials, anyone can transfer an image onto paper successfully.
Popular Methods for Image Transfer

When it comes to transferring images onto paper, there are a few popular methods that you can choose from. Each has its own unique set of advantages and can be selected based on the materials you have at hand and the effect you're hoping to achieve. Below, we’ll break down the most common methods to help you make an informed choice.
- Carbon Paper: Carbon paper is a traditional and simple way to transfer an image onto paper. The process involves placing the carbon paper between the image and the surface, then tracing over the image. This method works well for transferring designs or sketches.
- Inkjet Printing: Using an inkjet printer to print your image directly onto paper is a quick and easy option. It’s especially useful for high-quality transfers and for getting a more detailed and precise result. You can print onto regular paper, transfer paper, or even fabric.
- Transfer Sheets: Transfer sheets are pre-prepared materials that allow you to easily transfer an image onto paper by applying heat. Simply print the image onto the transfer sheet, then use an iron or heat press to transfer the image onto the desired surface.
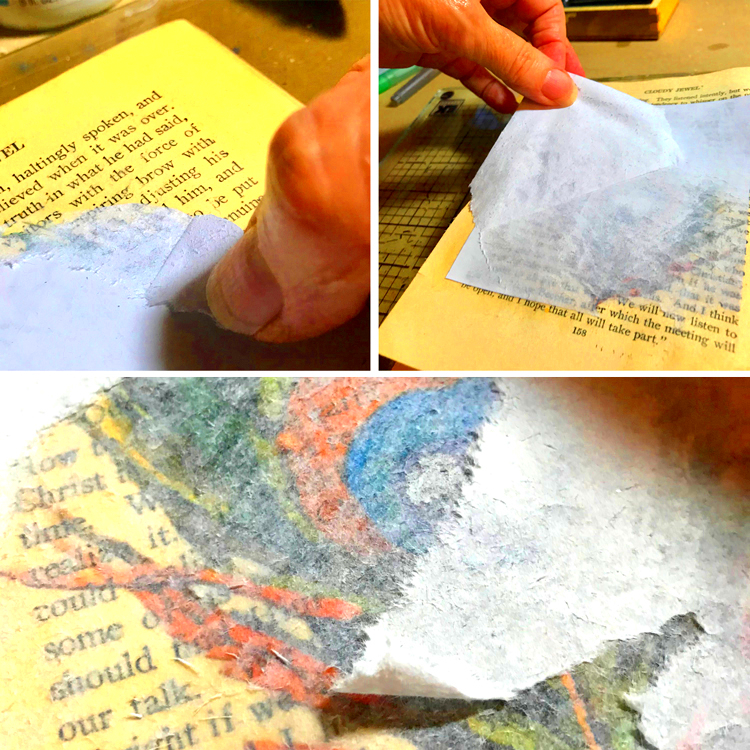
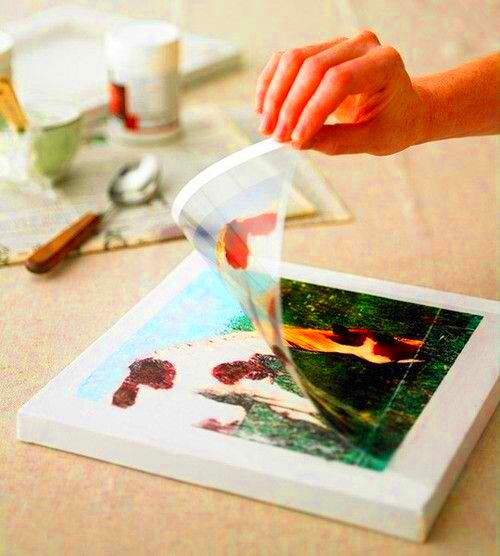
- Gel Medium: This method involves using a gel medium to coat the image and then transferring it onto paper. It works well for more textured designs or if you want a vintage look, as the gel adds an interesting texture to the final product.
Choosing the right method depends on what you’re aiming for and the materials you have available. Each method offers different levels of detail, ease of use, and time commitment, so it’s worth experimenting with a few to see which one works best for you.
How to Transfer Images Using Carbon Paper

Using carbon paper to transfer an image onto paper is one of the simplest and oldest methods. It's particularly useful for beginners and crafters who want an easy, no-fuss way to transfer images without needing specialized equipment. The process involves placing a sheet of carbon paper under your image and then tracing over it to transfer the design onto the final surface. Here's how you can do it step by step:
- Prepare Your Materials: You will need carbon paper, a pencil or pen, a clean sheet of paper, and the image you want to transfer.
- Place the Carbon Paper: Lay the carbon paper on the paper where you want the image to appear, with the dark side facing down towards the paper.
- Position Your Image: Place the image on top of the carbon paper, ensuring it's aligned in the way you want it to appear.
- Trace the Image: Using a pen or pencil, carefully trace over the lines of the image. The pressure will transfer the design onto the paper beneath.
- Remove the Image and Carbon Paper: Once you’ve finished tracing, remove the image and carbon paper. You’ll now have a faint outline of your image on the paper, ready to be filled in or enhanced.
This method is especially great for transferring simple designs, sketches, or even handwritten text. It's fast, inexpensive, and doesn’t require any special tools. However, the results might not be as detailed as other methods, and you’ll need to be careful with pressure to avoid smudging.
Transferring Images with Inkjet Printers
If you want a higher-quality image transfer with more intricate details, using an inkjet printer is one of the best methods. Inkjet printing allows you to print high-resolution images directly onto transfer paper, which can then be applied to your desired surface. This method is ideal for photographs, digital art, or designs that require fine detail. Here's how you can do it:
- Choose the Right Transfer Paper: Purchase transfer paper suitable for inkjet printers. These come in various types based on the surface you want to print on (e.g., paper, fabric, wood, etc.).
- Print the Image: Load the transfer paper into your printer and print the image in reverse (mirror image) if you are applying it to a flat surface like paper. Make sure to use the highest print quality setting on your printer.
- Prepare the Surface: Make sure the surface you're transferring the image onto is clean and dry. For example, if you're printing on paper, smooth out any wrinkles beforehand.
- Transfer the Image: Follow the instructions that come with the transfer paper. Usually, you will need to place the printed transfer sheet onto the surface and apply heat using an iron or heat press. Make sure to press firmly but gently to avoid smudging.
- Peel and Set: After applying heat, allow the transfer paper to cool slightly before carefully peeling it off. Your image should now be transferred onto the surface with great clarity.
This method is perfect for those who want precise, vibrant, and high-quality transfers. It works well for both small and large images and is commonly used for creating custom artwork, t-shirts, posters, and more. Just be sure to handle the transfer paper carefully to avoid errors in the printing process.
Using Transfer Sheets for Easy Image Application
Transfer sheets are a convenient and straightforward way to apply an image to paper or other surfaces, and they are ideal for beginners or anyone looking for a quick solution. The process involves printing your image onto the special transfer paper, then using heat (from an iron or heat press) to transfer the
- Choose the Right Transfer Paper: Select the appropriate transfer sheet for your project. There are options available for both light and dark-colored surfaces, so pick accordingly.
- Print Your Image: Use your inkjet printer to print the image onto the transfer sheet. Make sure to print the image in mirror mode if you’re transferring to fabric or similar materials.
- Prepare the Surface: Ensure the paper or material you're transferring to is clean and smooth. Preheat the surface if required by the instructions.
- Apply Heat: Place the printed transfer sheet onto the surface and apply heat using an iron or a heat press. Follow the specific time and temperature instructions to achieve the best transfer.
- Peel Off the Paper: Once the transfer has cooled down, gently peel away the backing paper to reveal the image on your surface.
Transfer sheets are great because they’re easy to use, and they allow you to transfer images quickly without the need for complicated tools. However, they do require careful attention to heat settings to avoid damaging the image or material. If done right, you’ll achieve a smooth, crisp transfer with rich colors and sharp details.
Precautions to Take When Transferring Images
While transferring images can be an exciting and creative process, it’s important to take some precautions to ensure that your project goes smoothly. A little care can help you avoid common mistakes, such as smudging, misalignment, or damaged materials. Here are some key tips to follow when transferring images:
- Choose the Right Surface: Always select a surface that is suitable for the transfer method you’re using. Some papers, fabrics, or materials may not work well with certain transfer techniques. For example, avoid using textured or rough paper when using inkjet printing, as it could affect the quality of the transfer.
- Use High-Quality Materials: For the best results, always use high-quality transfer paper, ink, and tools. Cheap materials can lead to blurry or uneven transfers.
- Test First: Before starting your main project, do a test transfer on a scrap piece of paper or fabric. This allows you to check for any issues with alignment, ink, or pressure before committing to the final design.
- Handle with Care: Be gentle when handling your printed image and the transfer paper. Rough handling can cause smudges, misprints, or even tears, leading to a poor transfer.
- Check Alignment: Proper alignment is key to a successful transfer. Make sure your image is properly positioned before you begin tracing or applying heat.
- Apply Even Pressure: Whether you're using carbon paper, an inkjet printer, or transfer sheets, applying even pressure ensures that the image transfers evenly. Uneven pressure can cause areas of the image to be lighter or missing.
- Allow Enough Drying Time: Some methods, like inkjet printing, require a bit of drying time before transferring. Be patient to avoid smearing or smudging the ink.
By taking these precautions, you’ll set yourself up for success and avoid common pitfalls that could ruin your transfer project. Always remember that the more careful you are, the better the results will be.
Conclusion: Final Thoughts on Transferring Images
Transferring images onto paper is a rewarding and creative process that can add a personal touch to your artwork, crafts, and DIY projects. Whether you’re using carbon paper, inkjet printers, or transfer sheets, there are plenty of methods available to suit different needs and skill levels. With a little practice, you can master these techniques and start creating custom designs, photographs, and prints that showcase your unique style.
Ultimately, the key to success in transferring images is experimenting with different methods and finding the one that works best for your project. Remember to be patient and take your time with each step—this will help you achieve the best results. As long as you follow the necessary precautions and use quality materials, you’ll be well on your way to creating professional-looking image transfers every time.
So, whether you're transferring images for a hobby, gift, or business, the possibilities are endless. Get started with the method that fits your needs and enjoy the creative process!
Frequently Asked Questions (FAQ)
1. What is the best type of paper for image transfers?
For best results, use smooth, high-quality paper that is designed for the specific transfer method you’re using. If you’re using inkjet printing, transfer paper designed for inkjet printers is ideal. For carbon paper transfers, smooth drawing or craft paper works well.
2. Can I transfer images onto fabric?
Yes, you can transfer images onto fabric, but be sure to use transfer paper that is designed for fabric, or follow the specific instructions for the method you are using. Inkjet transfers, transfer sheets, and gel medium methods are commonly used for fabric applications.
3. How can I make sure the image transfer is aligned properly?
Before starting the transfer process, carefully position the image on the surface. For methods like carbon paper or transfer sheets, double-check the placement before applying pressure or heat. You can also use masking tape to hold the image in place temporarily.
4. What should I do if the image doesn't transfer correctly?
If the transfer didn’t turn out as expected, don’t worry! You can try again by adjusting factors like pressure, heat, or alignment. It’s also a good idea to test the method on a scrap piece before starting the actual project to avoid wasting materials.
5. Can I transfer images more than once?
While it’s possible to transfer an image multiple times, the quality of the transfer may decrease with each attempt. It’s best to make a clean, single transfer whenever possible to achieve the clearest, sharpest result.

 admin
admin


