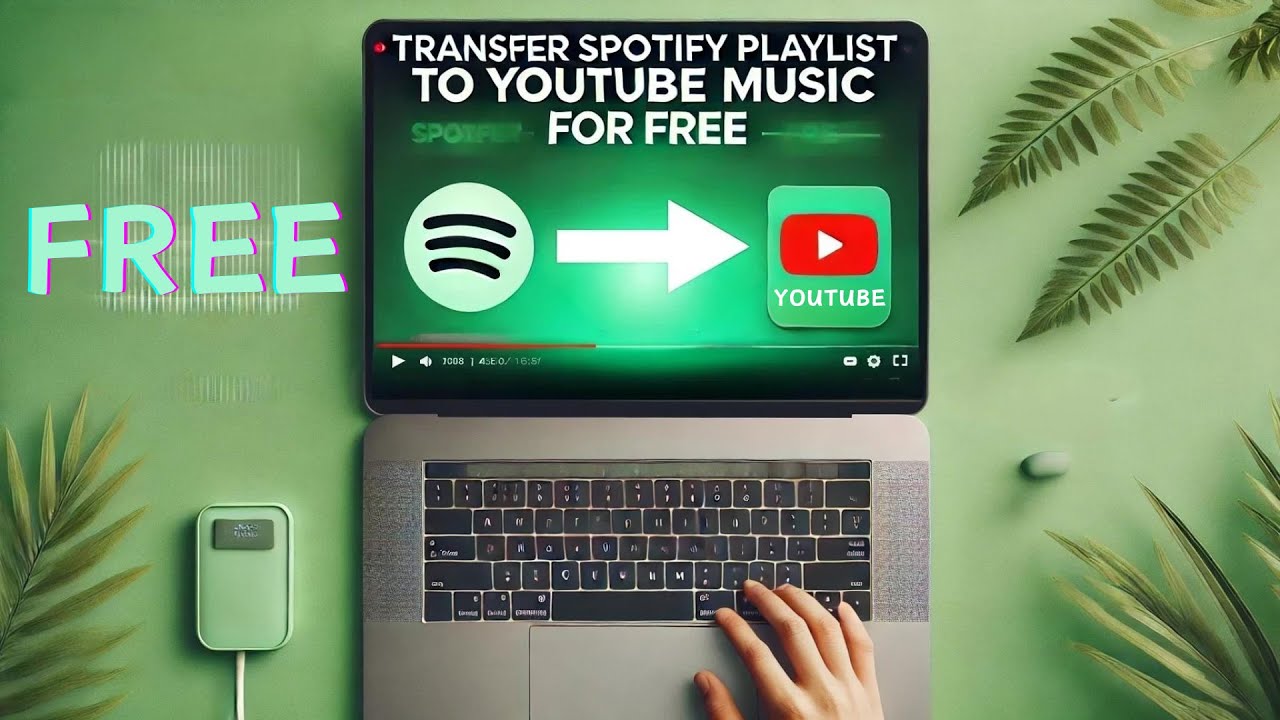
Have you ever found yourself wondering how to take your beloved Spotify playlists and bring them over to YouTube Music? You're not alone! Many music lovers switch platforms for various reasons, and transferring playlists can seem like a daunting task. But fear not! In this guide, we’ll walk you through the reasons for transferring your playlists and how to do it seamlessly, so you can enjoy your favorite tunes without missing a beat.
Why Transfer Your Playlists?

There are several compelling reasons why you might want to transfer your playlists from Spotify to YouTube Music. Let's dive into a few of the most common motivations:
- Access to Exclusive Content: YouTube Music often features exclusive live performances, music videos, and unique tracks that may not be available on Spotify. If you love discovering new music or enjoy watching music videos, YouTube Music can be a treasure trove.
- Enhanced Discoverability: YouTube Music uses Google's powerful algorithms, making it easier to discover new artists and songs based on what you listen to. This means that when you transfer your playlists, you can benefit from curated recommendations tailored just for you.
- Integration with YouTube: If you frequently use YouTube for music, transferring your playlists allows for a seamless experience. You can easily switch between watching videos and listening to audio without losing your place.
- Personalized Features: YouTube Music offers dynamic features like personalized mixes and playlists that adapt over time based on your listening habits. Transferring your Spotify playlists can enhance these features, providing a richer listening experience.
Ultimately, whether it's about the content, discoverability, or integration, transferring your playlists can open up a new world of music enjoyment!
Also Read This: How to Block Scary Ads on YouTube and Enjoy a Safe Viewing Environment
3. Using Third-Party Tools
Transferring your Spotify playlist to YouTube Music can feel a bit daunting, but thankfully, there are several user-friendly third-party tools designed to make this process seamless and efficient. These tools not only save you time but also minimize the hassle of manually recreating your playlists.
Here are some popular options:
- Soundiiz: This is a versatile platform that allows you to transfer playlists between various music services, including Spotify and YouTube Music. With a simple drag-and-drop interface, you can easily select your desired playlist and start the transfer.
- TuneMyMusic: This tool offers a step-by-step wizard that guides you through the process of transferring playlists. You can either use the web version or download the app for added convenience.
- MusConv: For those looking for an advanced solution, MusConv supports multiple platforms and can handle large playlists with ease. It also offers a desktop application, making it a good option for frequent users.
When using any third-party tool, it's essential to consider the following:
- Security: Ensure the tool you choose has a good reputation and uses secure connections to protect your data.
- Limitations: Some tools may have restrictions on the number of songs you can transfer at once or require a premium subscription for full functionality.
In summary, third-party tools can simplify the playlist transfer process and help you enjoy your favorite tunes on YouTube Music without the headache of starting from scratch.
Also Read This: How Much YouTube Editors Make Exploring the Pay for YouTube Video Editors
4. Step-by-Step Guide to Transfer Playlists

Now that you know about the various third-party tools available, let’s dive into a step-by-step guide on how to transfer your Spotify playlists to YouTube Music using one of these tools. For this example, we’ll use TuneMyMusic, which is straightforward and efficient.
| Step | Description |
|---|---|
| 1 | Visit the TuneMyMusic website. |
| 2 | Click on the "Let's Start" button to begin. |
| 3 | Select Spotify as your source platform. You might need to log in to your Spotify account. |
| 4 | Choose the playlist you want to transfer from your Spotify account. |
| 5 | Now, select YouTube Music as your destination platform. You’ll need to log in to your YouTube Music account as well. |
| 6 | Click on "Start Moving My Music" to initiate the transfer process. |
| 7 | Once the transfer is complete, you’ll receive a confirmation message. Check your YouTube Music account to ensure that your playlist has successfully moved over. |
And voilà! You’ve successfully transferred your Spotify playlist to YouTube Music in just a few easy steps. Enjoy your music without missing a beat!
Also Read This: How to Add YouTube Shorts as Embeds on Your Website
5. Verifying Your Transferred Playlist

Once you've successfully transferred your Spotify playlist to YouTube Music, it's essential to verify that everything has made the jump intact. This means not just checking that the titles are there but also ensuring that the songs play correctly.
Here's how you can verify your transferred playlist:
- Open YouTube Music: Launch the app or website and log in to your account.
- Locate Your Playlist: Go to the "Library" section and find the playlist you just transferred.
- Play a Few Songs: Start playing a few tracks to ensure they are the right songs and that they play without any issues.
- Check for Missing Tracks: Look for any songs that might not have been transferred. You can compare with your original Spotify playlist to spot discrepancies.
If you find any missing songs, don't worry! You can manually add them to your YouTube Music playlist. Just search for the song and click on "Add to Playlist." Remember, some songs might not be available on YouTube Music, so it’s worth checking for alternatives.
Also Read This: Have YouTube Ads Gotten Worse? Analyzing Changes in Ad Frequency and Quality
6. Troubleshooting Common Issues
Even with the best tools, things can go awry during a playlist transfer. If you encounter issues, here are some common problems and their solutions:
| Issue | Solution |
|---|---|
| Playlist Not Transferring | Check your internet connection and try again. Also, ensure the transfer tool is authorized to access both accounts. |
| Missing Songs | Look for the songs manually in YouTube Music. Not all tracks from Spotify are available, so consider finding similar ones. |
| Playlist Order is Different | You can rearrange the songs in YouTube Music by clicking and dragging them into your desired order. |
Don't hesitate to reach out to the support team of the transfer tool you're using if issues persist. Happy listening!
Transfer Your Spotify Playlist to YouTube Music
Many music enthusiasts find themselves torn between Spotify and YouTube Music, especially when curating their playlists. If you've created an extensive Spotify playlist but want to switch to YouTube Music, transferring that playlist can seem daunting. Fortunately, there are several methods to make this transition smooth and hassle-free.
Here’s a comprehensive guide on how to transfer your Spotify playlists to YouTube Music:
Methods to Transfer Playlists
- Third-Party Tools: Several online tools can facilitate the transfer process. Popular options include:
- Soundiiz: A versatile platform that supports various music services.
- TuneMyMusic: This tool enables bulk playlist transfers and is user-friendly.
- MusConv: A software that allows you to transfer playlists between multiple services.
- Manual Method: For a more personalized approach, manually recreate your playlist by searching for each song on YouTube Music.
Step-by-Step Guide Using Soundiiz
- Sign up or log in to Soundiiz.
- Connect your Spotify account and authorize access.
- Select the playlist you wish to transfer.
- Choose YouTube Music as the destination.
- Follow the prompts to finish transferring your playlist.
By following these methods, you can easily enjoy your favorite tracks on YouTube Music without losing your carefully curated playlists from Spotify.
Conclusion
Transferring your Spotify playlists to YouTube Music is both simple and efficient, thanks to various tools and methods available, ensuring that your listening experience remains uninterrupted and enjoyable.
 admin
admin


